The Earl of Newcastle’s decisive victory over the Parliamentary army of Lord Fairfax outside Bradford in West Yorkshire, fought on 30th June 1643
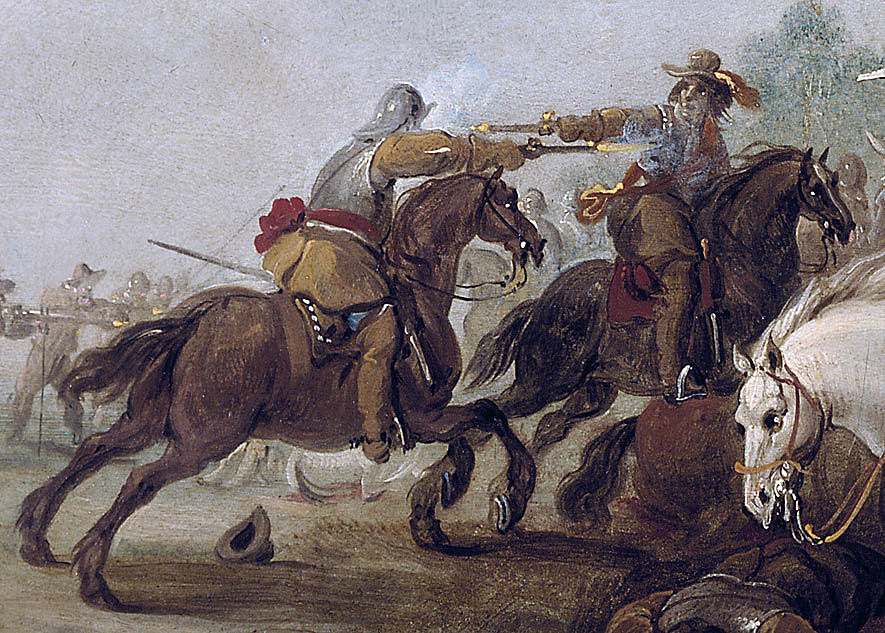
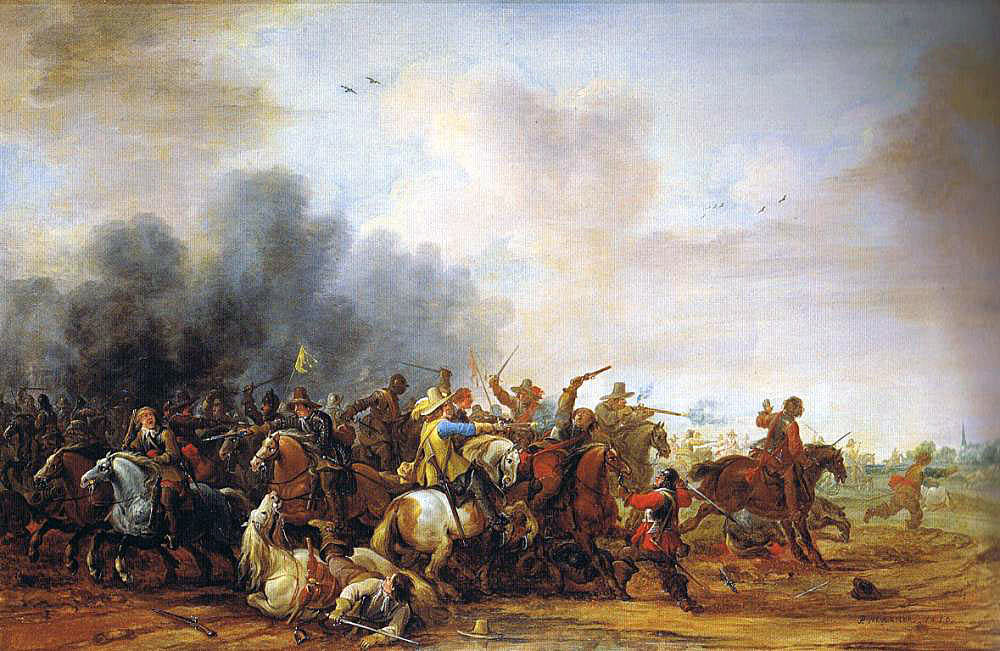
Hand to hand combat: Battle of Adwalton Moor 30th June 1643 during the English Civil War: picture by Meulener
The previous battle in the English Civil War is the Battle of Chalgrove
The next battle in the English Civil War is the Battle of Lansdown Hill
To the English Civil War index
Battle: Adwalton Moor
War: English Civil War
Date of the Battle of Adwalton Moor: 30th June 1643
Place of the Battle of Adwalton Moor: 5 miles to the south-east of Bradford in West Yorkshire on the main road towards Wakefield.
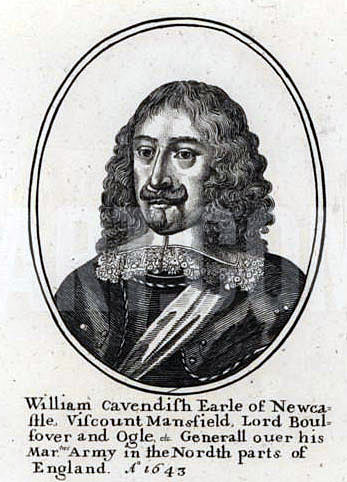
William Cavendish, Earl of Newcastle, Royalist commander at the Battle of Adwalton Moor 30th June 1643 during the English Civil War: engraving by Wencelaus Hollar
Combatants at the Battle of Adwalton Moor:
The forces of King Charles I against the forces of Parliament.
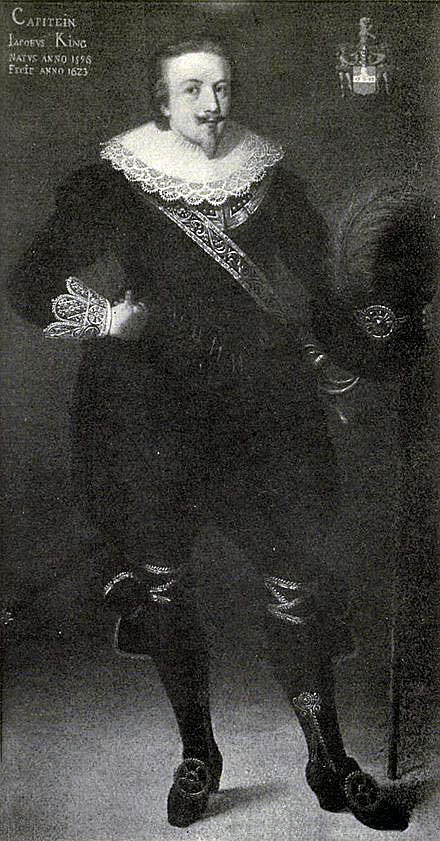
Generals at the Battle of Adwalton Moor: William Cavendish Earl of Newcastle commanded the Royalist Army of the North. His deputy was General James King (later Lord Eythin). General George Goring the lieutenant-general of the Horse was absent from the battle having been captured by Sir Thomas Fairfax at the Battle of Wakefield on 24th May 1643.
Ferdinando Lord Fairfax commanded the Parliamentary Army with his son Sir Thomas Fairfax and Sergeant-Major-General John Gifford as his subordinate commanders.
Size of the armies at the Battle of Adwalton Moor:
The Royalist army comprised some 4,000 Foot and 3,000 Horse and Dragoons. The Royalist army brought to the battle a powerful train of artillery including two demi-cannon nick-named ‘Gog and Magog’.
The Parliamentary army comprised some 6,000 Foot and 1,500 Horse and Dragoons. In addition the Parliamentary army was accompanied by a large crowd of local countrymen, termed ‘clubmen’ and armed largely with agricultural implements.
(see the comments on the sizes of the armies below)
The Royalist Foot was short on firearms with a large proportion of pikemen.
The Parliamentary Foot comprised mainly musketeers.
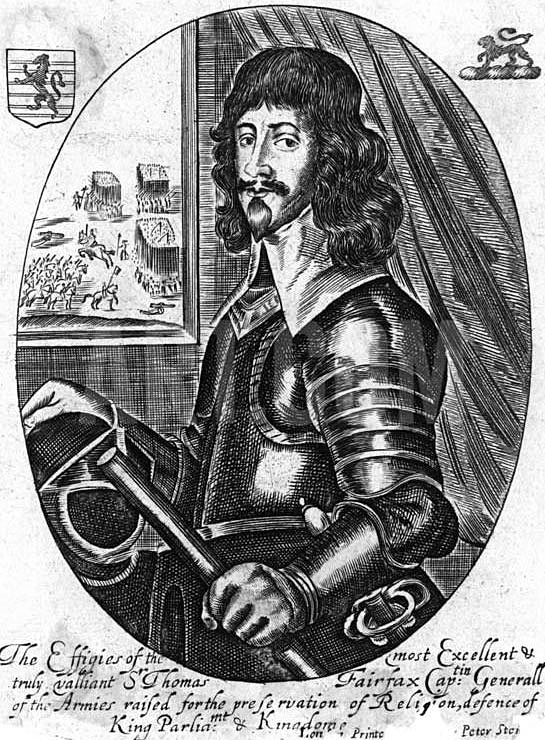
Sir Thomas Fairfax, commander of the Parliamentary right wing at the Battle of Adwalton Moor, 30th June 1643 during the English Civil War
Winner of the Battle of Adwalton Moor: The Royalist army of the Earl of Newcastle.
Uniforms, arms and equipment at the Battle of Adwalton Moor:
See this section in the Battle of Edgehill.
Background to the Battle of Adwalton Moor:
The origins of the English Civil War are dealt with under this section in the Battle of Edgehill.
The disaster to Royalist arms at the Battle of Wakefield caused the loss of a significant number of foot soldiers, the arm in which Royalist armies were notoriously weak and the loss of the Earl of Newcastle’s main ammunition supply, together with the capture of his cavalry commander General George Goring.
The Earl of Newcastle temporarily abandoned his march on Bradford and fell back on York only to renew his advance in mid-June 1643.

Howley Hall: Battle of Adwalton Moor 30th June 1643 during the English Civil War
The first Royalist target was Howley Hall the fortified mansion owned by the Parliamentary supporter Lord Savile and occupied by his kinsman Sir John Savile of Lupset with a Parliamentary garrison.
Howley Hall lies between Batley and Morley in West Yorkshire just to the south of the main Bradford to Wakefield road and had been used by Sir Thomas Fairfax as his assembly point for his highly successful raid on General Goring on 19th May 1643 (see the Battle of Wakefield).
The Royalists captured Howley Hall on 22nd June 1643 and at the end of the month renewed their advance on Bradford approaching by the old Roman Road from Wakefield.
Lord Fairfax and his Parliamentary commanders, his son Sir Thomas Fairfax and Sergeant-Major-General John Gifford took the view that the best strategy was to advance out of Bradford and meet the Royalist army in battle rather than hold Bradford in the face of a siege or storming.
Battle of Adwalton Moor 30th June 1643 during the English Civil War
As a result on 30th June 1643 the Royalist and Parliamentary armies met on the Old Roman Road in a classic encounter battle that took the title of the Battle of Adwalton Moor.
The accounts of each side claim that the opposing side was already drawn up when the battle began. In this the accounts are mistaken. The two armies ‘collided’ while on the march.
It was largely an accident that at the commencement of the battle each side was in country that best suited the makeup of its force: The Parliamentary army heavy in musketeers and ammunition and short on pikemen and mounted troops holding enclosed fields and the Royalists heavy on cavalry and short on musketeers and ammunition on the open moor.

Map of the Battle of Adwalton Moor 30th June 1643 during the English Civil War: map by John Fawkes
Account of the Battle of Adwalton Moor:
The Parliamentary army marched out of Bradford along the Old Roman Road towards Wakefield at around 8am on 30th June 1643.
The Parliamentary army marched in the classic formation of the time: led by the ironically named ‘forlorn hope’, followed by the ‘van’, the main battle and the rearguard.
The Parliamentary troops began to encounter Royalist skirmishers at Wisket Hill, now named Westgate Hill, scattered in fields along the road and in the solitary houses.
Driving the Royalist skirmishers back, the Parliamentary army took up formation in the fields alongside the road to meet the main Royalist army, approaching over the moor at the top of the hill.
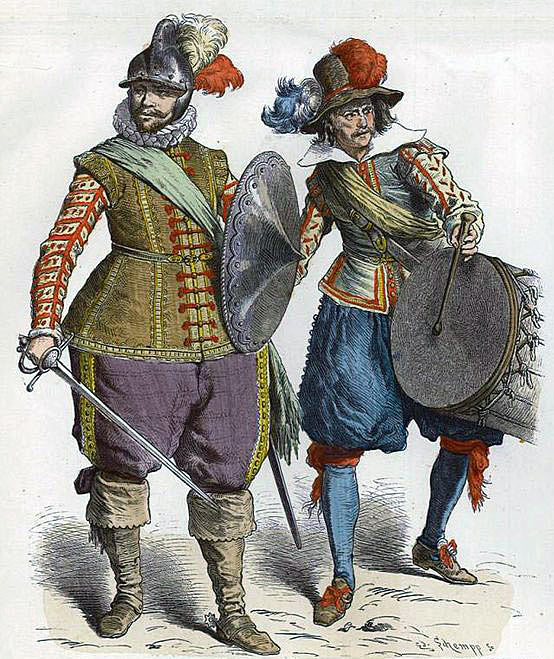
Royalist officer and drummer: Battle of Adwalton Moor 30th June 1643 during the English Civil War
Sir Thomas Fairfax commanded the right wing of the Parliamentary army with 1,000 Foot and 5 troops of Horse (approximately 300 men). Gifford commanded the left wing with around the same size force as Sir Thomas Fairfax, while Lord Fairfax took the rear with a reserve.
As Sir Thomas wrote an account of the battle more is known of the details of his actions.
Sir Thomas Fairfax formed his men, mainly musketeers, in a field or series of fields on the edge of the moor at the top of the hill, the fields surrounded by hedging with entrances through which five or six men abreast could enter. He held his small detachment of Horse in reserve.
The Parliamentary army advanced in battle lines through the enclosed fields driving the Royalist skirmishers back until the edge of the moor was reached. There, the Parliamentary Foot took up positions along the hedge and ditch dividing the enclosed fields from the common moor.
In these fields Sir Thomas was subjected to vigorous attack by ten or twelve troops of Royalist Horse (around 750 men), particularly around the entrance points.
Hedges were a frequently used line of defence for musketeers in the English Civil War, enabling them to fire and reload out of sight without giving the enemy the opportunity to reach them at this vulnerable point in the firing process.
Some of the Royalist Horse forced their way into the field and were dealt with by the Parliamentary Horse. At the end of the first attack the Royalist Horse fell back from Sir Thomas Fairfax’s position, their commander Colonel Howard killed.
On the Parliamentary left wing, Gifford’s men were attacked by the Royalist Foot which they drove back.
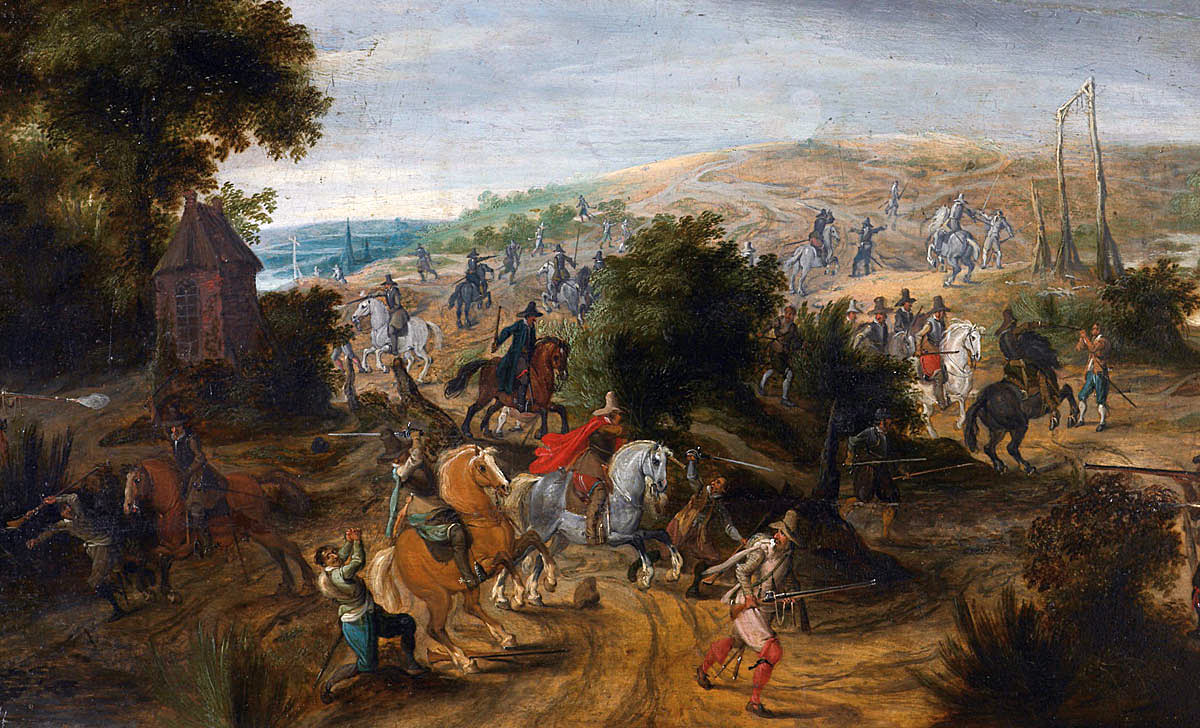
Cavalry action at the time of the English Civil War: Battle of Adwalton Moor 30th June 1643 during the English Civil War: picture by Jean Moust
On the Royalist right wing the Horse were hampered by the presence of a wide area of open cast coal mines or excavations.
On Sir Thomas Fairfax’s right wing thirteen or fourteen troops of Royalist Horse (around 900 men) returned to the attack with some success around the entrance to the field but were again driven off with the loss of their commander, Colonel Herne.

Musketeer with the distinctive ‘Twelve Apostles’ powder bottles: Battle of Adwalton Moor 30th June 1643 during the English Civil War
Following the repulse of this second mounted assault by the Royalists, Sir Thomas Fairfax’s wing rushed forward across the moor towards the Royalist artillery in concert with Gifford left wing which advanced out of the cover of the enclosed fields.
The Royalist artillery opened fire on the advancing Parliamentary troops.
The Royalist army was on the verge of conceding victory and retreating off the battle field when a further attack was made by a contingent of Royalist pikemen which drove back the Parliamentary left wing, while a body of Royalist Horse led by General James King made its way around the northern flank of the Parliamentary army and, penetrating the hedge line, attacked Gifford’s left wing causing a collapse of his troops and a disordered flight back to Bradford.
On the Parliamentary right wing, Sir Thomas Fairfax’s men, unaware of the collapse on the left wing were charged again by the Royalist Horse.
Having again repelled the Royalist Horse, Sir Thomas Fairfax received the order to retreat. By this time the Royalist troops were between his wing and the road to Bradford.
The advance of Sir Thomas Fairfax’s wing brought it to a road called Warren Lane, which crossed the moor and led away to the south. Sir Thomas marched off down Warren Lane and eventually reached Halifax to the south-west, before returning to Bradford.
The rest of Lord Fairfax’s routed army fled back to Bradford.
Battle of Adwalton Moor 30th June 1643 during the English Civil War
Casualties at the Battle of Adwalton Moor:
Differing accounts of the casualties sustained in the battle are given by the various commentators.
A sensible estimate would be that around 500 Parliamentary soldiers were killed and around 1,500 captured, many of them in the pursuit back to Bradford after the collapse of the Parliamentary army. Many more will have dispersed to their homes.
The Royalist side claimed to have lost only twenty killed but a large number wounded.
An appropriate estimate would be 100 killed and 200 wounded.
Follow-up to the Battle of Adwalton Moor:
The Earl of Newcastle brought his army to Bradford the same night as the battle and opened a bombardment of the town the next day.
Within days the Parliamentary garrison attempted to break out. Sir Thomas Fairfax and General Gifford left the town with a party of 50 Horse while the remainder of the garrison surrendered.
Lord Fairfax in the meanwhile tried to hold Leeds for Parliament but the Royalist prisoners escaped from captivity and seized the town. Lord Fairfax moved on to Selby with the remnants of his army. Finally Fairfax marched to Hull where the governor Sir John Hotham had been secured by the inhabitants to prevent his delivery of the town to the Earl of Newcastle.
Sir Thomas Fairfax followed his father to Hull while his wife was sent on by the Earl of Newcastle in his coach.
Anecdotes and traditions from the Battle of Adwalton Moor:
- The Parliamentary authorities put the size of the Royalist Army at the Battle of Adwalton Moor at 10,000 a figure widely adopted in accounts of the battle. The account ascribed to the Earl of Newcastle states of the Parliamentary army: ‘When we had marched two miles or thereabouts we found a great body of men, a greater number of foot than we, and almost all musketeers, and some 20 troops of horse, and had possessed a place called Adderton Moor, and had taken the most advantageous place thereof.’ This account is strong authority for putting the overall size of the Royalist army as greater than the Parliamentary army but not by much and only due to a greater strength in Horse, an imbalance frequently encountered in the armies of the English Civil War.
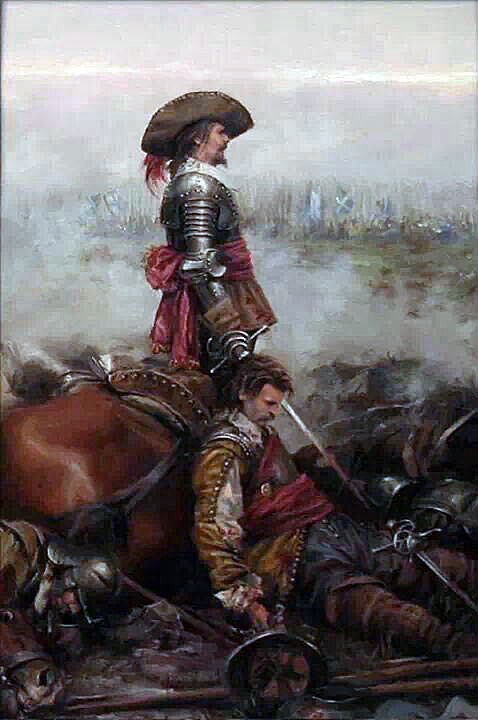
Battle at the time of the English Civil War: Battle of Adwalton Moor 30th June 1643 during the English Civil War
- The Battle of Adwalton Moor is described as an ‘encounter battle’, the two sides meeting while on the move in opposing directions, in contrast to the other three major battles of the English Civil War, Edgehill, Marston Moor and Naseby where each side took up complete positions before the battle began.
- The attack of Royalist pikemen at the crux of the battle was probably made by the Earl of Newcastle’s own regiment led by its lieutenant-colonel Posthumous Kirton. Sir Thomas Fairfax in his account of the battle states that the attack was carried out by ‘one Colonel Skirton, a wild and desperate man’ who asked his general for leave to make the attack.
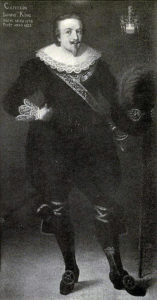
General James King, Royalist deputy commander at the Battle of Adwalton Moor 30th June 1643 during the English Civil War
- Sir Thomas Fairfax records that four Parliamentary troopers stripped the body of the Royalist commander Colonel Herne killed in the second charge on the Parliamentary right wing. A short time later Sir Thomas saw a Royalist cannon ball strike and kill two of the four troopers. Sir Thomas recorded that it was an act of Divine Retribution for their reprehensible behaviour.
- The Royalist deputy commander General James King was a Scots officer of considerable experience and reputation in the Swedish service. King returned to Britain with Queen Henrietta Maria and was appointed deputy to the Earl of Newcastle. King subsequently became Lord Eythin and fought at the Battle of Marston Moor.
References for the Battle of Adwalton Moor:
English Heritage Battlefield Report: Adwalton Moor 1643
Adwalton Moor 1643 by David Johnson
The English Civil War by Peter Young and Richard Holmes
The King’s War by C.V. Wedgwood
History of the Great Rebellion by Clarendon
Cromwell’s Army by CH Firth
British Battles by Grant Volume l
The previous battle in the English Civil War is the Battle of Chalgrove
The next battle in the English Civil War is the Battle of Lansdown Hill
To the English Civil War index
(adsbygoogle = window.adsbygoogle || []).push({});