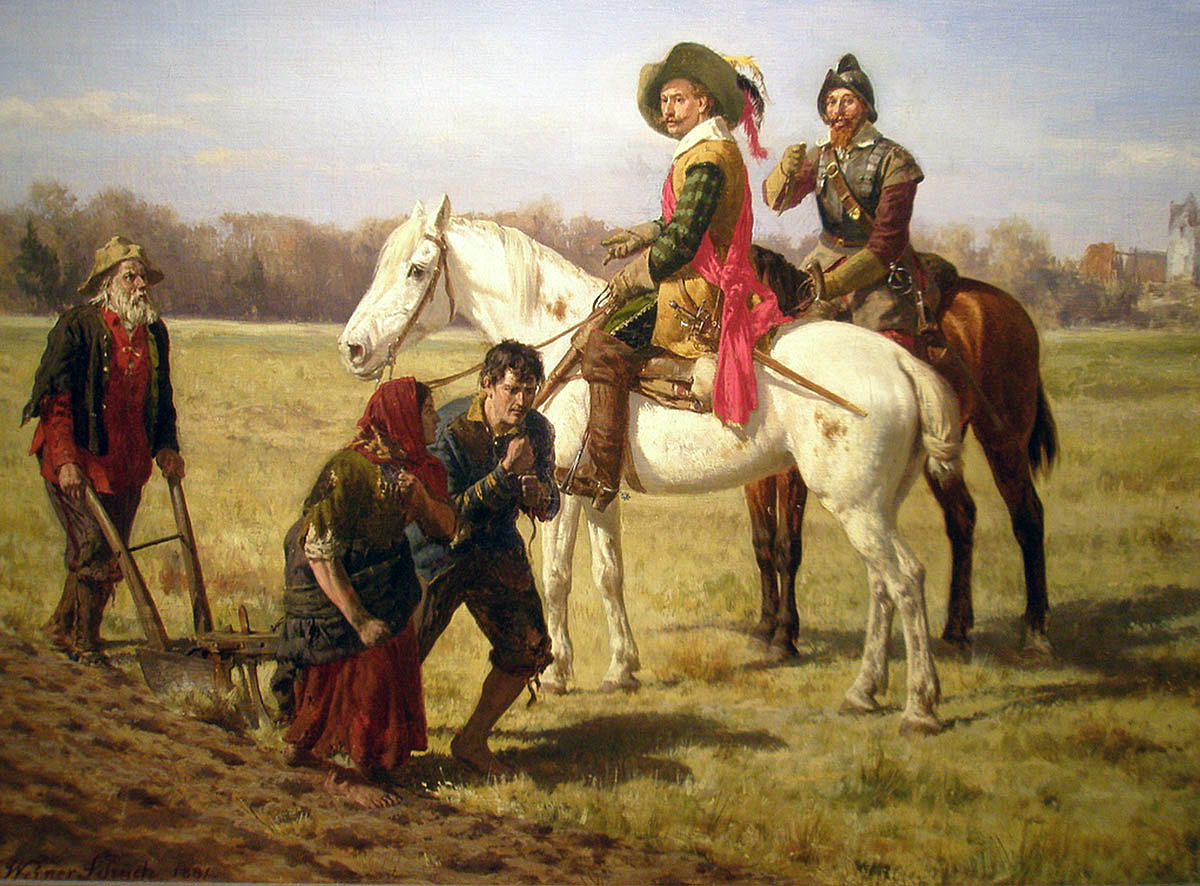
King Charles I’s personal victory over Sir William Waller’s Parliamentary army in Northern Oxfordshire, fought on 29th June 1644
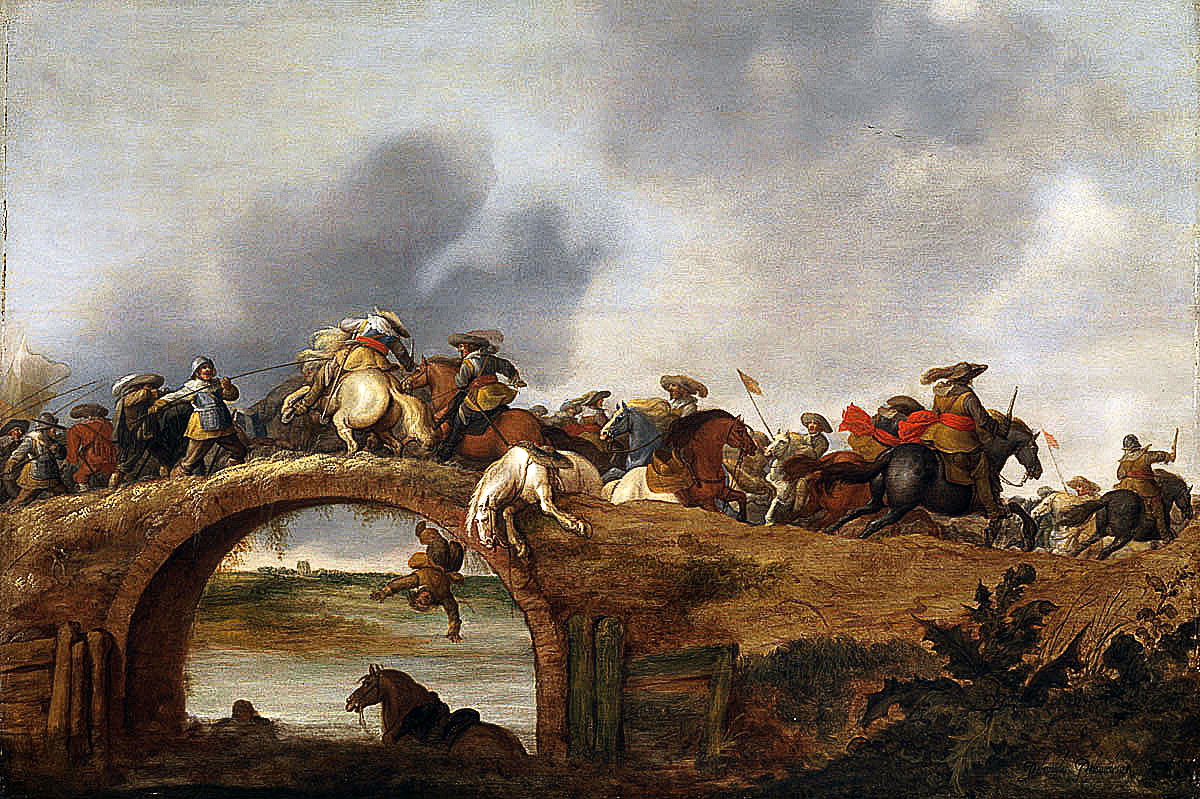
Horse attacking a bridge: Battle of Cropredy Bridge on 29th June 1644 in the English Civil War: picture by Palamedes Palamedesz
The previous battle in the English Civil War is the Battle of Cheriton
The next battle in the English Civil War is the Battle of Marston Moor
To the English Civil War index
Battle: Cropredy Bridge
War: English Civil War
Date of the Battle of Cropredy Bridge: 29th June 1644
Place of the Battle of Cropredy Bridge: to the north of Banbury in Oxfordshire.
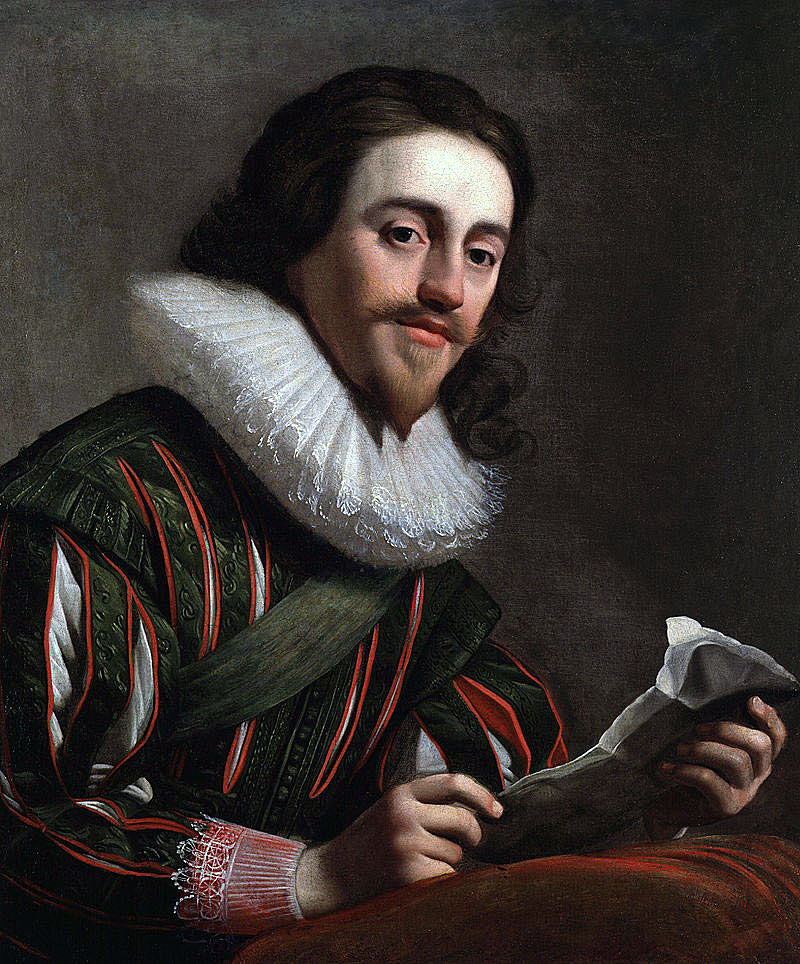
King Charles I, the victor at the Battle of Cropredy Bridge on 29th June 1644 in the English Civil War
Combatants at the Battle of Cropredy Bridge:
The forces of King Charles I against the forces of Parliament.
Commanders at the Battle of Cropredy Bridge: King Charles I commanded the Royalist forces.
Sir William Waller commanded the Parliamentary army.
Size of the armies at the Battle of Cropredy Bridge:
King Charles I’s Royalist army comprised 5,000 Horse and Dragoons and 3,500 Foot. The number of Royalist guns is unknown.
Sir William Waller commanded a force of 5,000 Horse and Dragoons, the same number as the Royalist army, but his Foot numbered 4,000. The number of Parliamentary guns is unknown.
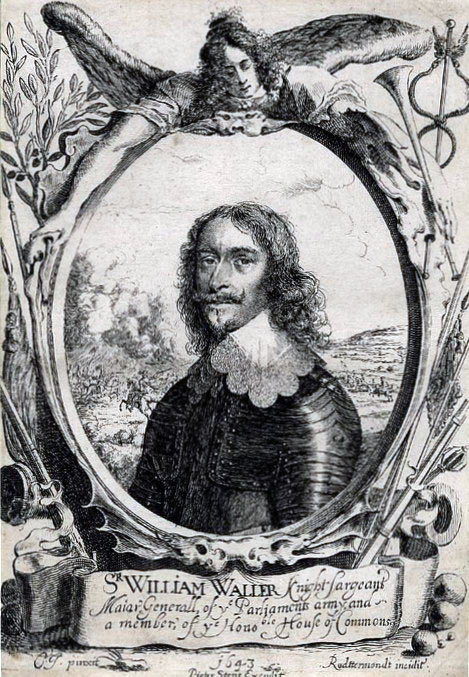
Sir William Waller, Parliamentary commander at the Battle of Cropredy Bridge on 29th June 1644 in the English Civil War: engraving by Cornelius Jansen
Winner of the Battle of Cropredy Bridge: Cropredy Bridge was a Royalist victory.
Uniforms, arms and equipment at the Battle of Cropredy Bridge:
See this section in the Battle of Edgehill.
Background to the Battle of Cropredy Bridge:
The origins of the English Civil War are dealt with under this section in the Battle of Edgehill.
A feature of the English Civil War was the diversity of operations across England with Royalist and Parliamentary forces facing each other in most parts of the country.
In April 1644 Prince Maurice was laying siege to the Dorset port of Lyme, at that time of major importance. Sir William Waller, after his success at Cheriton, had been forced to allow his London troops to return to the capital. He awaited reinforcements and an opportunity to march west from Hampshire and relieve Lyme.
Prince Rupert lay at Shrewsbury preparing to march to the relief of York where a Royalist garrison commanded by the Duke of Newcastle was besieged by a joint Parliamentary-Scots army commanded by Sir Thomas Fairfax and Alexander Leslie, the Earl of Leven.
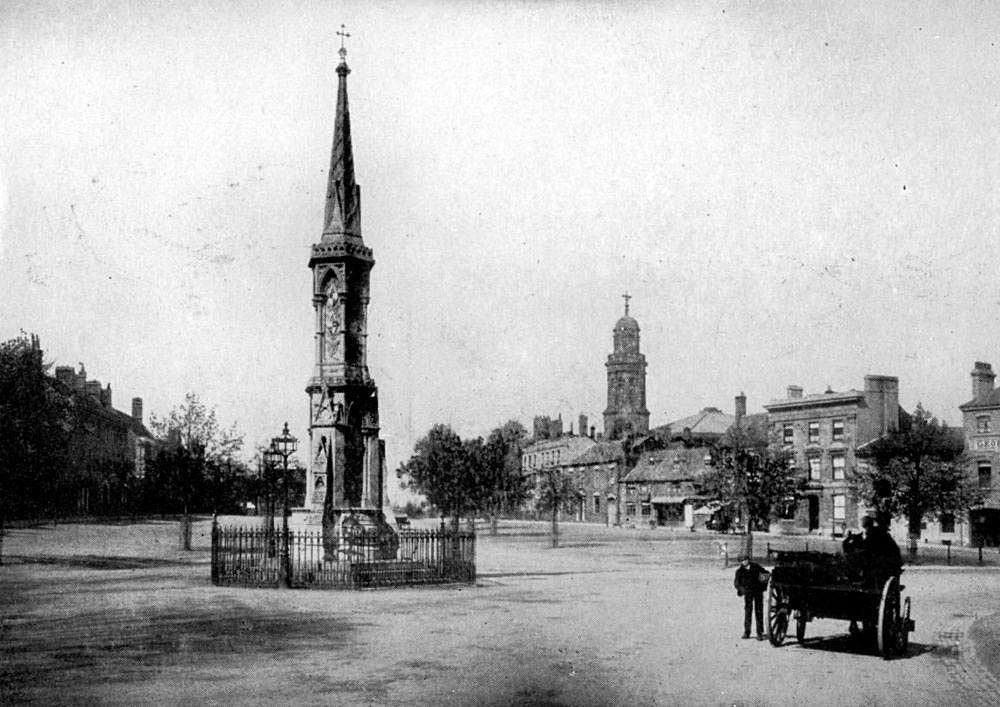
Market Cross in Banbury: Battle of Cropredy Bridge on 29th June 1644 in the English Civil War
Parliament ordered the Earl of Essex and the Earl of Manchester to rendezvous at Aylesbury and with their joint forces to move against King Charles I’s Oxford army, a combination that did not come about.
Inevitably Parliament’s main stronghold and source of support both financially and in terms of men and equipment was London, making the capital city a priority for each side, King Charles I to capture it and Parliament to defend it.
On 10th April 1644 King Charles I assembled his Oxford army at Aldbourne Close near Marlborough in Wiltshire. The number of troops present was around 4,000 horse and dragoons and 5,000 foot.
From Marlborough King Charles I marched to Reading where the fortifications were dismantled and the garrison of 3,000 foot added to the Royalist army.
From Reading the Royalist army marched north to Wantage and then to Abingdon which was also abandoned adding Sir Lewis Dyve’s regiment of Foot to the Royalist field army.
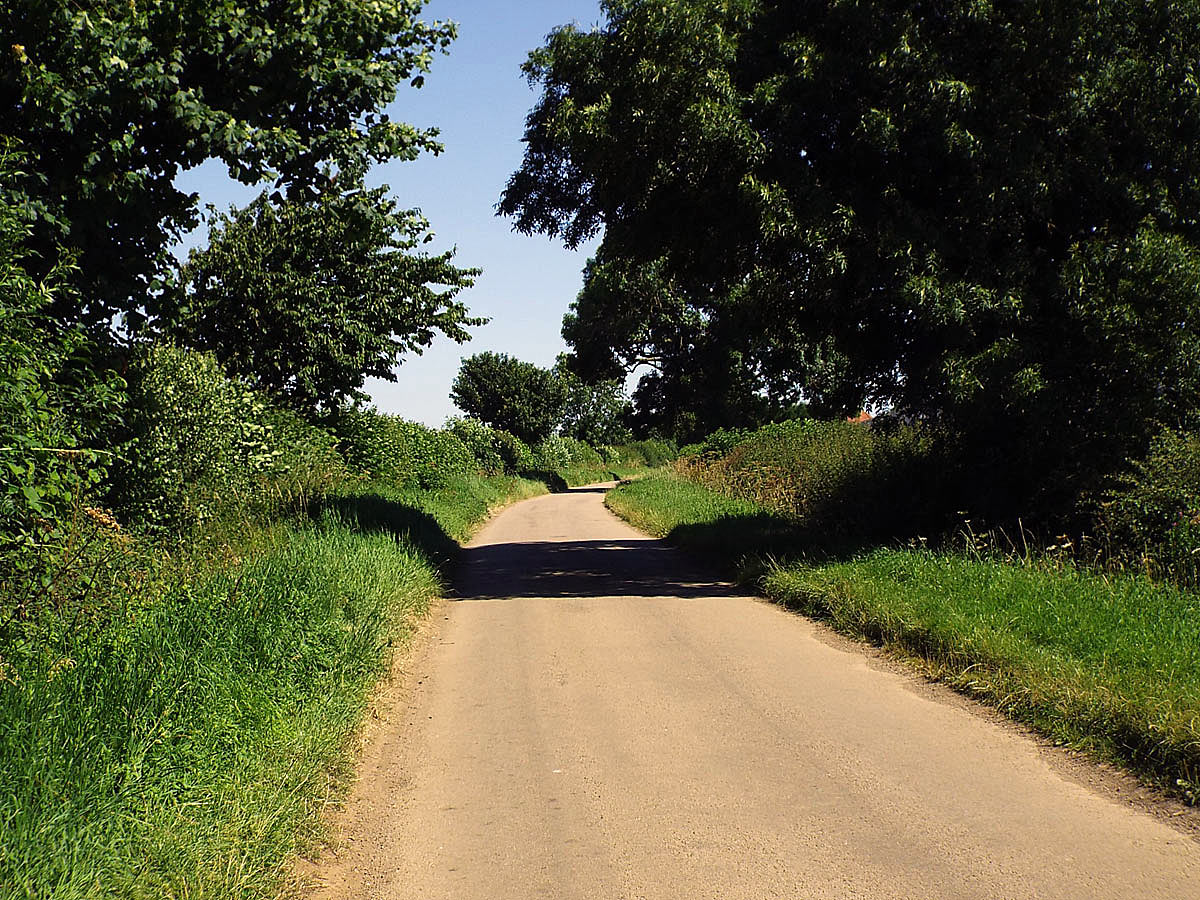
Southam Road on Bourton Hill: Battle of Cropredy Bridge on 29th June 1644 in the English Civil War
On the Parliamentary side the Earl of Essex’s army followed up the Royalist progress, re-occupying Reading and moving on to Henley, while Sir William Waller left Farnham and moved to Bagshot.
There then followed a chase across the western part of the southern Midlands, the end of which saw King Charles I and his army in Worcester and Essex and Waller parting company, Essex to relieve the Dorset port of Lyme on the south coast and Waller to continue in pursuit of the King and his Royalist army.
In mid-June 1644 the King marched his army to Witney where he met the Oxford garrison, absorbed it into his field army and moved on across Oxfordshire.
On 28th June 1644 Sir William Waller was near Banbury with his Parliamentary army while the King was at Brackley in Northamptonshire. Hearing of Waller’s approach, the King marched back to Banbury to seek battle with Waller.
Each side took up a strong position on either side of Banbury and skirmishing began in an attempt to bring the other to action on favourable ground.
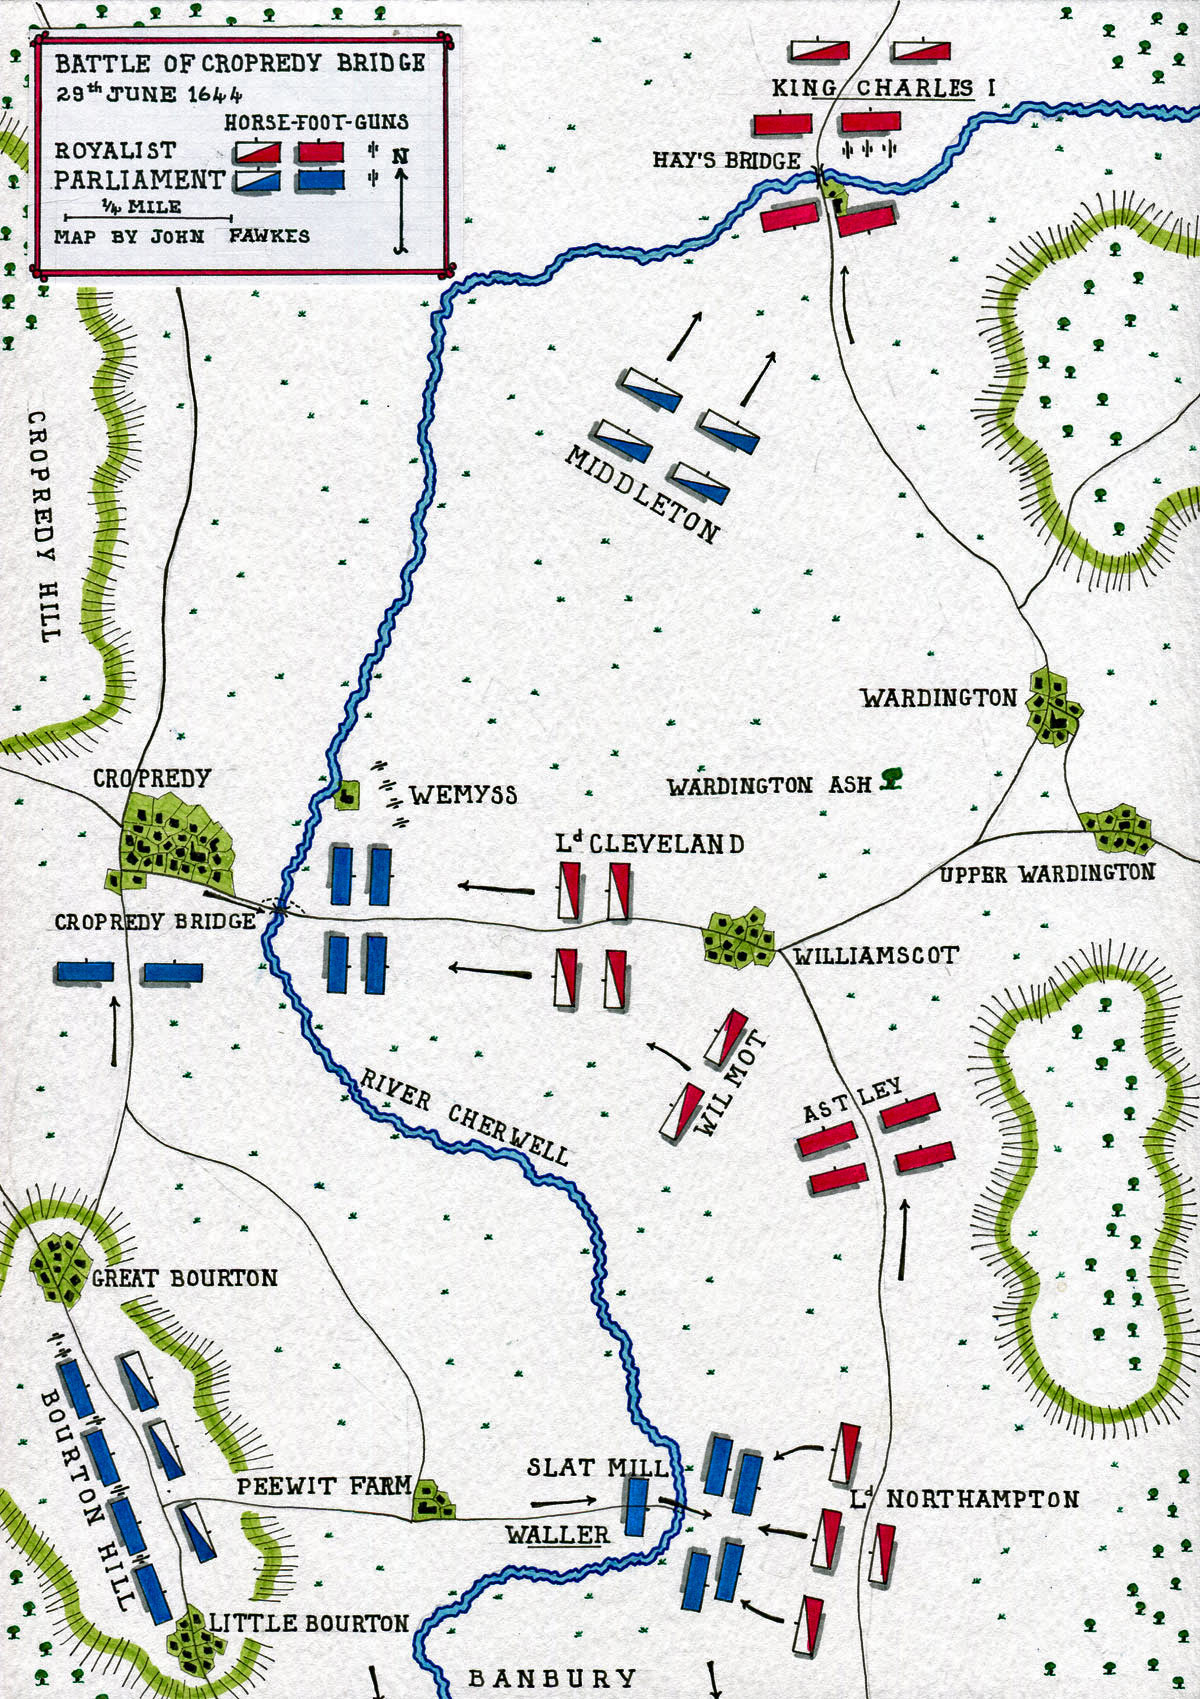
Map of the Battle of Cropredy Bridge on 29th June 1644 in the English Civil War: map by John Fawkes
Account of the Battle of Cropredy Bridge:
After a day in position, at around 8am on 29th June 1644 King Charles I set his army marching away from Banbury on the road towards Daventry to the north, his purpose being, according to Clarendon, to draw Waller away from the favourable position he was occupying .
As the King’s stated intention was to bring Waller to battle it is far from clear what he proposed to achieve by marching away from him.
Soon afterwards Sir William Waller’s army set off following the Royalists by marching north along the road to the west of the Cherwell river which led to Southam. The two armies were marching north on parallel roads.
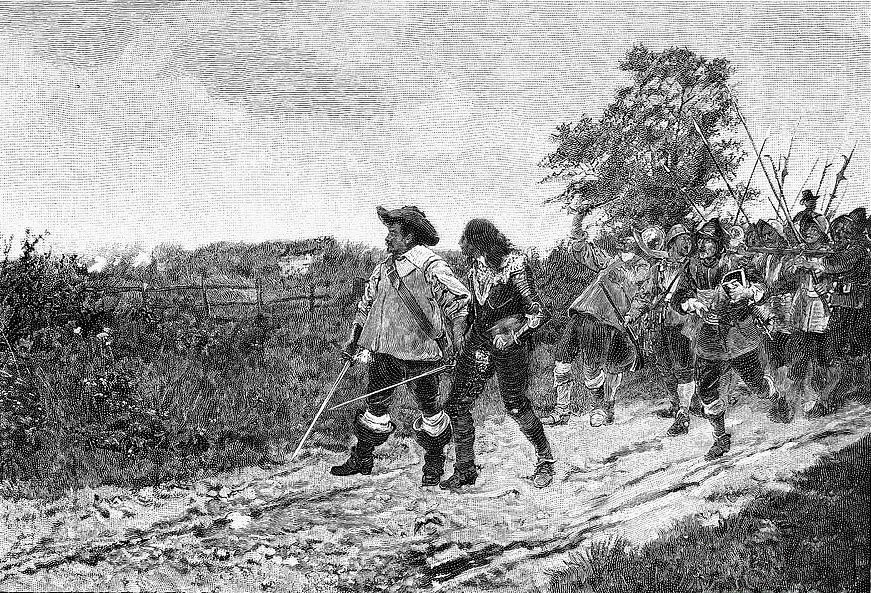
The Royalist advance guard was commanded by the Earl of Brentford (newly elevated from the title of Lord Forth). The King led the main army. The cavalry brigades of Lord Cleveland and Lord Northampton with 1,000 Foot commanded by Colonel Anthony Thelwall formed the rearguard.
Waller reached Bourton Hill, on which are Little and Great Bourton villages, three miles to the north of Banbury. From this vantage point Waller could see the Royalist army on the far side of the River Cherwell approaching a point level with Cropredy.
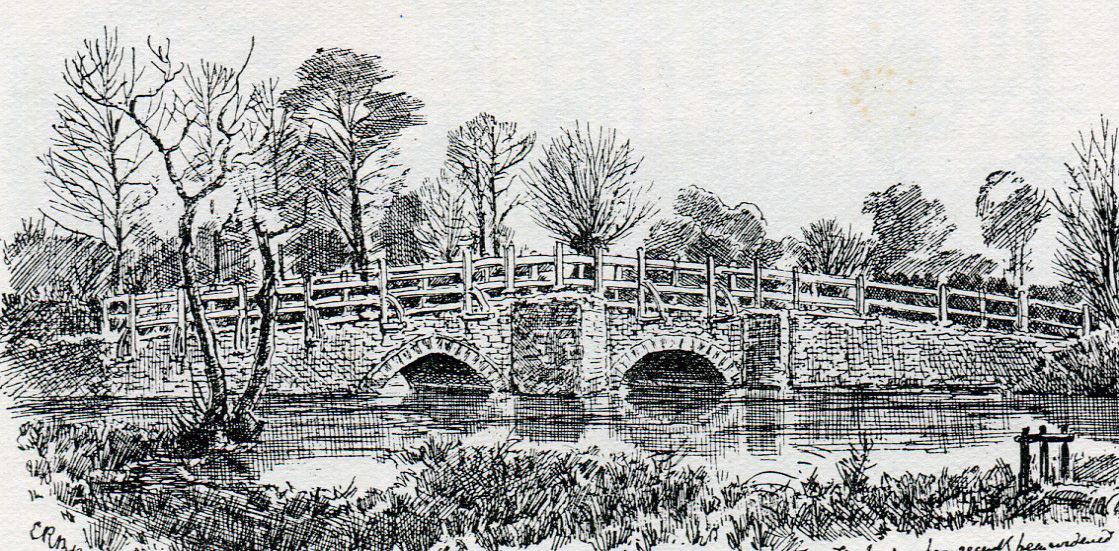
Cropredy Bridge: Battle of Cropredy Bridge on 29th June 1644 in the English Civil War: drawing by C.R.B. Barrett
The Cherwell could be crossed in the area at three points; a ford at Slat Mill immediately to the east of the Bourton villages beyond Peewit Farm; Cropredy Bridge and ford to the east of Cropredy carrying the road joining the two main roads to Southam and Daventry; and Hay’s Bridge to the north east of Cropredy on the Daventry road.
In order to secure his flank King Charles I detached a party of Royalist Dragoons to hold the Cropredy Bridge and Ford until his army had passed.
At about the same time the Royalist advance guard was ordered to press on and cross Hay’s Bridge to intercept a force of Parliamentary Horse that was reported to be approaching from the north with the intention of joining Waller’s army.
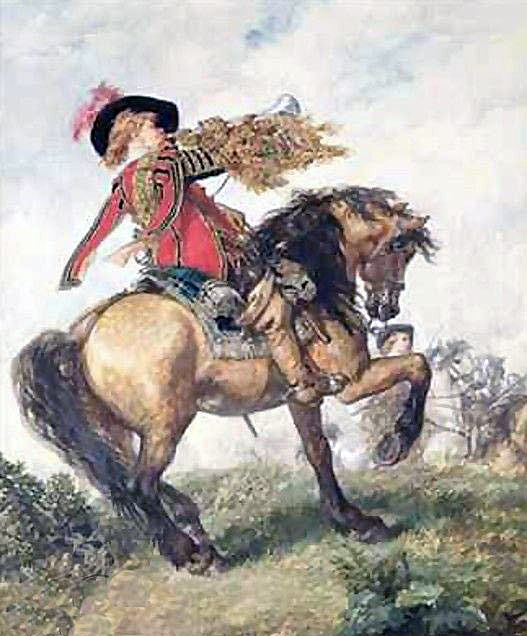
King’s Trumpeter: Battle of Cropredy Bridge on 29th June 1644 in the English Civil War: picture by Sir John Gilbert
The effect of the King’s order was to speed up the rate of march of the advance guard and the main body. The rearguard was unaware of the change and continued at the previous pace so that a gap opened between it and the main body.
From his vantage point on Bourton Hill Sir William Waller observed the gap opening between the rear and main bodies of the King’s army and resolved to cut off the Royalist rearguard.
At around 11am Waller moved with 1,000 musketeers to Slat Mill ford and dispatched Lieutenant General John Middleton with Sir Arthur Heselrige’s Regiment of Cuirassiers, Colonel John Vandruske’s Regiment of Horse and nine companies of Foot to Cropredy.
Middleton’s Horse dispersed the Royalist Dragoons holding Cropredy Bridge crossed the Cherwell and attacked the rear of the Royalist main body pursuing it up the Daventry road as far as Hay’s Bridge where they were finally checked by musketeers positioned in the road behind an upturned cart.
At the rear of the Royalist army Waller was across Slat Mill Ford when he was fiercely attacked by Lord Northampton’s four regiments of Horse and the Parliamentary musketeers driven back across the Cherwell River.
The other brigade of the Royalist rearguard, Lord Cleveland’s, did not wait for orders but charged the Parliamentary Foot that had crossed at Cropredy as part of Middleton’s force and threw them into disorder.
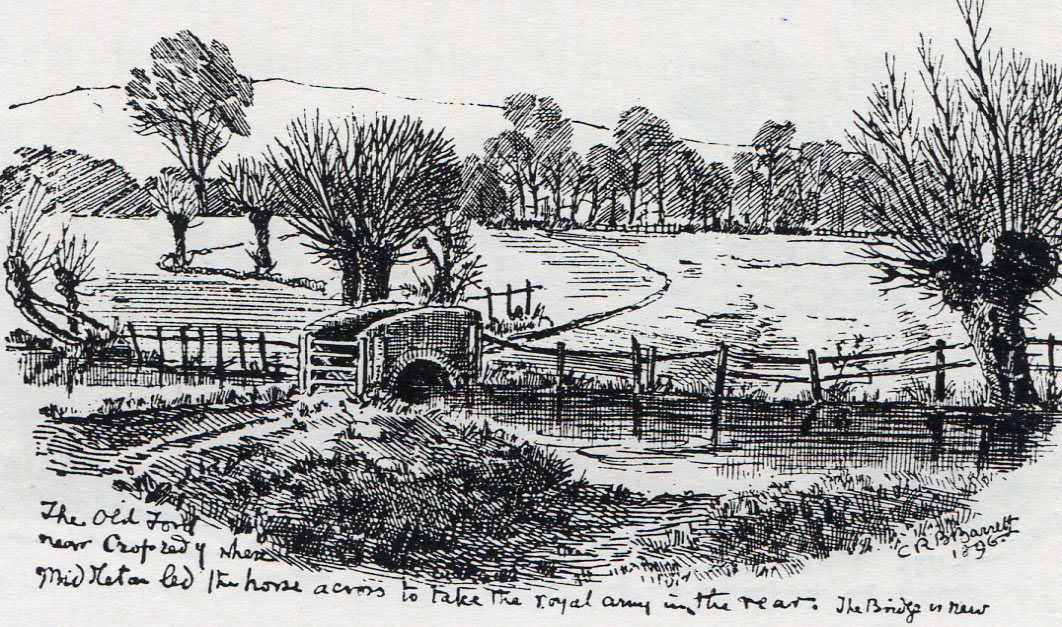
Old Ford at Cropredy Bridge: Battle of Cropredy Bridge on 29th June 1644 in the English Civil War: drawing by C.R.B. Barrett
Cleveland rallied his Horse and made a stand near an ash tree where the King had earlier dined.
The advance guard and the main body of the Royalist army had halted on the north side of the Hay’s Bridge crossing point.
Lord Bernard Stuart with the King’s Life Guard re-crossed the river and attacked Middleton’s regiments of Horse, which had returned to counter-attack Lord Cleveland in flank, driving them back to Cropredy Bridge.
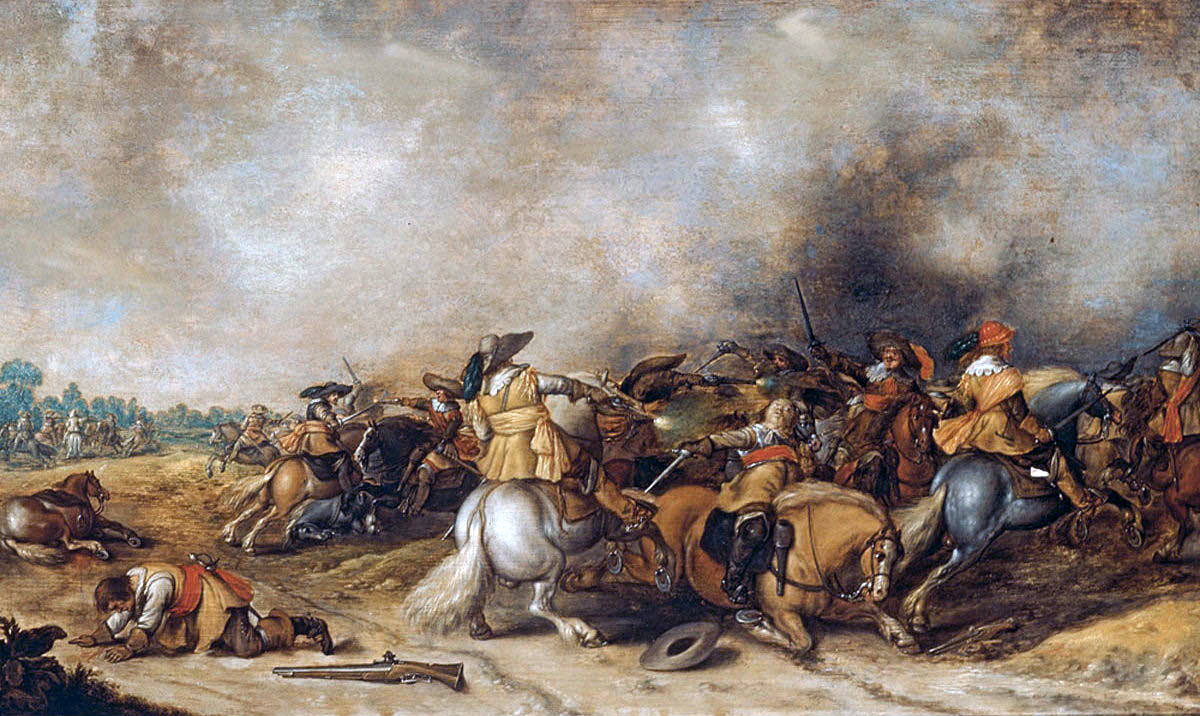
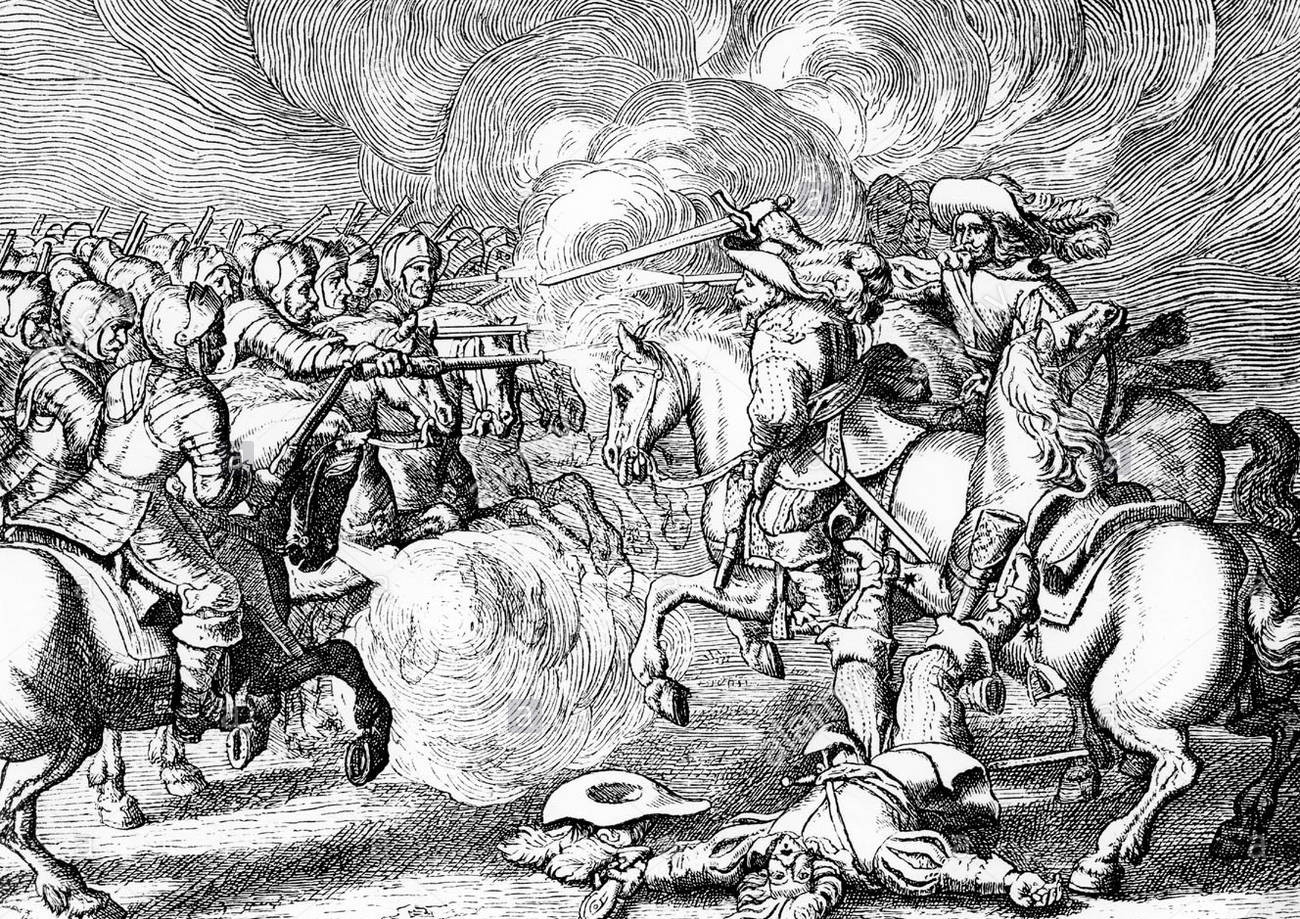
Cavalry Action at the time of the English Civil War: Battle of Cropredy Bridge on 29th June 1644 in the English Civil War: picture by Palamedes Palamedesz
Lord Cleveland resumed the attack on the Parliamentary troops gathered at the bridge while Lord Wilmot attacked them in flank.
The remnants of General Middleton’s Horse and Foot was driven back across the Cherwell into Cropredy, while a force of Parliamentary artillery comprising fourteen guns and the commander Colonel Wemyss was overrun and captured on the east side of the river by the triumphant Royalist Horse.
The main Royalist army had re-crossed the Cherwell at Hay’s Bridge and now assembled in the village of Williamscot on the Cropredy road.
Battle of Cropredy Bridge on 29th June 1644 in the English Civil War
Waller withdrew his troops to Bourton Hill leaving the crossings manned by Dragoons and Foot where they were subjected to a full attack by the Royalist army.
The Tower Hamlets Regiment of the London Trained Bands and the Kentish Regiment supported by two small drake canon held Cropredy and repelled the attack.
At Slat Mill Ford the Royalists crossed the Cherwell pushing back the Parliamentary Dragoons.
Bourton Hill: Battle of Cropredy Bridge on 29th June 1644 in the English Civil War
During these two attacks the Royalist guns fired a barrage at the Parliamentary positions on Bourton Hill.
The Royalist guns now moved across Slat Mill Ford and opened a further fire on the Parliamentary positions.
Towards the end of the day’s fighting King Charles I sent a message to Sir William Waller inviting him and his army to submit and return to their allegiance to the Crown. Waller replied that he had no authority to negotiate on behalf of Parliament.
The Royalist army remained in position during the next day, but on the following day receiving a report that Major General Browne had arrived in Buckingham with 4,500 Parliamentary troops and was marching to join Sir William Waller, the Royalist army left the severely mauled Parliamentary army on the battlefield and marched westwards towards Evesham.
Battle of Cropredy Bridge on 29th June 1644 in the English Civil War
Casualties at the Battle of Cropredy Bridge:
Royalist casualties in the battle were slight. Colonels Sir William Boteler and Sir William Clarke of Lord Cleveland’s brigade were killed in his second charge. Probably 30 to 40 Royalist soldiers were killed. Some 70 Royalist soldiers were captured. A proportionate number were wounded.
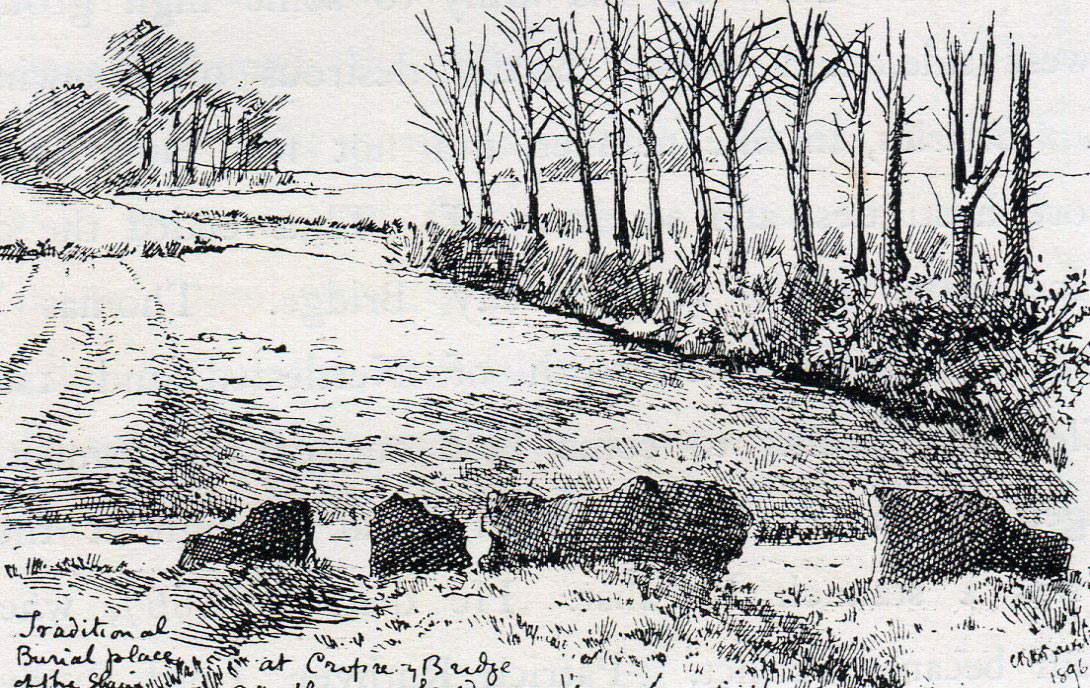
Burial ground after the battle: Battle of Cropredy Bridge on 29th June 1644 in the English Civil War: drawing by C.R.B. Barrett
Sir William Waller’s Parliamentary army lost around 700 men, many of them deserting and going home. Most of the Parliamentary gunners were killed or captured. Colonel Wemyss, commanding Waller’s artillery was captured. Several lieutenant colonels were killed including James Baker of Sir William Waller’s own regiment.
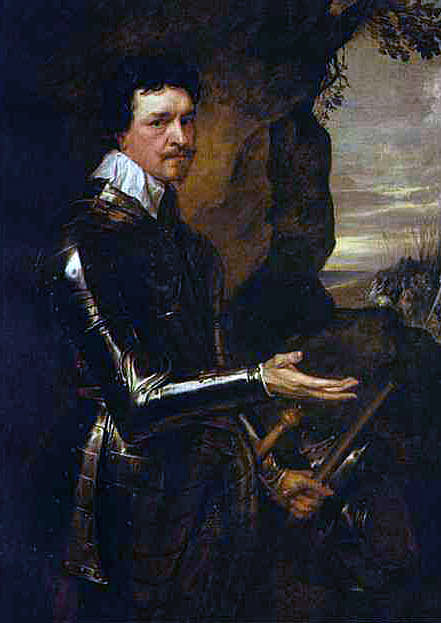
Thomas Wentworth, 1st Earl of Cleveland, Royalist cavalry commander at the Battle of Cropredy Bridge on 29th June 1644 in the English Civil War
Follow-up to the Battle of Cropredy Bridge:
Waller’s army was wrecked by the defeat. Most of the London Trained Bands left and made their way home. Major-General Browne’s army was equally mutinous. Waller left the army at Abingdon and travelled to London where he made the recommendation that a dedicated army must be formed, free of the idiosyncrasies inherent in the terms of service of the Trained Bands. This recommendation led finally to the formation of the New Model Army.
King Charles I marched west with his Royalist army. On 12th July 1644 King Charles I received the dispatch from Prince Rupert reporting his overwhelming defeat at Marston Moor outside York.
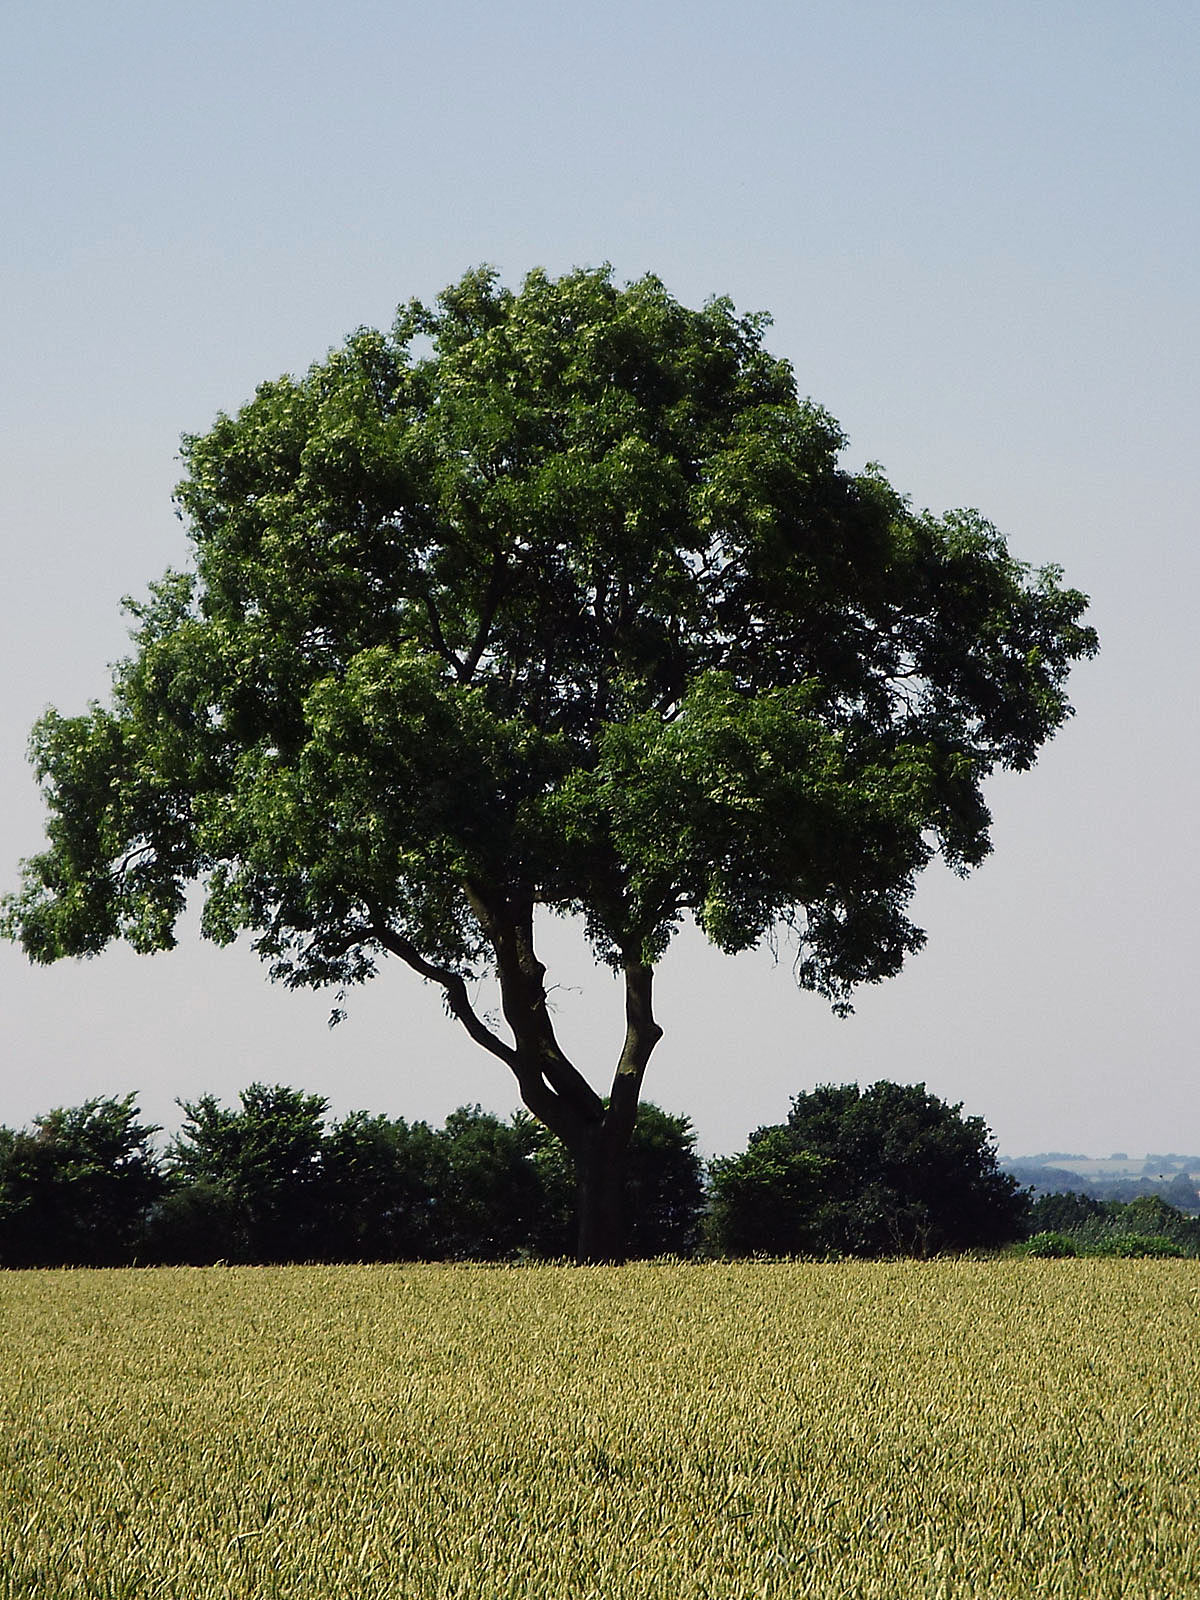
The Wardington Ash: Battle of Cropredy Bridge on 29th June 1644 in the English Civil War
Anecdotes and traditions from the Battle of Cropredy Bridge:
- The Earl of Cleveland rallied his brigade of Horse after his first successful charge at Cropredy Bridge around an ash tree, where King Charles I had eaten dinner as his army marched up the Daventry road, passing the turning to Cropredy. This tree became known as the ‘Wardington Ash’ and has been replanted several times over the intervening centuries. Local tradition claims that the King climbed the tree to check on the Parliamentary Army marching on the far side of the River Cherwell.
- Clarendon describes the Earl of Cleveland in these terms: ‘a man of signal courage, and an excellent officer upon any bold enterprise’.
- The Parliamentary artillery commander captured at the Battle of Cropredy Bridge was Colonel James Wemyss, a Scotsman. Wemyss had been King Charles I’s master gunner before the Civil War. He was brought before the king, who confronted him over his treachery. Wemyss said ‘my heart was always with your Majesty’. The King attempted to persuade Wemyss to accept the post of master gunner in his army but without success. On the intervention of the Earl of Essex, Sir William Waller and other senior Parliamentary officers Wemyss was exchanged after some months in Royalist captivity.
Cuirassiers attacking unarmoured Horse: Sir Arthur Heselrige’s Regiment of Cuirassiers was known as the ‘London Lobsters’; Battle of Cropredy Bridge 29th June 1644 in the English Civil War
- Sir Arthur Heselrige’s Regiment of Cuirassiers were known as the ‘London Lobsters’ due to their extensive protective armour. The Lobsters had already fought for Parliament at the Battle of Lansdown Hill, the Battle of Roundway Down and the Battle of Cheriton.
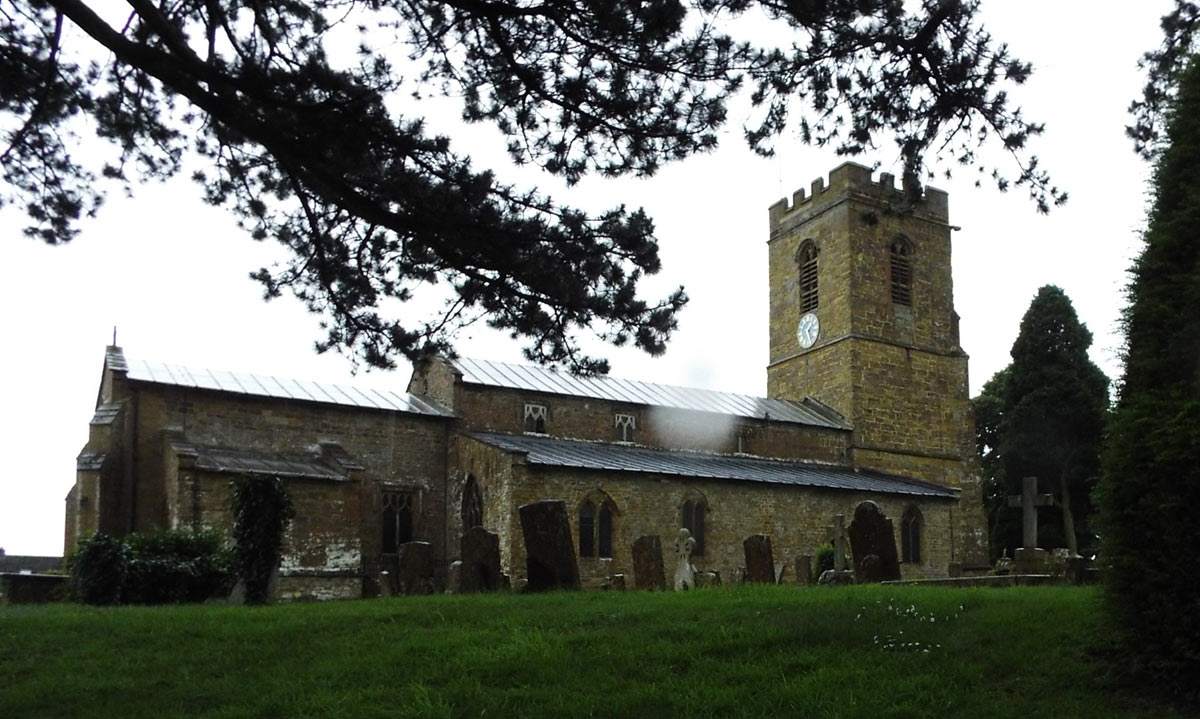
Wardington Church: Battle of Cropredy Bridge on 29th June 1644 in the English Civil War
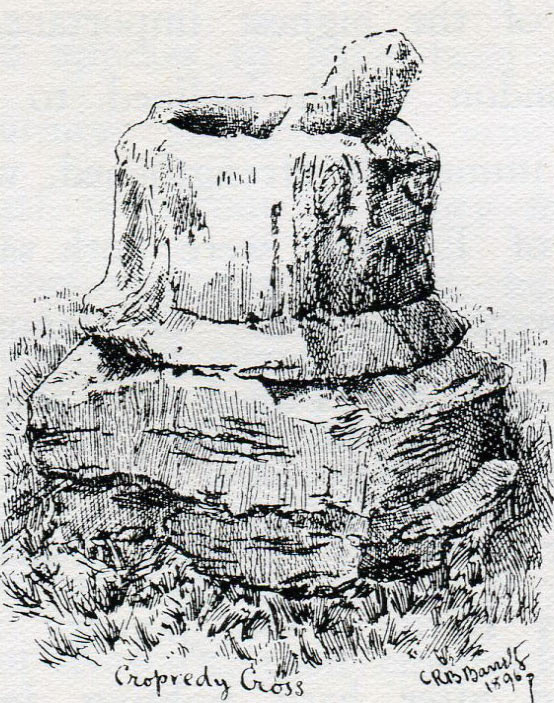
Cropredy Cross: Battle of Cropredy Bridge on 29th June 1644 in the English Civil War: drawing by C.R.B. Barrett
References for the Battle of Cropredy Bridge:
The Battle of Cropredy Bridge by Robert Morris
The English Civil War by Peter Young and Richard Holmes
History of the Great Rebellion by Clarendon
Cromwell’s Army by CH Firth
British Battles by Grant Volume I
The previous battle in the English Civil War is the Battle of Cheriton
The next battle in the English Civil War is the Battle of Marston Moor
To the English Civil War index