The iconic defence of the mission station in Natal, on 22nd January 1879, by a small force of British and colonial troops; winning a record number of Victoria Crosses and inspiring Victorian Britain
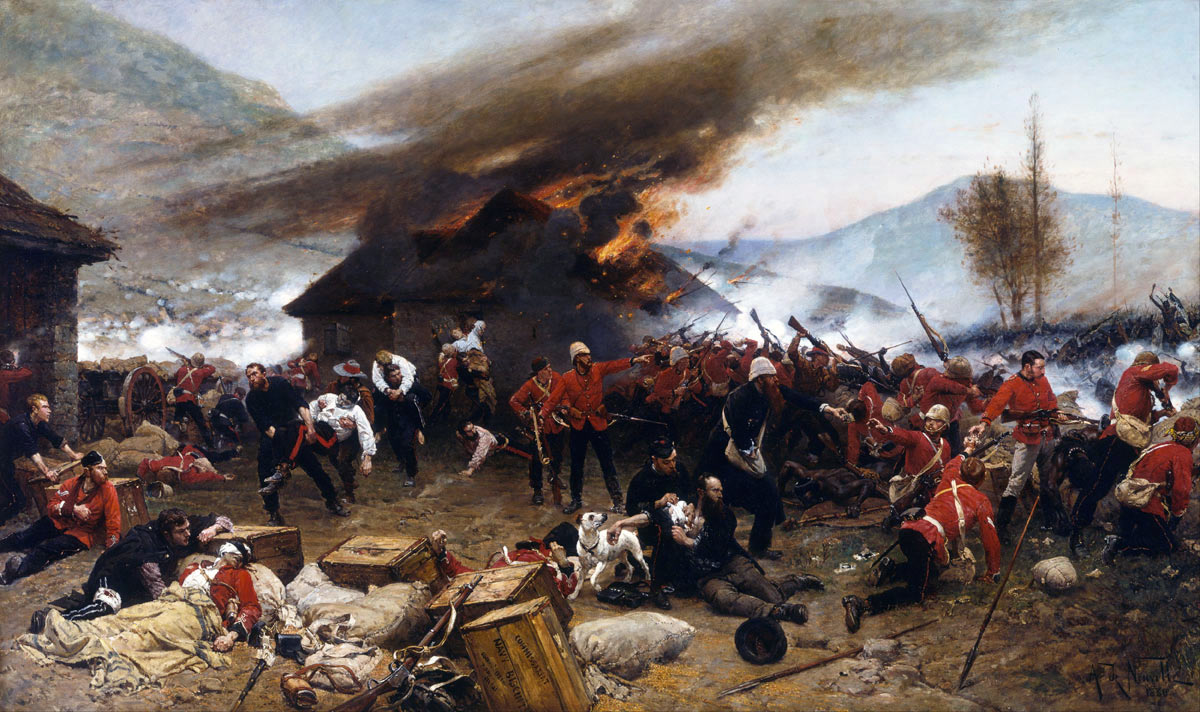
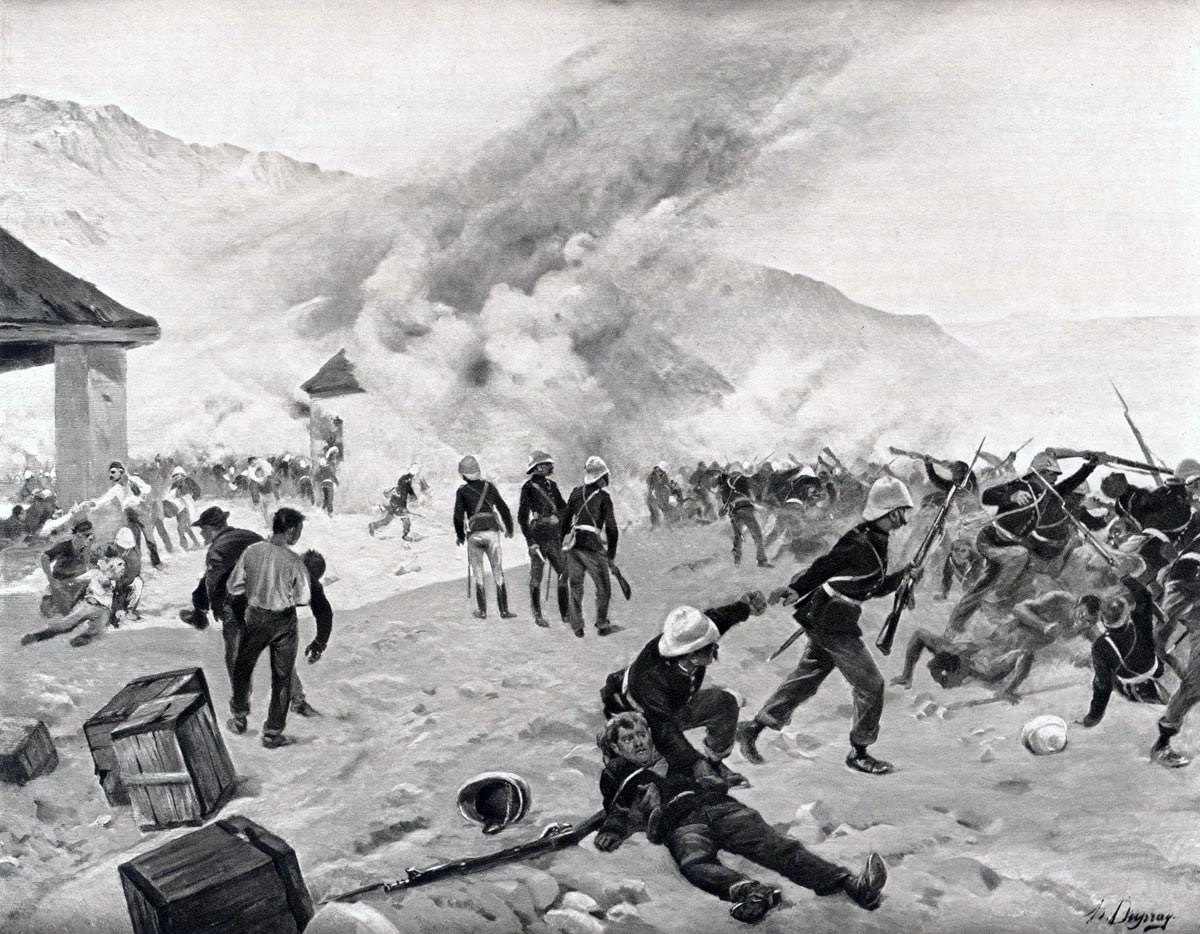
Defence of Rorke’s Drift on 22nd January 1879 in the Zulu War: picture by Alphonse de Neuville
The previous battle of the Zulu War is the Battle of Isandlwana
The next battle of the Zulu War is the Battle of Khambula
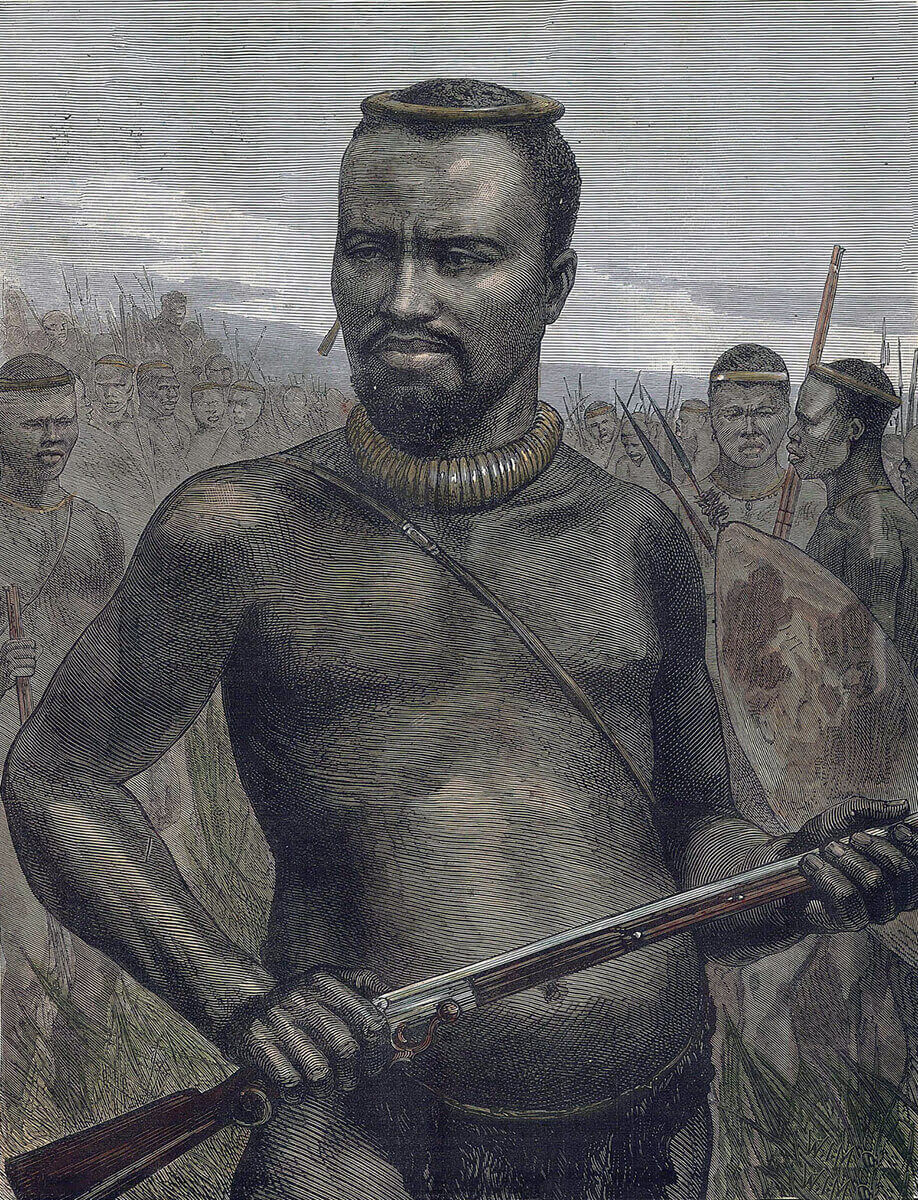
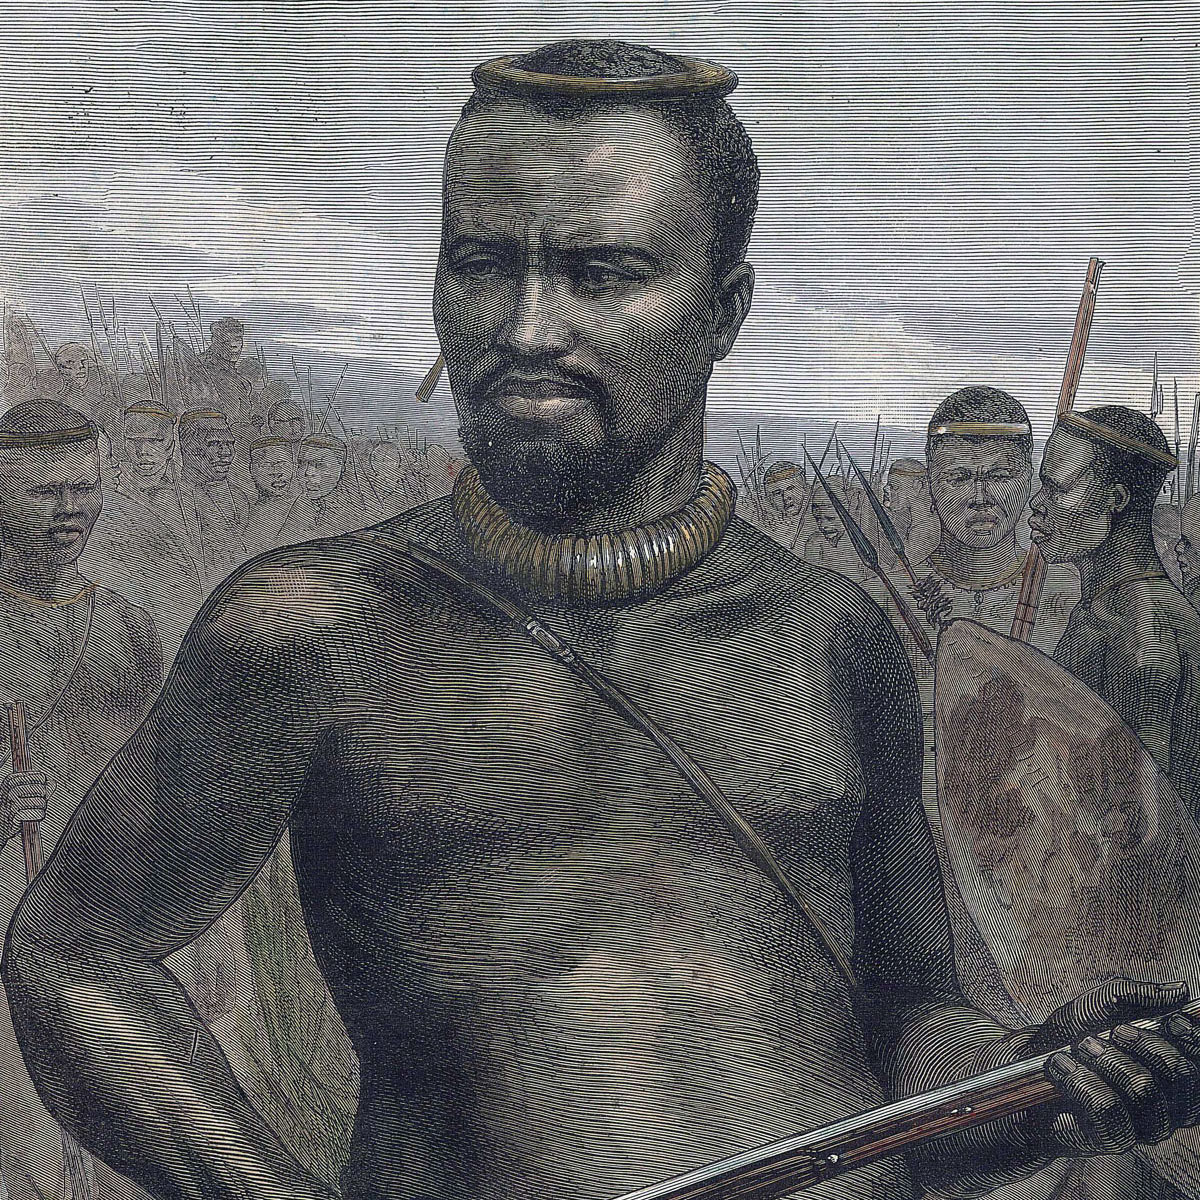
Prince Dabulamanzi kaMapande, Zulu commander at the Battle of Rorke’s Drift on 22nd January 1879 in the Zulu War
Battle: Siege of Rorke’s Drift
War of the Battle of Rorke’s Drift: Zulu War
Date of the Battle of Rorke’s Drift: 22nd January 1879
Place of the Battle of Rorke’s Drift: on the bank of the Buffalo River in Natal Province, South Africa
Combatants at the Battle of Rorke’s Drift: British infantry with Natal irregulars against Zulu warriors.
Commanders at the Battle of Rorke’s Drift: The British garrison was commanded by Lieutenant John Chard, Royal Engineers and Lieutenant Gonville Bromhead of the 24th Foot. The Zulus were commanded by Prince Dabulamanzi kaMapande.
Size of the armies at the Battle of Rorke’s Drift: 139 British troops against about 4,500 Zulus.
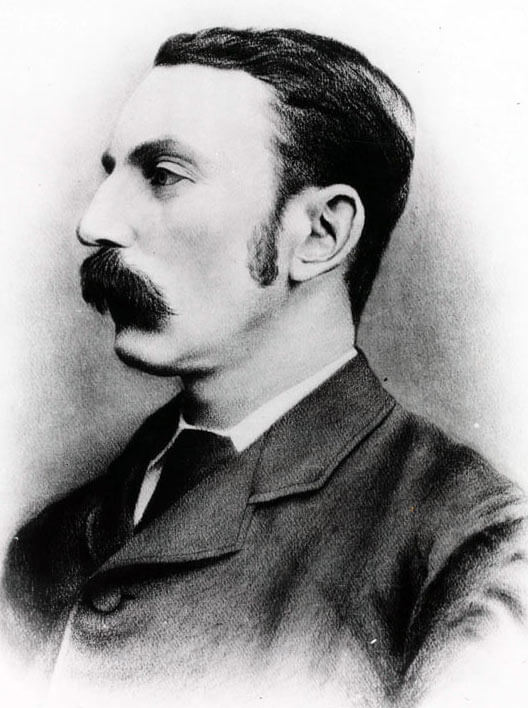
Lieutenant John Chard, Royal Engineers, in command at the Battle of Rorke’s Drift on 22nd January 1879 in the Zulu War
Uniforms, arms and equipment at the Battle of Rorke’s Drift:
The Zulu warriors were formed in regiments by age, their standard equipment the shield and the stabbing spear. Cetshwayo, the Zulu King, fearing British aggression took pains to purchase firearms wherever they could be bought. By the outbreak of war, the Zulus had tens of thousands of muskets and rifles, but of a poor standard, and the Zulus were ill-trained in their use. The Zulus captured some 1,000 Martini Henry breech loading rifles and a large amount of ammunition at the Battle of Isandlwana, earlier the same day. Some of these rifles were used at Rorke’s Drift. All the British casualties, few though they were, were shot rather than stabbed.
The regular British infantry were equipped with the breach loading single shot Martini-Henry rifle and bayonet. The British infantry wore red tunics, white solar topee helmets and dark blue trousers, with red piping down the side. The irregular mounted units wore blue tunics and slouch hats.
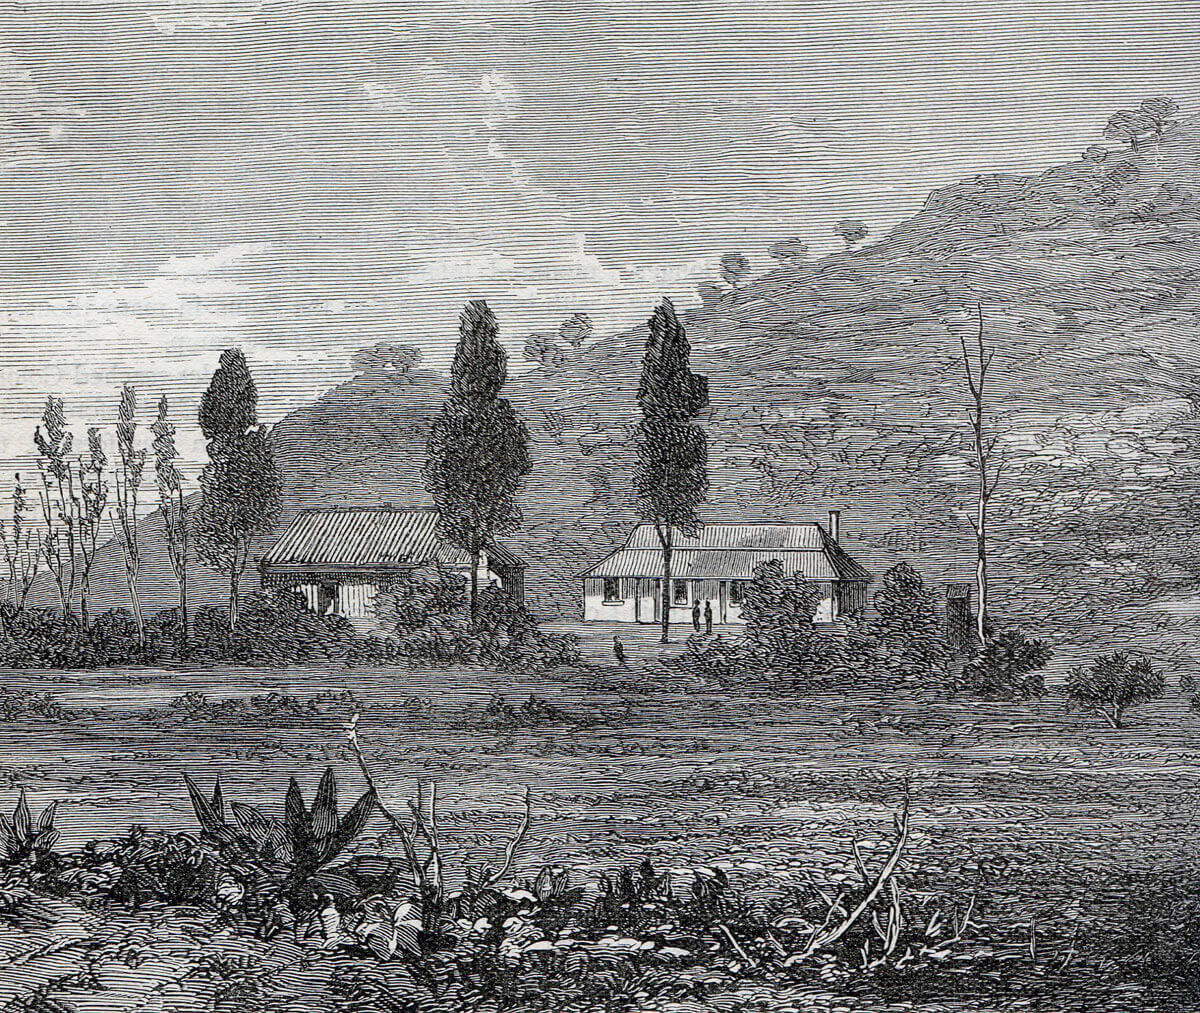
Rorke’s Drift Mission Station before the Zulu attack: Battle of Rorke’s Drift on 22nd January 1879 in the Zulu War
Winner of the Battle of Rorke’s Drift: The British.
British Regiments at the Battle of Rorke’s Drift:
B company, 2nd Battalion, 24th Foot: later the South Wales Borderers and now the Royal Welsh.
Men of the Royal Artillery, Royal Engineers, Army Service Corps, Commissariat and Medical Corps.
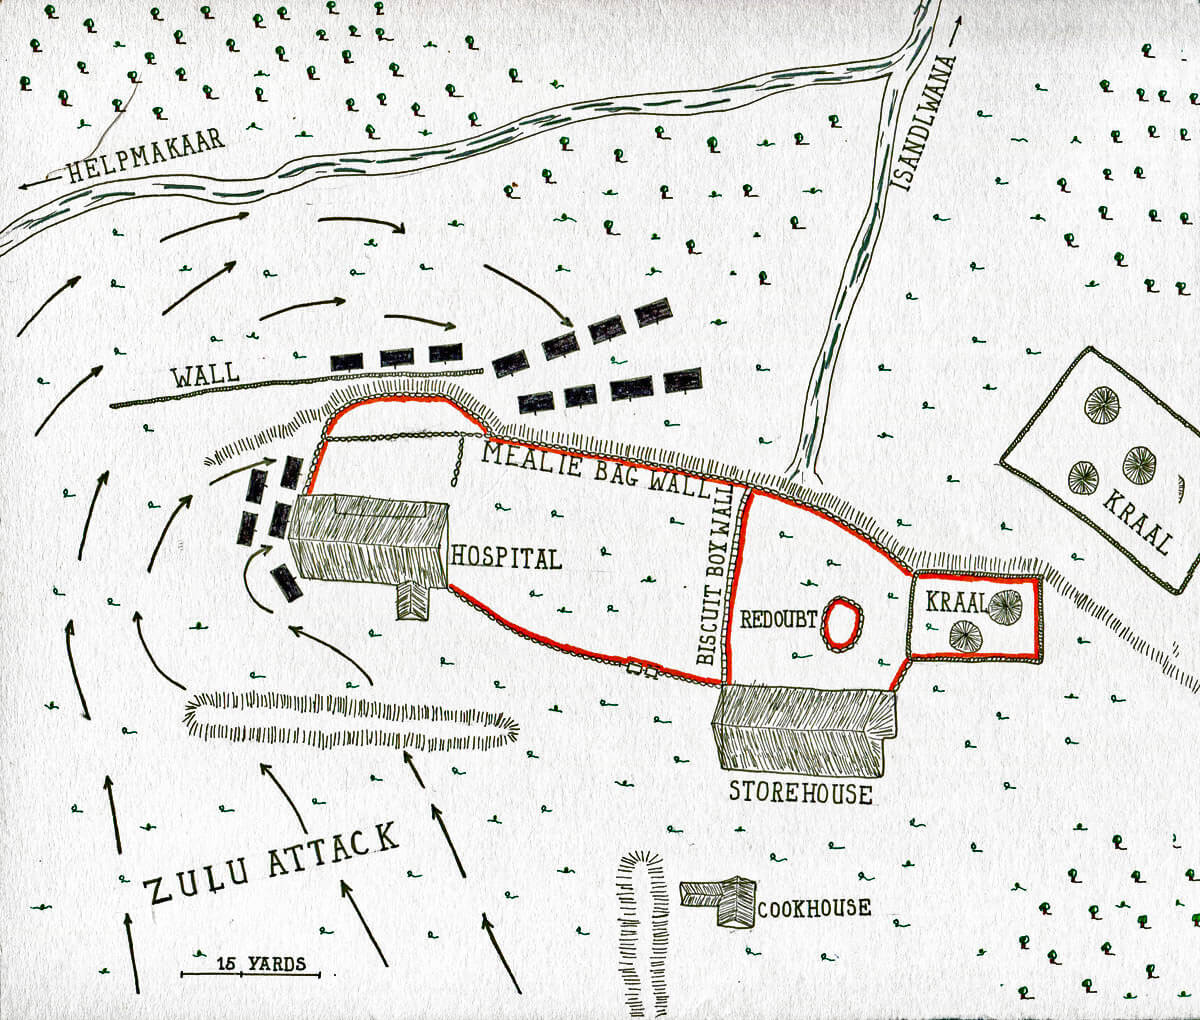
Map of the Battle of Rorke’s Drift on 22nd January 1879 in the Zulu War: map by John Fawkes
Account of the Battle of Rorke’s Drift:
Rorke’s Drift is an iconic battle for Britain. After the disastrous and apparently inexplicable slaughter of the 1st Battalion, the 24th Foot at the Battle of Isandlwana, Bromhead’s B Company, 2nd Battalion of the same regiment, with their colleagues, restored the prestige of British arms by their successful defence of the mission station.
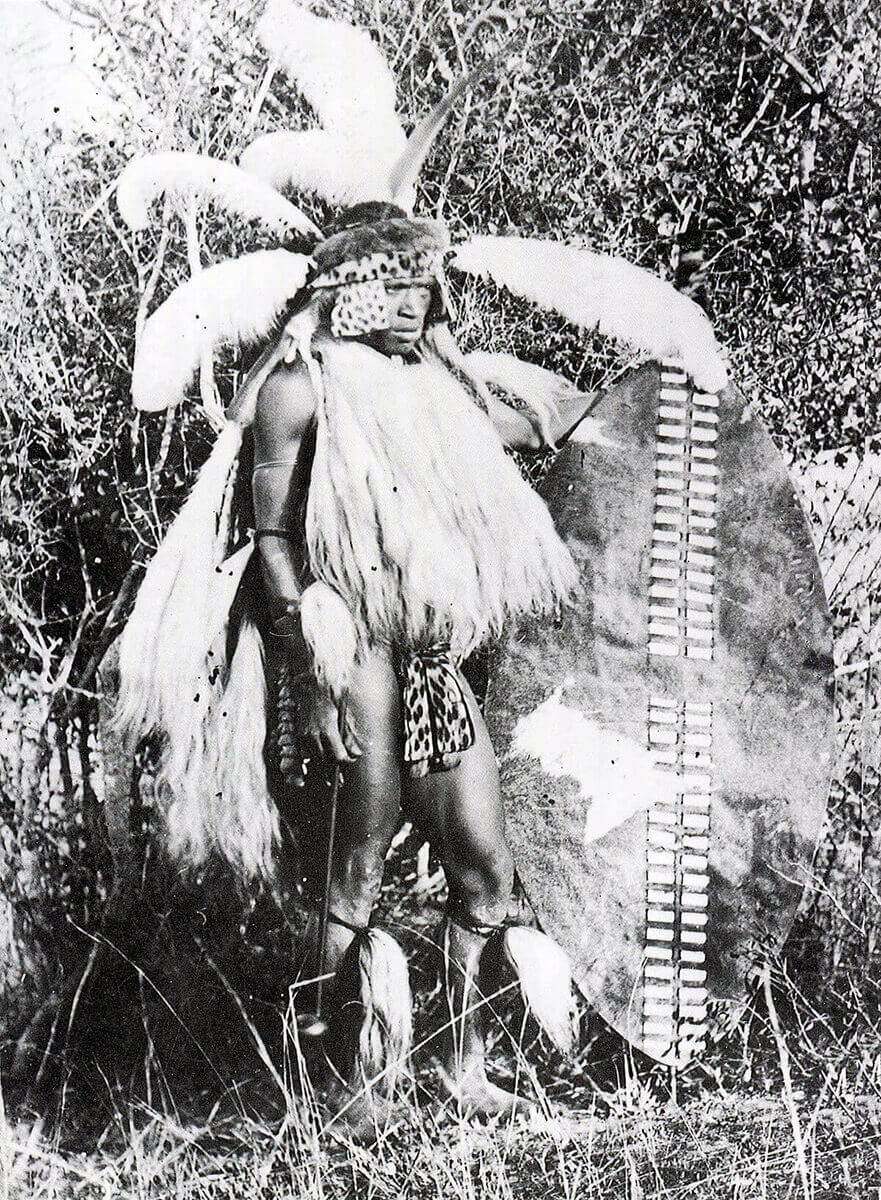
Zulu Warrior: Battle of Rorke’s Drift on 22nd January 1879 in the Zulu War
Just as it was incomprehensible to the public in Britain, that 1,000 British infantry, armed with modern breach loading rifles, could be overwhelmed by native warriors, armed principally with stabbing spears, it was astounding that a handful of the same troops could withstand the overwhelming attack, delivered against the mission station later the same day.
On 11th January 1879, Lord Chelmsford led the Centre Column of his invading army into Zululand, crossing the Buffalo River at Rorke’s Drift. On 22nd January 1879, the Zulu Army sidestepped Chelmsford’s advancing force and wiped out the troops he had left at his advanced camp, by the hill of Isandlwana, principally the 1st Battalion, 24th Foot under Colonel Pulleine.
Cetshwayo, the Zulu King, when he dispatched his army to fight Chelmsford’s invading columns, issued orders that his warriors were not to enter the British colony of Natal. He still hoped to negotiate a peaceful settlement of the war and did not wish to be labelled the aggressor.
Defence of Rorke’s Drift on 22nd January 1879 in the Zulu War: picture by Henri Dupray
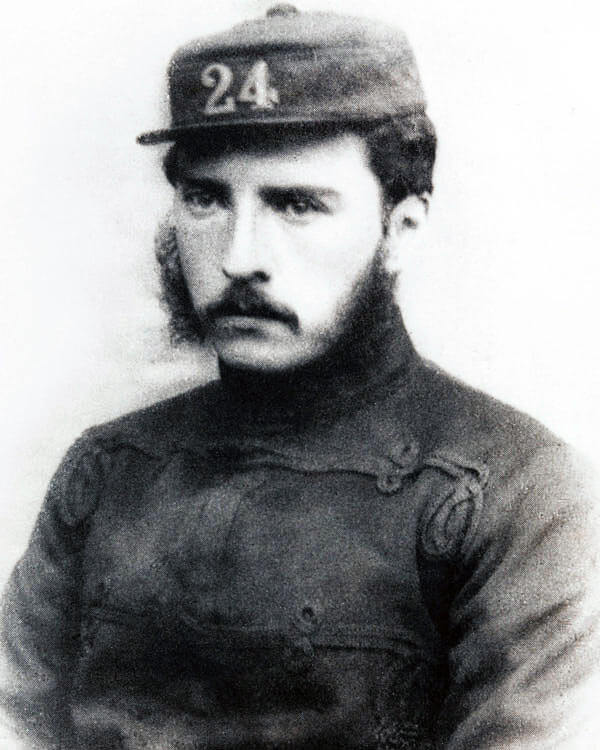
Lieutenant Gonville Bromhead, 24th Regiment, second in command at the Battle of Rorke’s Drift on 22nd January 1879 in the Zulu War
As the battle at Isandlwana drew to a close, several Zulu regiments under Cetshwayo’s younger brother, Prince Dabulamanzi kaMapande, reached the Buffalo River, cutting off the few escaping British. These regiments had not been involved in the battle and looked for a way to join in the success. Dabulamanzi, an aggressive leader, resolved to lead these Zulu regiments to the further triumph of capturing the British base at the Rorke’s Drift crossing, on the Buffalo River.
A single company of infantry garrisoned the mission station at Rorke’s Drift, B Company, 2nd Battalion, 24th Foot. Although the 24th was designated the South Warwickshire Regiment, this company was manned largely by Welshmen. The company colour sergeant was Frank Bourne; the sole officer in the company was Lieutenant Gonville Bromhead.
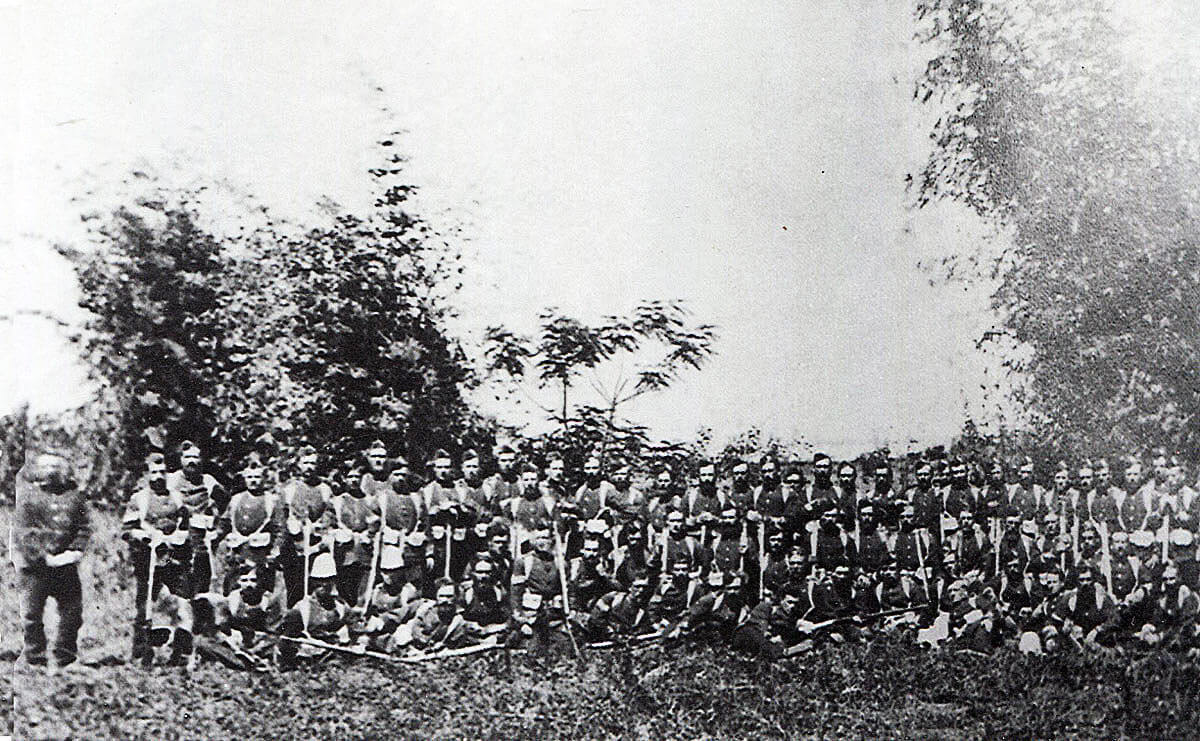
B Company, 2nd Battalion, 24th Regiment, the garrison of Rorke’s Drift Mission at the Battle of Rorke’s Drift on 22nd January 1879 in the Zulu War
The mission belonged to the Reverend Otto Witt, a Swede. Mr Witt’s church had been turned into a store by the British Army; his house a military hospital under Surgeon James Reynolds.
Lieutenant John Chard, Royal Engineers, arrived at Rorke’s Drift on 19th January 1879, with a party of sappers. Chard had cause to journey up to Isandlwana immediately before the battle and on his return, saw groups of Zulus.
On 22nd January 1879, the garrison heard firing from the distant battle and a group of officers climbed the nearby hill. They saw what they eventually realised to be parties of Zulus, advancing towards the mission station. News of the disaster at Isandlwana was confirmed by the arrival of Lieutenant Ardendorff from the camp.
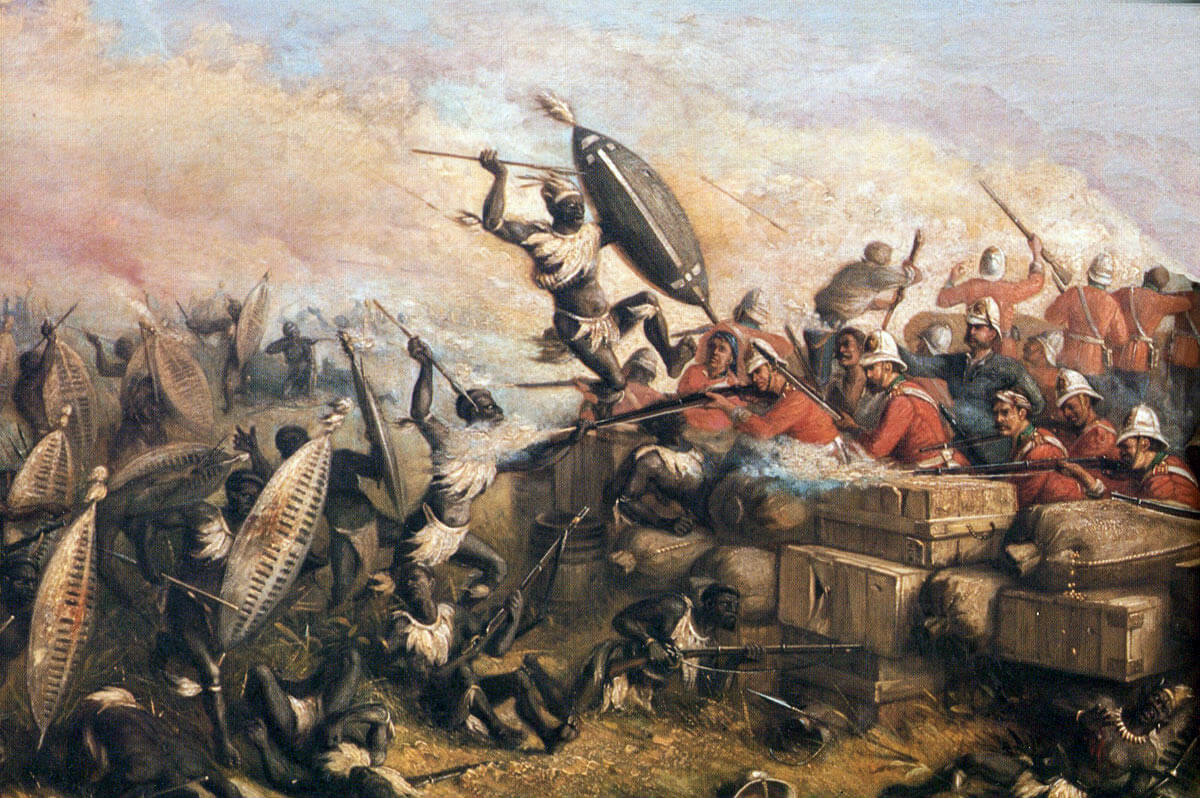
Zulu warriors attacking the mealie bag wall at Rorke’s Drift on 22nd January 1879 in the Zulu War
The British garrison set to fortifying the mission station. Tents were struck and stored and the buildings loop holed for defence. The store (church) and building (Witt’s house) were linked by walls of mealie bags.
A party of Durnford’s unit arrived and was posted forward, to hold the Zulu advance as long as possible.
At 4.20pm, firing was heard from the hill and the men of Durnford’s unit returned to the mission station and then left for Helpmakaar, the nearest Natal town. The company of Natal Native Infantry also left, leaving the regular British troops and some Natal irregulars.
The garrison hurriedly built a shorter perimeter line of biscuit boxes, to accommodate the greatly reduced numbers of soldiers.
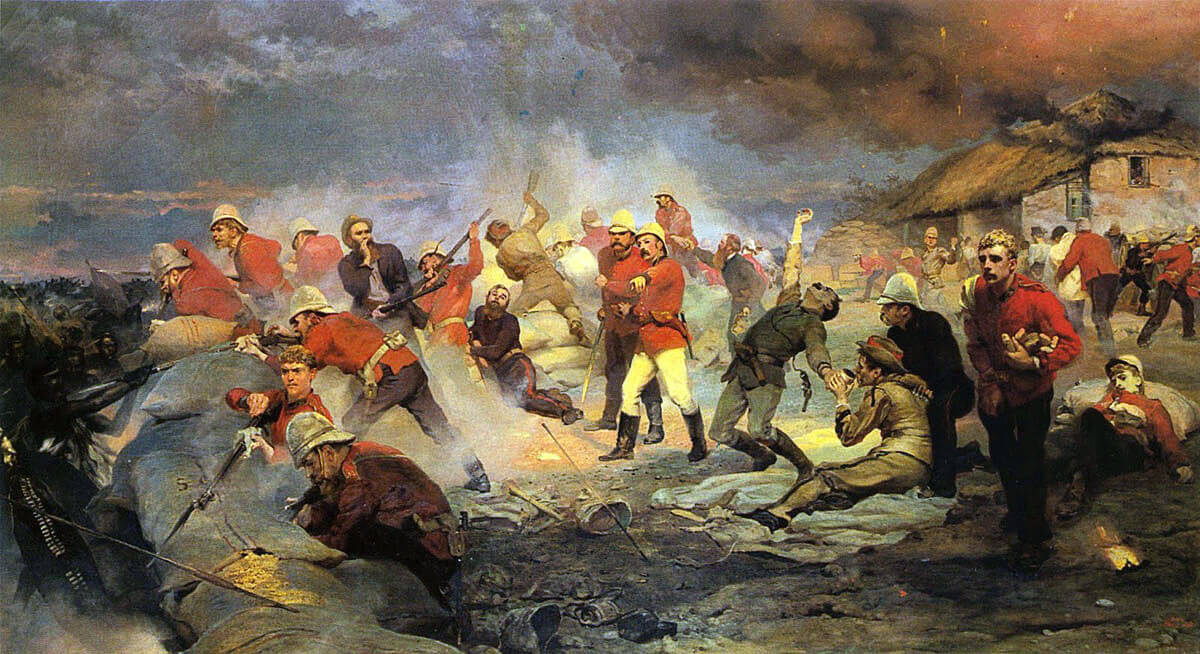
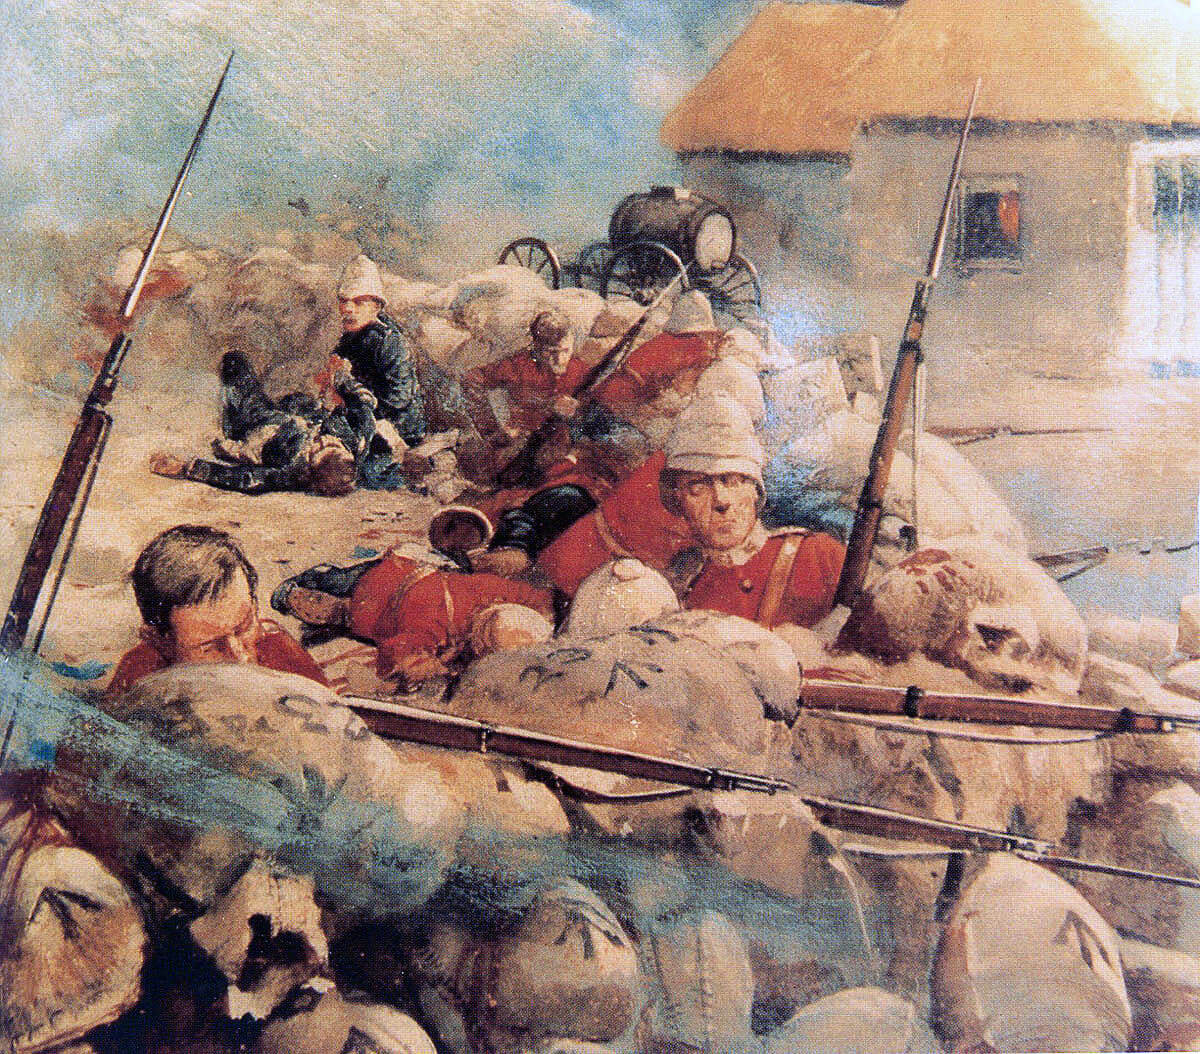
Defence of Rorke’s Drift on 22nd January 1879 in the Zulu War: picture by Lady Butler
500 Zulus appeared around the hill to the south, running towards the mission station. They were met by a heavy fire from the garrison and, at some fifty yards from the wall, veered around the hospital to attack from the north-west. They were driven back by the fire from the garrison and went to ground in the undergrowth, left uncleared due to the shortage of time.
The main body of Zulus came up and opened a heavy fire on the British from cover around the west and north-west of the mission station.
Battle of Rorke’s Drift on 22nd January 1879 in the Zulu War
The hospital at the western end of the fortifications became the focus for the fighting. Set on fire and stormed by the Zulus, it became untenable. As many men were extracted as possible, the remaining patients perishing in the flames. Privates John Williams, Henry Hook, William Jones, Frederick Hitch and Corporal William Allen all received the Victoria Cross for their defence of the hospital building, fighting with bayonets once their ammunition was expended, as they contested every room with the attacking warriors.
Defence of Rorke’s Drift on 22nd January 1879 in the Zulu War
The fighting now concentrated on the wall of biscuit barrels linking the mission house with the mealie wall. As night fell, the British withdrew to the centre of the station where a final bastion had been hastily assembled. The light from the burning hospital assisted the British in their fire. The savage Zulu attacks were resisted until around midnight, when, unexpectedly, the ferocity of the assault fell away. Firing continued until around 4am when the Zulus withdrew. By then the British held only the area around the storehouse.
At 7am, a body of Zulus appeared on the hill, but no attack followed. It became apparent that the Zulus could see Chelmsford’s column approaching from the direction of Isandlwana. The Zulus turned and left.
Soon afterwards, the column arrived at the drift and crossed the Buffalo River, marching up to the mission station. Chelmsford’s delight at finding the garrison alive and still resisting was heavily tempered by his despair at finding that no survivors from Isandlwana had escaped to Rorke’s Drift.

Private Frederick Hitch, winner of the VC at the Battle of Rorke’s Drift on 22nd January 1879 in the Zulu War
Casualties at the Battle of Rorke’s Drift: Zulu casualties are thought to have been around 500. The garrison of the mission station comprised 8 officers and 131 non-commissioned ranks. Of these 17 were killed and 10 wounded.
Follow-up to the Battle of Rorke’s Drift:
The defeat at Isandlwana brought Lord Chelmsford’s Centre Column back to the Buffalo River. Chelmsford had then to ensure that the Zulu Armies did not invade Natal. He called for substantial reinforcements and got them. In March 1879, Colonel Evelyn Wood’s Northern Column inflicted a heavy defeat on the Zulus at Khambula. In April 1879 Chelmsford relieved Colonel Pearson’s Southern Column, entrenched for some months at Eshowe and later renewed the advance from the Buffalo River.
On 4th July 1879, Lord Chelmsford met Cetshwayo’s Zulu Army at the Battle of Ulundi.
Awards made following the Battle of Rorke’s Drift:
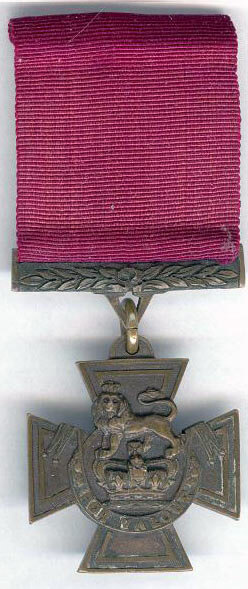
Victoria Cross: Battle of Rorke’s Drift on 22nd January 1879 in the Zulu War
Victoria Crosses: (Royal Engineers) Lieutenant John Chard R.E. (24th Regiment) Lieutenant Gonville Bromhead, Corporal William Allen, Privates Frederick Hitch, Alfred Hook, Robert Jones, William Jones, John Williams, (Army Medical Department) Surgeon James Reynolds, (Commissariat and Transport Department) Assistant Commissariat Officer James Dalton and (Natal Native Contingent) Corporal Ferdnand Schiess.
Distinguished Conduct Medal: (24th Regiment) Colour Sergeant Frank Bourne, Private William Roy (Royal Horse Artillery) Gunner John Cantwell and (Army Service Corps) Corporal Francis Attwood.
Anecdotes and traditions from the Battle of Rorke’s Drift:
- Lieutenants Chard and Bromhead were each promoted to major for the defence of the Rorke’s Drift mission station.
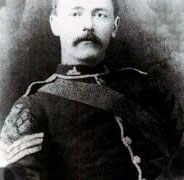
Colour Sergeant Frank Bourne: Defence of Rorke’s Drift on 22nd January 1879 in the Zulu War
- Frank Bourne, the youngest of eight sons, enlisted, aged eighteen, in the 24th Foot in 1872, serving with the second battalion of the regiment. In 1876 Bourne was promoted colour sergeant in B Company, the senior non-commissioned officer in the company. Bourne, a small man and allegedly the youngest colour sergeant in the British Army, was called ‘the kid’ by his soldiers. After the battle Bourne was offered a commission which he turned down, saying he could not afford it.
- Sir Garnet Wolseley, taking over as Commander-in-Chief from Lord Chelmsford, was unimpressed with the awards made to the defenders of Rorke’s Drift, saying ‘it is monstrous making heroes of those who shut up in buildings at Rorke’s Drift, could not bolt, and fought like rats for their lives which they could not otherwise save.’
- The medical consequences of the battle: It seems likely that a number of the defenders of Rorke’s Drift subsequently suffered from what is now classified as Post Traumatic Stress Disorder: Corporal Schiess ‘fell on hard times’ and died in 1884 aged 28 years; Private John Fielding’s hair is said to have turned white shortly after the battle; William Jones, in old age, suffered from nightmares that the Zulus were about to attack; Robert Jones shot himself in 1896.
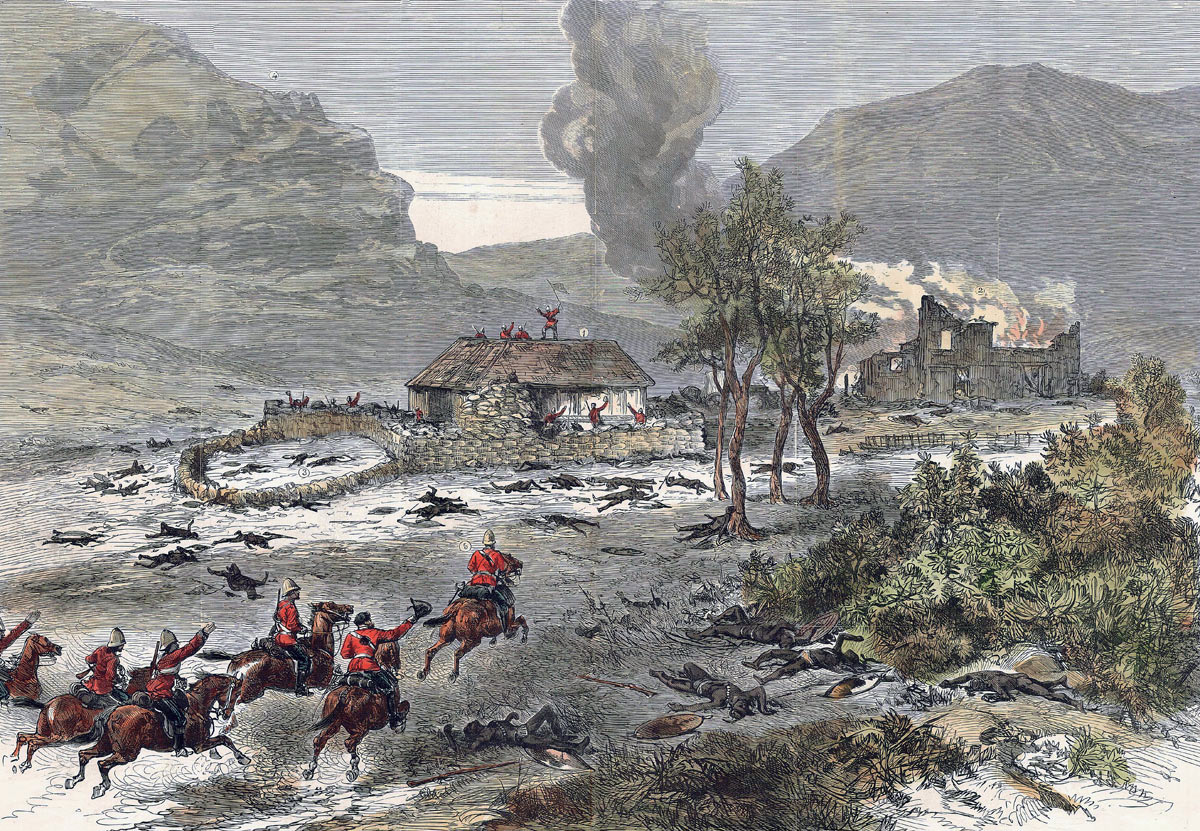
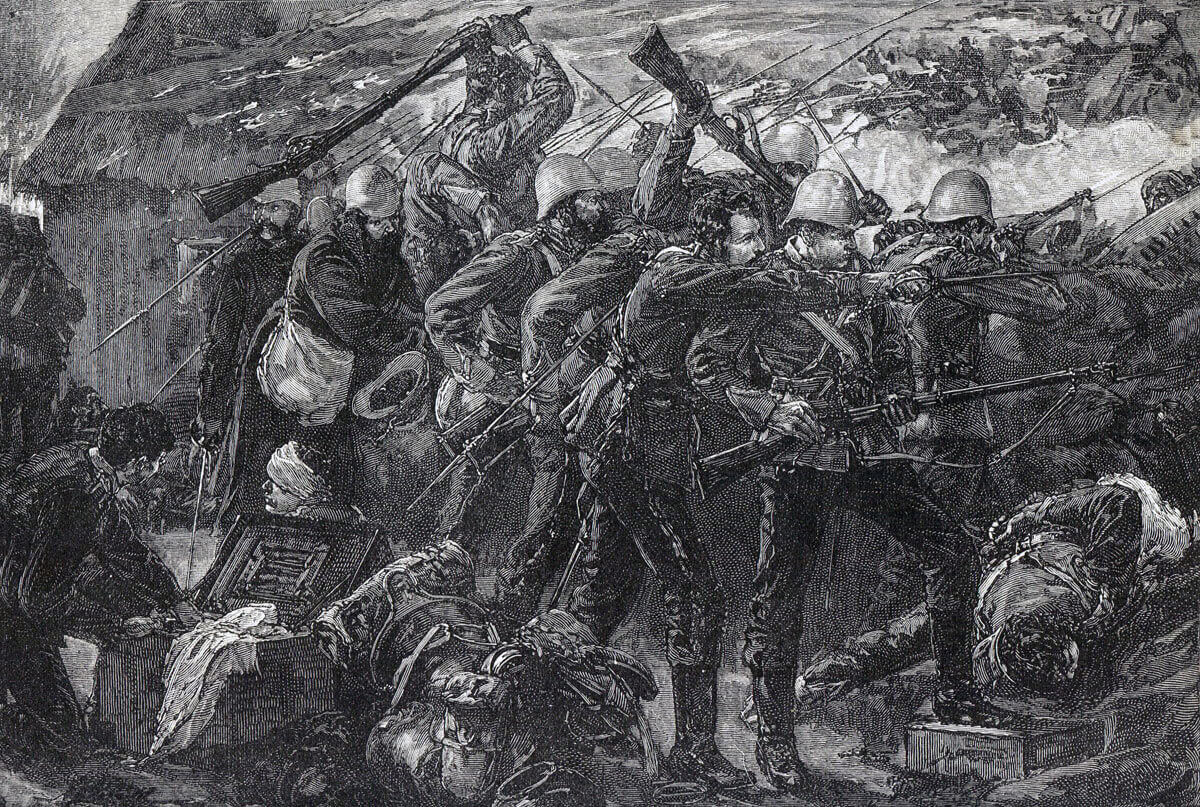
Relief of the garrison at the end of the Battle of Rorke’s Drift on 22nd January 1879 in the Zulu War: picture by Melton Pryor
References for the Battle of Rorke’s Drift:
Rorke’s Drift and Isandlwana by Ian F.W. Beckett: Oxford University Press (a particularly interesting history of the two battles with a consideration of their place in British and Zulu culture)
Washing of the Spears by D. Morris
Zulu War by Ian Knight
Recent British Battles by Grant
The previous battle of the Zulu War is the Battle of Isandlwana
The next battle of the Zulu War is the Battle of Khambula