The narrowly-won battle, fought by the army of Lieutenant General Sir Donald Stewart on 19th April 1880, during its march north to Kabul
59th Regiment at the Battle of Ahmed Khel on 19th April 1880 in the Second Afghan War
The previous battle of the Second Afghan War is the Battle of Kabul 1879
The next battle of the Second Afghan War is the Battle of Maiwand
To the Second Afghan War index
Battle: Ahmed Khel
War: Second Afghan War
Date of the Battle of Ahmed Khel: 19th April 1880.
Place of the Battle of Ahmed Khel: On the road between Kandahar and Kabul in Central Afghanistan.
Combatants at the Battle of Ahmed Khel: British and Indian troops against Afghan tribesmen.
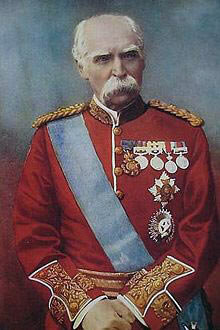
Lieutenant General Sir Donald Stewart, British and Indian commander at the Battle of Ahmed Khel on 19th April 1880 in the Second Afghan War
Generals at the Battle of Ahmed Khel: Lieutenant General Sir Donald Stewart against unknown tribal leaders.
Size of the armies at the Battle of Ahmed Khel: 7,200 British and Indian troops against 15,000 tribesmen mounted and on foot of the Andarees, Tarkees, Suleiman Khels and other Afghan tribes.
Uniforms, arms and equipment at the Battle of Ahmed Khel:
The British and Indian forces were made up, predominantly, of native Indian regiments from the armies of the three British presidencies, Bengal, Bombay and Madras, with smaller regional forces, such as the Hyderabad contingent, and the newest, the powerful Punjab Frontier Force.
The Mutiny of 1857 had brought great change to the Indian Army. Prior to the Mutiny, the old regiments of the presidencies were recruited from the higher caste Brahmins, Hindus and Muslims of the provinces of central and eastern India, principally Oudh. Sixty of the ninety infantry regiments of the Bengal Army mutinied in 1857 and many more were disbanded, leaving few to survive in their pre-1857 form. A similar proportion of Bengal Cavalry regiments disappeared.
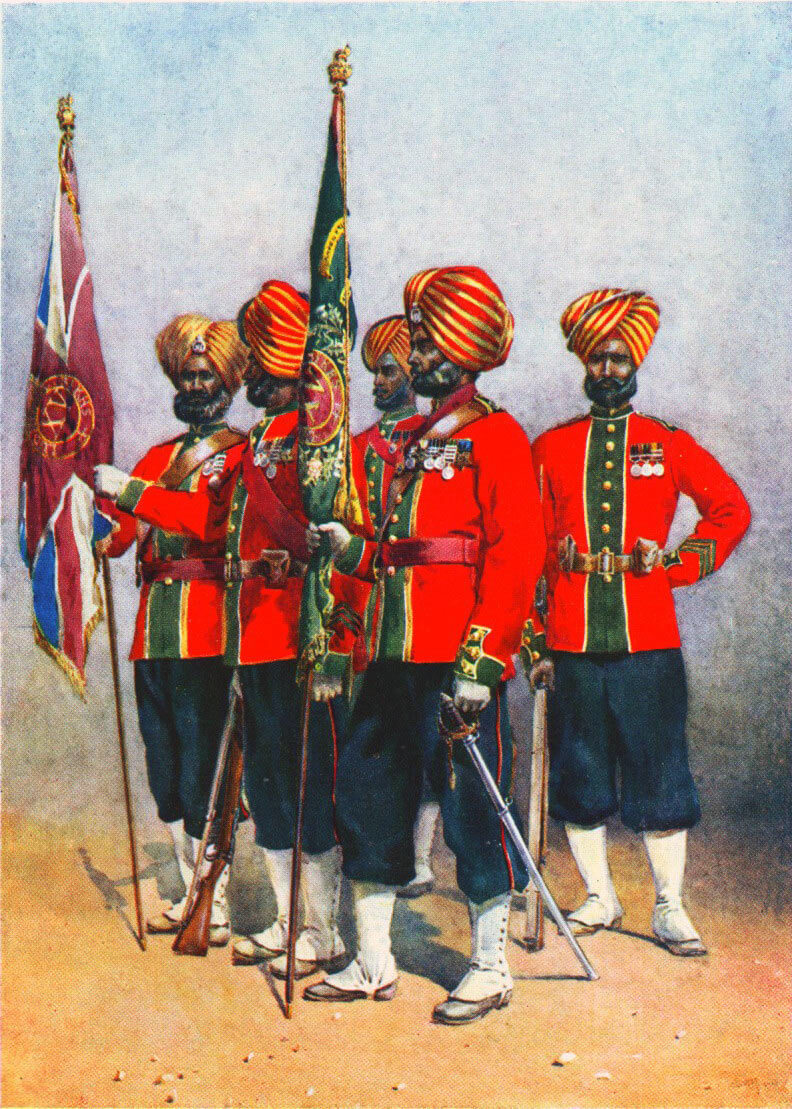
Colour Party 15th Ludhiana Sikhs: Battle of Ahmed Khel on 19th April 1880 in the Second Afghan War: picture by A.C. Lovett
The British Army overcame the mutineers with the assistance of the few loyal regiments of the Bengal Army and the regiments of the Bombay and Madras Presidencies, which on the whole did not mutiny. But principally, the British turned to the Gurkhas, Sikhs, Muslims of the Punjab and Baluchistan and the Pathans of the North-West Frontier for the new regiments with which Delhi was recaptured and the Mutiny suppressed.
After the Mutiny, the British developed the concept of ‘the Martial Races of India’. Certain Indian races were more suitable to serve as soldiers, went the argument, and those were, coincidentally, the races that had saved India for Britain. The Indian regiments that invaded Afghanistan in 1878, although mostly from the Bengal Army, were predominantly recruited from the martial races; Jats, Sikhs, Muslim and Hindu Punjabis, Pathans, Baluchis and Gurkhas.
Prior to the Mutiny, each Presidency army had a full quota of field and horse artillery batteries. The only Indian artillery units allowed to exist after the Mutiny were the mountain batteries. All the horse, field and siege batteries were, from 1859, found by the British Royal Artillery.
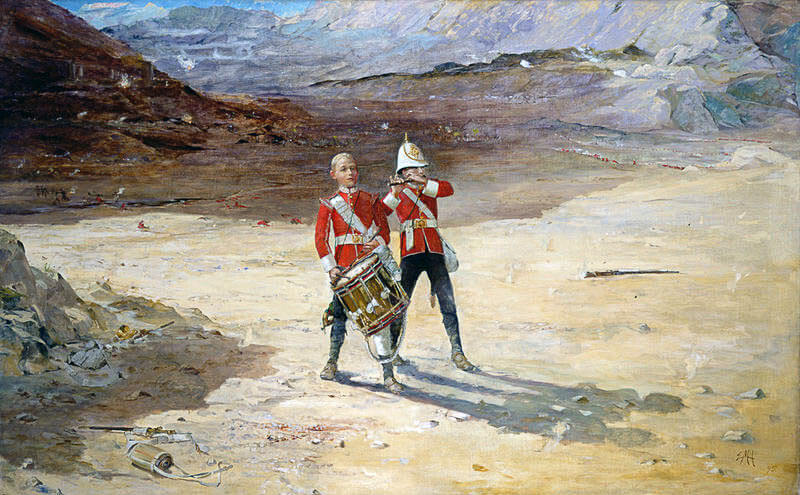
‘The Drums of the Fore and Aft’: Battle of Ahmed Khel on 19th April 1880 in the Second Afghan War: picture by Edward Matthew Hale
In 1878, the regiments were beginning to adopt khaki for field operations. The technique for dying uniforms varied widely, producing a range of shades of khaki, from bottle green to a light brown drab.
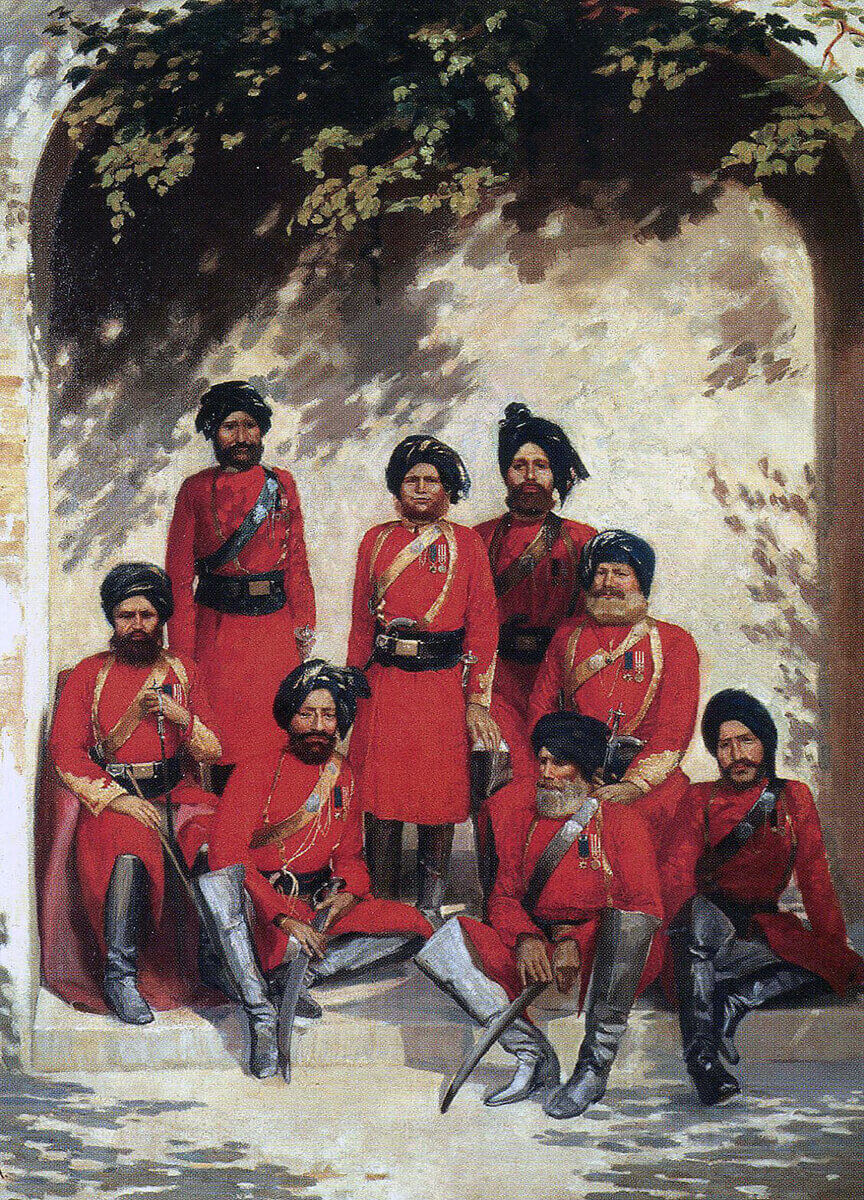
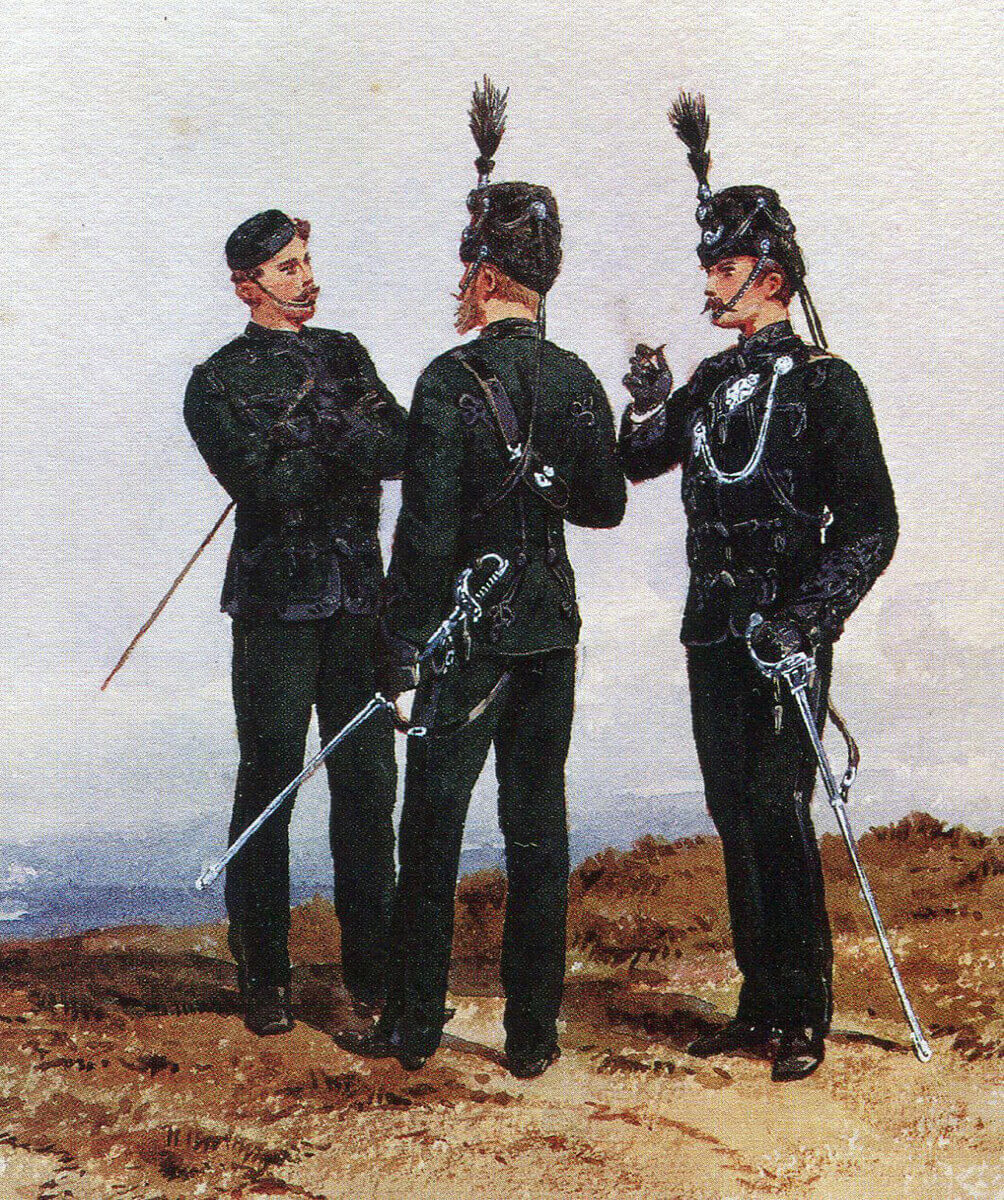
Indian Officers of the 2nd Punjab Cavalry: Battle of Ahmed Khel on 19th April 1880 in the Second Afghan War: picture by Gordon Hayward
As regulation uniforms were unsatisfactory for field conditions in Afghanistan, the officers in most regiments improvised more serviceable forms of clothing.
Every Indian regiment was commanded by British officers, in a proportion of some 7 officers to 650 soldiers, in the infantry. This was an insufficient number for units in which all tactical decisions of significance were taken by the British and was particularly inadequate for less experienced units.
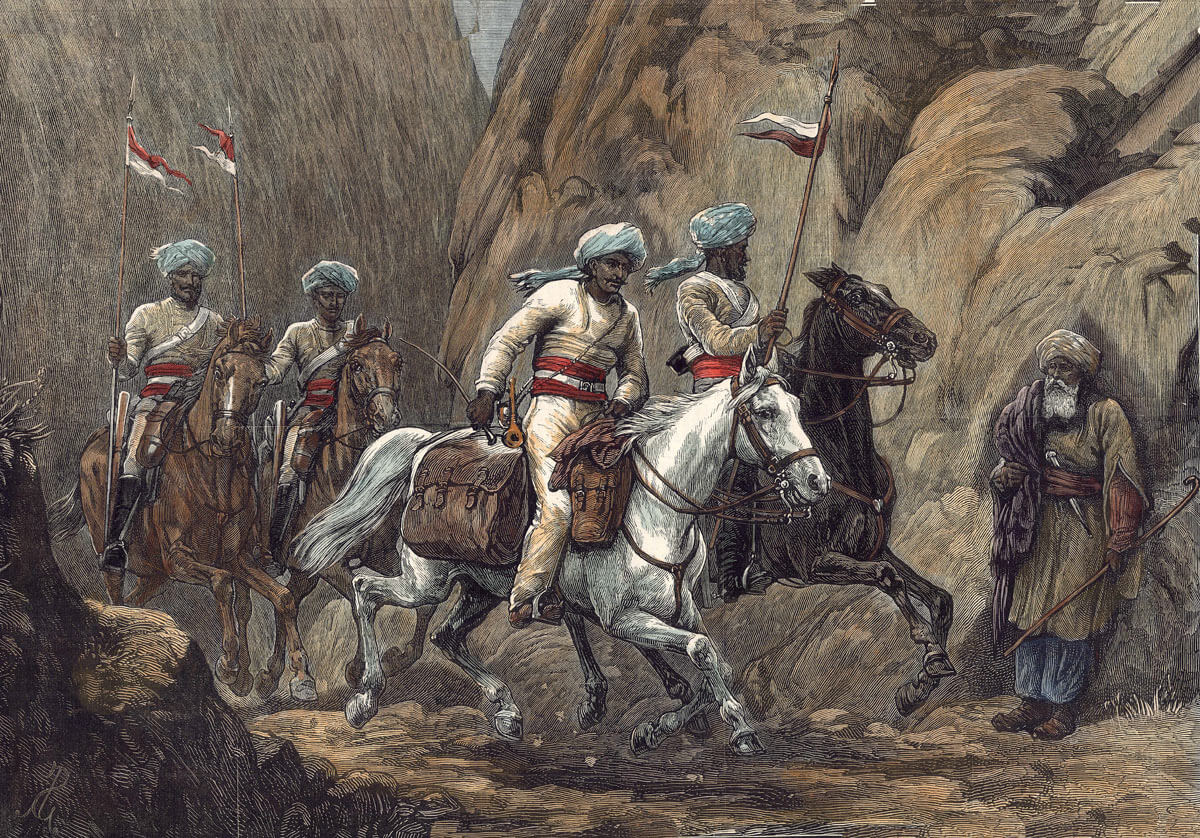
Courier on the road with his escort: Battle of Ahmed Khel on 19th April 1880 in the Second Afghan War
The British infantry carried the single shot, breech loading, .45 Martini-Henry rifle. The Indian regiments still used the Snider; also a breech loading single shot rifle, but of older pattern and a conversion of the obsolete muzzle loading Enfield weapon.
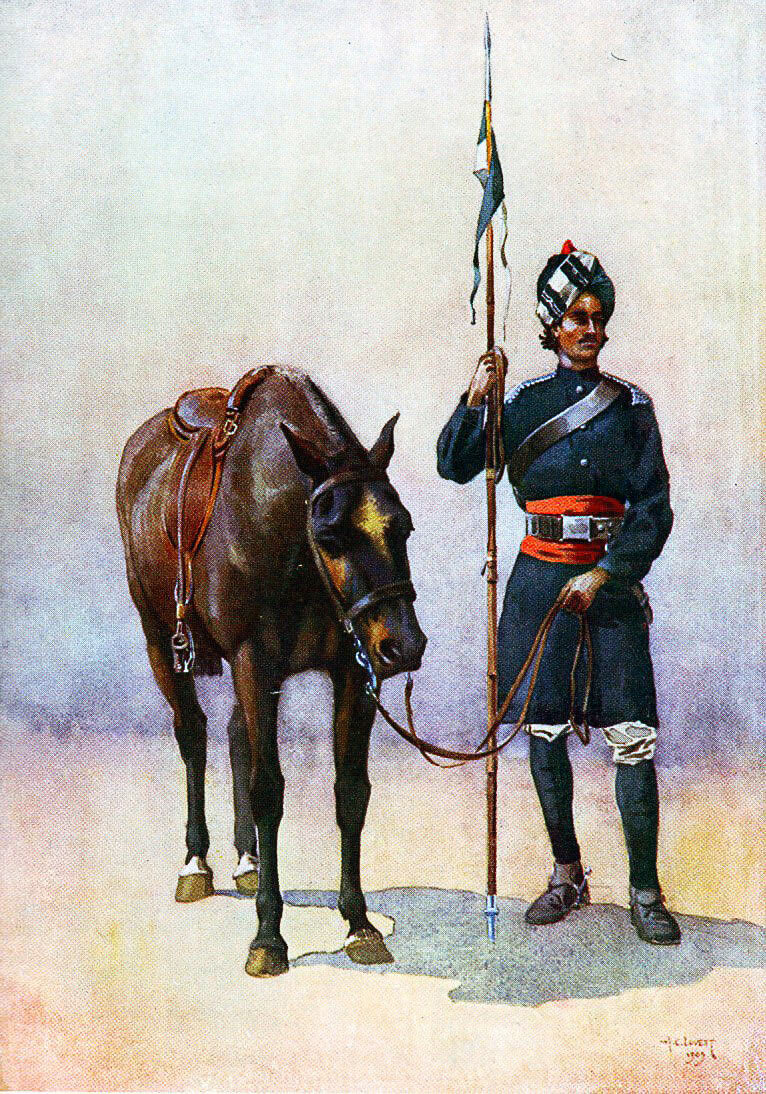
19th Bengal Cavalry, Fane’s Horse: Battle of Ahmed Khel on 19th April 1880 in the Second Afghan War
The cavalry were armed with sword, lance and carbine, Martini-Henry for the British troopers, Snider for the Indian sowars.
The British artillery, using a variety of guns, many smooth bored muzzle loaders, was not as effective as it could have been, if the authorities had equipped it with the breech loading steel guns being produced for European armies. Artillery support was frequently ineffective and on occasions the Afghan artillery proved to be better equipped than the British.
The army in India possessed no higher formations above the regiment in times of peace, other than the staffs of static garrisons. There was no operational training for staff officers. On the outbreak of war, brigade and divisional staffs had to be formed and learn by experience.
The British Army had, in 1870, replaced long service with short service for its soldiers. The system was not yet universally applied, so that some regiments in Afghanistan were short service and others still manned by long service soldiers. The Indian regiments were all manned by long service soldiers. The universal view seems to have been that the short service regiments were weaker both in fighting effectiveness and disease resistance than the long service.
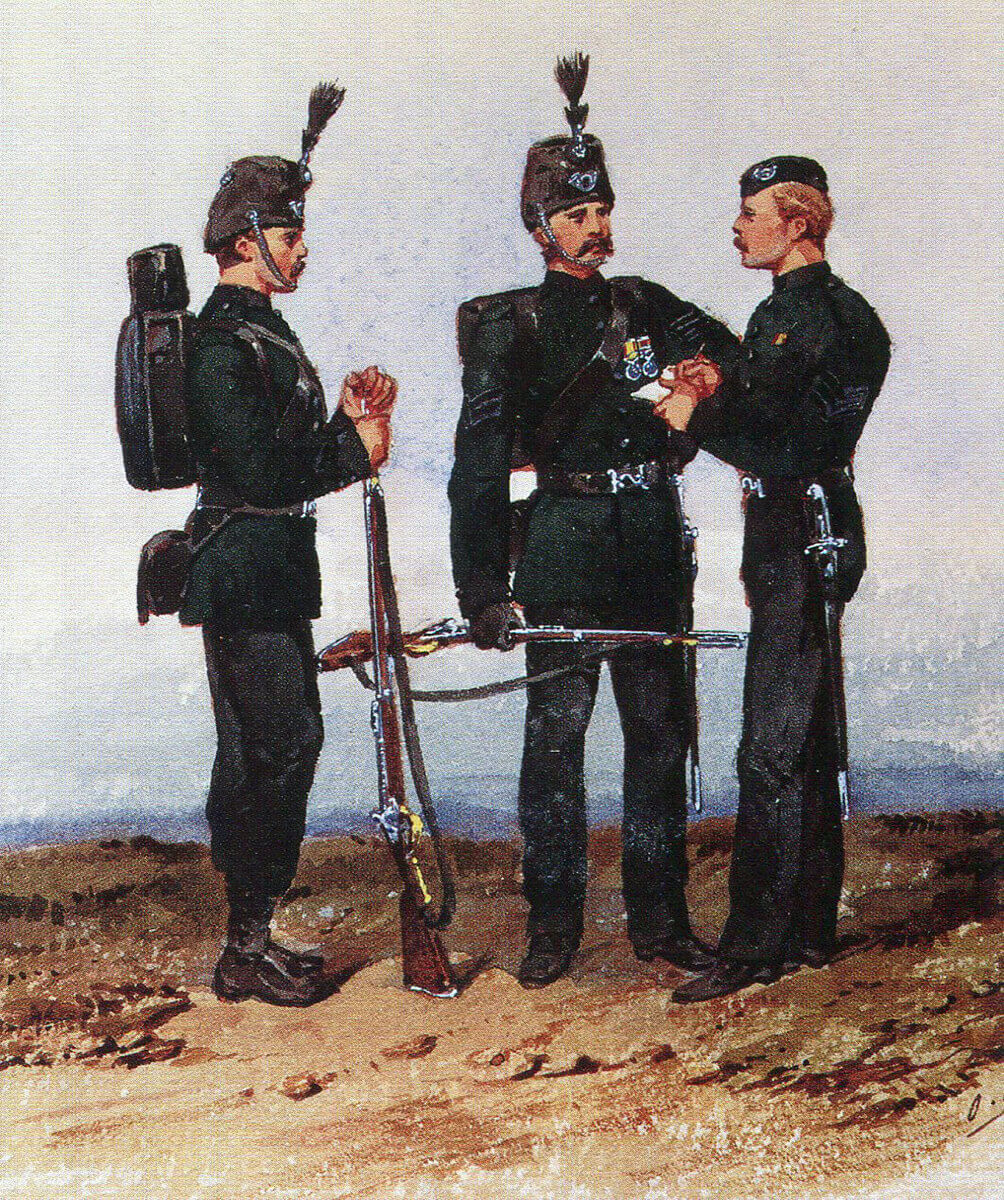
Soldiers of the Rifle Brigade in England: Battle of Ahmed Khel on 19th April 1880 in the Second Afghan War: picture by Orlandio Norie
Winner of the Battle of Ahmed Khel: The British and Indians.
British and Indian Regiments at the Battle of Ahmed Khel:
Royal Horse Artillery
Royal Artillery
19th Bengal Cavalry (Fane’s Lancers)
1st Punjab Cavalry (21st Cavalry)
2nd Punjab Cavalry (22nd Cavalry)
HM 59th Foot, later the East Lancashire Regiment and now the Duke of Lancaster’s Regiment.
HM 2nd/60th Rifles, now the Rifles.
15th Bengal Native Infantry (Ludhiana Sikhs)
19th Bengal Native Infantry (Punjabis)
25th Bengal Native Infantry (Punjabis)
3rd Gurkhas
2nd Sikh Infantry
Officers of the Rifle Brigade in England: Battle of Ahmed Khel on 19th April 1880 in the Second Afghan War: picture by Orlandio Norie
The British and Indian order of battle:
Cavalry Brigade commanded by Brigadier General Palliser:
19th Bengal Cavalry
19th Bengal Native Infantry
A Battery Royal Horse Artillery
First Brigade commanded by Brigadier General Barter:
1st Punjab Cavalry
2nd/60th Rifles
15th Bengal Native Infantry
25th Bengal Native Infantry
11th Battery Royal Artillery
Second Brigade commanded by Brigadier General Hughes:
2nd Punjab Cavalry
HM 59th Regiment
2nd Sikh Infantry
3rd Gurkhas
Two batteries Royal Field Artillery
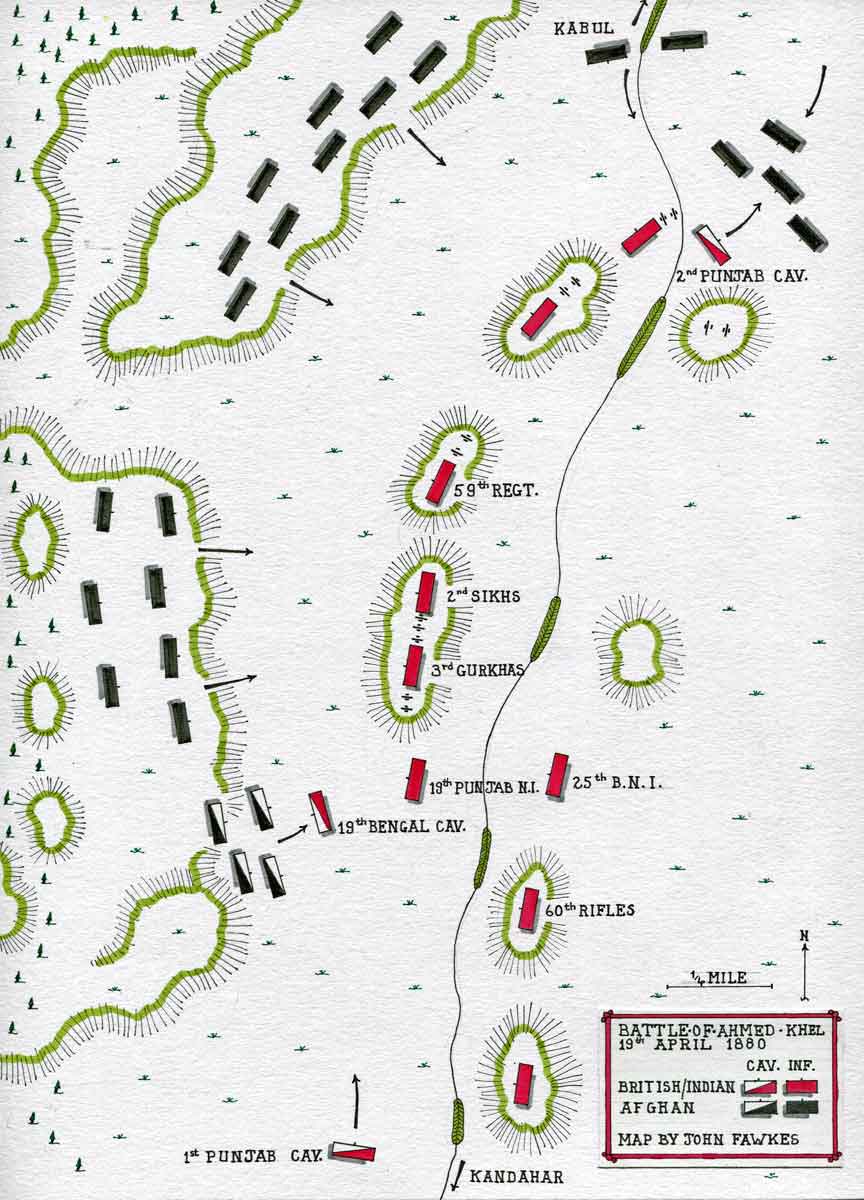
Map of the Battle of Ahmed Khel on 19th April 1880 in the Second Afghan War: map by John Fawkes
Account of the Battle of Ahmed Khel:
The attack on the main British and Indian army, the Kabul Field Force, under Major General Sir Frederick Roberts VC, in the Sherpur Cantonment at Kabul in December 1879, although a victory over the massed Afghan tribesmen, revealed the fragile nature of the British/Indian occupation of Afghanistan.
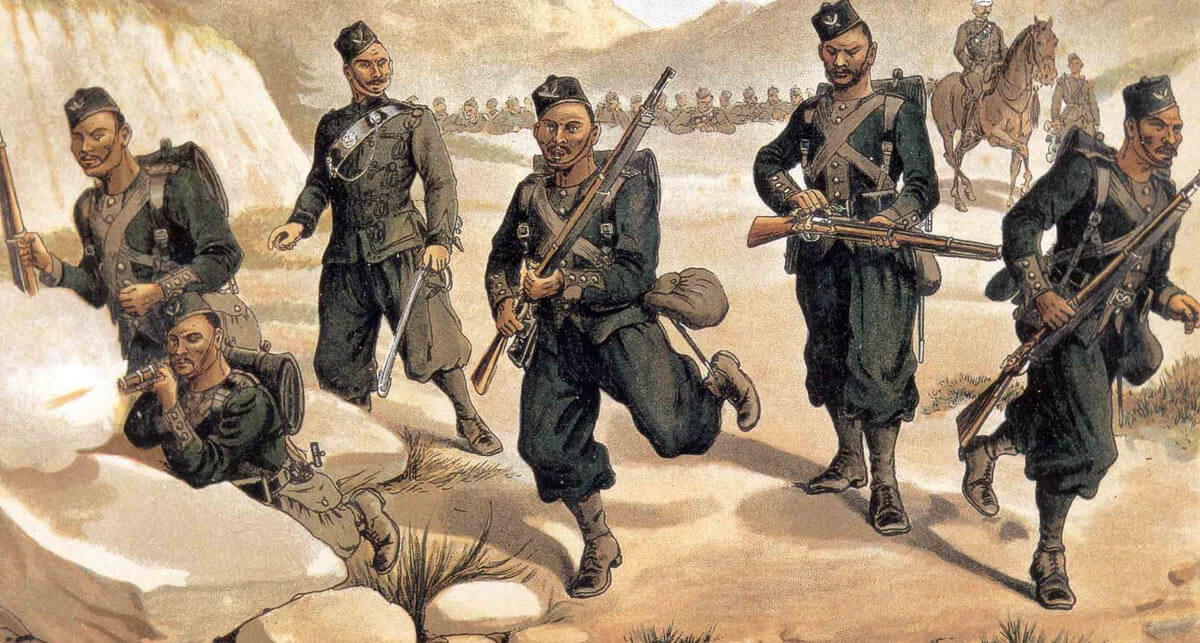
Soldiers of the 59th Regiment in Afghanistan: Battle of Ahmed Khel on 19th April 1880 in the Second Afghan War
In addition, the Government of India in Calcutta was increasingly alarmed at the expense of the war and its attritional effect on the Bengal and Bombay armies; worn down by the relentless attacks of the Afghan tribes on the long lines of communication.
3rd Gurkhas: Battle of Ahmed Khel on 19th April 1880 in the Second Afghan War
The secret policy, devised by the Government of India, was to appoint a new Ameer of Afghanistan and withdraw its armies at the first opportunity. As a preliminary, Major General Stewart would march his largely Bengal Army force from Kandahar and join Roberts at Kabul, for a withdrawal down the Khyber Pass to Peshawar. A Bombay division would replace Stewart in Kandahar, which was planned to remain under British control, as a separate state from the rest of Afghanistan.
Stewart marched out of Kandahar for Kabul on 27th March 1880. A force would march south from Kabul to meet him on the road at Sheikabad.
Stewart’s army, totalling 7,200 troops, with a similar number of camp followers, moved in two brigades, marching a day’s interval apart on opposite sides of the Tarnak River as far as Ghuznee. The shortage of transport animals, camels and oxen, required the Indian troops to live off the countryside.
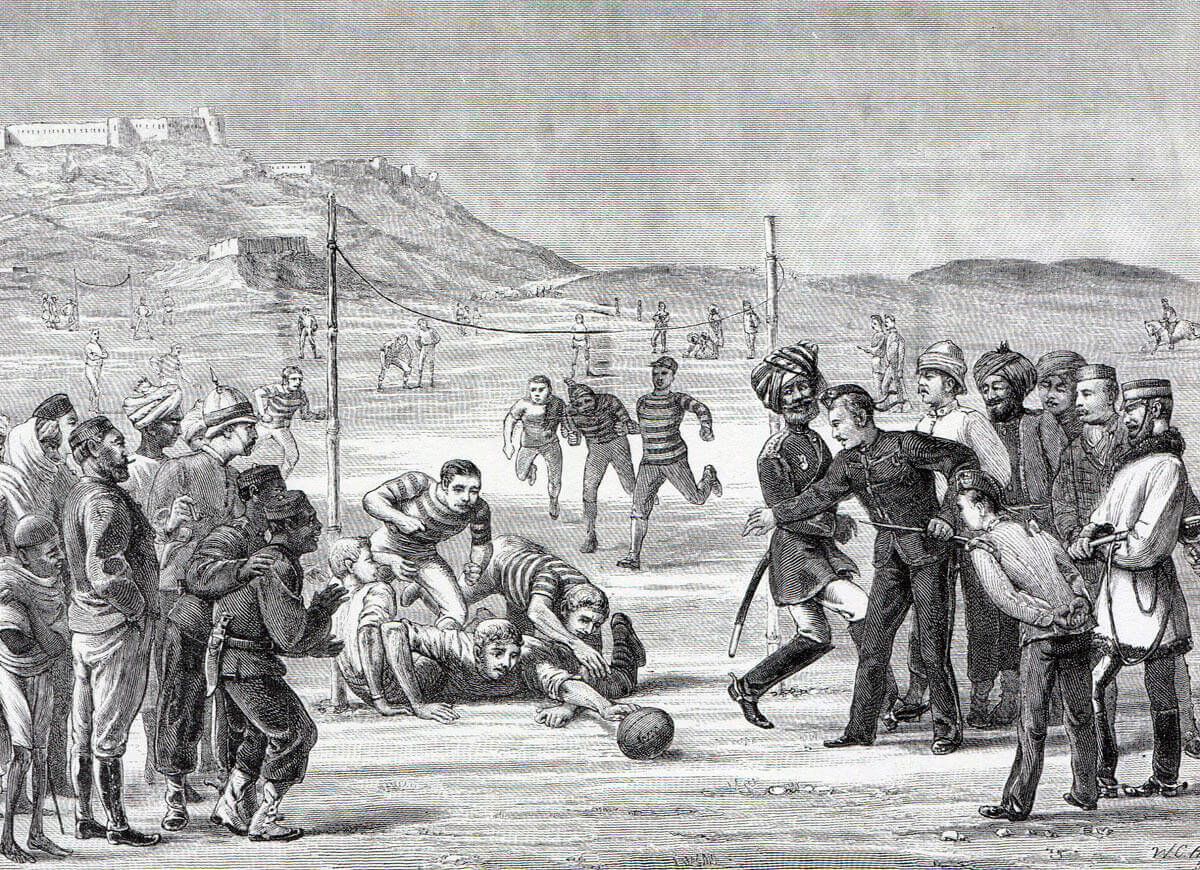
Soldiers of the British 59th Regiment playing rugby at Khelat-i-Ghilzai during the march to Kabul: Battle of Ahmed Khel on 19th April 1880 in the Second Afghan War
The army halted at Kelat-i-Ghilzai on 6th and 7th April 1880 and recommenced the march on 8th April, with signs of a gathering opposition from the Afghans. Forty miles north of Kelat, the army crossed from Kandahar province into Ghuznee, the province held by Mohammed Jan and the inspirational Mullah, the Mushk-i-Alam, the Afghan commanders at the attack on the Sherpur cantonment. In Ghuznee Province, the Afghans made every effort to destroy or hide supplies that might be used by Stewart’s troops.
The British and Indian army was now shadowed by a large force of Hazara tribesmen, who seized every opportunity to loot Afghan villages.
Stewart consolidated his force, allowing the second brigade to catch up and halted at Jan Murad, twenty-five miles short of Ghuznee, before resuming his march on 18th April 1880. The weather was hot.
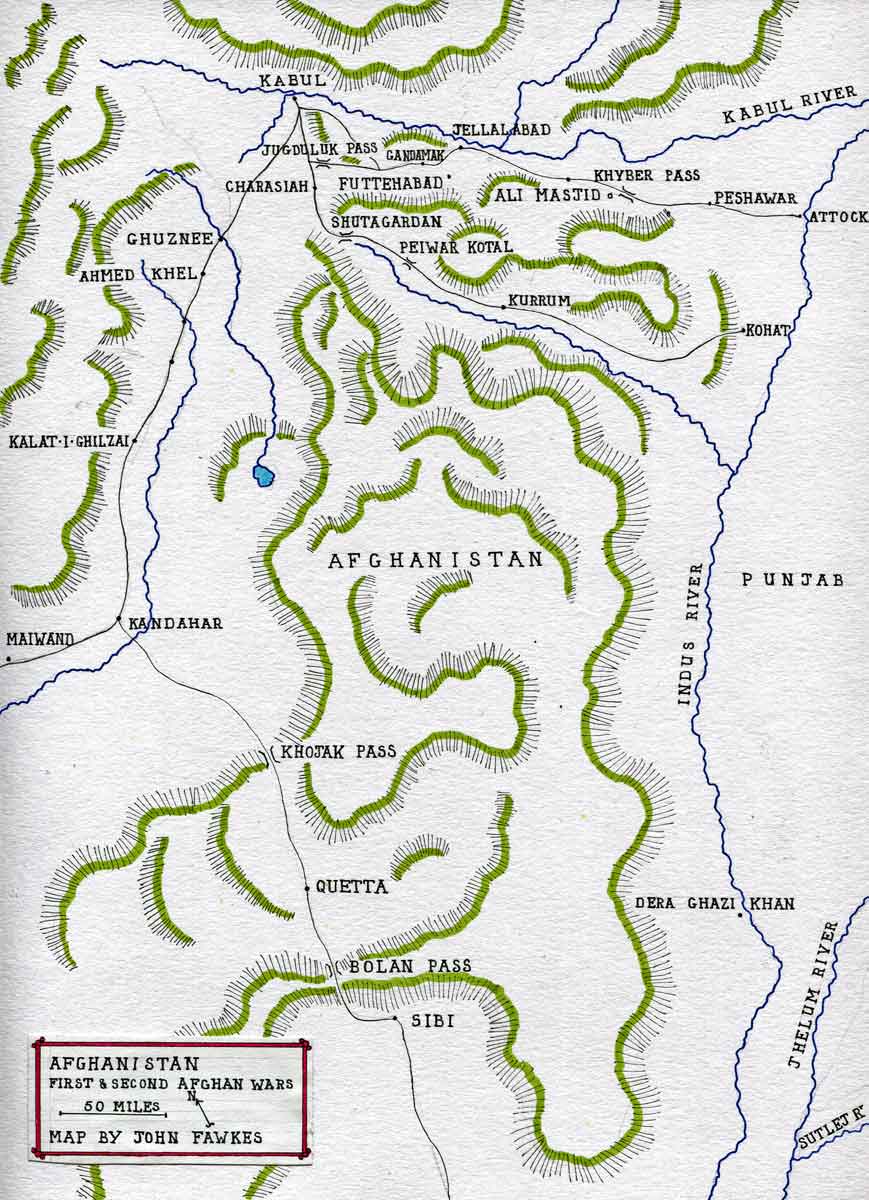
Map of Afghanistan by John Fawkes
On 19th April 1880, the column marched out at daybreak towards Kabul and was soon strung out along some six miles of road; the advance guard of 19th Bengal Lancers, 19th Bengal Native Infantry and six guns of the Royal Horse Artillery, commanded by Brigadier General Palliser, followed by Stewart with his headquarters, Hughes’ brigade, then the transport column escorted by Barter’s brigade.
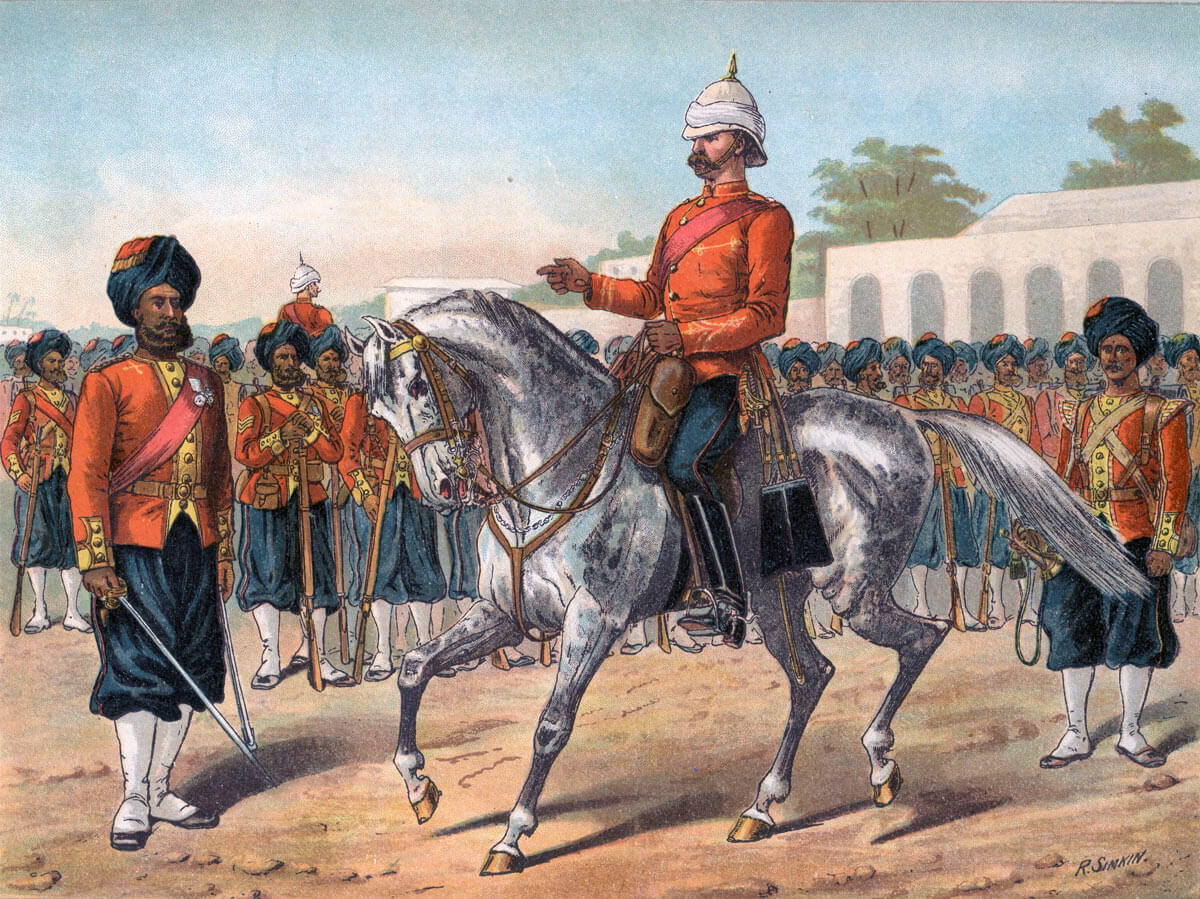
3rd Gurkhas: Battle of Ahmed Khel on 19th April 1880 in the Second Afghan War: picture by Richard Simkin
Beyond a village named Mashaki, the western hills curved abruptly across the line of the road. The column stopped for breakfast short of this point and Stewart was taking breakfast, when he was informed that a large force of Afghan tribesmen was in place along the hills, blocking the road north.
Stewart sent orders back to Barter to bring up a substantial part of his brigade, still five miles distant, but resolved to attack the Afghans without waiting to consolidate his force. The artillery deployed across the road, supported by the 2nd Punjab Cavalry and a squadron of 19th Bengal Lancers to its right rear, with the infantry facing west along the line of the road and one and a half squadrons of 19th Bengal Cavalry on the left flank.
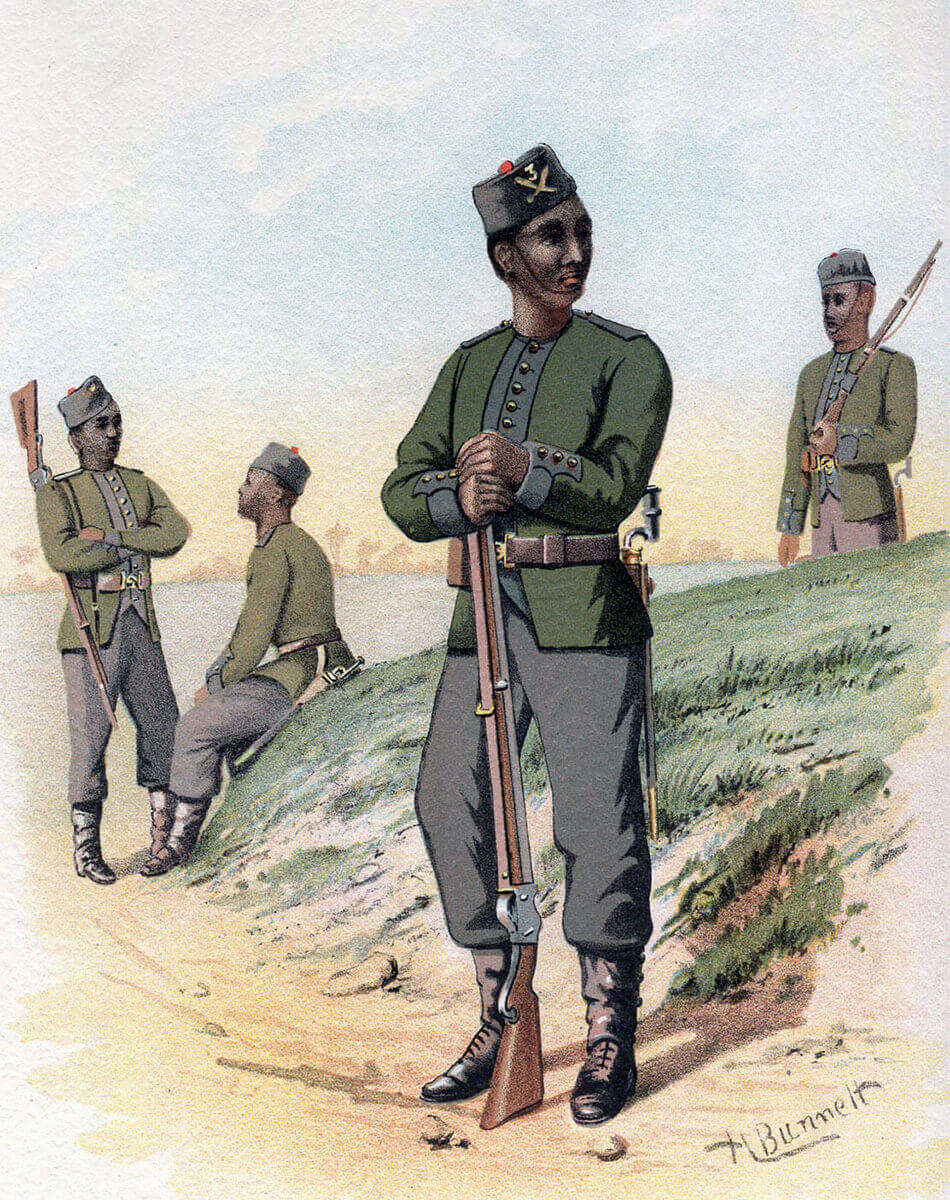
Bengal Native Infantry: Battle of Ahmed Khel on 19th April 1880 in the Second Afghan War: picture by Richard Simkin
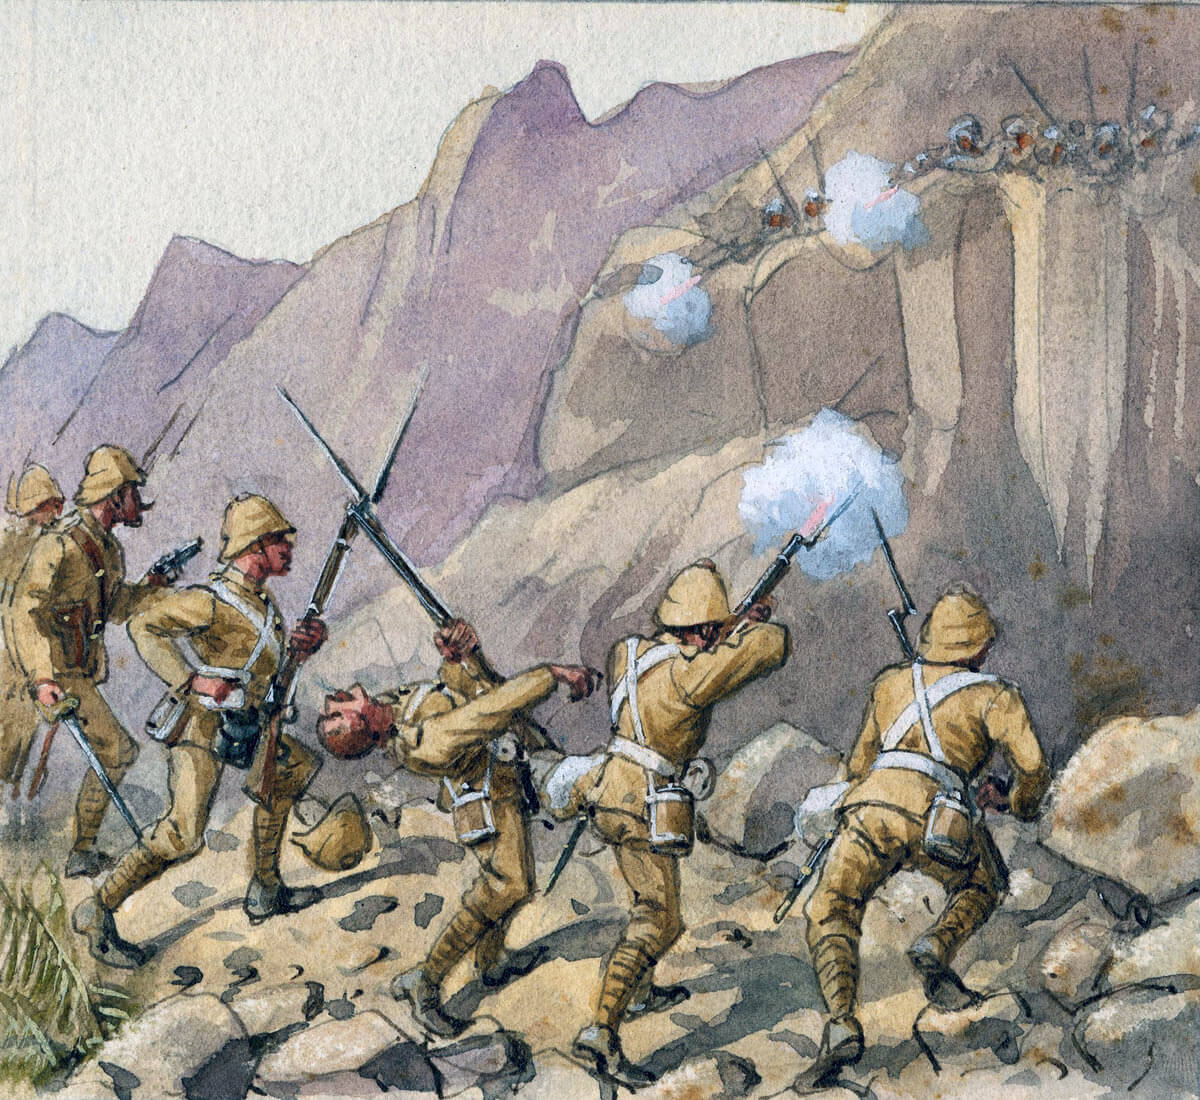
Before Stewart’s infantry could begin its advance, a mass of Afghan tribesmen rushed over the hill and attacked the infantry line, a large force of mounted Afghans charging forward on the 19th Bengal Lancers on the left flank. The Bengal Lancers were driven back onto the 3rd Gurkhas, throwing that regiment into confusion and the 59th Regiment was caught changing formation and without bayonets fixed. A high wind whipping up the dust significantly reduced the visibility, making the battle conditions even more difficult.
For a time, there was a danger that Stewart’s force would be overwhelmed, but the infantry regiments established a solid pattern of volley firing that drove back the tribesmen. The 2nd Punjab Cavalry attacked the Afghan left flank and the 1st Punjab Cavalry, coming up from Barter’s brigade, restored the position on Stewart’s left.
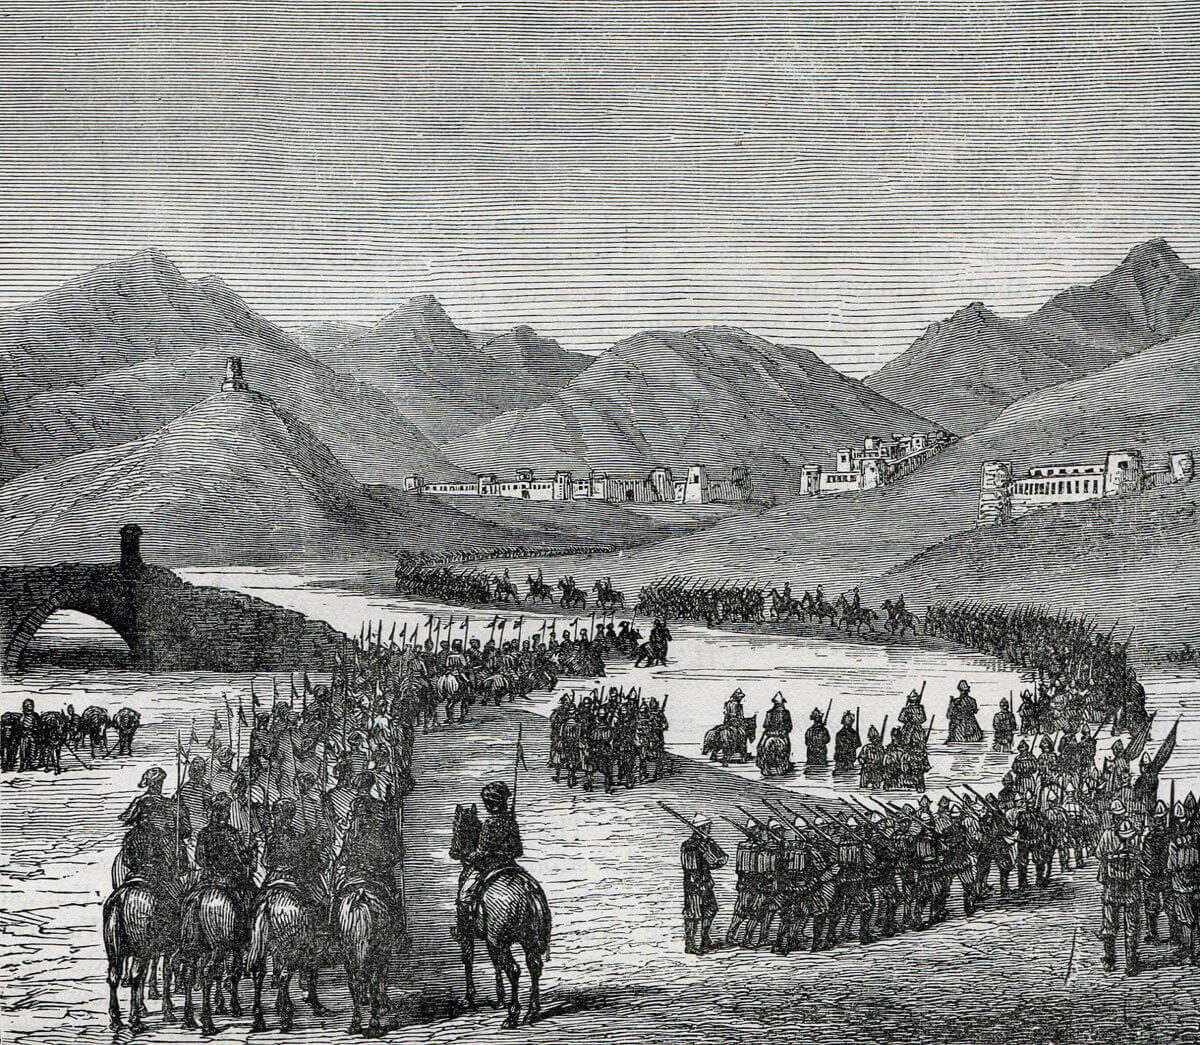
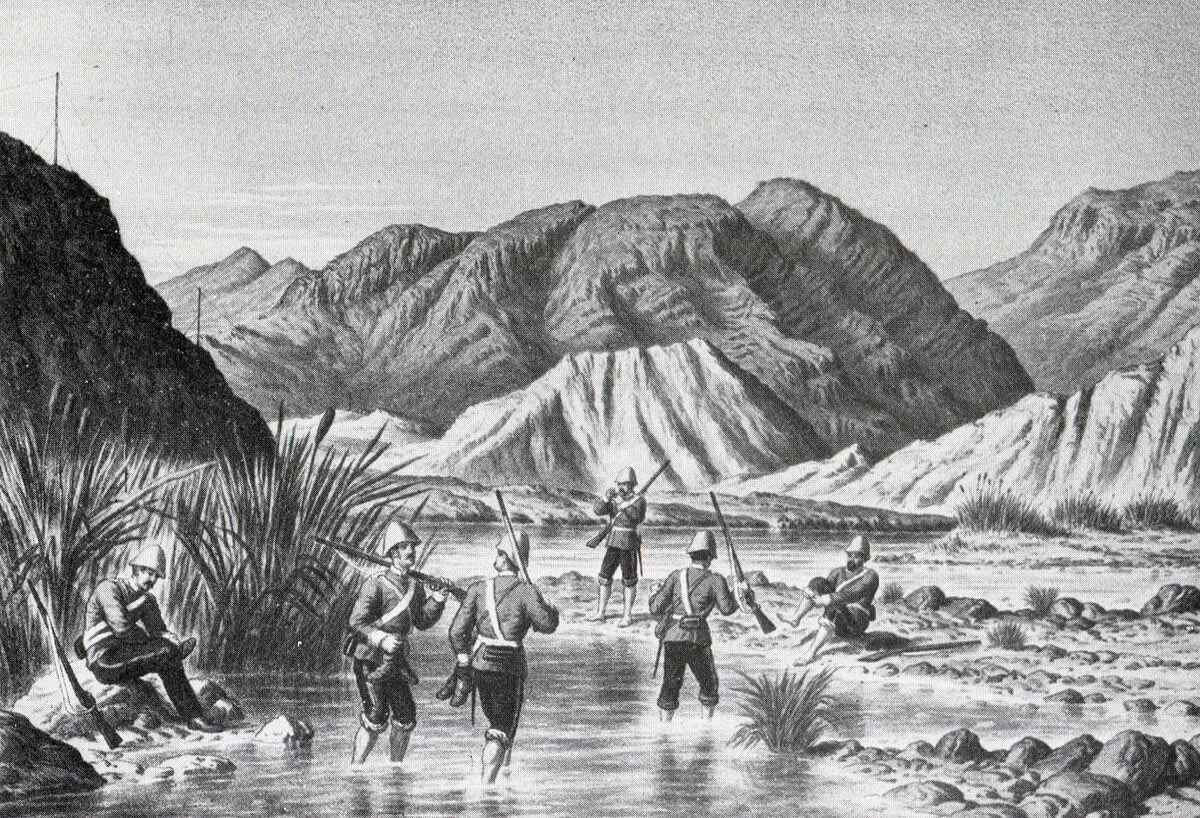
General Ross’s division crossing the Logar River, marching to meet General Stewart’s division: Battle of Ahmed Khel on 19th April 1880 in the Second Afghan War
The musketry of the infantry, particularly of the 2nd Sikhs, inflicted heavy casualties on the Afghan tribesmen, who finally turned and fled, pursued by the Hazaras, killing all the fugitives they could catch.
Stewart limited his cavalry to pursuit within the valley, before turning to the care of his casualties and the reorganisation of his column.
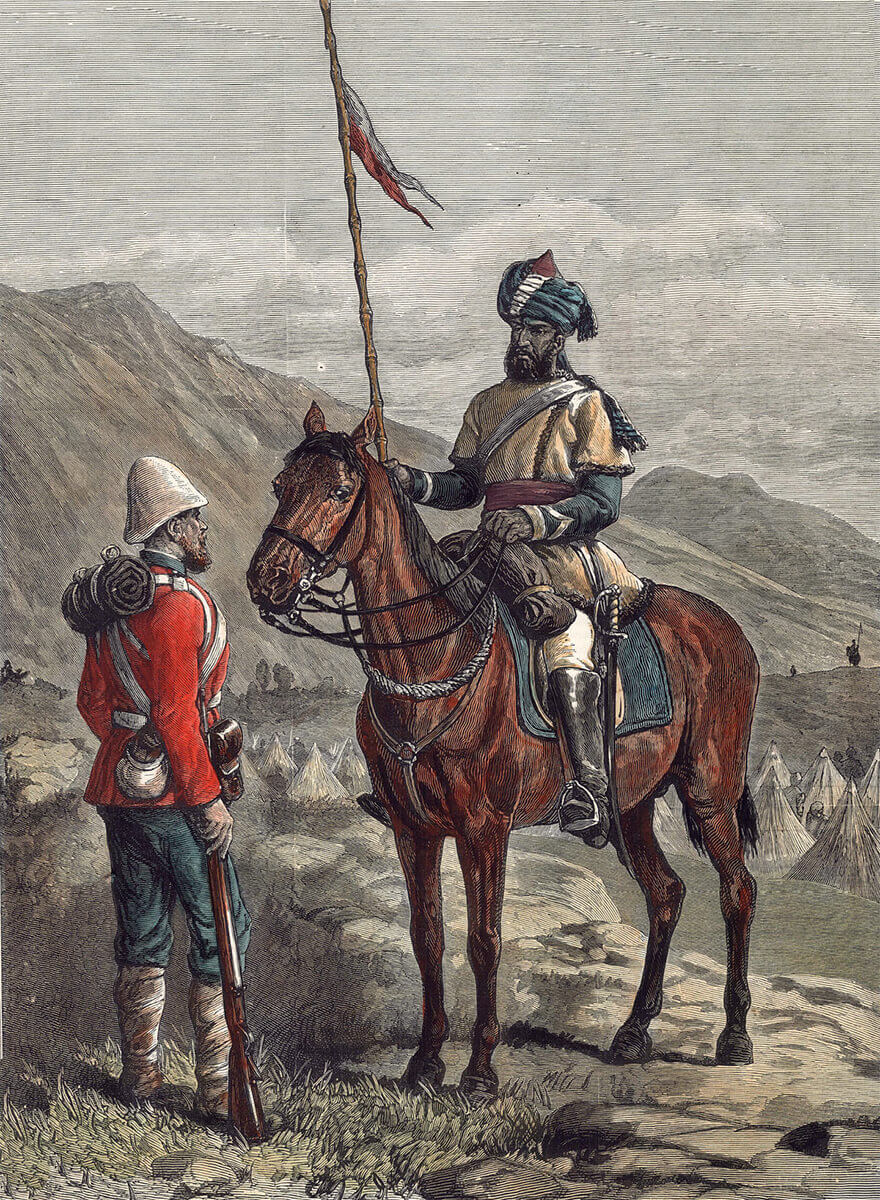
British infantryman and a Bengal Cavalry Sowar: Battle of Ahmed Khel on 19th April 1880 in the Second Afghan War
Casualties at the Battle of Ahmed Khel: British and Indian casualties were 115. Afghan casualties were estimated to be around 3,000.
Follow-up to the Battle of Ahmed Khel:
Following the battle, Stewart marched his division to Nani and sent his cavalry on to Ghuznee, which they captured without resistance.
After a period spent at Ghuznee, Stewart marched on to Kabul and, on arrival, took over command from Roberts, as the senior general.
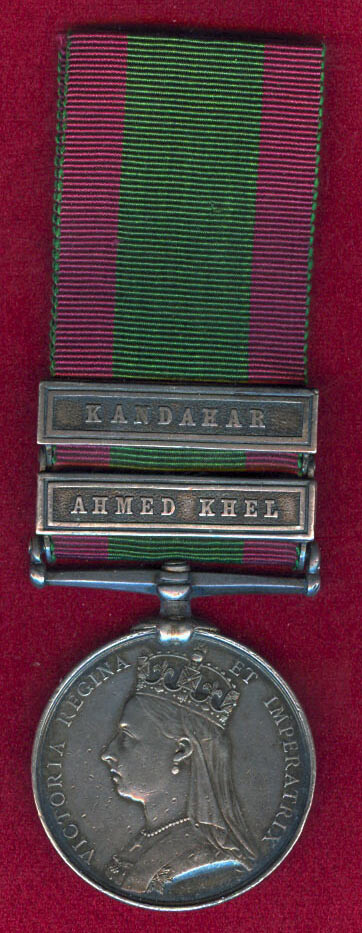
Second Afghan War Medal with clasps for Kandahar and Ahmed Khel: Battle of Ahmed Khel on 19th April 1880 in the Second Afghan War
Anecdotes and traditions from the Battle of Ahmed Khel:
- Even though the British and Indian casualties were low and the Afghan casualties high, the battle was for a time on a knife edge. Had the Afghans managed to break into the ranks of one of the infantry regiments in significant numbers, the whole British and Indian line might well have been overwhelmed as at the Battle of Maiwand. Stewart was saved by the experience and determination of his infantry regiments, particularly the 2nd Sikhs, and by his well-served artillery.
- During the battle HM 59th Regiment was caught changing formation and severely handled. It is thought that this incident gave Kipling the inspiration for his story ‘The drums of the fore and aft.’
References for the Battle of Ahmed Khel:
The Afghan Wars by Archibald Forbes
The Road to Kabul; the Second Afghan War 1878 to 1881 by Brian Robson.
Recent British Battles by Grant.
The previous battle of the Second Afghan War is the Battle of Kabul 1879
The next battle of the Second Afghan War is the Battle of Maiwand
To the Second Afghan War index