A hard fought battle in the West Country on 5th July 1643
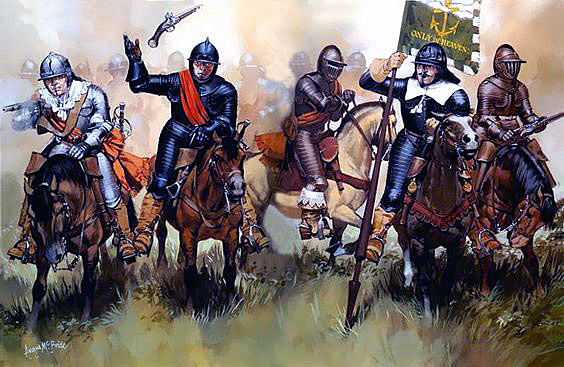
Parliamentary Cuirassiers at the Battle of Lansdown Hill on 5th July 1643 during the English Civil War
The previous battle in the English Civil War the Battle of Adwalton Moor
The next battle in the English Civil War is the Battle of Roundway Down
To the English Civil War index
Battle: Lansdown Hill
War: English Civil War
Date of the Battle of Lansdown Hill: 5th July 1643
Place of the Battle of Lansdown Hill: Lansdown Hill to the north of Bath.
Combatants at the Battle of Lansdown Hill: The forces of King Charles I against the forces of Parliament.
Generals at the Battle of Lansdown Hill: It is not entirely clear who commanded the Royalist Army, but it was probably nominally Prince Maurice with Sir Ralph Hopton having the day to day command, while Prince Maurice led the cavalry.
Sir William Waller commanded the Parliamentary force.
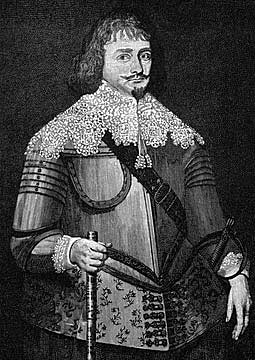
Sir Bevil Grenville, commander of a Cornish regiment of foot, mortally wounded at the Battle of Lansdown Hill on 5th July 1643 in The English Civil War
Size of the armies at the Battle of Lansdown Hill:
The Royalist army comprised 1,500 horse in Prince Maurice’s Regiment, the Earl of Carnarvon’s Regiment and Sir James Hamilton’s Regiment, 1,000 foot and 11 cannon in the force brought from Oxford by Prince Maurice and the Marquis of Hertford with Sir Ralph Hopton’s 3,000 Cornish foot, 500 horse, 300 dragoons and 5 cannon from the West Country.
The size of Sir William Waller’s Parliamentary army is uncertain but was probably around the same size as the Royalist army but with a greater force of cavalry, which included Sir Arthur Hesilrige’s Cuirassiers (known as Hesilrige’s London Lobsters due to their armour) and fewer foot soldiers. Waller received re-inforcements from the Bristol garrison before the battle. Waller probably commanded a similar number of guns, around 15.
Winner of the Battle of Lansdown Hill: The Royalists stormed the Parliamentary position on the top of Lansdown Hill but at great loss and nearly exhausting their ammunition so that they were forced to withdraw.
Uniforms, arms and equipment at the Battle of Lansdown Hill:
See this section in the Battle of Edgehill.
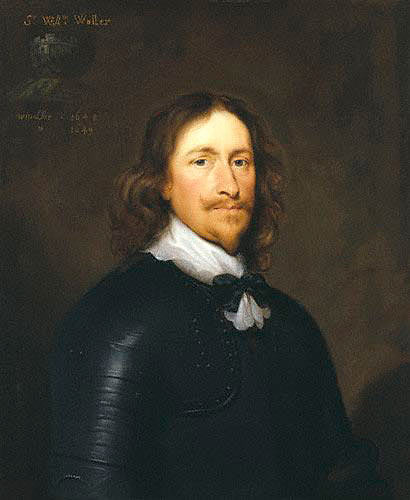
Sir William Waller, the Parliamentary Commander at the Battle of Lansdown Hill on 5th July 1643: picture by Cornelius Johnson in the English Civil War
Background to the Battle of Lansdown Hill:
The origins of the English Civil War are dealt with under this section in the Battle of Edgehill.
In 1643 the Royalist Commander Sir Ralph Hopton marched from Dorset to Chard in Somerset arriving on 4th June 1643 to join the force sent from the Royal Headquarters in Oxford commanded by the Marquis of Hertford and Prince Maurice. The combined army would then seek to complete the conquest of the West Country for King Charles I.
With Bristol and Gloucester in Parliamentary hands Sir William Waller concentrated the Parliamentary field army at Bath.
Before moving on to confront Sir William Waller at Bath the combined Royalist army received the surrender of Taunton, Bridgwater and Dunster Castle without having to attack them, the garrison from the first fleeing to the second and so on.
On 2nd July 1643 the Royalist Army marched into Bradford-on-Avon to the south-east of Bath.
Waller’s army lay on the far side of the River Avon. Hopton resolved to march his army around Waller’s flank in a move to the north of Bath via Monkton Farleigh.
Conforming with the Royalist march Waller moved his army to Claverton Down, still on the Bath side of the River Avon, while advancing a detachment across the river to occupy Monkton Farleigh Hill and set up an ambush on the road from Bradford along the river bank.
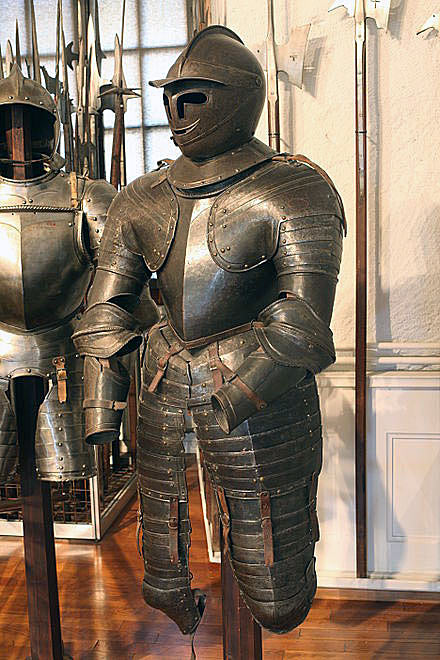
Cuirassier’s armour of the English Civil War period
Hopton began his march on 3rd July and his Cornish foot pushed the Parliamentary force out of Monkton Farleigh towards Batheaston.
On the Bradford Road Prince Maurice launched an attack on the bridge across the Avon and compelled Waller to fall back on Bath.
Hopton continued his pursuit of the Parliamentary force through Batheaston and on to Lansdown before withdrawing to Batheaston to await Prince Maurice.
On 4th July the combined Royalist army marched out of Batheaston to advance down the road through Lansdown to Bath, thereby evading the defensive line created by the River Avon to the east of the city. As the Royalists marched towards Lansdown Hill they realized that Waller’s army was occupying the high ground in front of them.
The senior Royalist army commanders formed a council of war, the standard procedure at any point of crisis and resolved to withdraw to the town of Marshfield to the north-east.
Hopton covered the retreat by positioning musketeers along the hedges lining the road and forming a cavalry rearguard. Waller dispatched a mounted force to pursue Hopton’s cavalry as they withdrew in the rear of the main body. This Parliamentary force was duly ambushed by the waiting musketeers and forced to retreat leaving the Royalist army to continue to Marshfield unhindered.
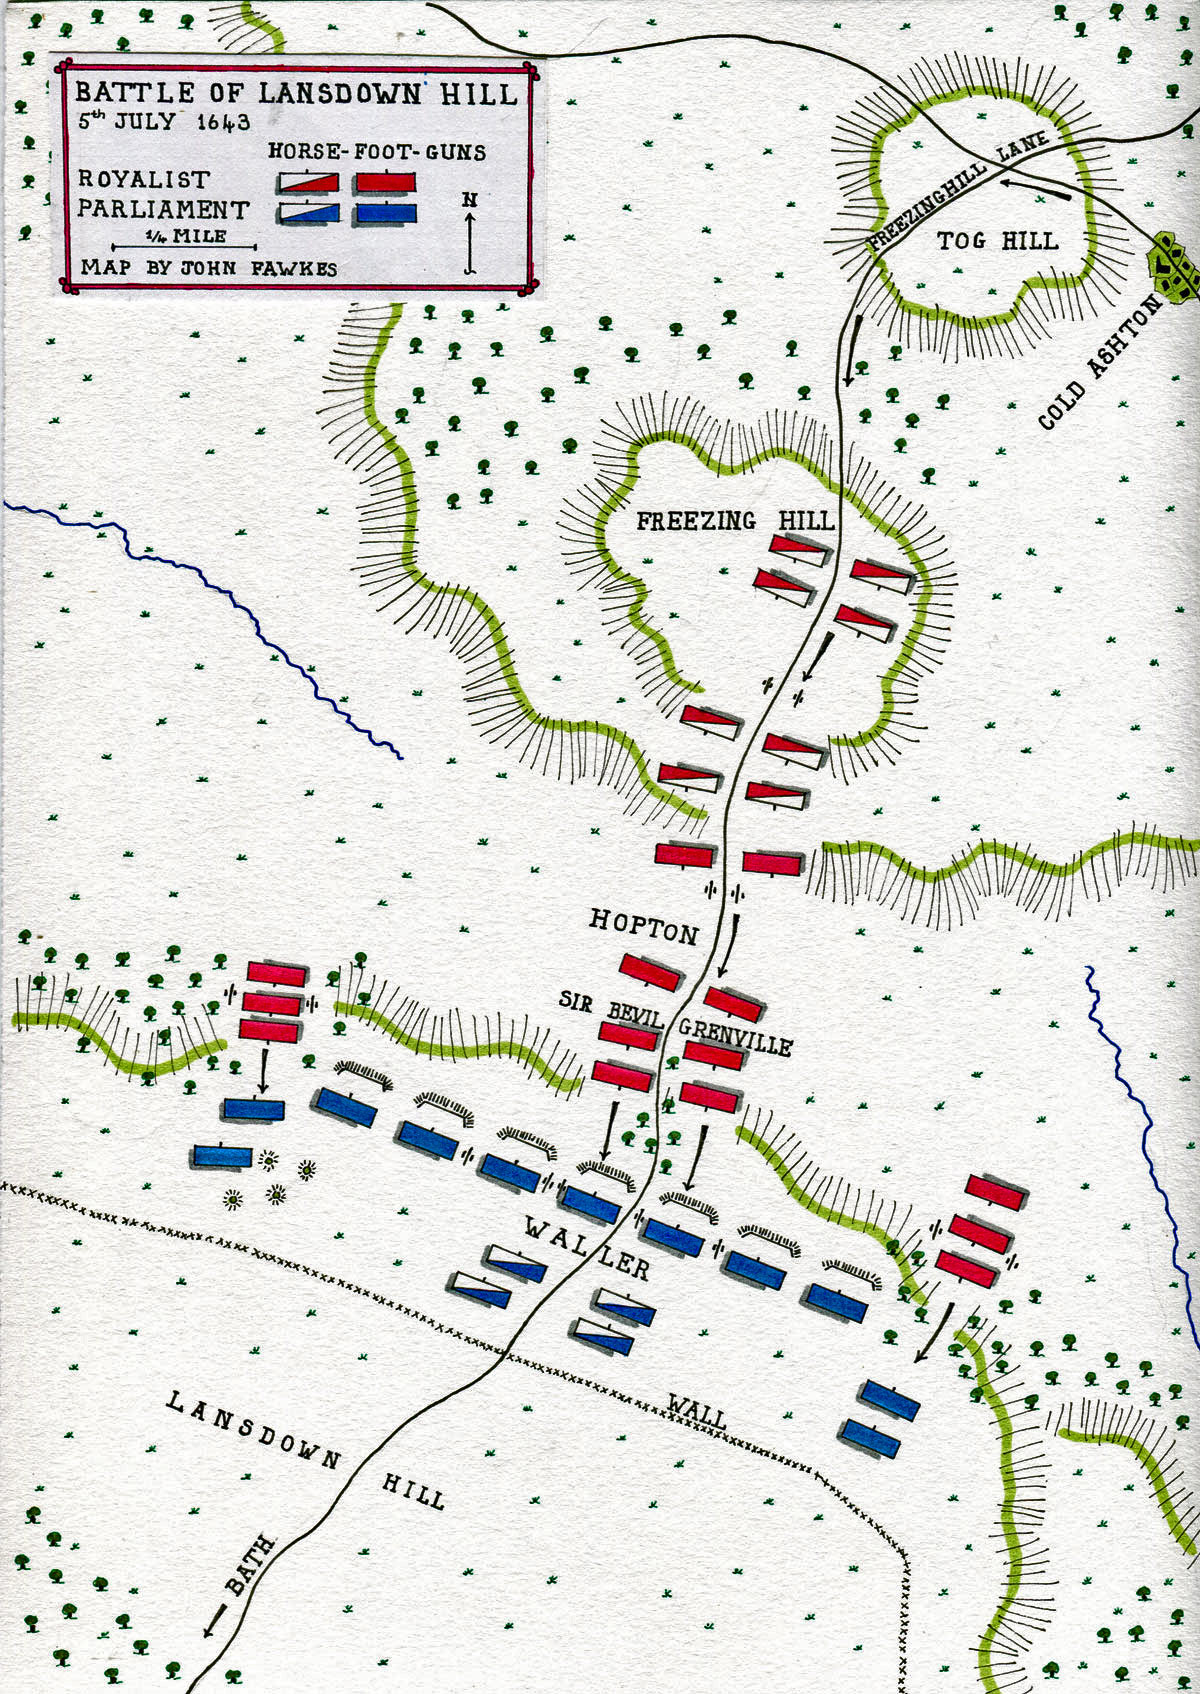
Map of the Battle of Lansdown Hill on 5th July 1643 in the English Civil War: map by John Fawkes
Account of the Battle of Lansdown Hill:
In the early hours of 5th July 1643 Waller’s Parliamentary troops erected field works at the northern end of Lansdown Hill to impede any resumed advance on Bath by the Royalist army by that route. A wall near the northern lip of Lansdown Hill was adopted as a second line of defence.
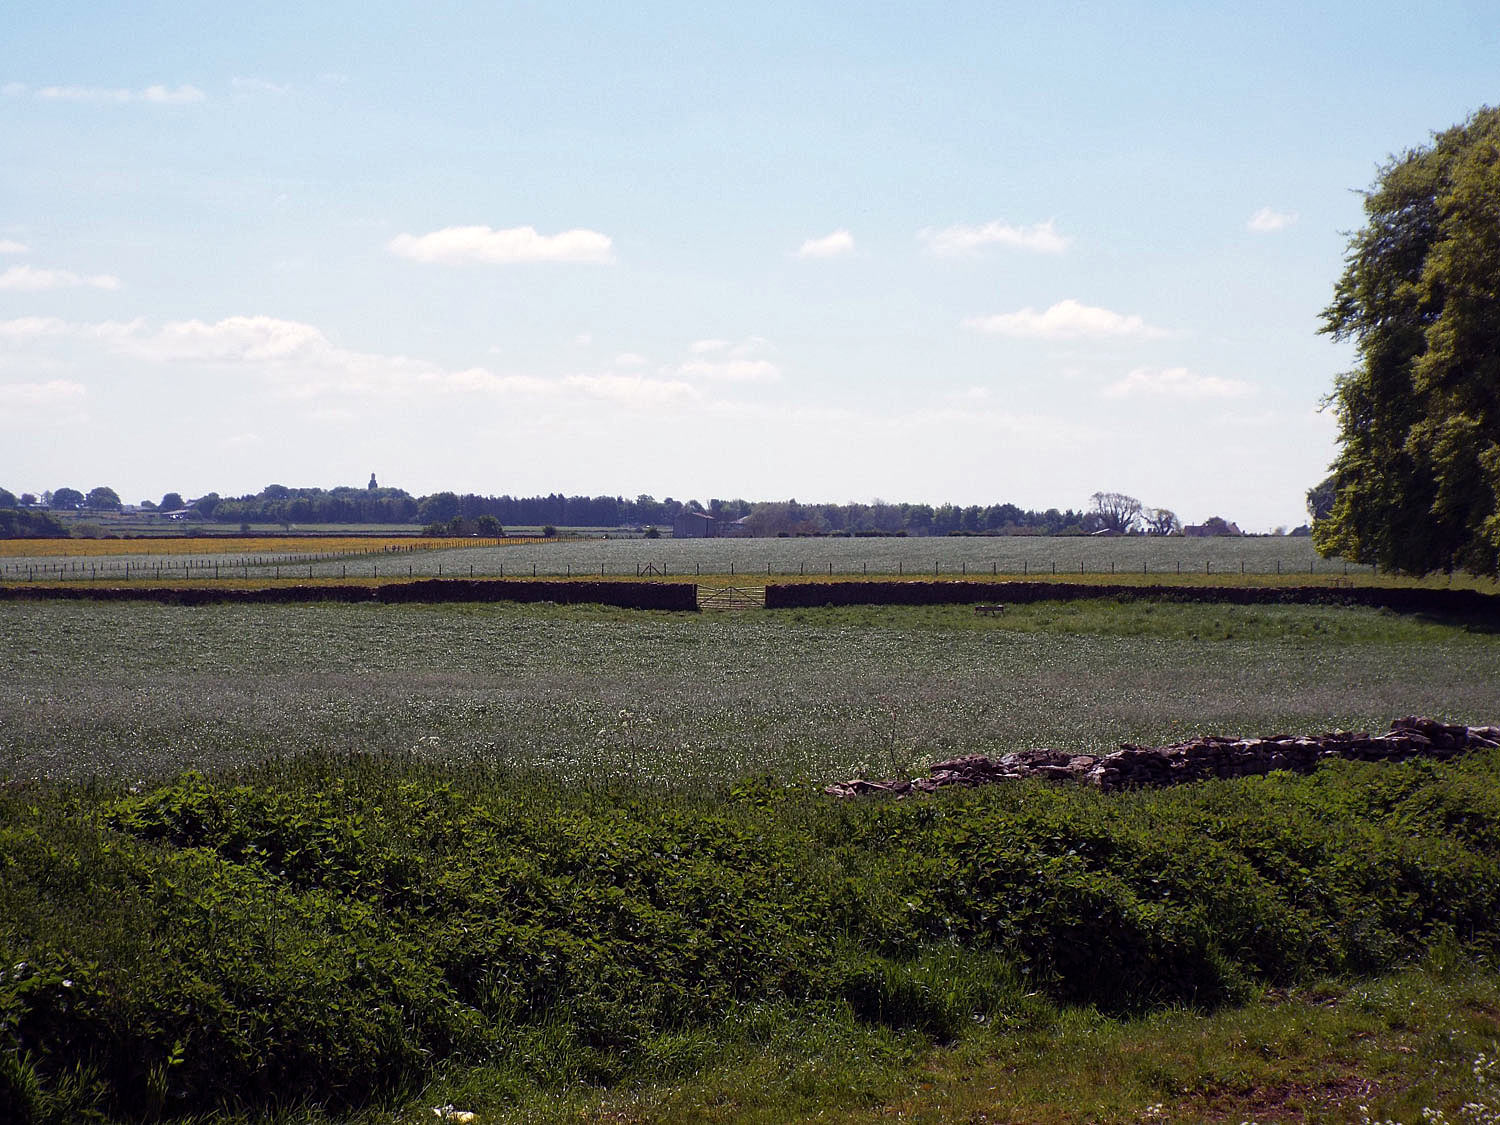
Wall occupied by the Parliamentary army as its second line at the Battle of Lansdown Hill on 5th July 1643 in the English Civil War
While this work was under way a force of Parliamentary cavalry advanced towards to Marshfield to drive in the Royalist patrols and pickets.
The Royalist army set out from Marshfield and advanced down Freezinghill Lane towards Bath via the road over Lansdown Hill. The route crossed Tog Hill and Freezing Hill, during which each side’s dragoons and advanced parties of musketeers skirmished from hedgerow to hedgerow.

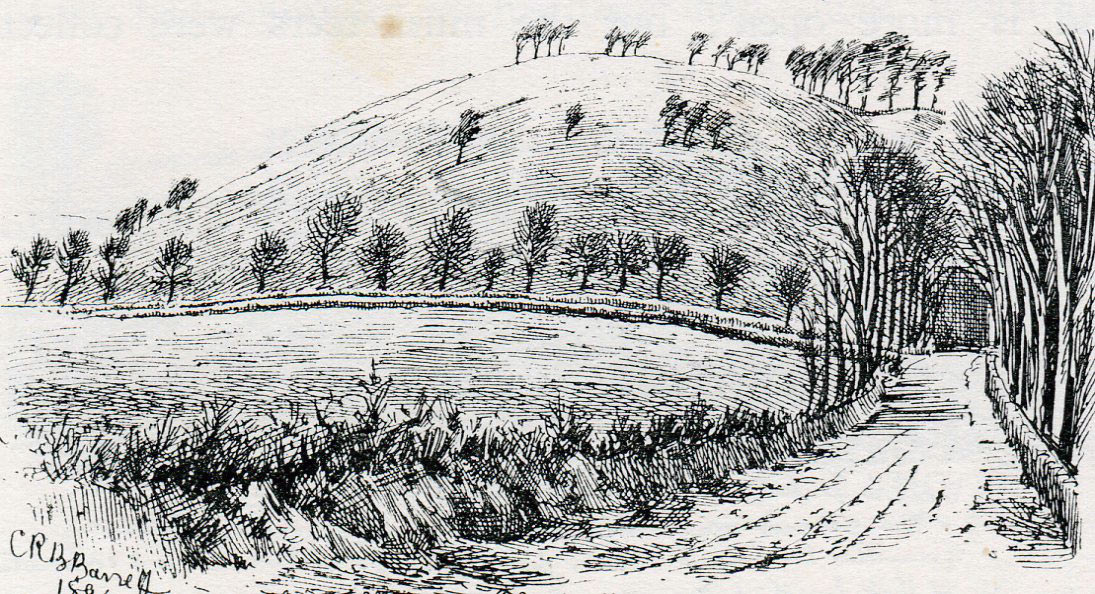
Top of Lansdown Hill, from behind the Parliamentary position at the Battle of Lansdown Hill on 5th July 1643 during the English Civil War: drawing by C.R.B. Barrett
The consequent consumption of scarce ammunition caused Hopton and his officers to decide to abandon the advance and withdraw to Marshfield.
Seeing the Royalist troops beginning to retreat Waller sent Colonel Robert Burrell with 1,000 of Hesilrige’s Cuirassiers and accompanying dragoons in pursuit.
A brisk and confused action took place in the lanes and surrounding hillsides. The Royalist horse broke up and left the Cornish foot to fight alone, although they were quickly supported by the Marquis of Hertford’s Lifeguards and the Earl of Caernarvon’s Regiment of Horse.
These Royalist cavalry regiments forced the Parliamentary horse back to the base of Lansdown Hill while Sir Nicholas Slanning with 250 Royalist musketeers winkled the Parliamentary dragoons from the hedgerows and forced them to withdraw.
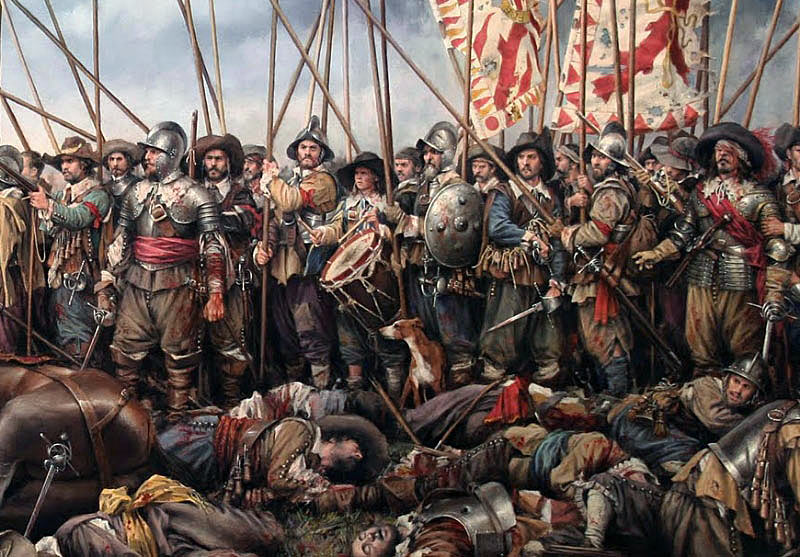
Infantry in battle of the period of the English Civil War: Battle of Lansdown Hill on 5th July 1643
Waller dispatched two more regiments of horse to attack the Royalist foot advancing up the lane from Freezing Hill, but they were driven back by Hopton’s resolute Cornish foot soldiers.
The Parliamentary horse and dragoons fell back to the hill pursued by Hopton’s indomitable Cornish foot.
By 2pm the Royalist army was at the foot of Lansdown Hill ready to assault the Parliamentary troops, positioned behind their hastily prepared field works along the hill top with their guns grouped at the head of the road.
While the road was lined with trees the hillside was largely bare, with areas of woodland away on each flank.
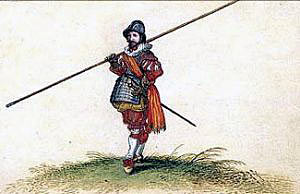
Pikeman of the English Civil War period; Battle of Lansdown Hill on 5th July 1643
The Cornish pikemen and the Royalist Horse pushed on up the road leading to the top of Lansdown Hill, the Cornish foot crying ‘Let us fetch those cannon’.
As the advance went in Hopton dispatched parties of musketeers into the woods off to the left and right to work their way around the flanks of the Parliamentary positions at the top of the hill.
As the Royalist attack went up the road to the top of Lansdown Hill the horse began to falter under the heavy fire and were soon breaking away and galloping back down the hill, many then leaving the battlefield.
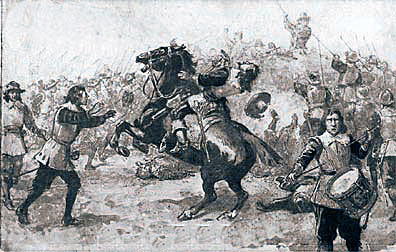
Death of Sir Bevil Grenville at the Battle of Lansdown Hill on 5th July 1643 in the English Civil War
On Freezing Hill to the rear Sir Bevil Grenville saw that the battle had reached a crisis and putting his musketeers and horse in the fields Grenville led his Cornish pikemen in a rapid advance up the road against the tide of retreating Royalist horse. At the top of the road Grenville’s pikemen were subjected to three charges by Waller’s horse in desperate attempts to break the Royalist advance.
Captain Richard Atkyns described finding Grenville’s pikemen standing on a steep section of the hill, ‘as if on a roof’, utterly unmovable. At this point Grenville was mortally wounded to the despair of his men and of the whole Royalist Army. But his pikemen and the flanking bands of Royalist musketeers had passed the line of Parliamentary redoubts and Waller’s men were forced back on the second line formed by the wall.

Top of Lansdown Hill from the Royalist overnight position at the Battle of Lansdown Hill on 5th July 1643 during the English Civil War: drawing by C.R.B. Barrett
The Royalist musketeers on the right occupied some pits situated between the two lines and sniped at the Parliamentary troops behind the wall.
Waller’s troops worked hard to improve the line of the wall, breaking gaps for the passage of the horse, as night fell.
The Royalist hold on the edge of the summit of Lansdown Hill was precarious and they were desperately short of ammunition. A determined attack would drive them back off the hill.
Firing continued during the night and sounds of movement could be heard from the Parliamentary line, but no attack came. At around one a volley was fired at the Royalists.
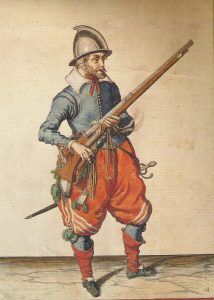
Musketeer of the English Civil War period: Battle of Lansdown Hill on 5th July 1643 during the English Civil War
After that a Royalist soldier was detailed to creep forward and see what was going on behind the wall. As the Royalist commanders suspected the Parliamentarian troops had withdrawn, leaving matches burning on the wall and pikes leaning against the stones to give an impression of the presence of troops.
At dawn patrols confirmed that Waller’s army was back in Bath.
But the Royalist army was in a bad way. Most of the horse had deserted during the battle, many riding back to Oxford, declaring on arrival that the battle had been lost. Ammunition was so low that the Royalist commanders could not risk a further battle. At 8am the Royalist army began to withdraw to Marshfield.
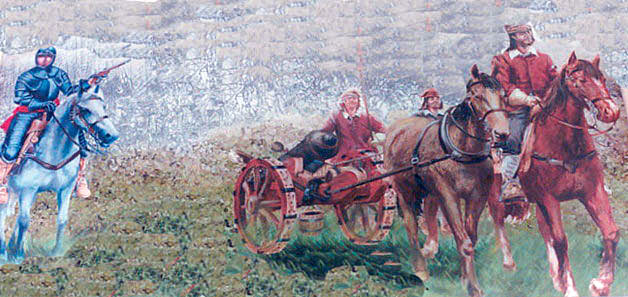
It was at this point that a cart loaded with barrels of black powder exploded, severely wounding Sir Ralph Hopton and killing or wounding a number of officers and prisoners. Along with the important temporary loss of Hopton the Royalist supply of ammunition was reduced still further.
Casualties at the Battle of Lansdown Hill:
Casualties at Lansdown Hill are largely unknown. On the Royalist side a major part of the horse fled the battlefield and returned to Oxford. The remaining foot suffered heavily. Several senior officers were lost: Sir Bevil Grenville was killed, Lord Arundel, Colonel Sir George Vaughan and the Earl of Caernarvon were all wounded but recovered.
Tog Hill: the Battle of Lansdown Hill on 5th July 1643 during the English Civil War: drawing by C.R.B. Barrett
By contrast the Parliamentary army of Sir William Waller was largely intact enabling him to follow the Royalist retreat to Devizes and meet them at the Battle of Roundway Down.
Follow-up to the Battle of Lansdown Hill:
Waller, on hearing of the explosion that consumed so much of the remaining ammunition of the Royalist army and the incapacitation of Sir Ralph Hopton,
drew re-inforcements from the Bristol garrison and pursued the Royalist army, catching them at Devizes and giving battle at Roundway Down.
Battle of Lansdown Hill on 5th July 1643 during the English Civil War
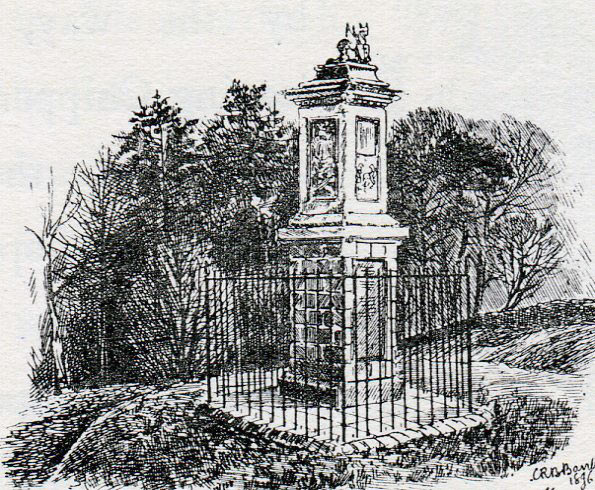
Grenville Memorial: Battle of Lansdown Hill on 5th July 1643 during the English Civil War: drawing by C.R.B. Barrett
Anecdotes and traditions from the Battle of Lansdown Hill:
- Clarendon describes the Marquis of Hertford’s army on its arrival at Chard as ‘how small soever the marquis’s party was in numbers, it was supplied with all the general officers of a royal army-a General, Lieutenant-General, General of the Horse, General of the Ordnance, a Major-General of Horse and another of Foot… so that the chief officers of the Cornish army, by joining with a much less party than themselves, were at best in the condition of private colonels…’ It says much for the good sense of Sir Ralph Hopton’s officers that the amalgamation of the two forces worked at all.
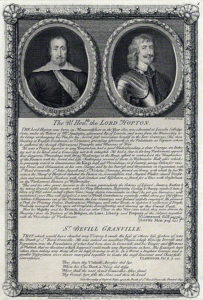
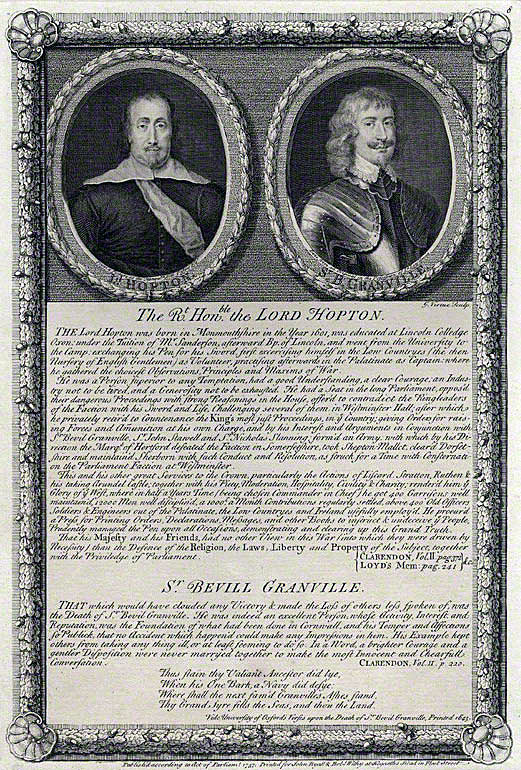
Sir Ralph Hopton and Sir Bevil Grenville: Battle of Lansdown Hill on 5th July 1643 in The English Civil War: post-war engraving by George Vertue
- The dislike between the two sections of the Royalist army extended down through the ranks. Captain Richard Atkyns stated ‘the Cornish Foot could not well brook our Horse (especially when we were drawn up on corn) but they would many times let fly at us: these were the best Foot I ever saw, for marching and fighting; but so mutinous withal, that nothing but an alarm could keep them from falling foul upon their officers.’
- A major cause of friction was the indiscipline of the Royalist horse and their habit of looting the countryside through which they marched regardless of the loyalties of the inhabitants. This seriously impeded the business of providing for the army and raising financial contributions for the King’s cause. The Marquis of Hertford attempted to impose discipline upon the Royalist horse but was unable to overcome the resistance of Prince Maurice who considered that his soldiers were entitled to their booty.
- Sir Bevil Grenville died of his wounds in the Rectory at Cold Ashton later on 5th July 1643. His body was taken home to Kilkhampton in Cornwall by his servant Anthony Payne, a giant of a man. It is said that many of the soldiers of Grenville’s regiment deserted and returned home, refusing to fight under any other leader.
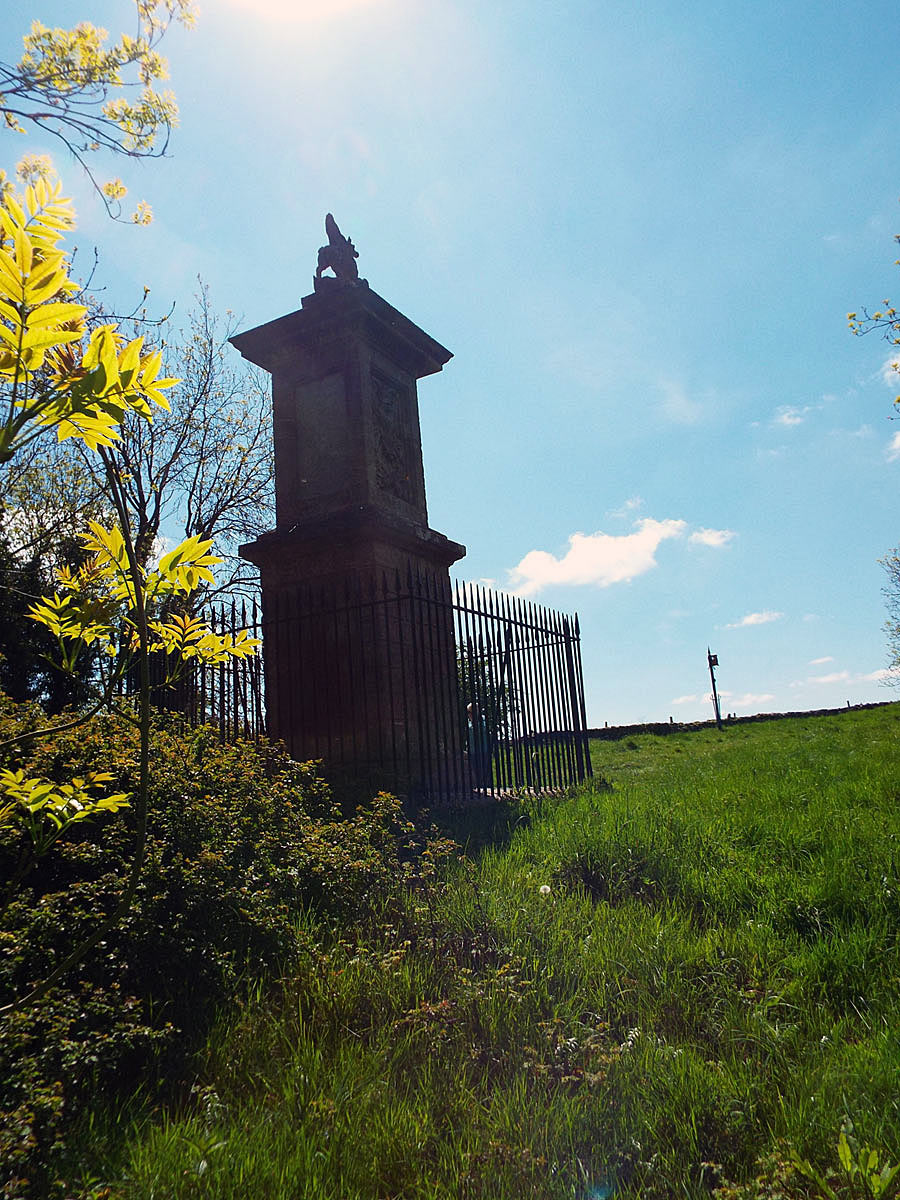
Memorial to Sir Bevil Grenville erected at the spot where he received a mortal wound during the attack he led on the Parliamentary position at the top of Lansdown Hill: Battle of Lansdown Hill 5th July 1643 in the English Civil War
- A memorial to Sir Bevil Grenville was erected on the battlefield by his grandson George Granville, Lord Lansdown in the early 18th Century.
- Hedgerows were particularly popular as cover with the musketeers of each side, whether foot soldiers or dismounted dragoons, providing concealment and also physical protection from assault by the opposing side’s horsemen.
References for the Battle of Lansdown Hill:
The English Civil War by Peter Young and Richard Holmes
History of the Great Rebellion by Clarendon
Cromwell’s Army by CH Firth
English Heritage Battlefield Report: Roundway Down 1643
British Battles by Grant Volume I
The previous battle in the English Civil War the Battle of Adwalton Moor
The next battle in the English Civil War is the Battle of Roundway Down
To the English Civil War index