The battle fought on 2nd April 1879, where Lord Chelmsford defeated a Zulu army on his route to overwhelming the Zulu nation at Ulundi
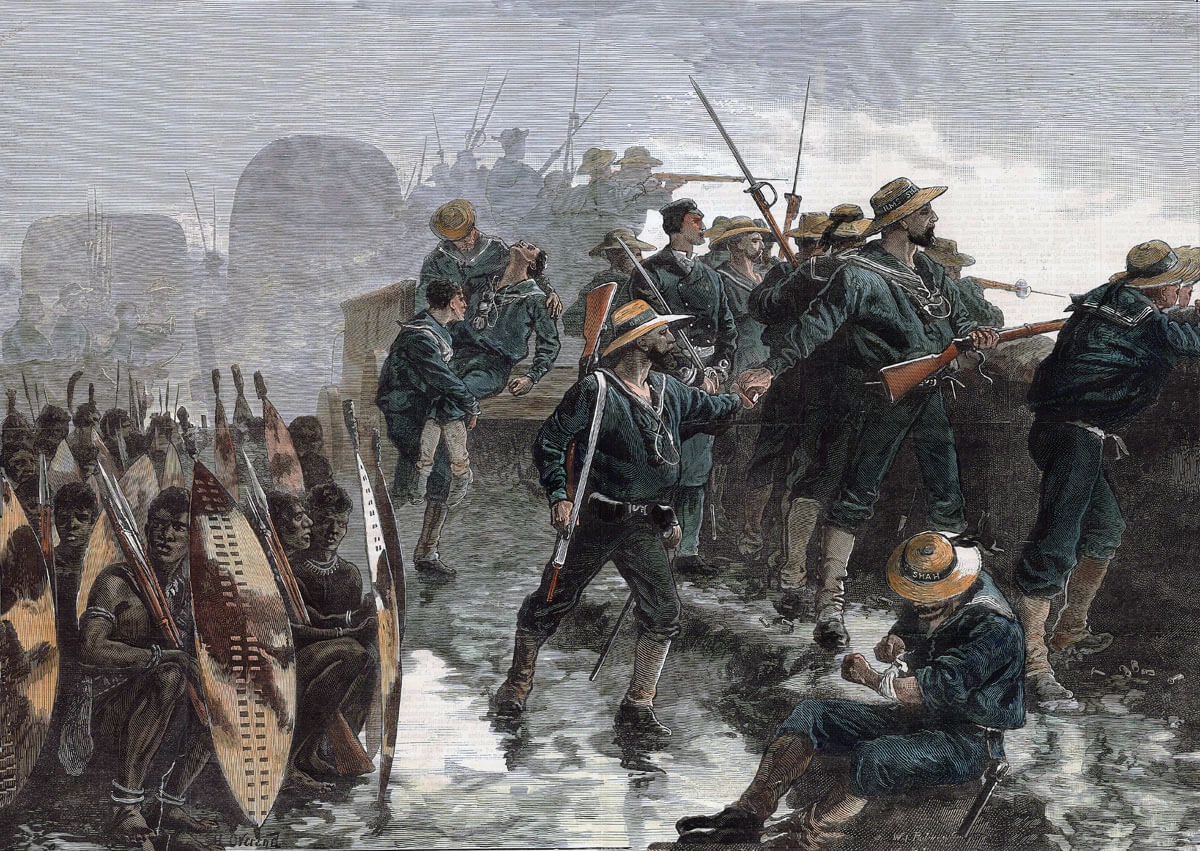
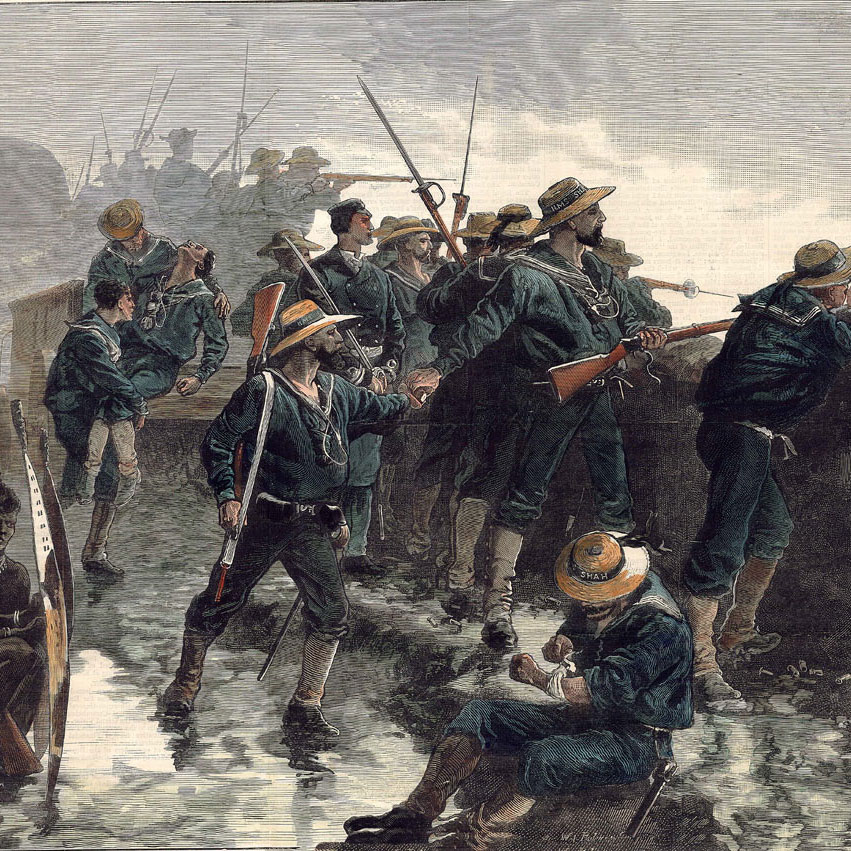
Royal Navy sailors in the British square at the Battle of Gingindlovu on 2nd April 1879 in the Zulu War
 55. Podcast on the Battle of Gingindlovu fought on 2nd April 1879 in the Zulu War, Lord Chelmsford defeating a Zulu army on his route to Ulundi: John Mackenzie’s britishbattles.com podcasts
The previous battle of the Zulu War is the Battle of Khambula
The next battle of the Zulu War is the Battle of Ulundi
Battle: Gingindlovu
War: Zulu War
Date of the Battle of Gingindlovu: 2nd April 1879
Place of the Battle of Gingindlovu: Eastern Zululand in South Africa
Combatants at the Battle of Gingindlovu: British and Natal colonial troops against the Zulus.
Commanders at the Battle of Gingindlovu: Lieutenant General Lord Chelmsford against Somopho kaZikhala.
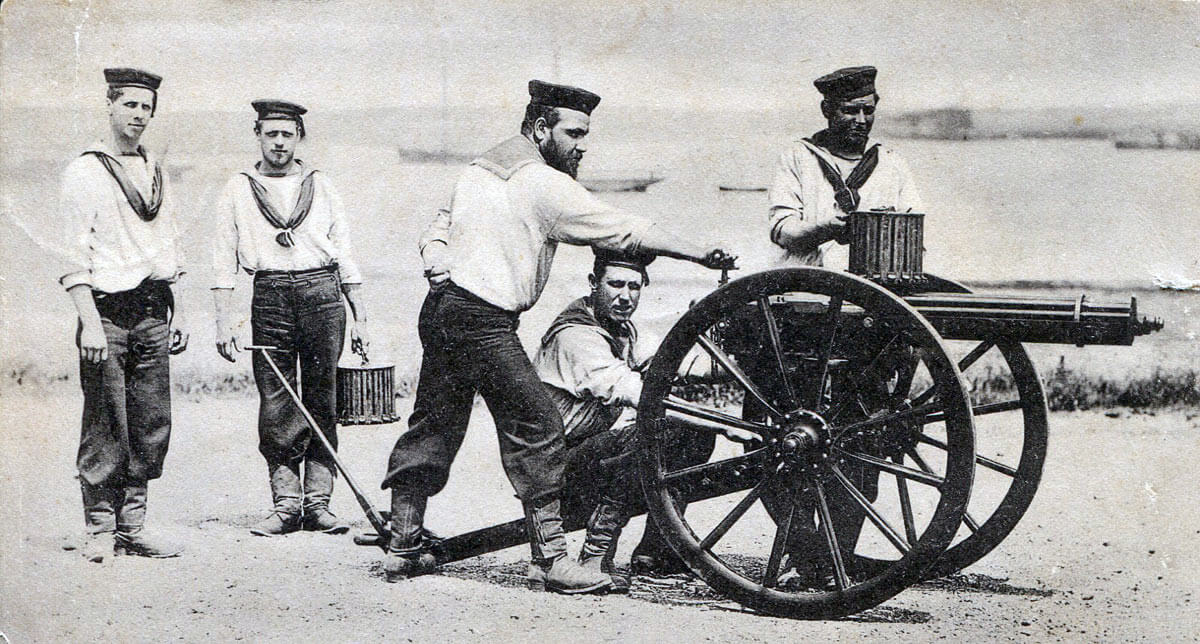
Royal Navy Gatling Gun team: Battle of Gingindlovu on 2nd April 1879 in the Zulu War
Size of the armies at the Battle of Gingindlovu: 5,250 British and colonial troops against 11,000 Zulus.
Uniforms, arms and equipment at the Battle of Gingindlovu: The Zulu warriors were formed in regiments by age, their standard equipment the shield and the stabbing spear. The formation for the attack, described as the ‘horns of the beast’, was said to have been devised by Shaka, the Zulu King who established Zulu hegemony in Southern Africa. The main body of the army delivered a frontal assault, called the ‘loins’, while the ‘horns’ spread out behind each of the enemy’s flanks and delivered the secondary and often fatal attack in the enemy’s rear.
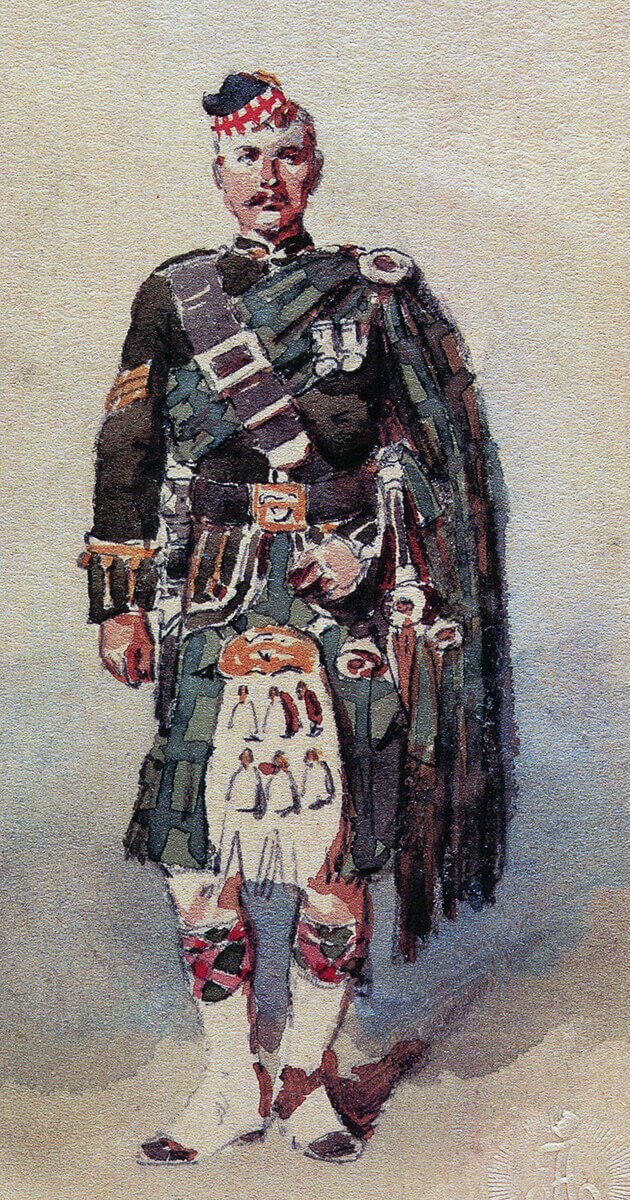
Sergeant Piper of the 91st Highlanders: Battle of Gingindlovu on 2nd April 1879 in the Zulu War: picture by Orlando Norie
Cetshwayo, the Zulu King, fearing British aggression took pains to purchase firearms wherever they could be bought. By the outbreak of war, the Zulus had tens of thousands of muskets and rifles, but of a poor standard, and the Zulus were ill-trained in their use.
The Zulus captured some 1,000 Martini Henry breech loading rifles and a large amount of ammunition at the Battle of Isandlwana. These rifles were used in the subsequent battles fought by the Zulus against the British, including the Battle of Gingindlovu.
The regular British infantry were equipped with the breach loading single shot Martini-Henry rifle and bayonet. The British infantry wore red tunics, white solar topee helmets and dark blue trousers, with red piping down the side. The irregular mounted units wore blue tunics and slouch hats.
Winner of the Battle of Gingindlovu: the British
British Regiments at the Battle of Gingindlovu:
Royal Artillery
3rd Regiment, the Buffs: now the Princess of Wales’s Royal Regiment.
57th Regiment: later the Middlesex Regiment and now the Princess of Wales’s Royal Regiment.
3rd Battalion, 60th Rifles: later the King’s Royal Rifle Corps and now the Rifles.
91st Highlanders: later the Argyll and Sutherland Highlanders and now the Royal Regiment of Scotland.
99th Regiment: later the Wiltshire Regiment and now the Rifles.
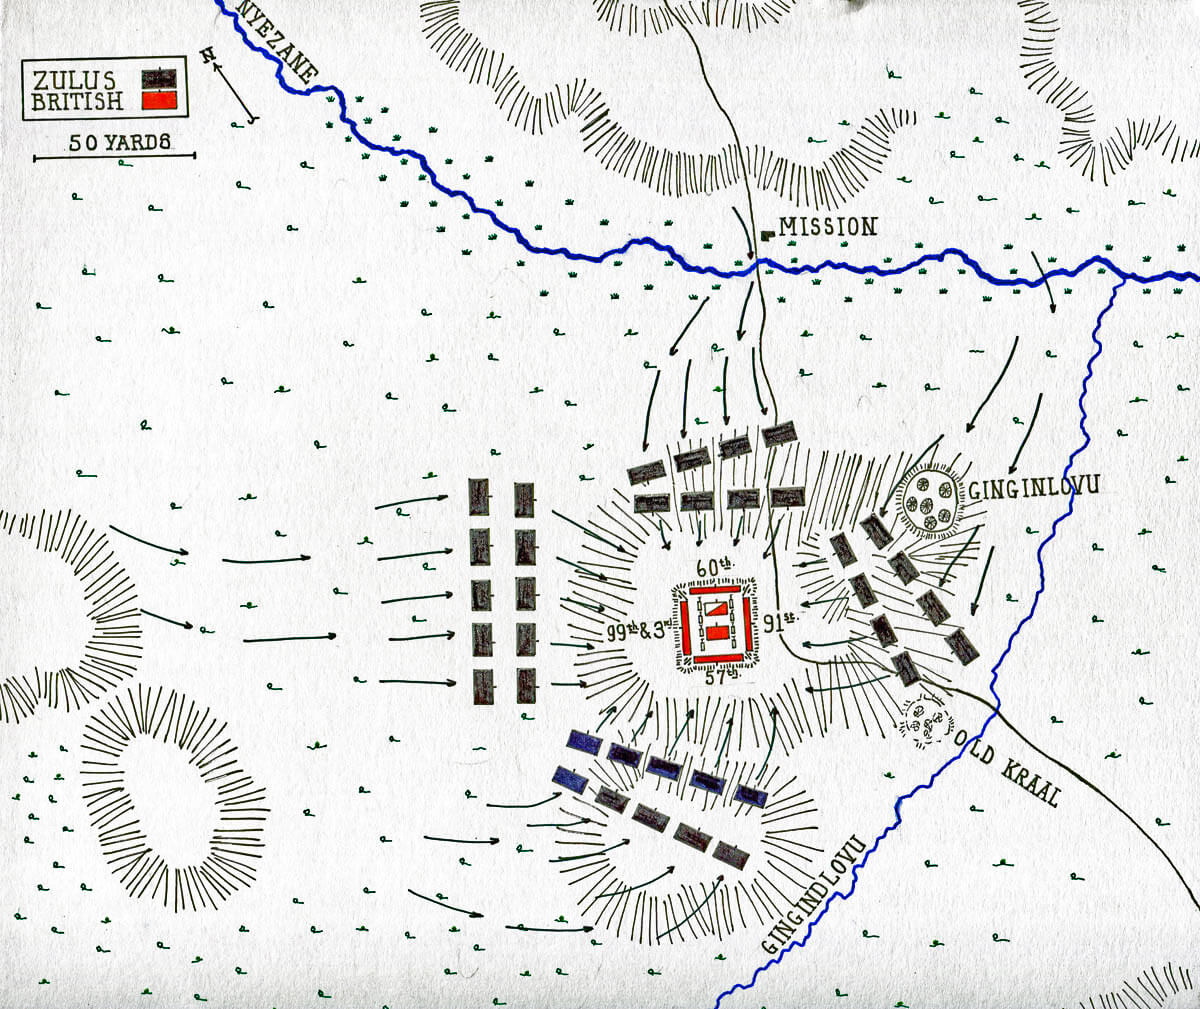
Map of the Battle of Gingindlovu on 2nd April 1879 in the Zulu War: map by John Fawkes
Account of the Battle of Gingindlovu:
The Zulu War was among the most savage of Britain’s colonial wars: The Battle of Isandlwana saw the massacre of a battalion of British infantry (1st Battalion, 24th Foot): At the Battle of Rorke’s Drift, 140 British troops slew 500 Zulus with their breech loading rifles, firing from inside the fortified post. At the Battle of Khambula, Evelyn Wood’s column killed 2,000 Zulus with its volley fire and probably mortally wounded a further 1,000.
Following the disaster of Isandlwana, the British government rushed reinforcements to Natal: two regiments of cavalry, two batteries of Royal Artillery and five battalions of infantry.
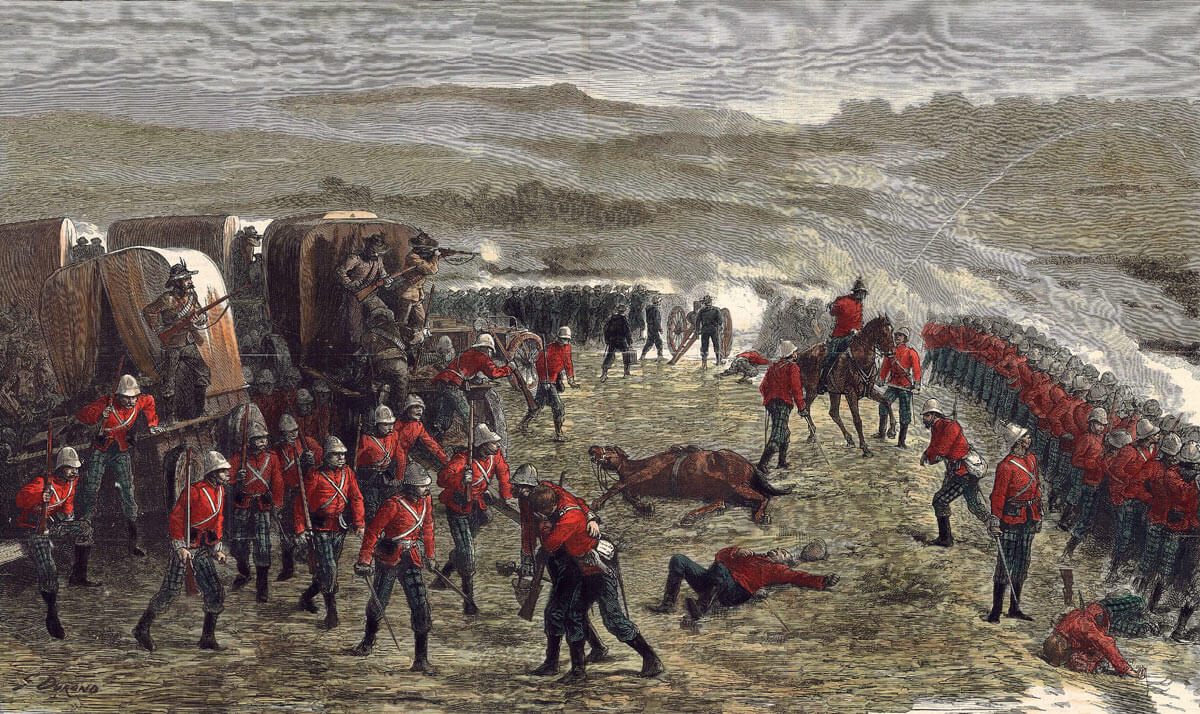
91st Highlanders in the British Square at the Battle of Gingindlovu on 2nd April 1879 in the Zulu War with the 60th Rifles in the background and a Gatling Gun and Rocket Trough in the corner of the Square
At the end of March 1879, Colonel Pearson’s Number One Column lay isolated in a fortified position at Eshowe, deep in eastern Zululand. Lord Chelmsford’s desperate worry was that this force would succumb before he could relieve it.
On 29th March 1879, Chelmsford’s column crossed the Buffalo River and began its march to the relief of Pearson’s force. The country was covered by Zulu scouts. Signals flashed by heliograph were received from Pearson’s camp at Eshowe. It was clear to Chelmsford that his advance would be fiercely contested, progress further impeded by the terrible weather.

91st Highlanders: Battle of Gingindlovu on 2nd April 1879 in the Zulu War
On 1st April 1879, Chelmsford’s column reached the Royal Kraal of Gingindlovu and laagered for the night. A heavy rain came on. Chelmsford had taken careful note of the lessons from Isandlwana. At every encampment, the wagons were carefully positioned to create an unbroken laager wall and the troops required to dig sections of trench around the laager. Every camp was rendered fully defensible in case of sudden attack.
Chelmsford’s chief scout, John Dunn, a pre-war inhabitant of Zululand for many years, scouted across the Nyezane River. Beyond the river he encountered the Zulu Army, some 11,000 warriors. Dunn returned to the British camp and reported to Chelmsford that the Zulus would attack in the morning.
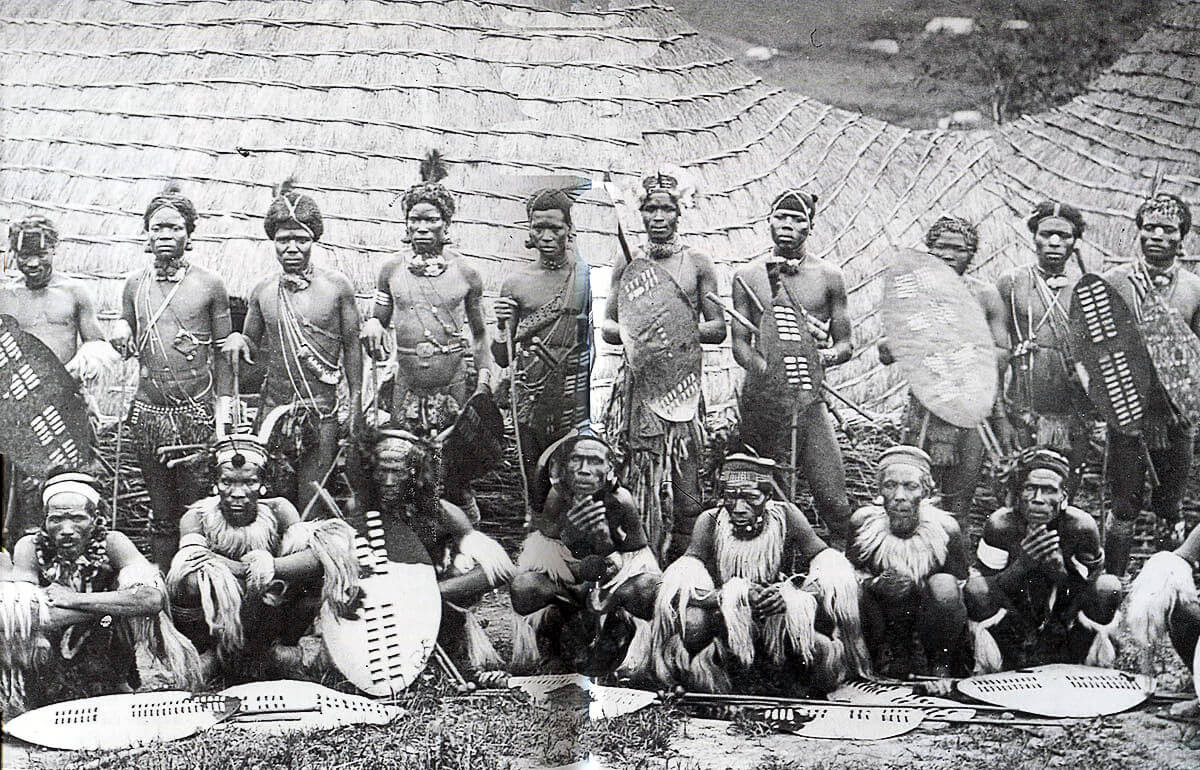
Zulu Warriors: Battle of Gingindlovu on 2nd April 1879 in the Zulu War
Chelmsford’s column was laagered on the top of a hill, the sides sloping away in each direction, as good a position as any for the battle. In accordance with the new standing orders, the laager was entrenched in a square.
The north face of the square was held by the 3rd Battalion, the 60th Rifles; the west face by the 99th Regiment and the Buffs (3rd Foot); the east face by the 91st Highlanders and the south face by the 57th Regiment. The corners of the square were reinforced by Gatling Guns, conventional artillery and rocket troughs.
As the sun rose, irregular horse and infantry piquets patrolled towards the Nyezane River, scouting for the Zulu advance.
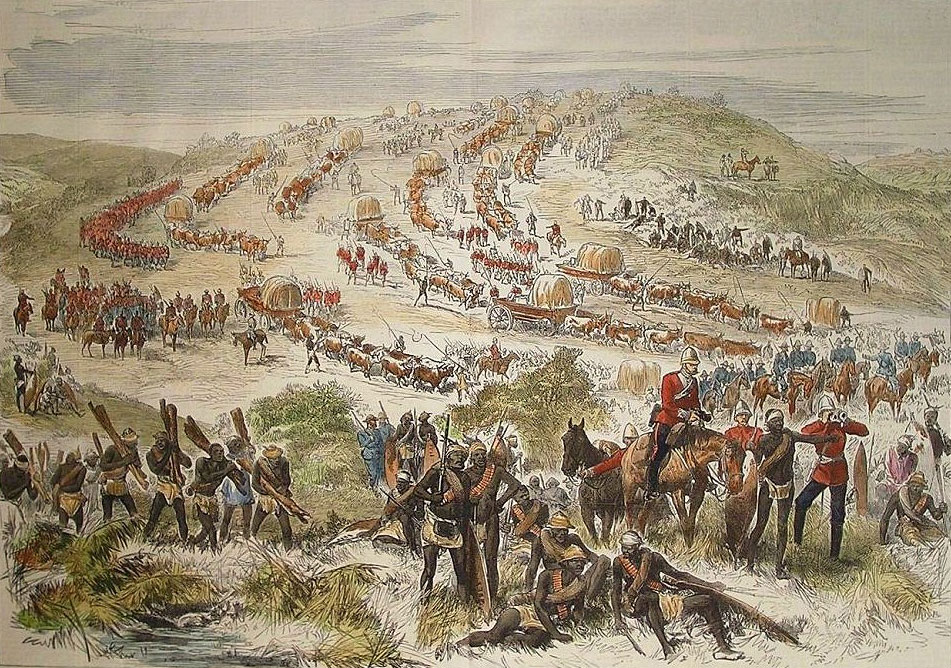
Chelmsford’s march to relieve Eshowe: Battle of Gingindlovu on 2nd April 1879 in the Zulu War: picture by Melton Pryor
The British regiments in the camp stood to at 4am. Shortly before 6am, reports came in from the advanced piquets of the Zulu approach. A native soldier pointed to the skyline. ‘Impi’ he declared. The British officers stared at the hill top for some time, before realising that what they had taken to be a long smudge of vegetation was the mass of the advancing Zulu ‘chest’. Zulu skirmishers opened fired from cover as they rushed forward.
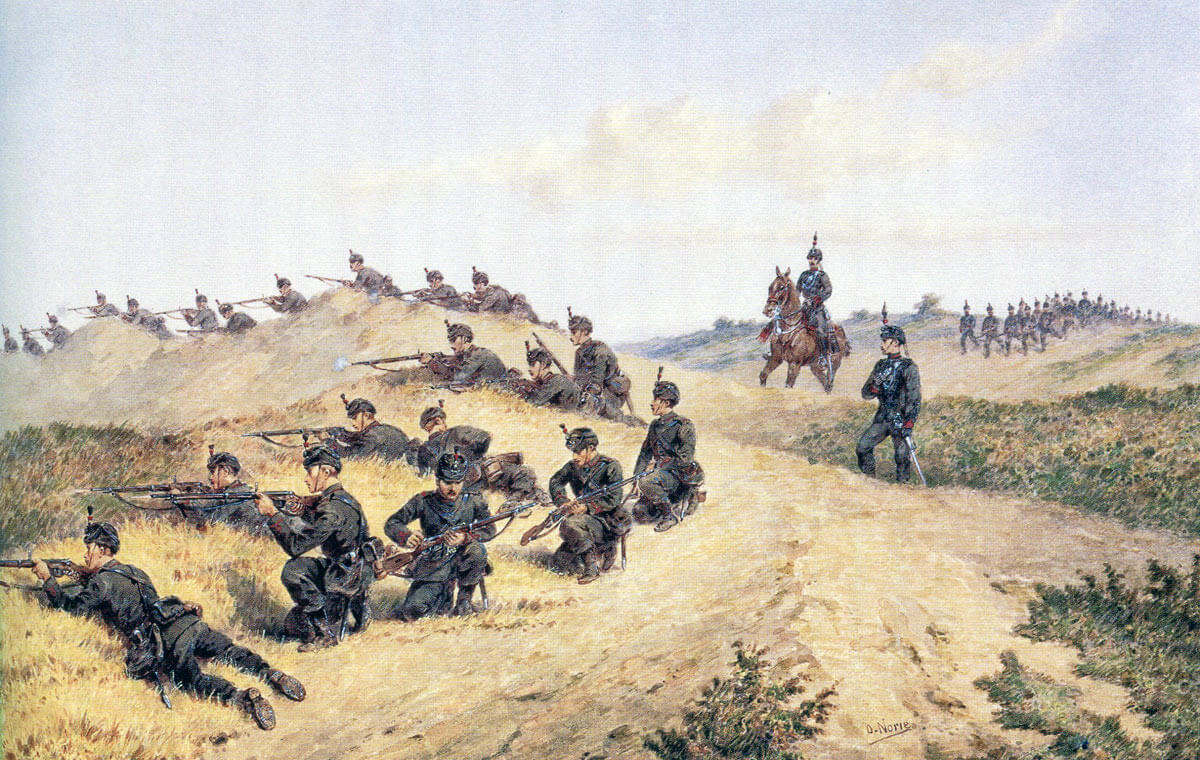
60th Rifles in England: Battle of Gingindlovu on 2nd April 1879 in the Zulu War: picture by Orlando Norie
The first attack was received on the north side of the British entrenchments by the 60th Rifles. One of the newly arrived regiments, the young soldiers of the 60th found the ordeal of the Zulu attack trying in the extreme and it took all the leadership of the battalion’s officers to keep their troops steady and firing. The Gatling guns at the ends of the line provided much needed support.
Under heavy fire from the British line, the Zulu charge faltered and flowed around to the west flank of the square, where the attack was renewed against the 99th Regiment. In the face of the volley firing from the two sides of the square the Zulu ‘chest’ finally went to ground in cover.
The ‘horns’ of the Zulu advance rushed around the British position expecting to find the rear open, as at Isandlwana, only to meet the volley firing of the 91st Highland Regiment and the 57th Regiment. Here too, the Zulus were forced into cover.
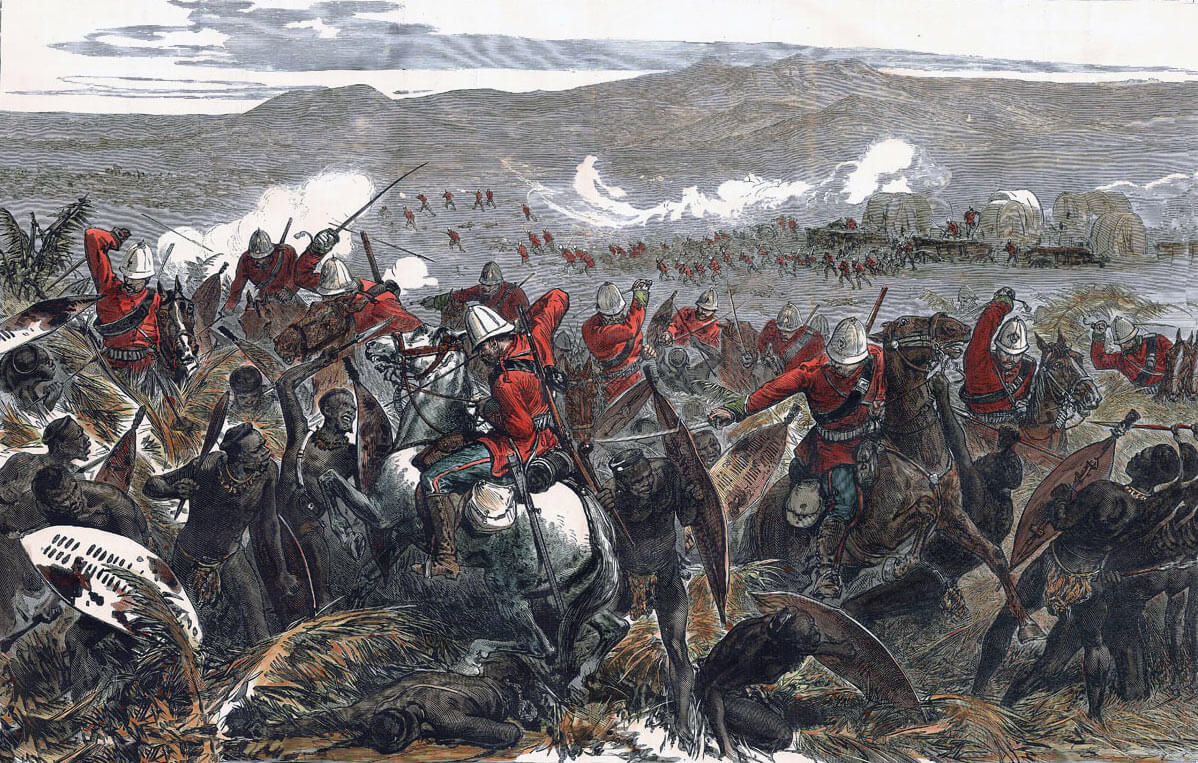
Repulse of the Zulu attack at the Battle of Gingindlovu on 2nd April 1879 in the Zulu War
In the face of the sustained fire from the 91st and 57th, the attack on the rear of the laager ebbed away and Chelmsford ordered his mounted units out of the square to complete the victory. The mounted attack was premature and it was some time before the Zulu withdrawal took hold.
Soon after 7am, the battle was over and the Zulus in full retreat, pursued by the mounted troops and the native contingent. Large numbers of Zulu warriors were killed in the long pursuit.
As at the Battle of Khambula, the Zulus wounded on the battlefield were killed. The Zulu army was effectively dispersed.
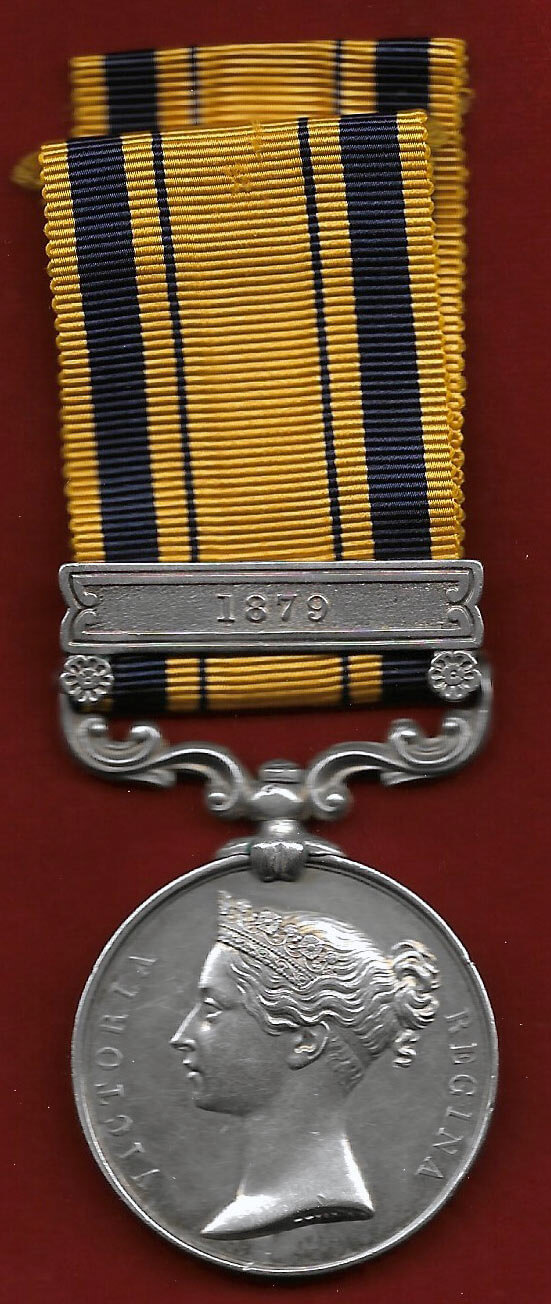
Zulu War Medal: Battle of Gingindlovu on 2nd April 1879 in the Zulu War
The outcome of the battle was a great relief to Chelmsford, showing him that his army’s confidence was re-established and enabling him to continue his advance to Pearson’s camp and on to defeat the Zulu King, Cetshwayo, at the Battle of Ulundi.
Casualties at the Battle of Gingindlovu: British casualties were 6 officers and 55 men; among the dead was Lieutenant Colonel Northey of the 60th Rifles. Zulu casualties were calculated at 1,000.
References for the Battle of Gingindlovu:
Washing of the Spears by D. Morris
Zulu War by Ian Knight
Recent British Battles by Grant
55. Podcast on the Battle of Gingindlovu fought on 2nd April 1879 in the Zulu War, Lord Chelmsford defeating a Zulu army on his route to Ulundi: John Mackenzie’s britishbattles.com podcasts
The previous battle of the Zulu War is the Battle of Khambula
The next battle of the Zulu War is the Battle of Ulundi