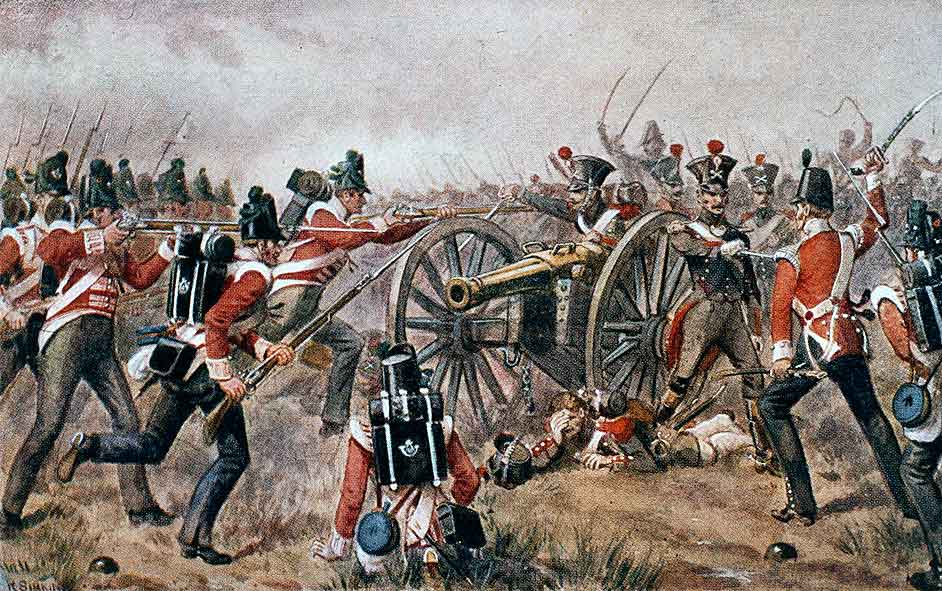
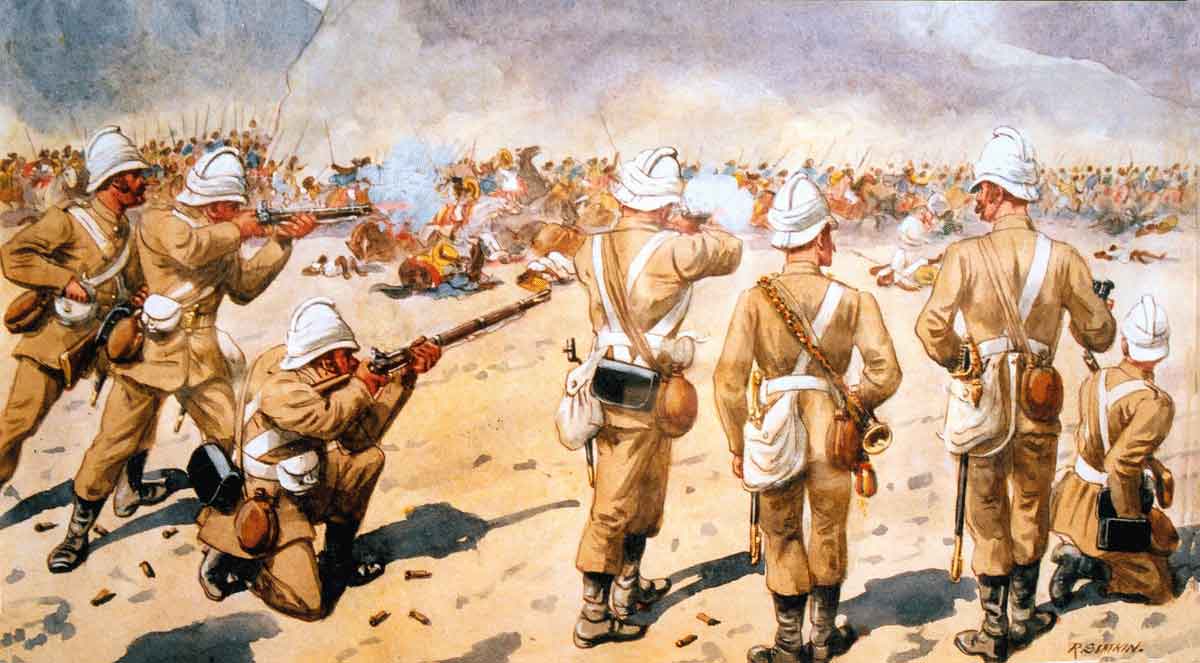
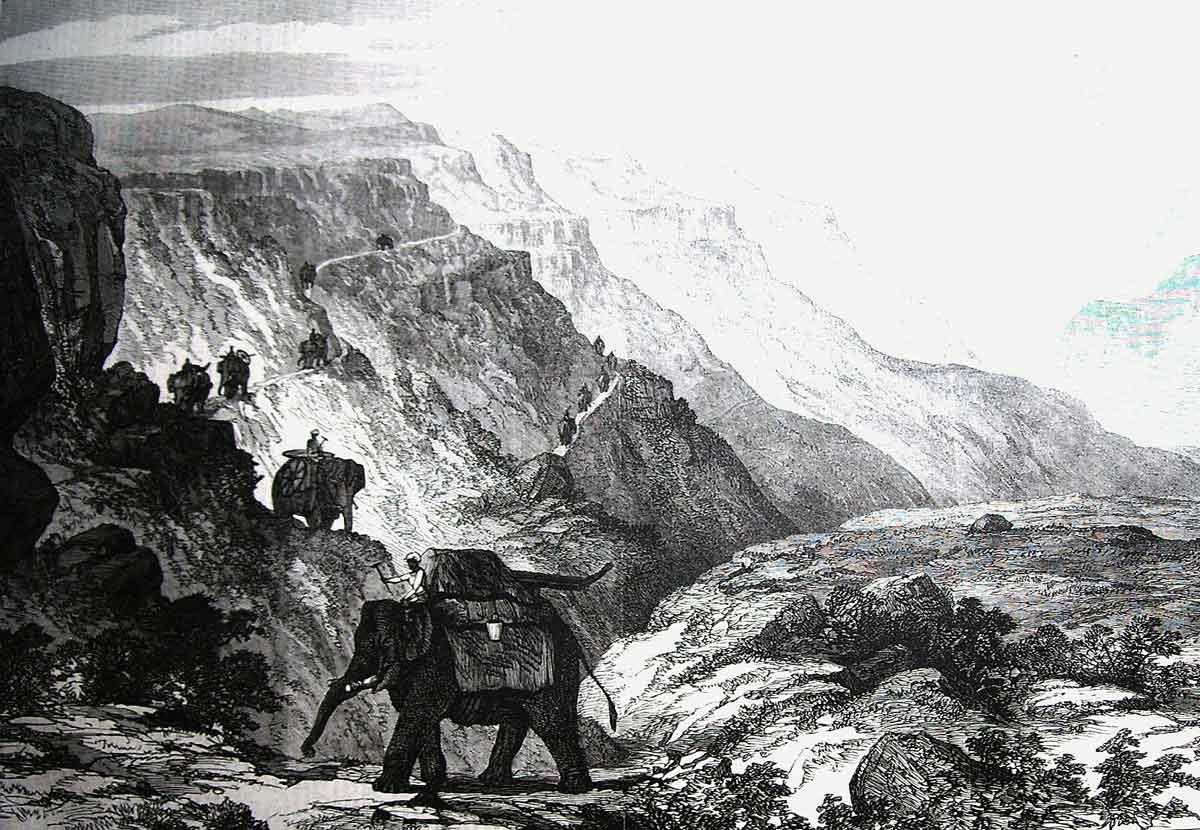
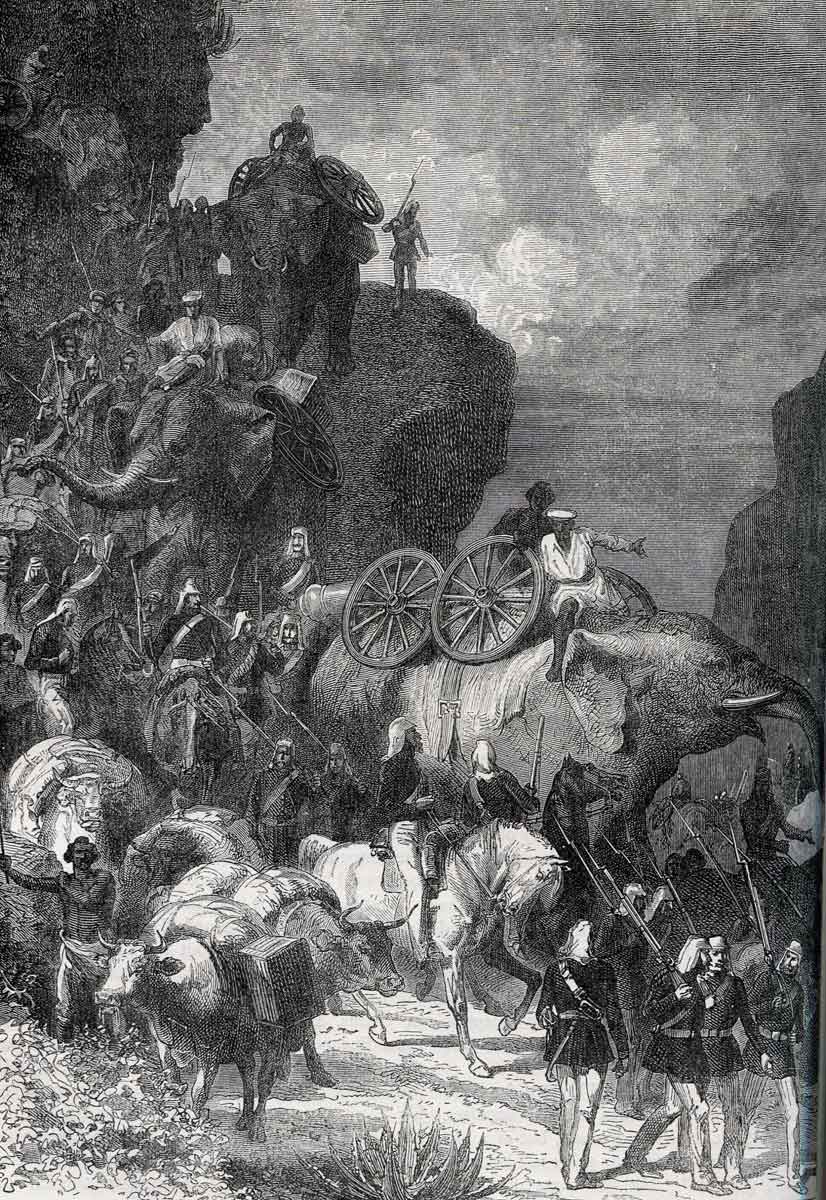
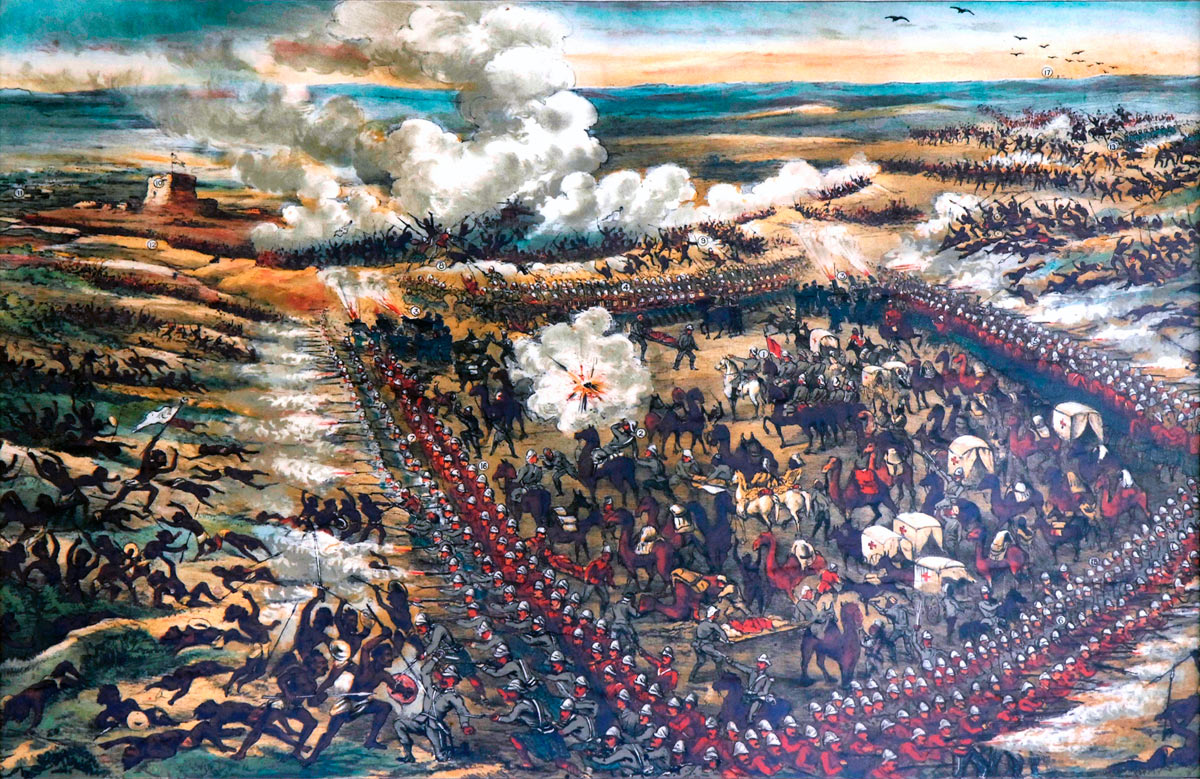
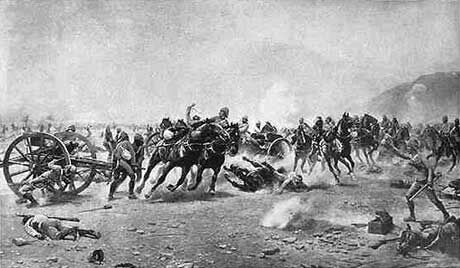
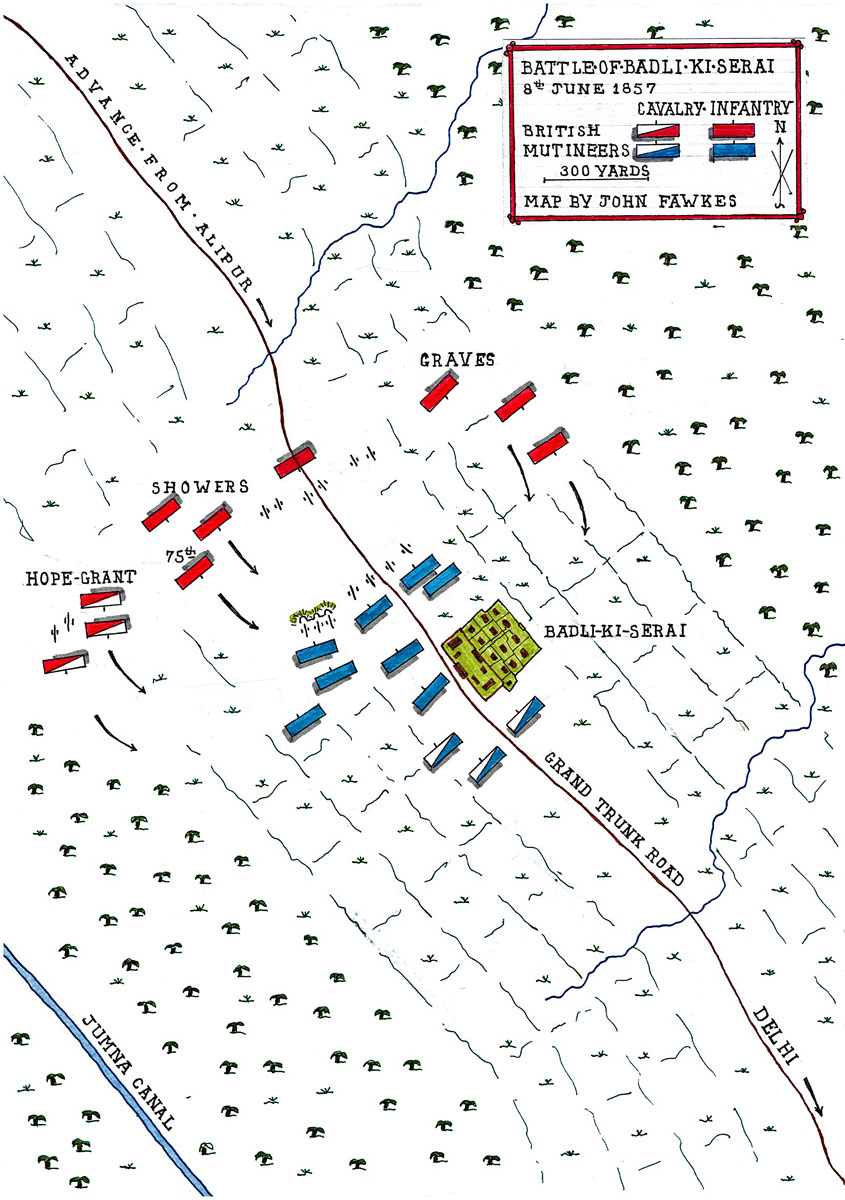
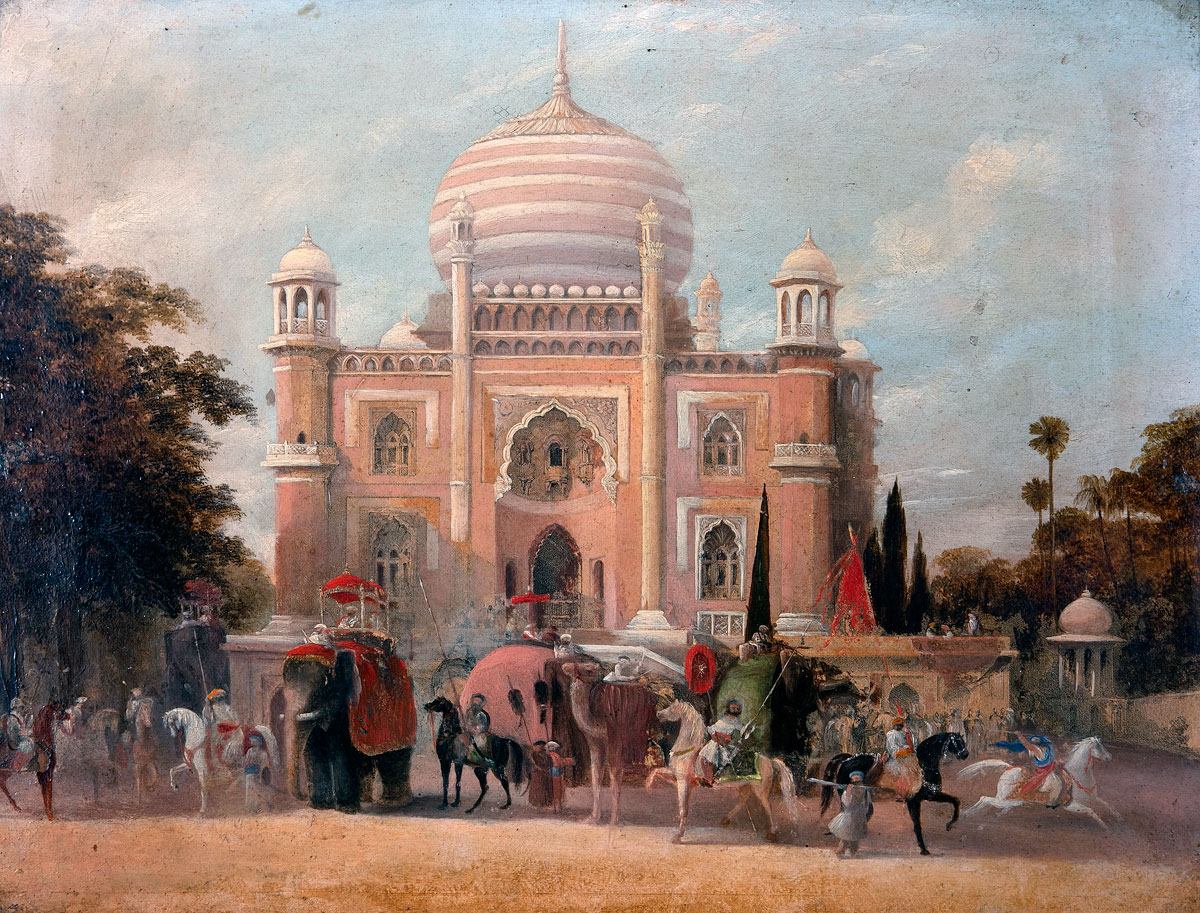
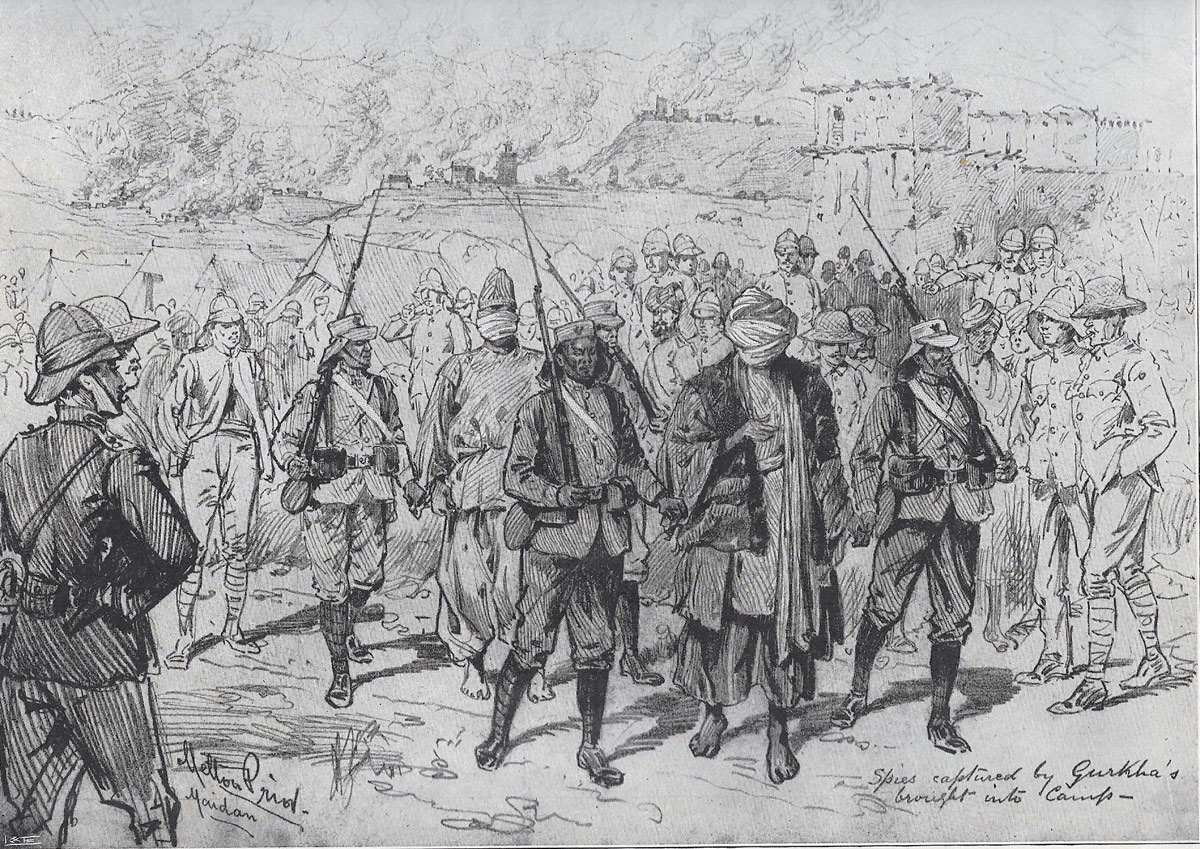
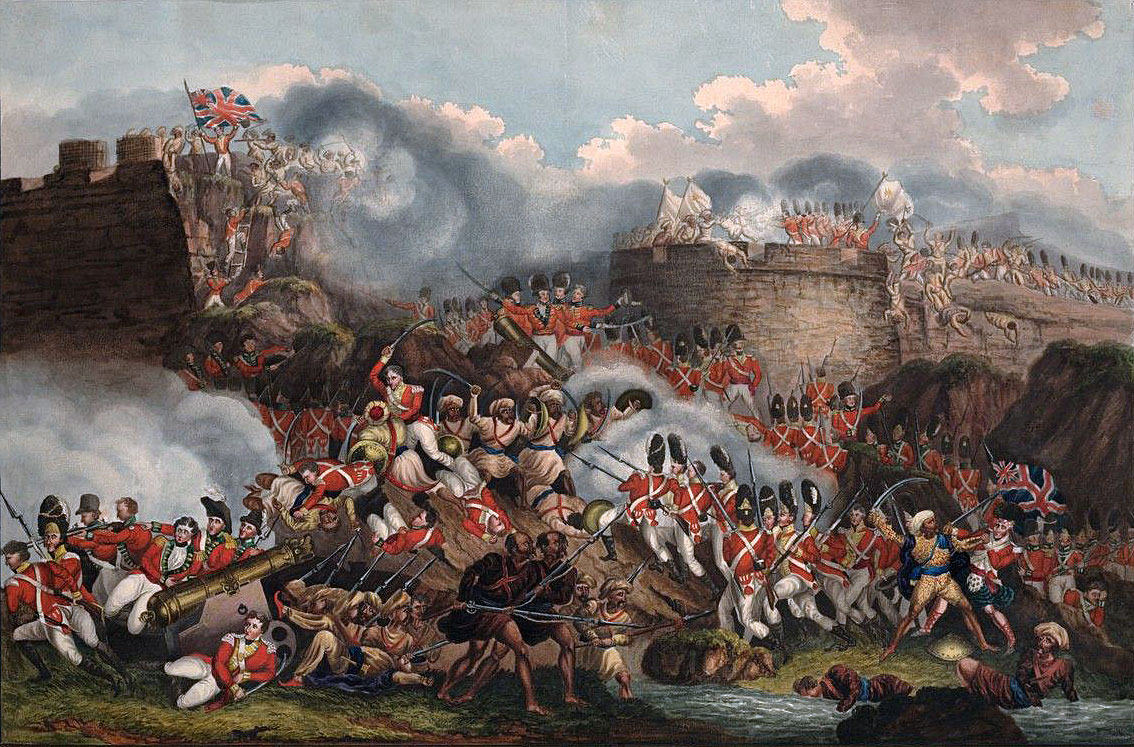
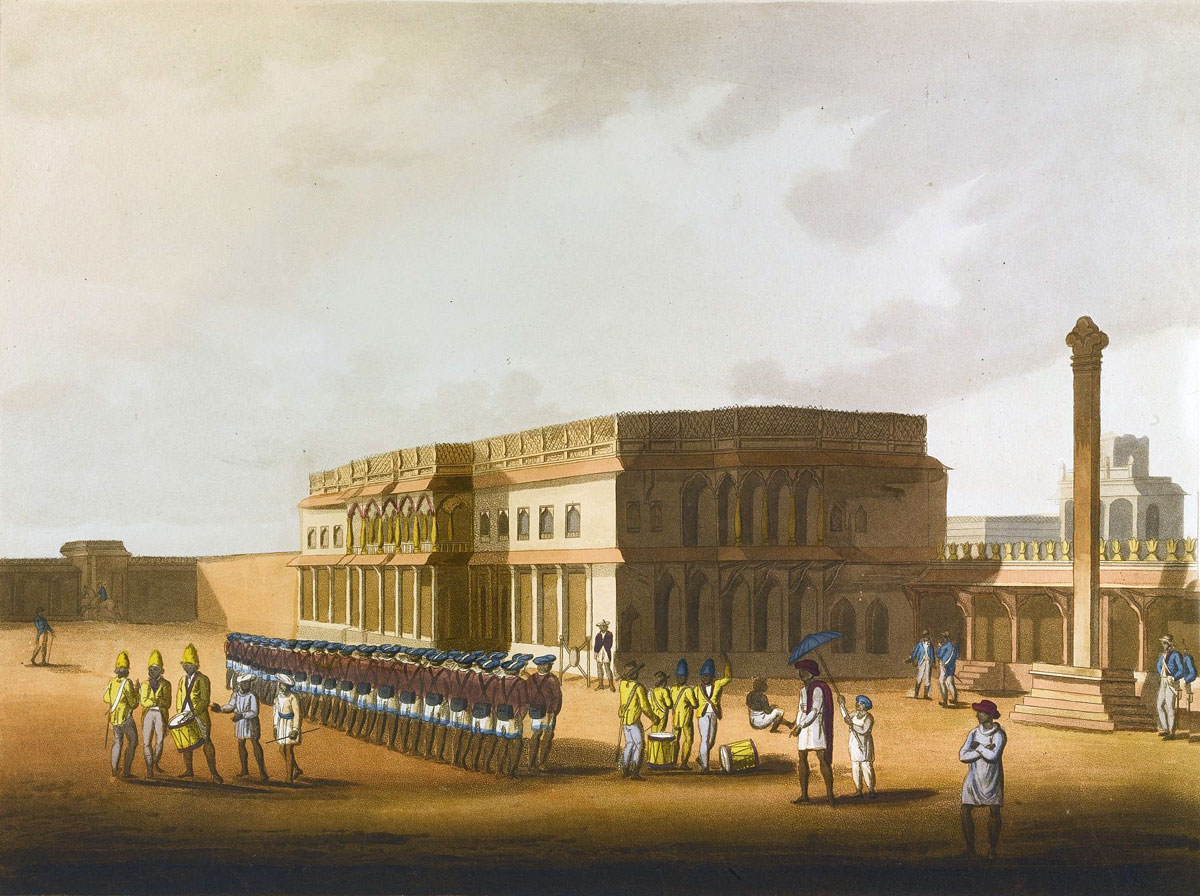
The Storming on 4th May 1799 of Tipu Sultan’s palace fortress, leading to the death of Tipu Sultan, ruler of Mysore: A key battle in the conquest of South India by the British and one of the Duke of Wellington’s early actions
![]()
32. Podcast on the Storming of Seringapatam: The capture on 4th May 1799 of Tipu Sultan’s palace fortress: A key battle in the conquest of South India by the British: John Mackenzie’s britishbattles.com podcasts
The previous battle in the British Battles Sequence is the Battle of Cape St Vincent
The next battle in the British Battles Sequence is the Battle of Assaye
To the Anglo-Mysore Wars index
War: Fourth Mysore War
Date of the Storming of Seringapatam: 4th May 1799
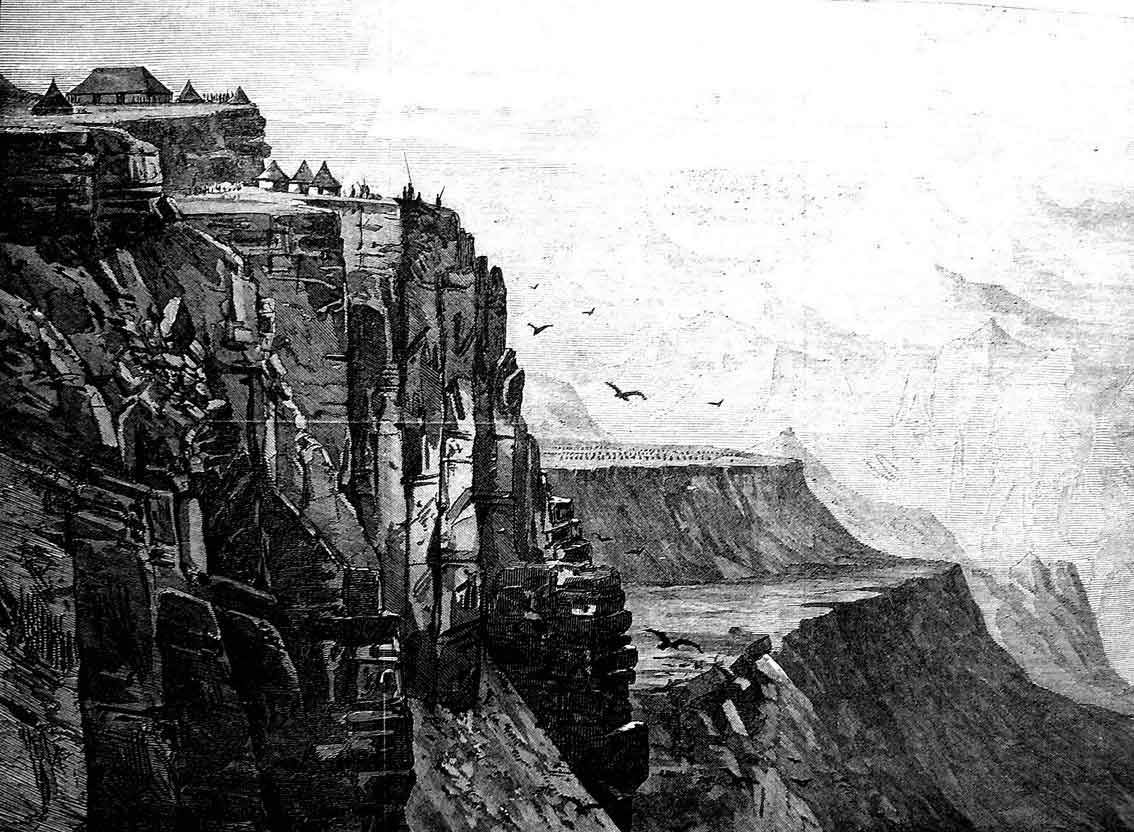
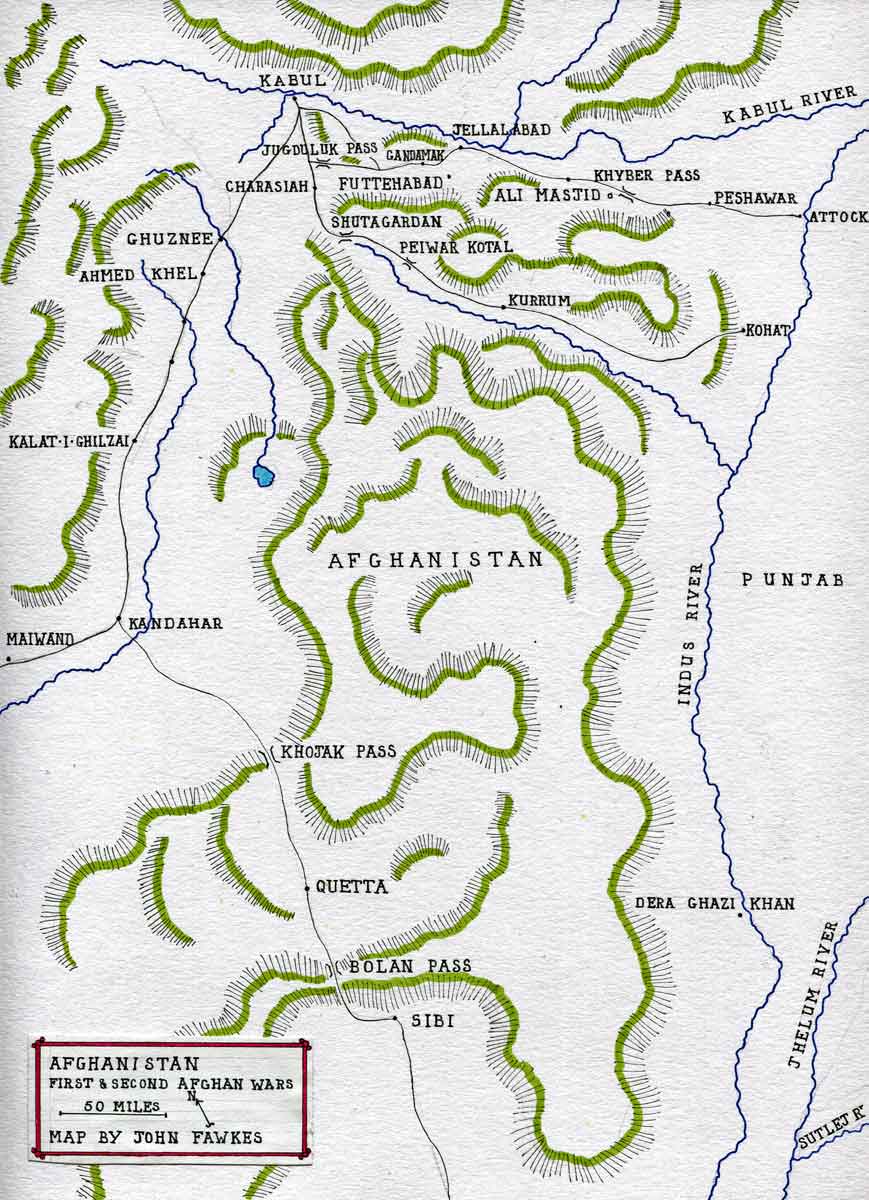
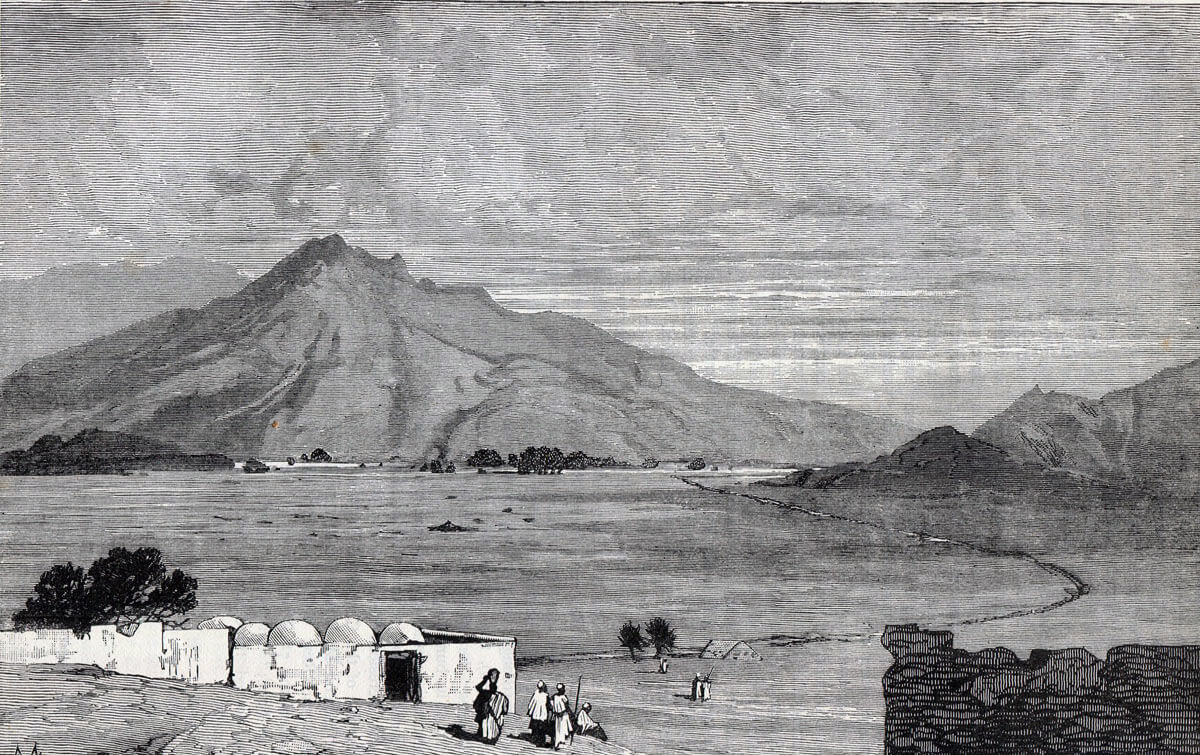
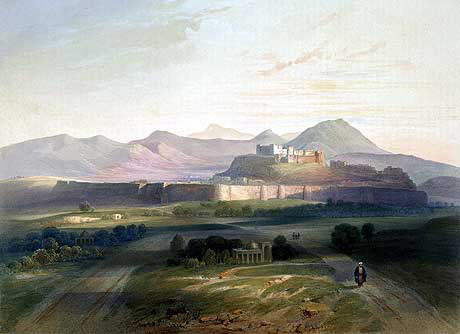
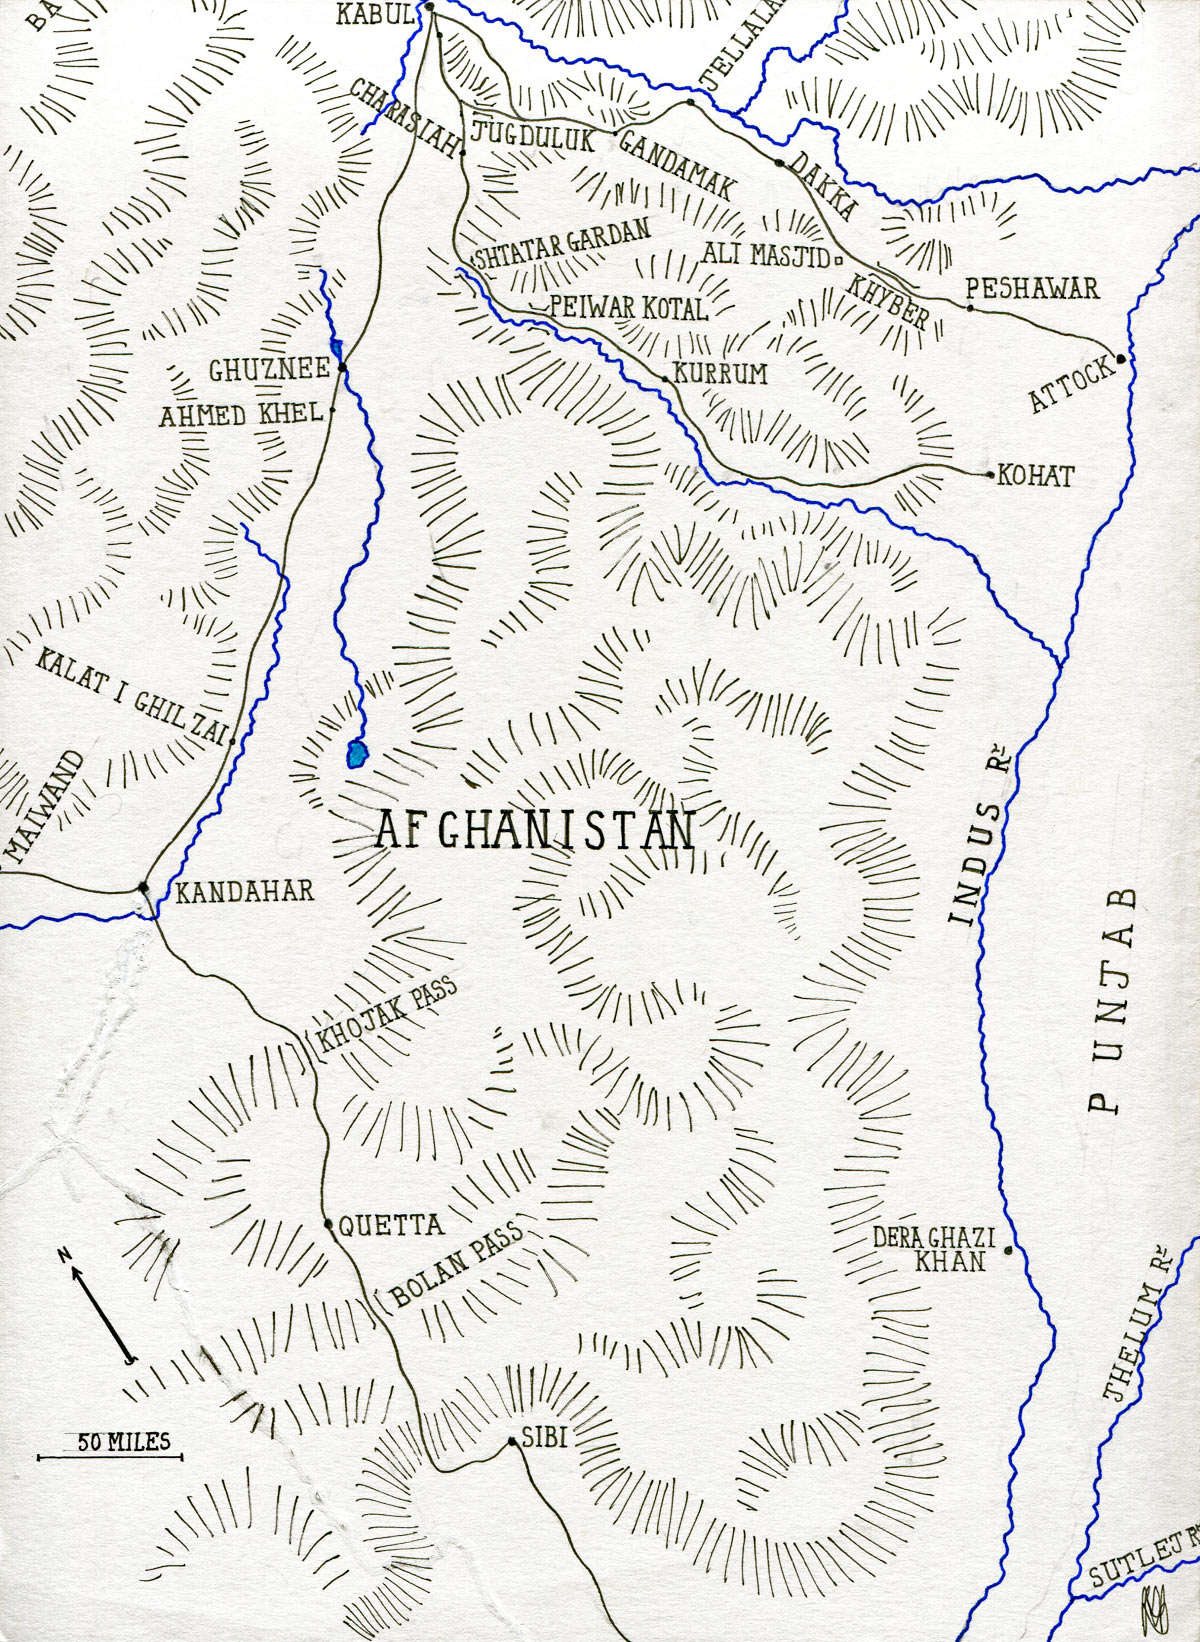
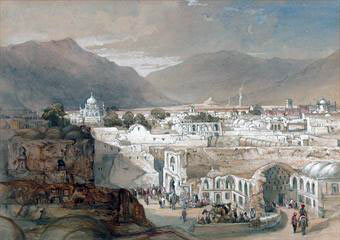
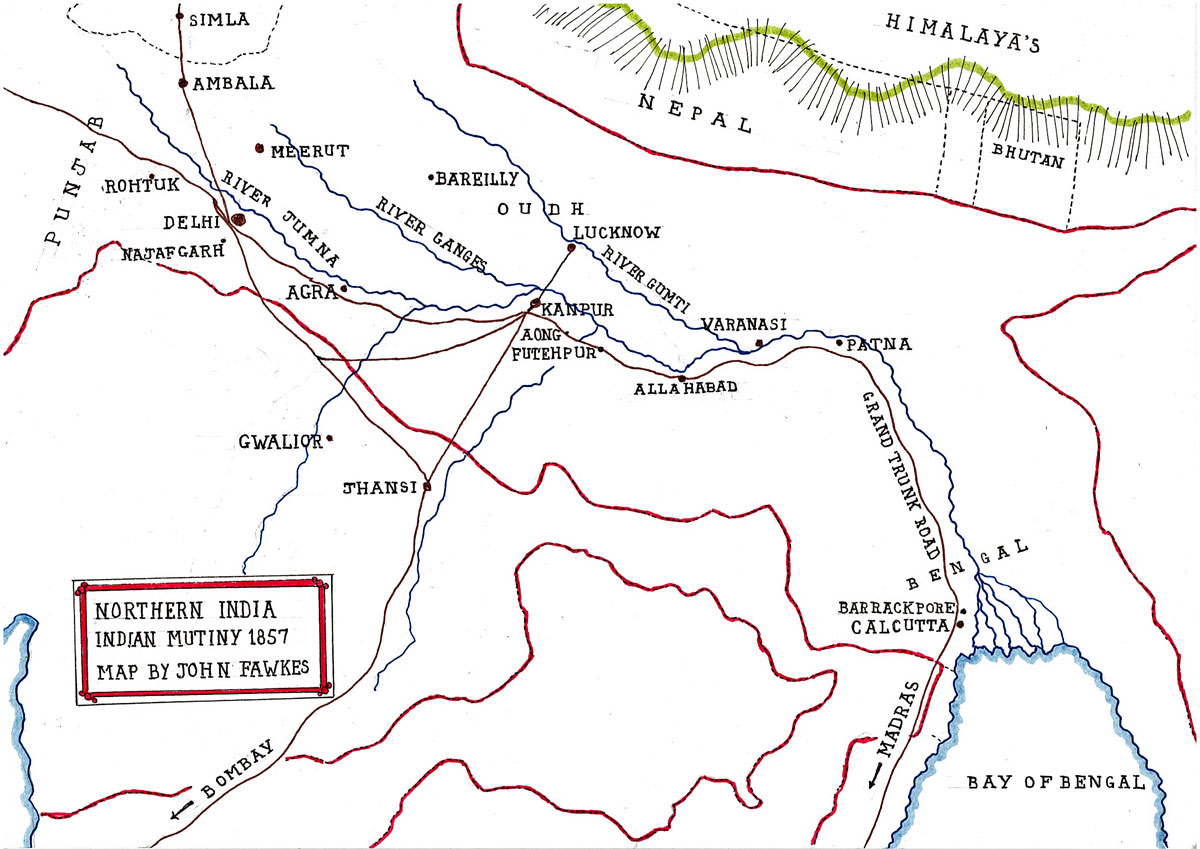
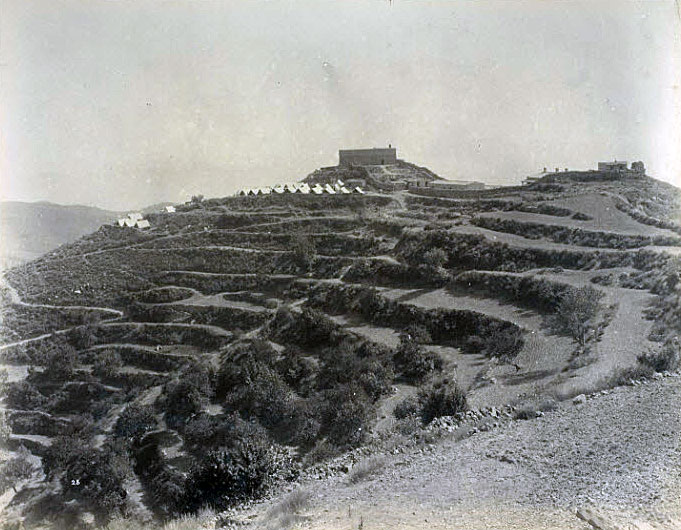
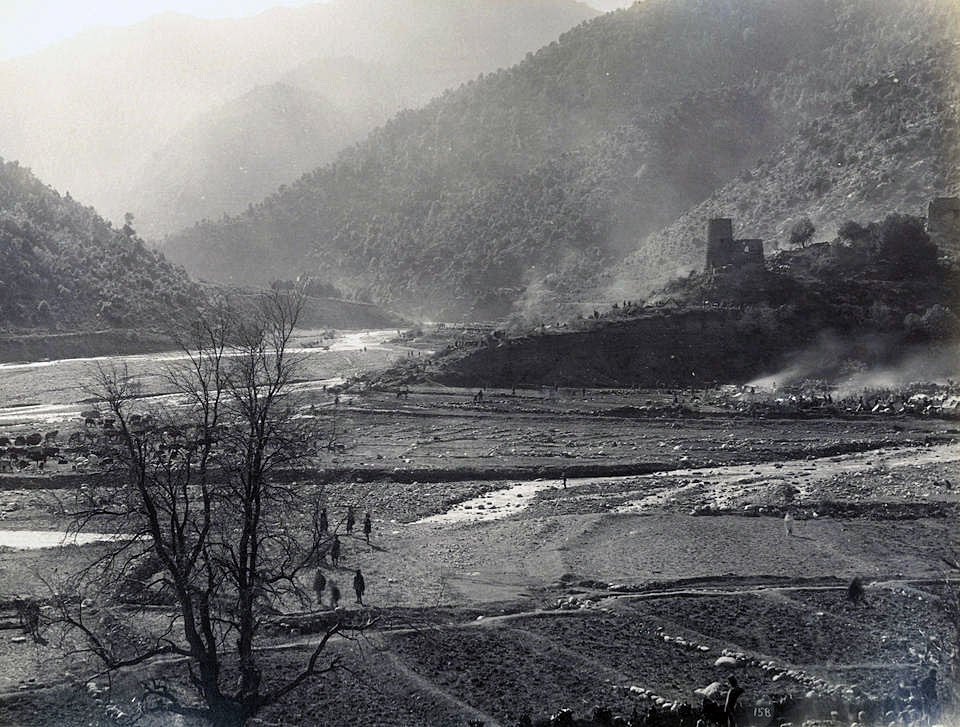
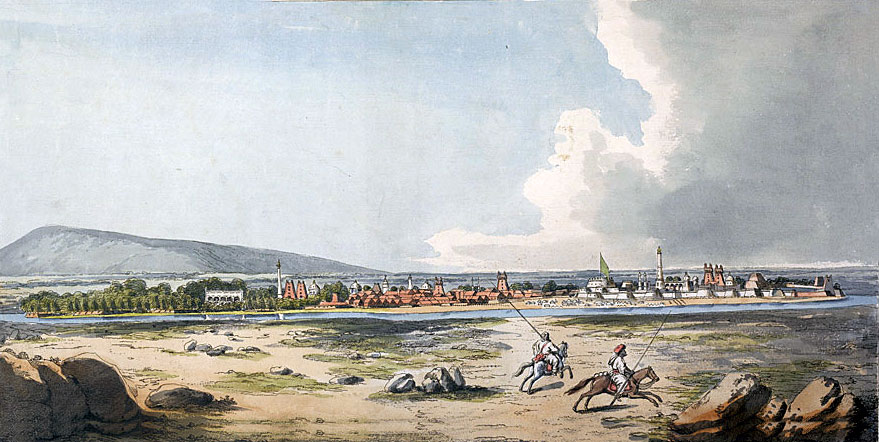
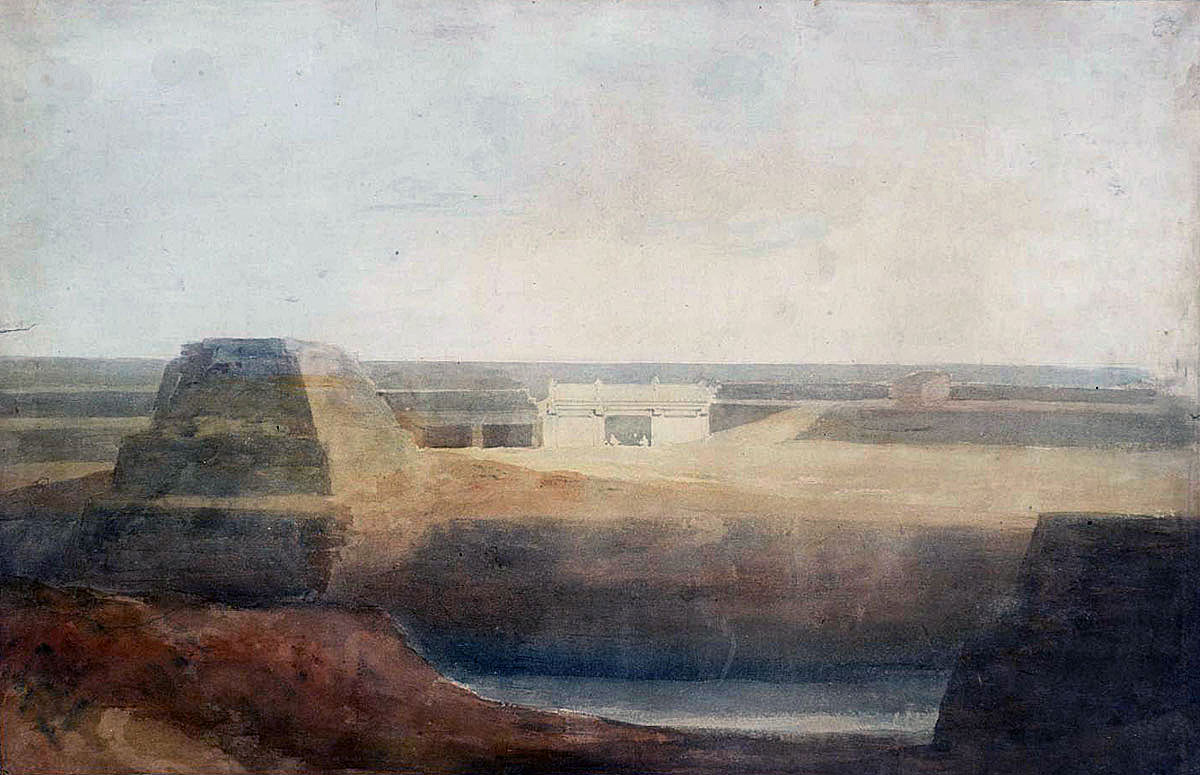
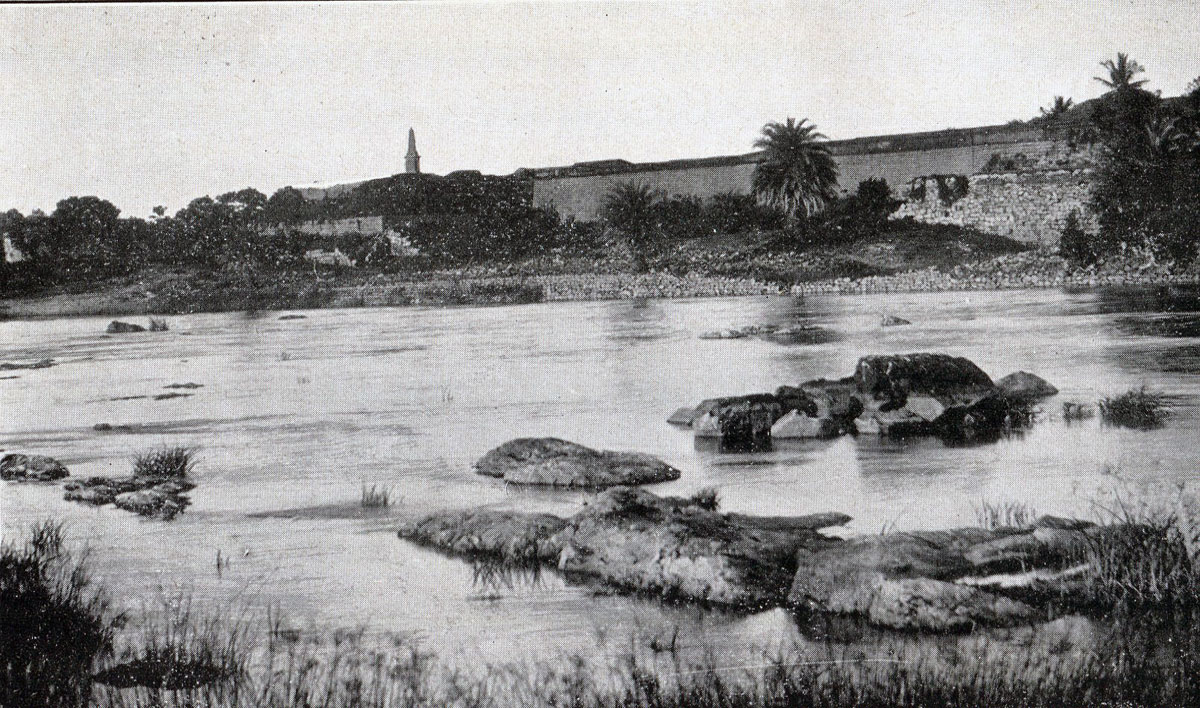
Place of the Storming of Seringapatam: On the River Cavery in Mysore, Southern India.
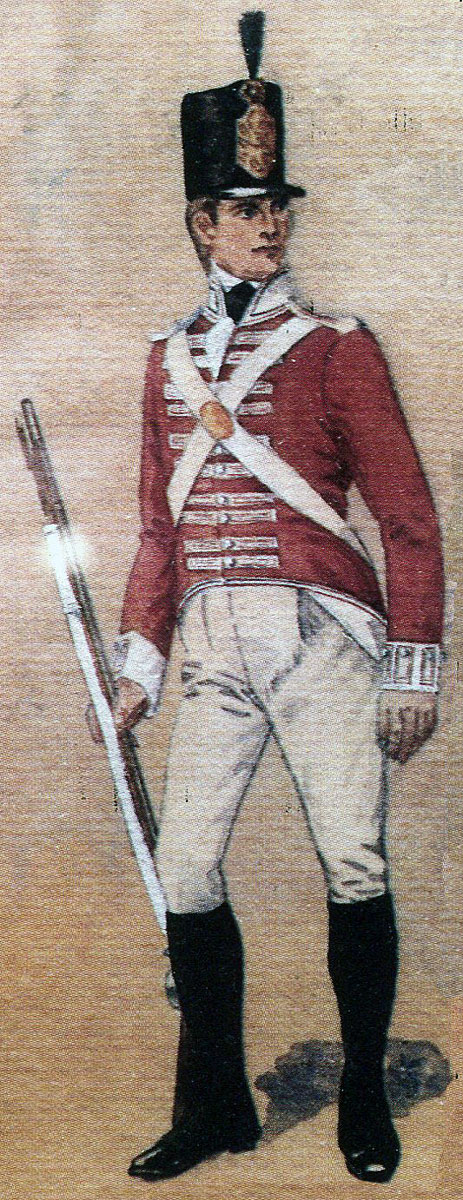
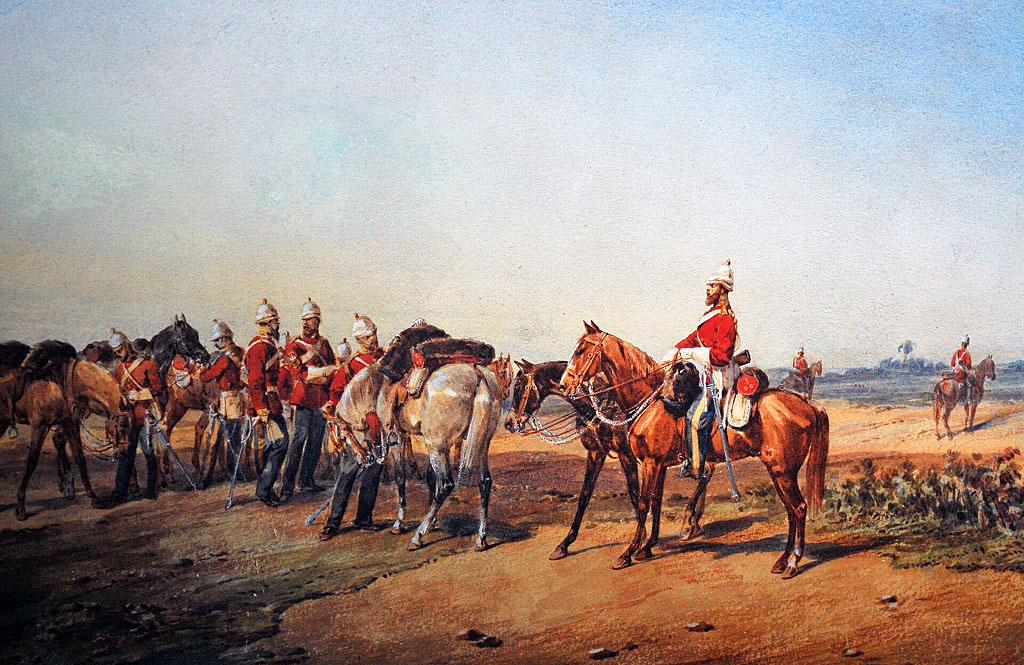
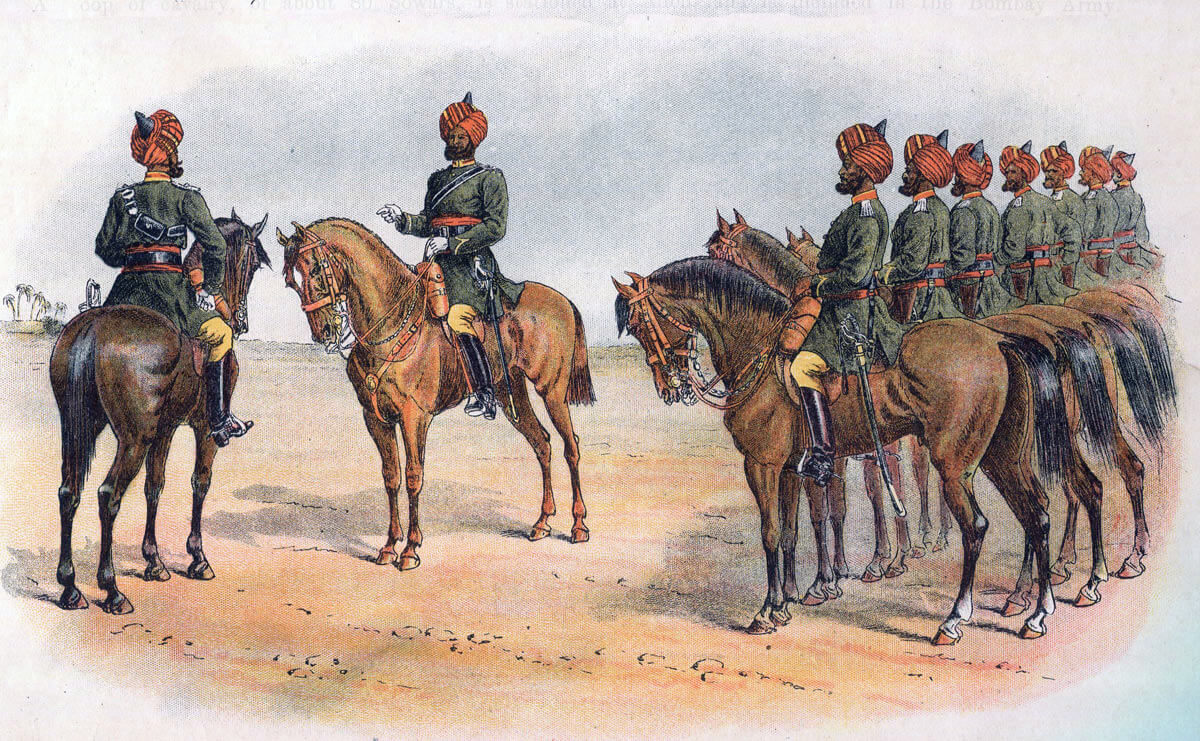
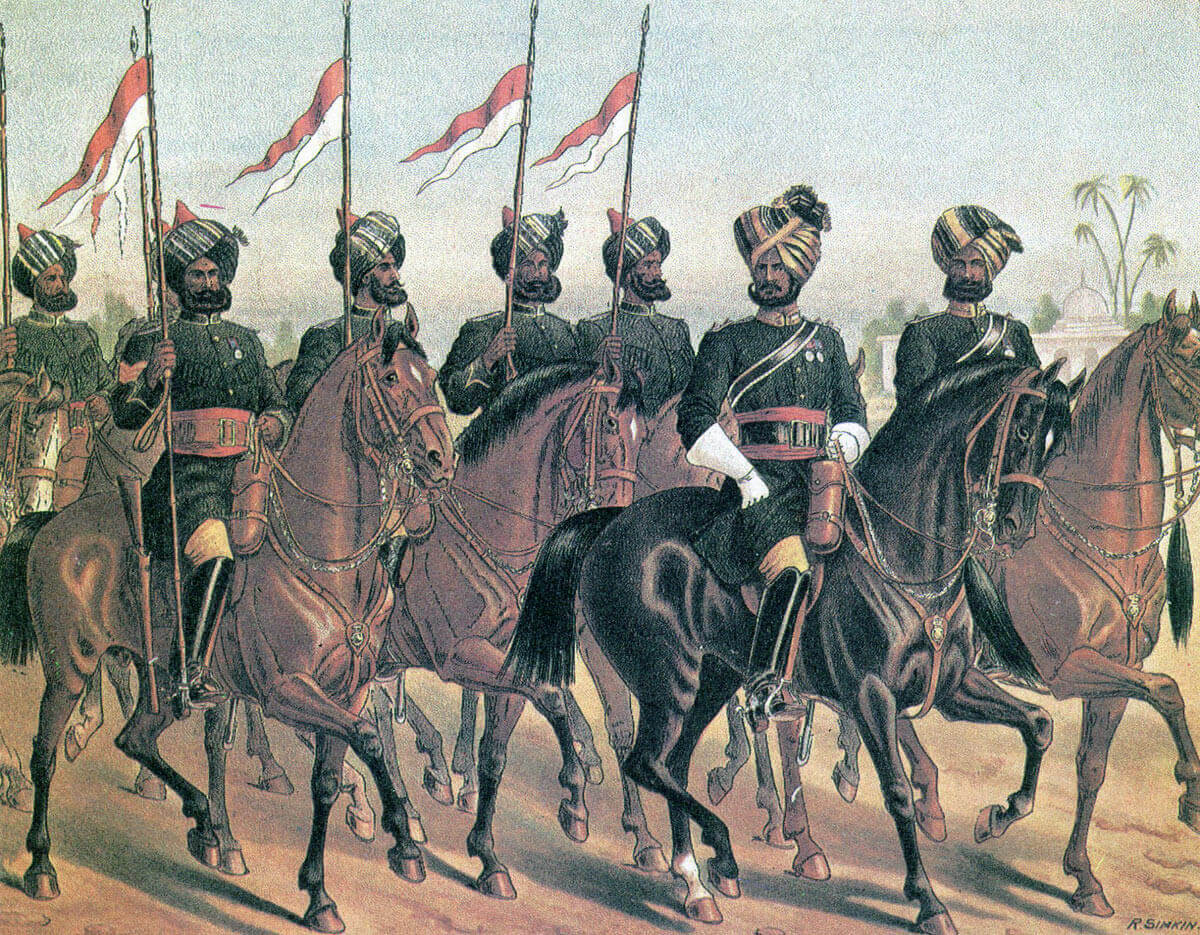
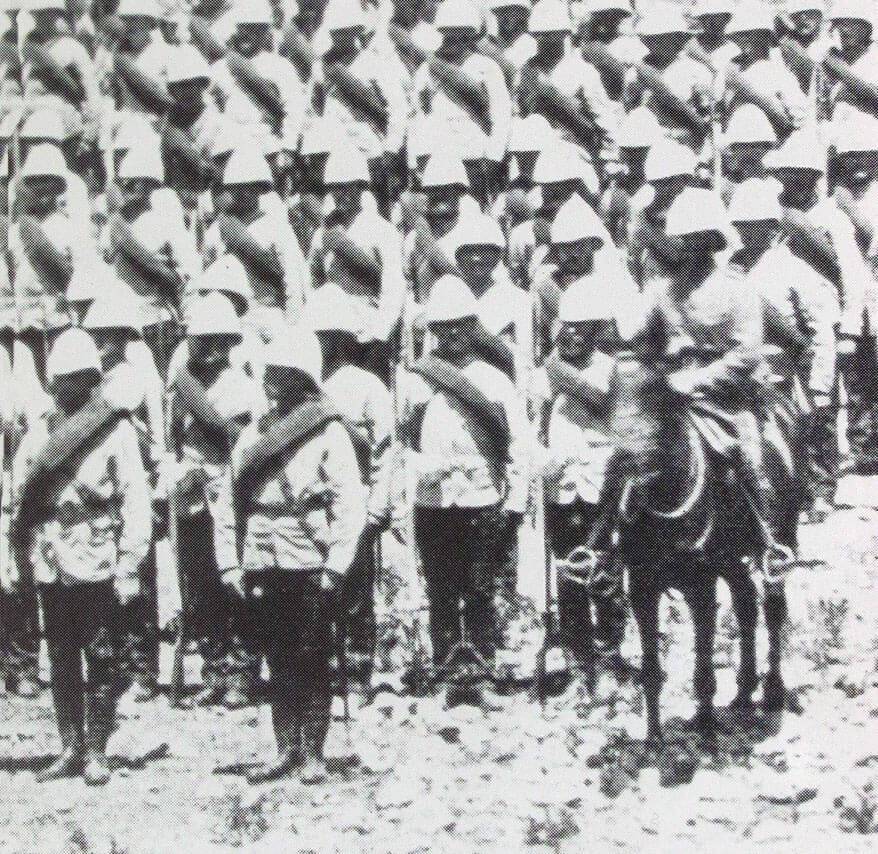
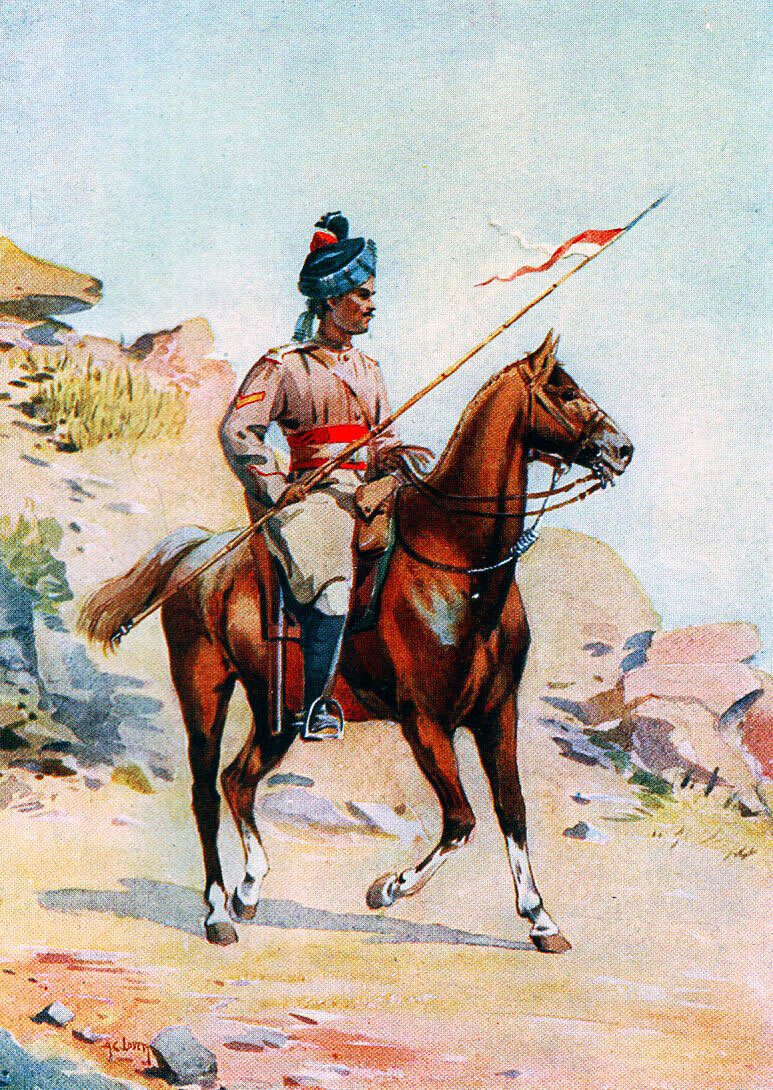
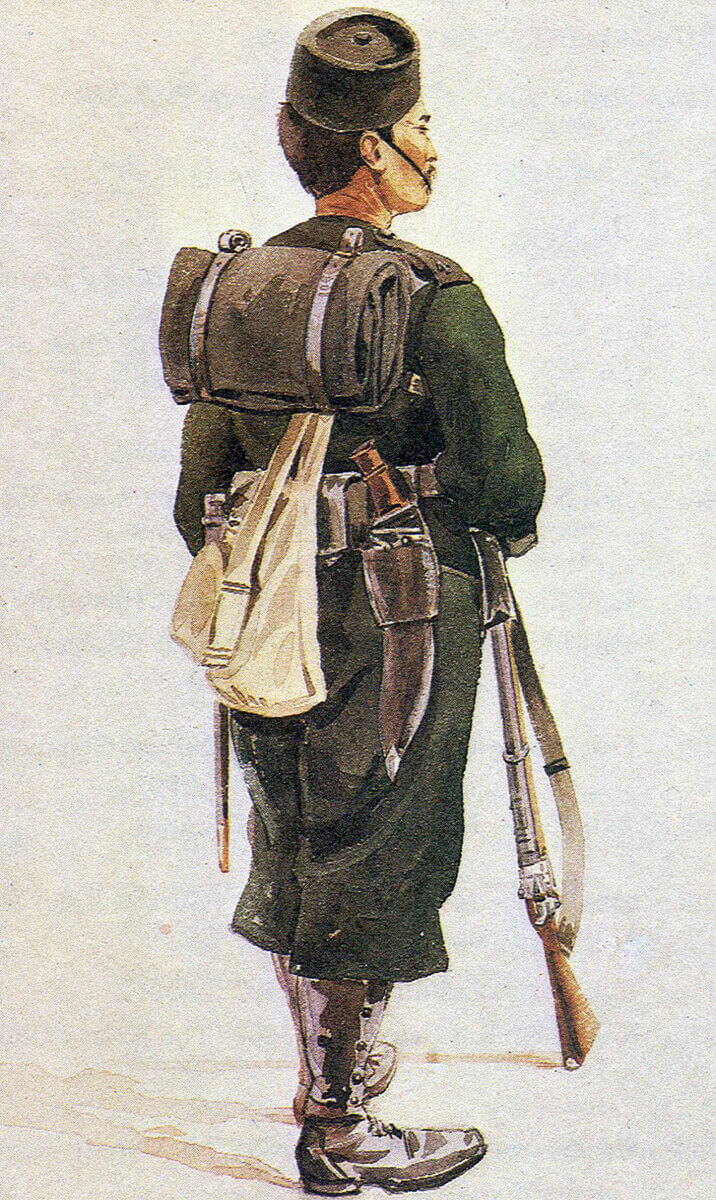
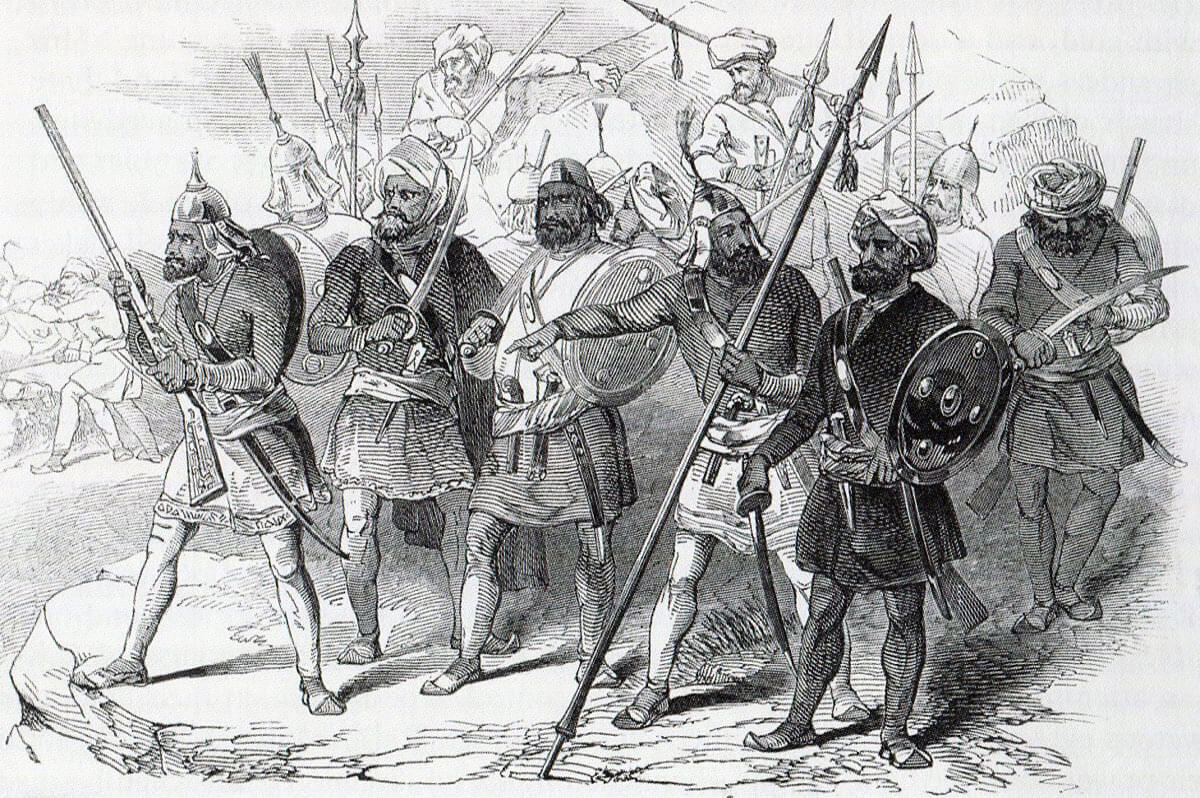
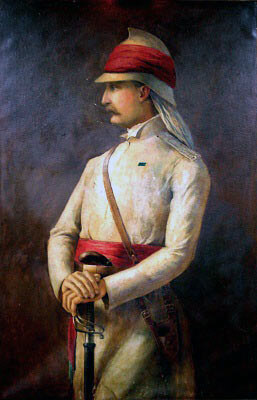
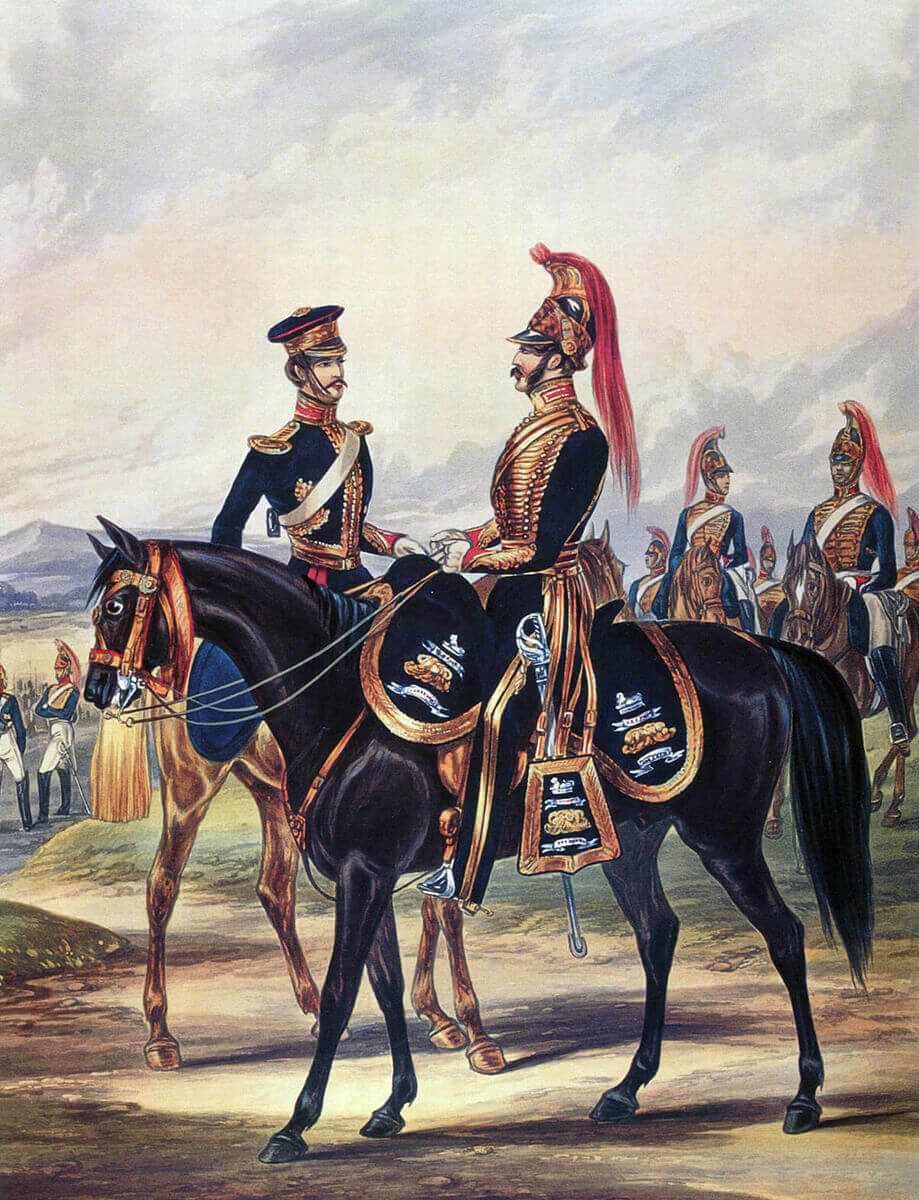
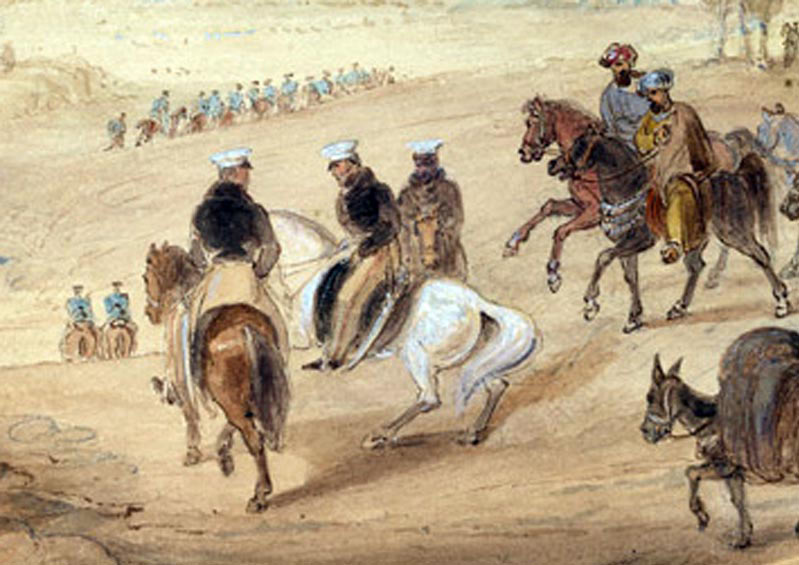
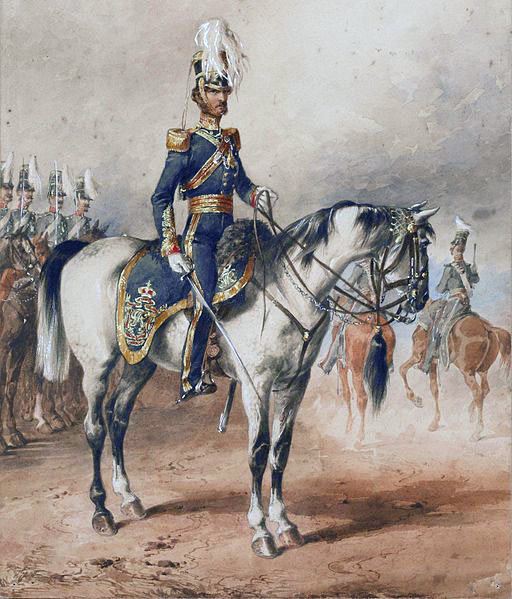
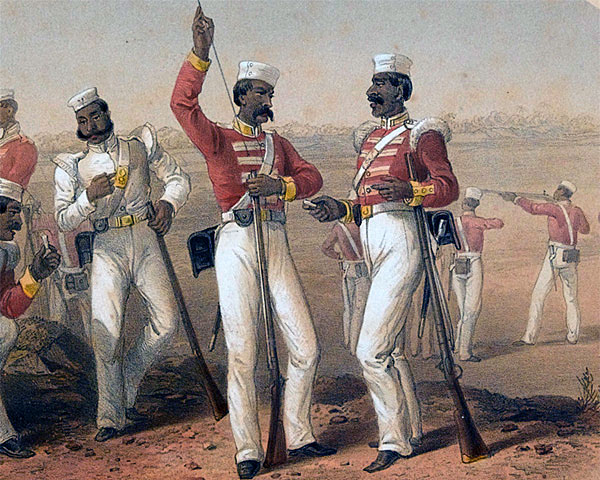
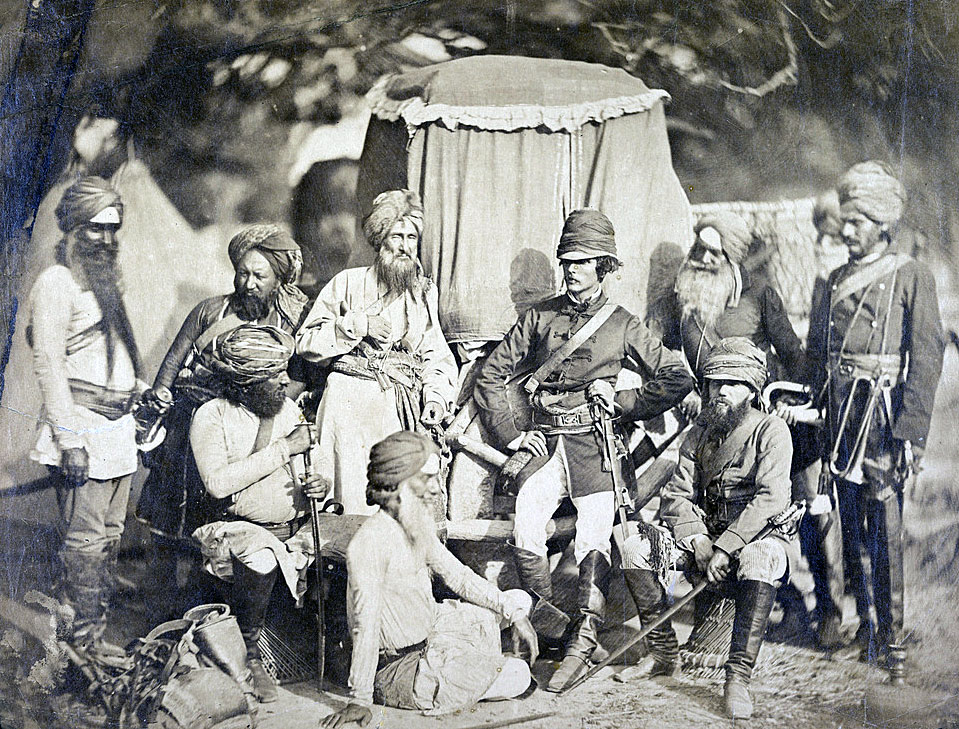
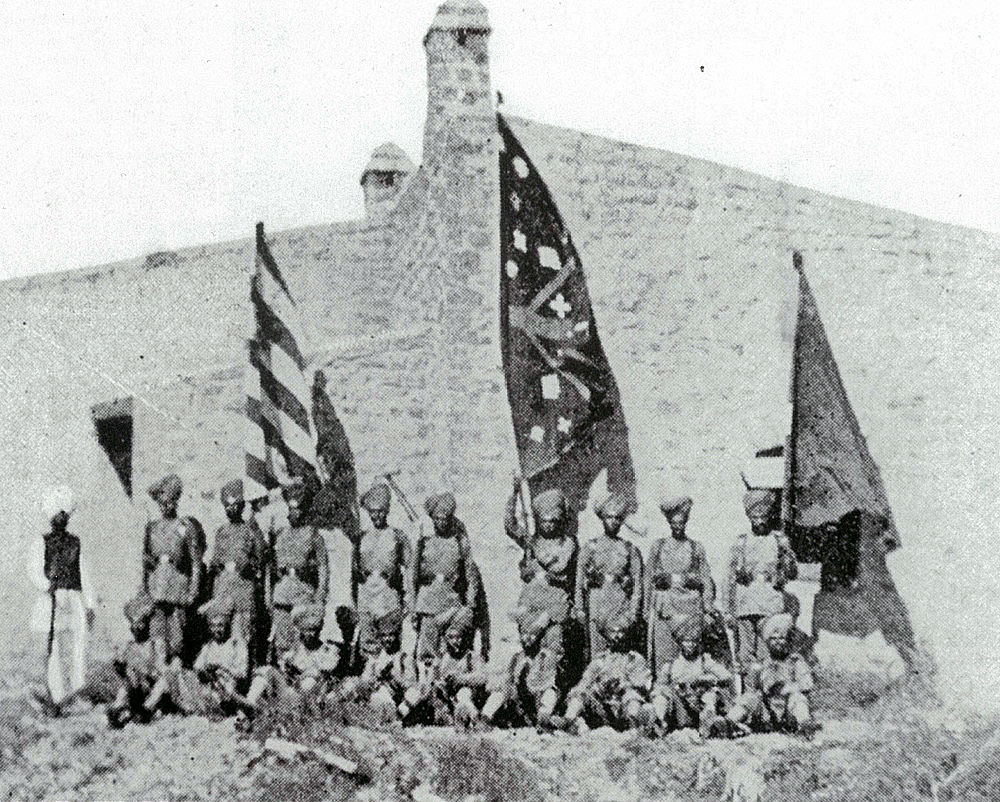
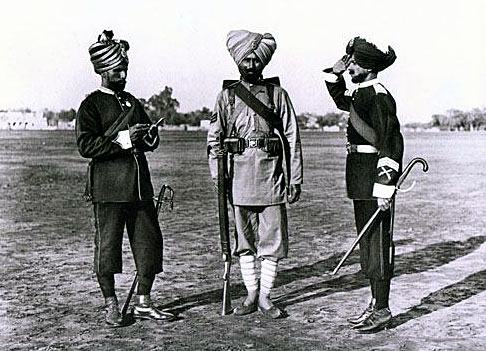
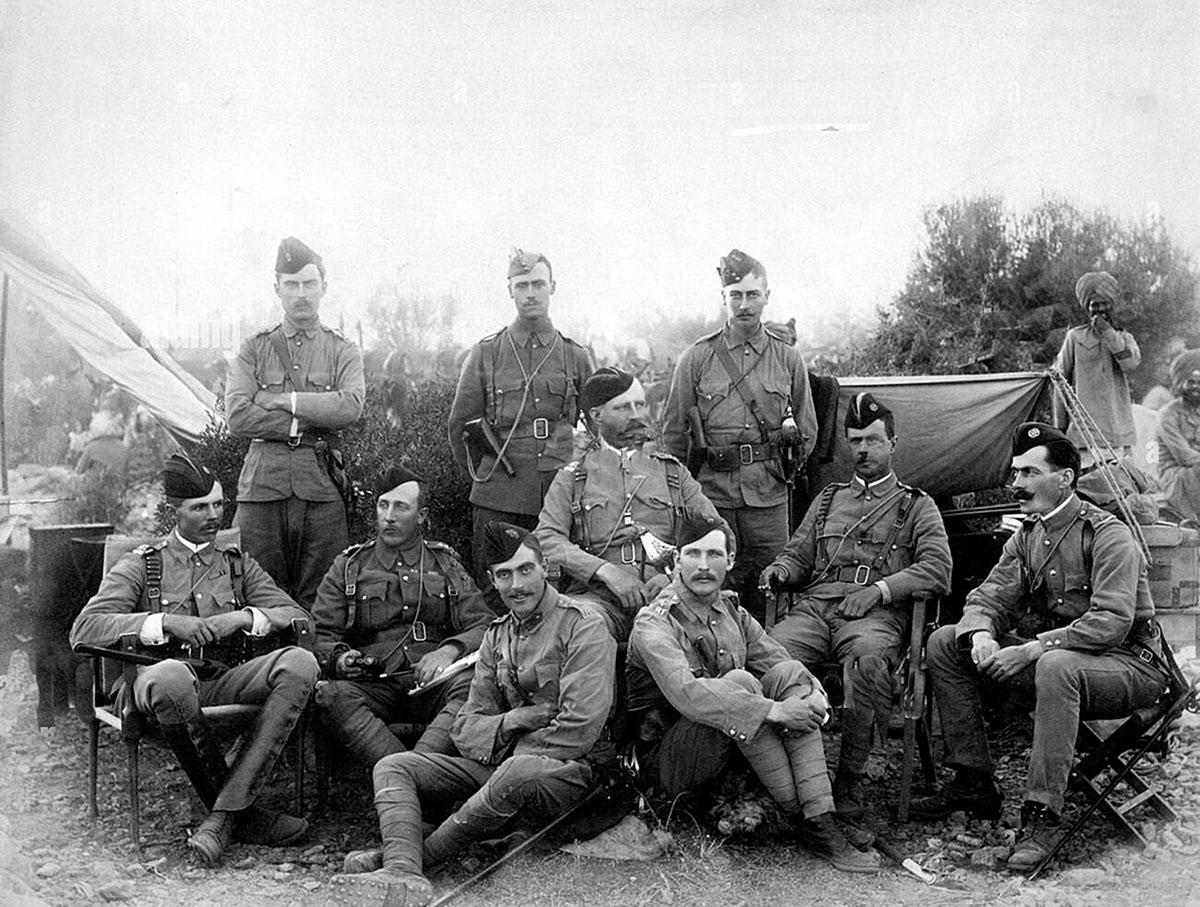
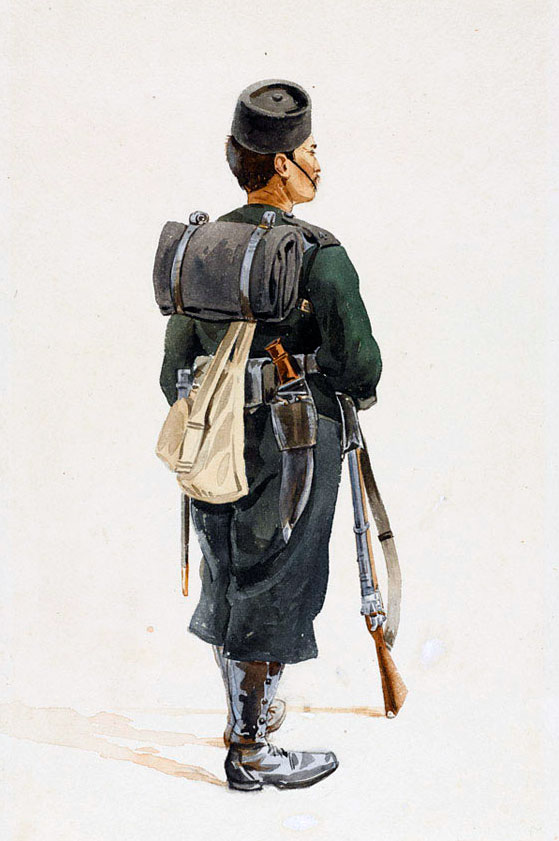
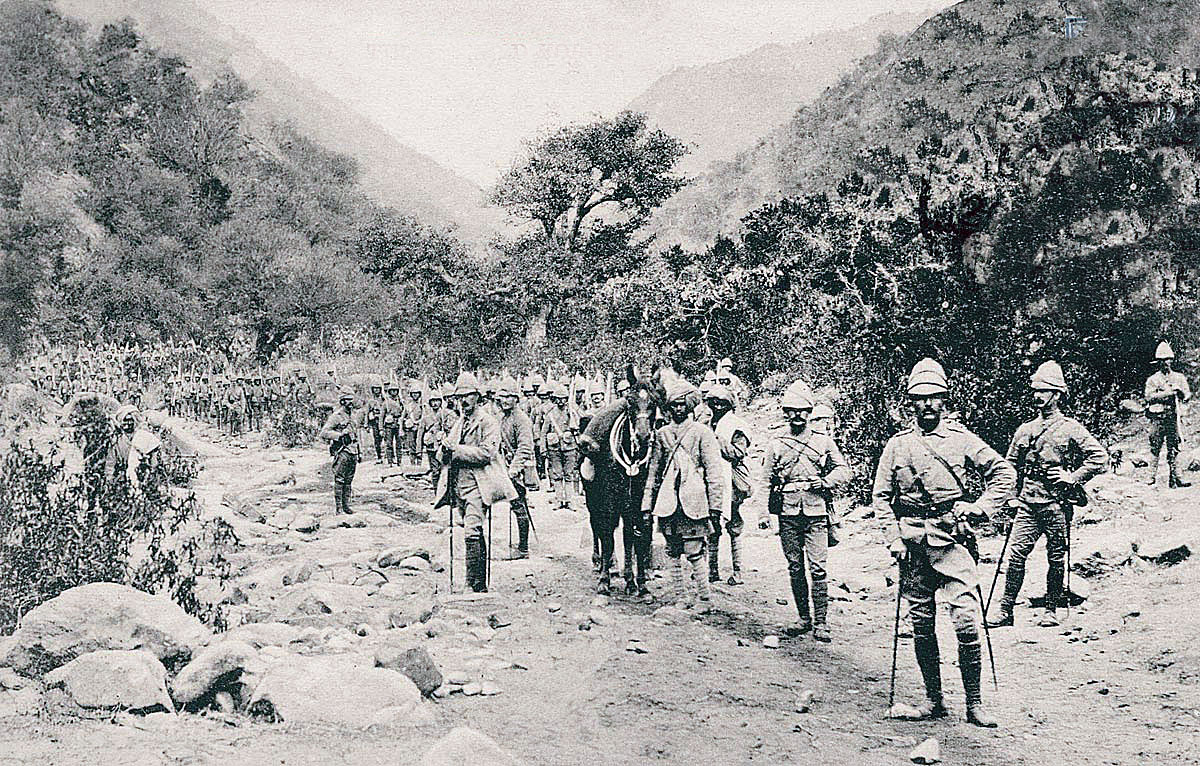
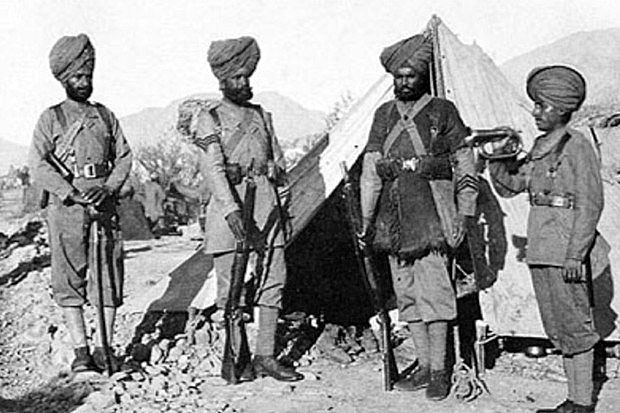
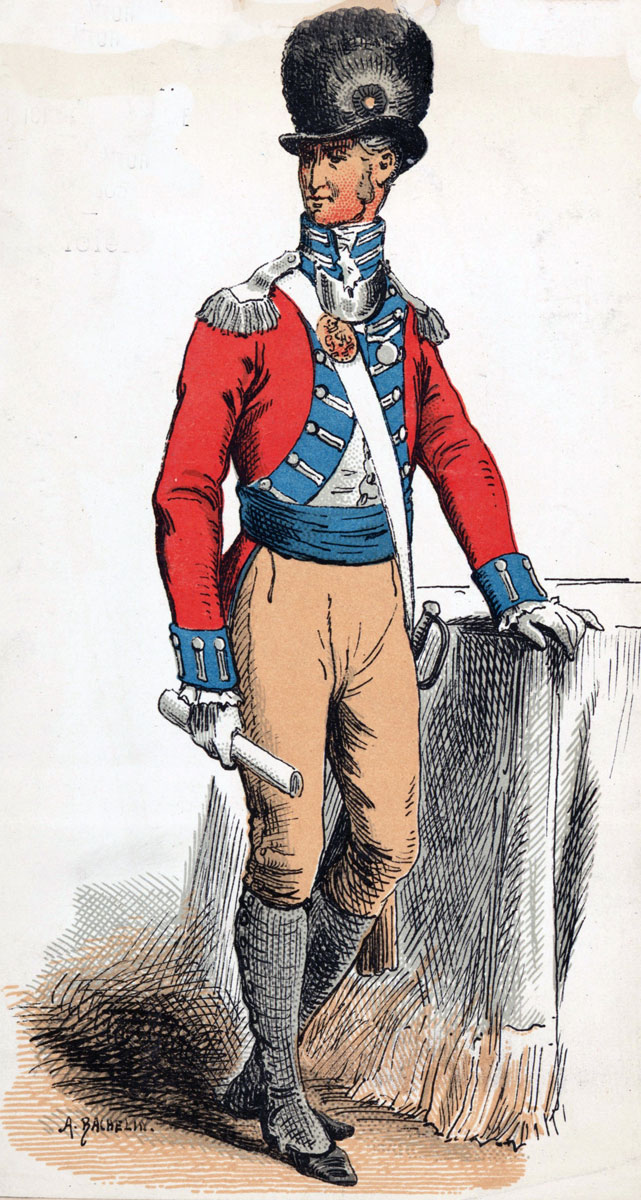
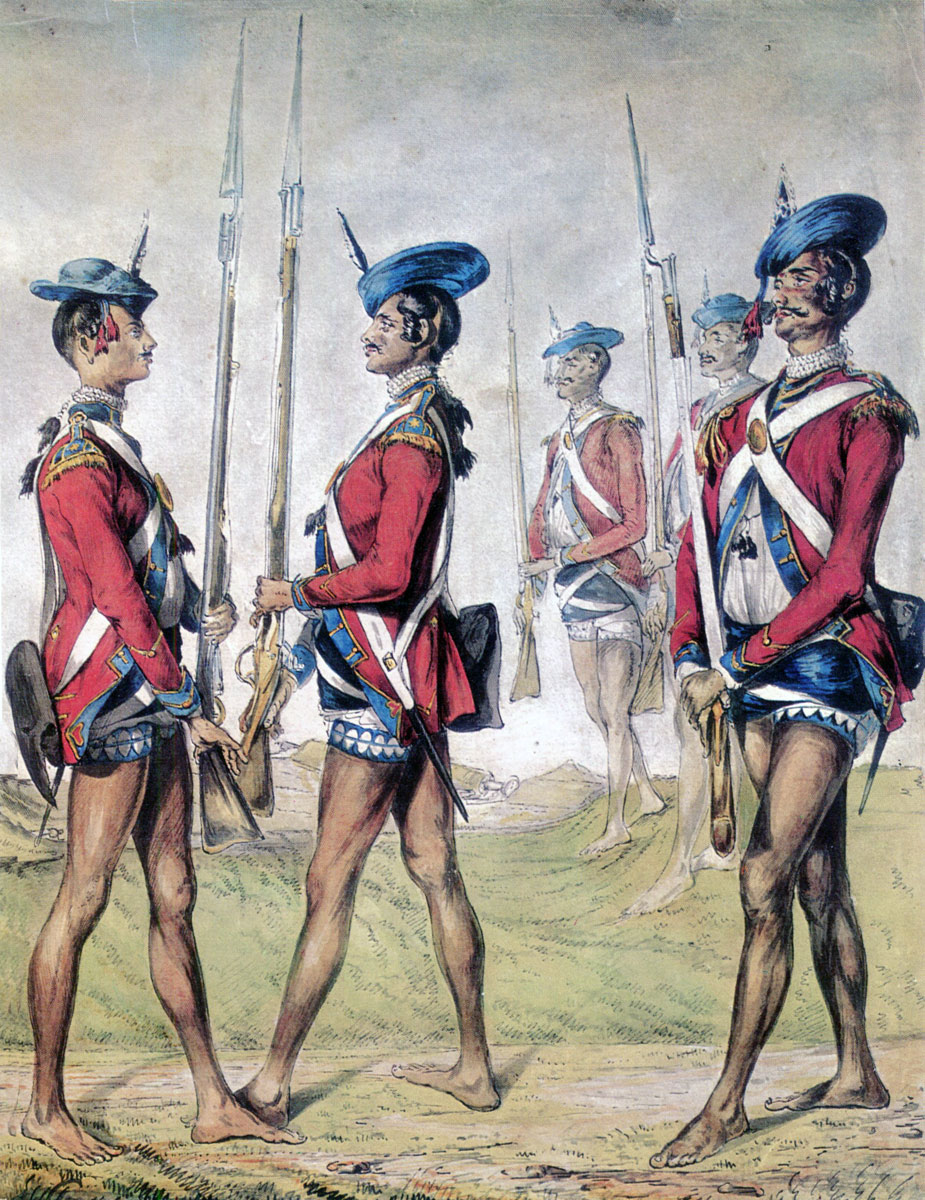
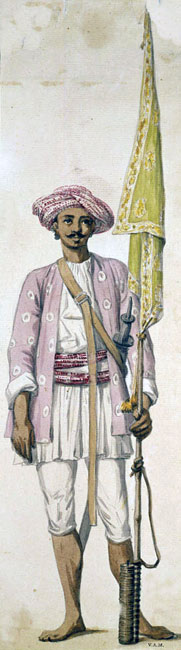
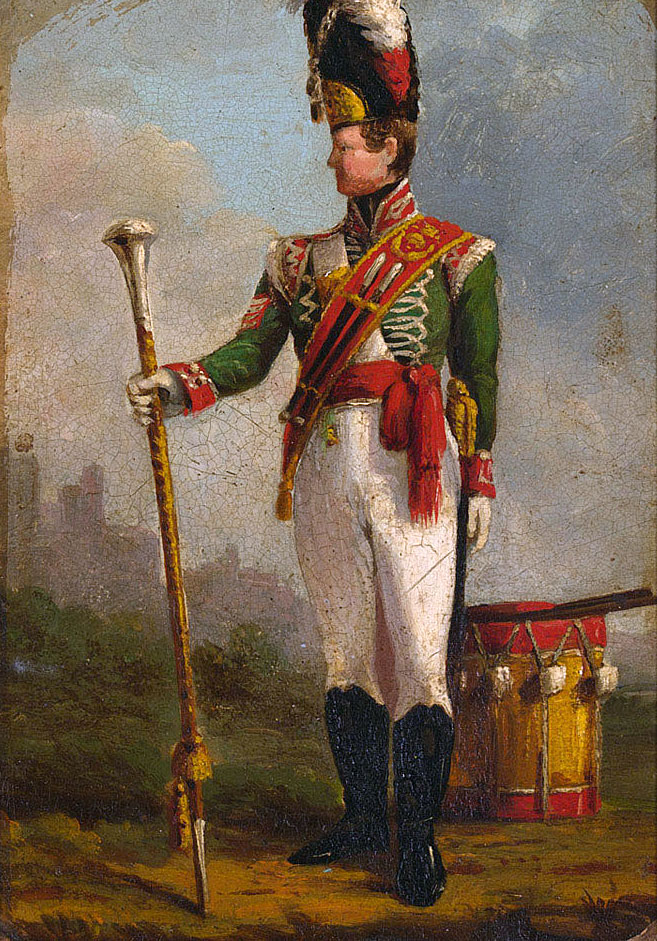
Combatants at the Storming of Seringapatam: An East India Company army, comprising British troops and sepoys of the Bombay and Madras armies, with a contingent from Hyderabad, comprising natives of the area and regiments of the Bengal army, against troops of Tipu Sultan’s Mysore army.
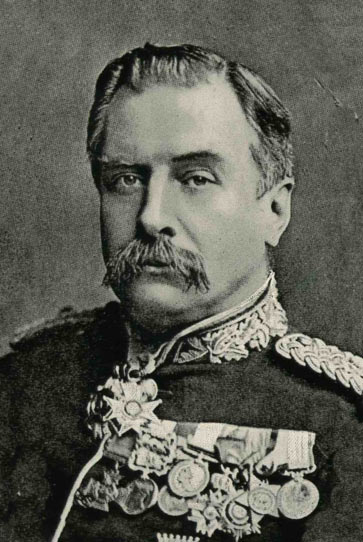
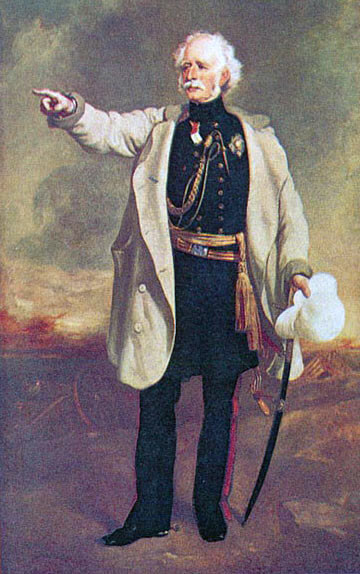
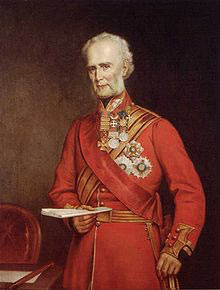
Commanders at the Storming of Seringapatam: Lieutenant General George Harris, commanding the Madras force was in overall command of the British army. Lieutenant General James Stuart commanded the Bombay force.
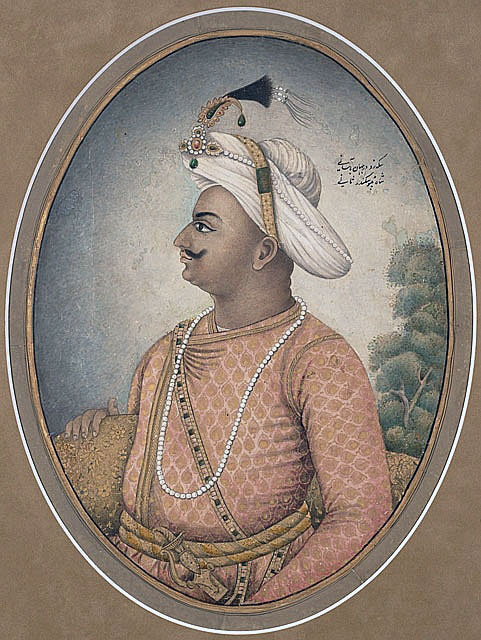
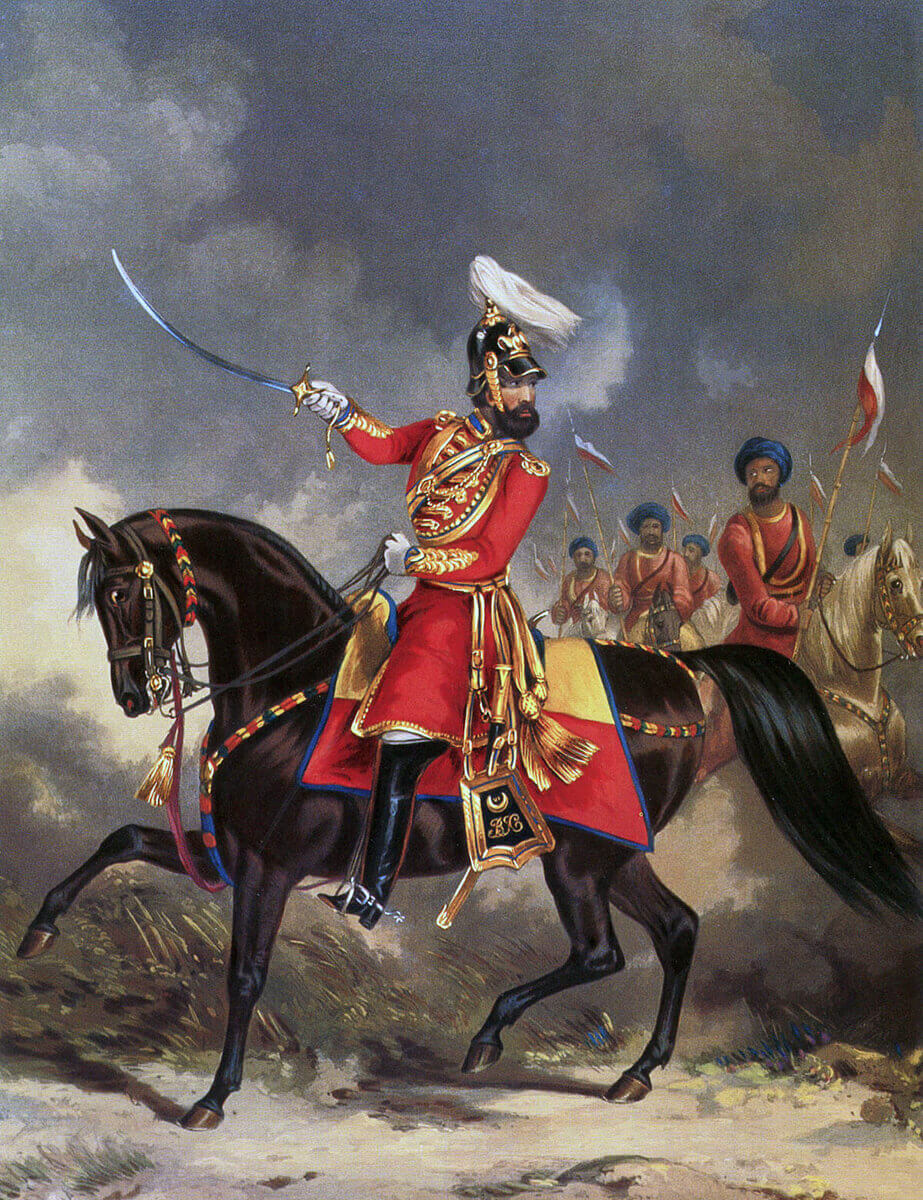
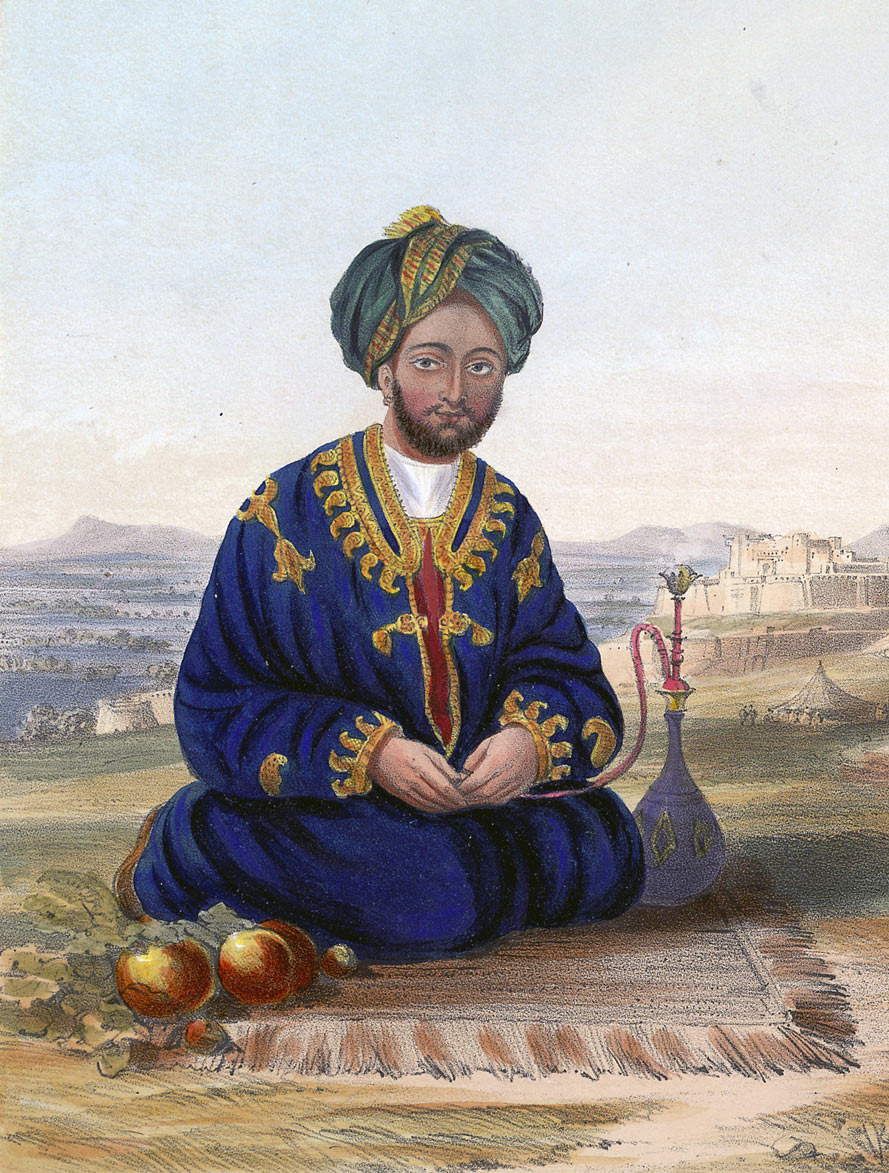
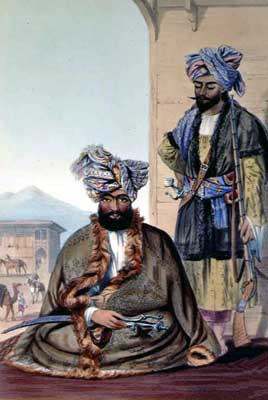
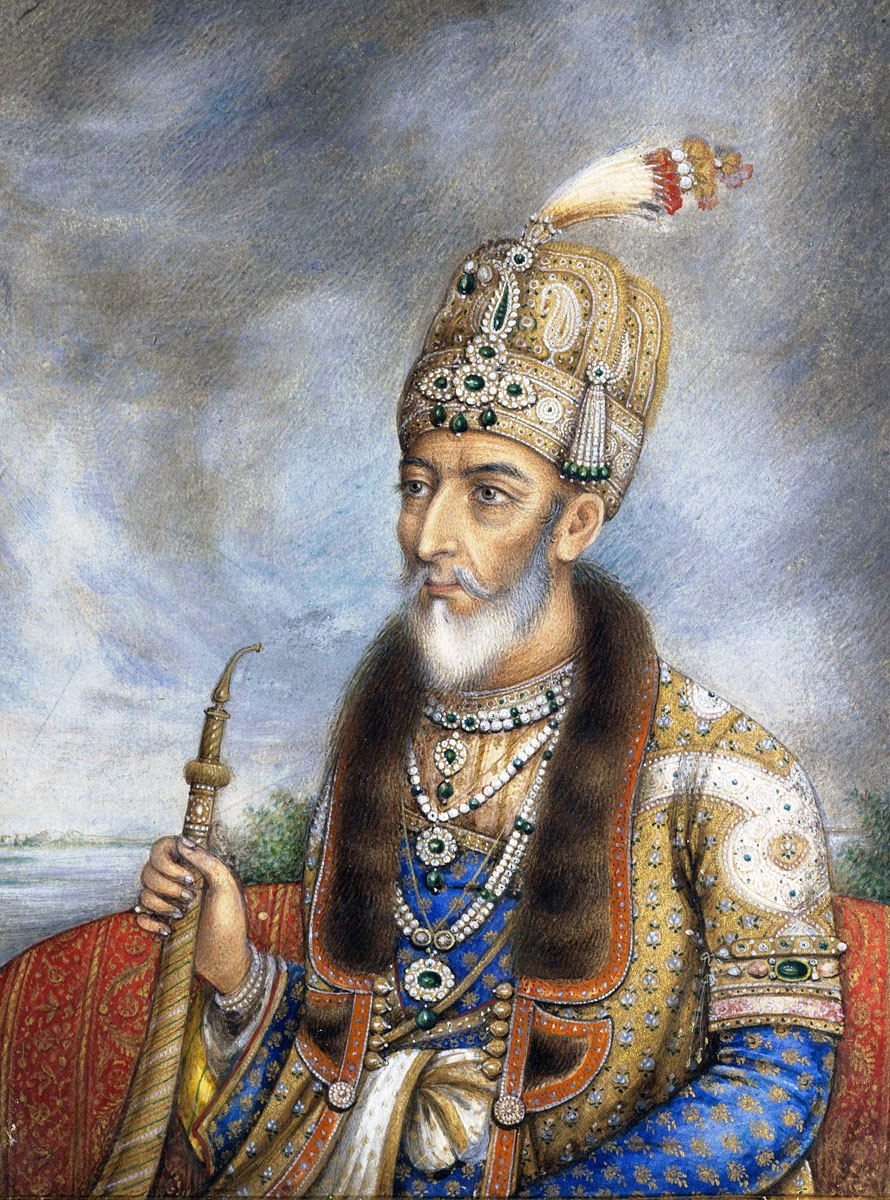
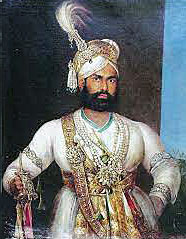
Tipu Sultan, the de facto ruler of the extensive South Indian Kingdom of Mysore, commanded the Mysore army, the garrison of Seringapatam.
Size of the armies at the Storming of Seringapatam:
General Harris’s East India Company armies comprised a Madras army of 4,381 European troops and 10,695 Native troops: a Bombay army of 1,617 European troops and 4,803 Native troops: a Hyderabad contingent of 16,157 European and Native troops.
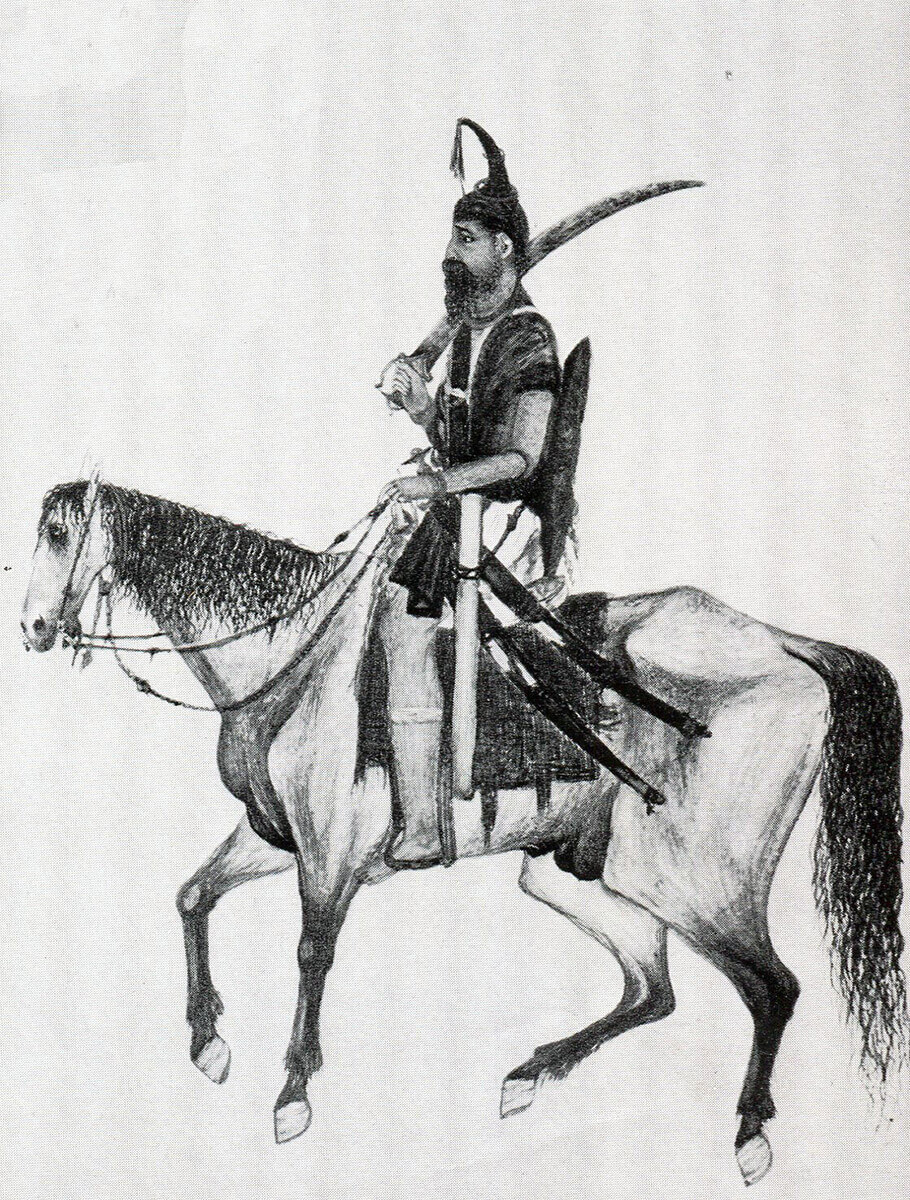
Tipu Sultan commanded the Mysore army, comprising 33,000 infantry and 15,000 cavalry and rocket men.
Winner of the Storming of Seringapatam: The British captured the fortress of Seringapatam. Tipu Sultan was killed in the fighting.
Background to the Attack on Seringapatam:
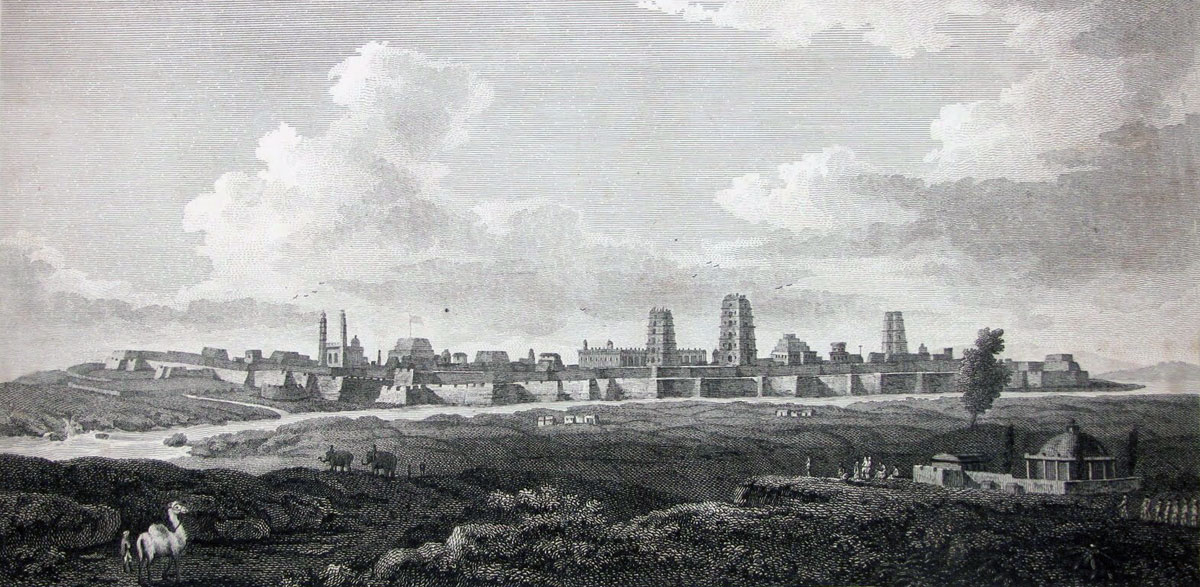
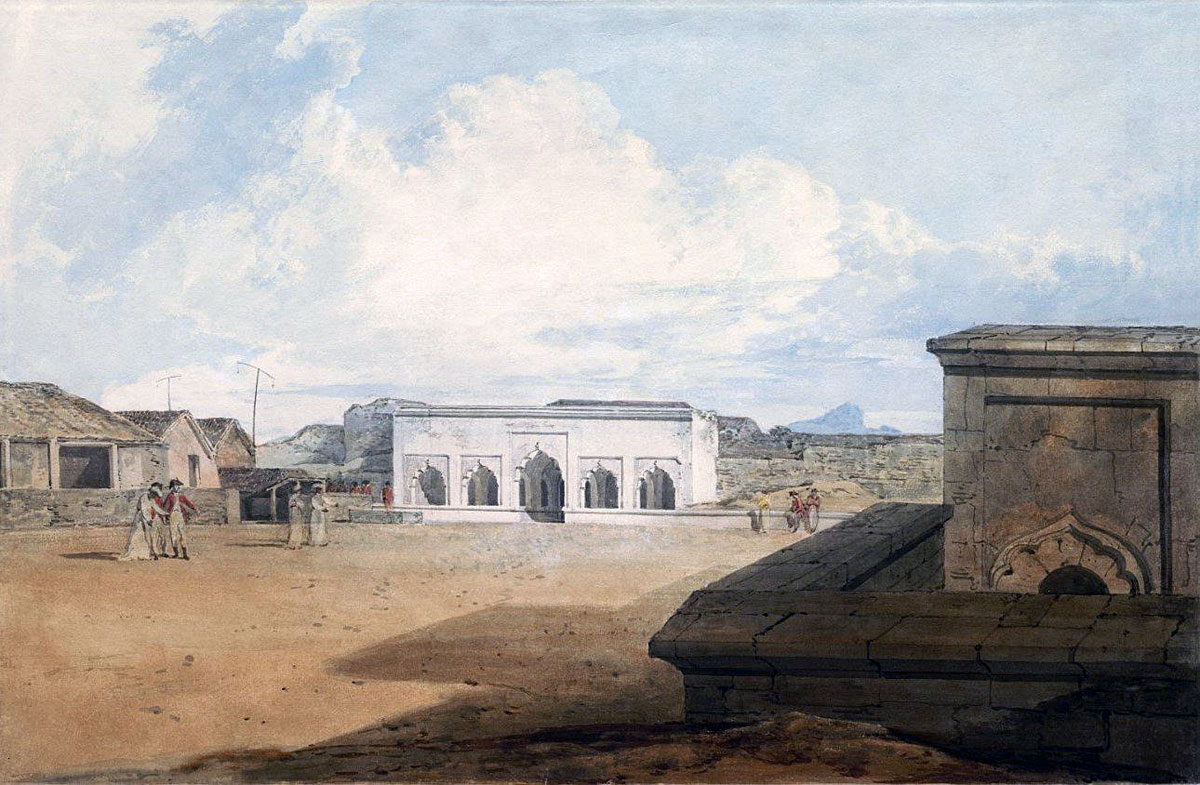
The earliest record of Seringapatam was in 1133, when Raja Vishnu Verdana gave the island and the land on each bank of the River Cavery to a Brahmin named Ramana Charlu and his followers.
In 1454, the sect erected a fort and temple in honour of the god Ranga, calling the complex Sri-ranga-patan.
The increasing importance of the town and fortress caused a viceroy to be installed by the ruler of Mysore.
In 1610, the Raja of Mysore took over the island and made it his seat of government.
In 1697, a Mahratta army attacked Seringapatam and was repelled.
In 1761, a Muslim soldier of fortune in the service of the ruler of Mysore, named Haider Ali, took power in Mysore.
Haider Ali conducted a series of wars against the British and other Indian rulers in Northern, Central and Southern India.
Haider Ali died in December 1781 and was succeeded by his son, Tipu Sultan.
Tipu Sultan proceeded to conduct wars against the British, the Nizam of Hyderabad, the Mahratta confederation and Coorg.
In 1791, Lord Cornwallis, commanding the British forces of the East India Company, captured the important Mysore city of Bangalore.
In 1792, Cornwallis began an attack on Seringapatam.
The siege did not go well for Tipu Sultan and, in March 1792, Tipu Sultan signed a peace treaty with Cornwallis by which he ceded half the territory of Mysore to his enemies.
Almost immediately an incident took place in which a French ship from Mauritius sailed into the west Indian port of Mangalore. The master of the ship, Ripaud, claimed to be a French envoy to Mysore.
The upshot was that Tipu Sultan sent envoys to Mauritius, seeking military assistance against the British. Tipu Sultan’s expectation was for a substantial French army to land in India.
Napoleon was in Egypt and corresponded with Tipu Sultan, promising him such assistance.
The governor of Mauritius despatched to Mysore a force comprising only 100 men. At the same time the governor issued a proclamation declaring French support for Tipu Sultan against the British.
Copies of this proclamation reached London and the East India Company authorities in India, triggering alarm.
Military reinforcements were despatched to India from the British garrisons in Gibraltar, South Africa and Portugal.
The new governor-general in India, Lord Mornington (Lieutenant-Colonel Arthur Wellesley’s older brother) acted quickly and decisively.
It was clear to the British that Tipu Sultan would not abide by any treaty obligation in his determination to fight the British and should be removed from his position as ruler of Mysore.
An attempt was made to reconstitute the earlier alliance against Tipu Sultan. The Nizam of Hyderabad threw in his lot with the British, but Madajee Scindia, the Mahratta leader, declined to join the alliance.
Mornington appointed General Harris to command the army marching against Tipu Sultan.
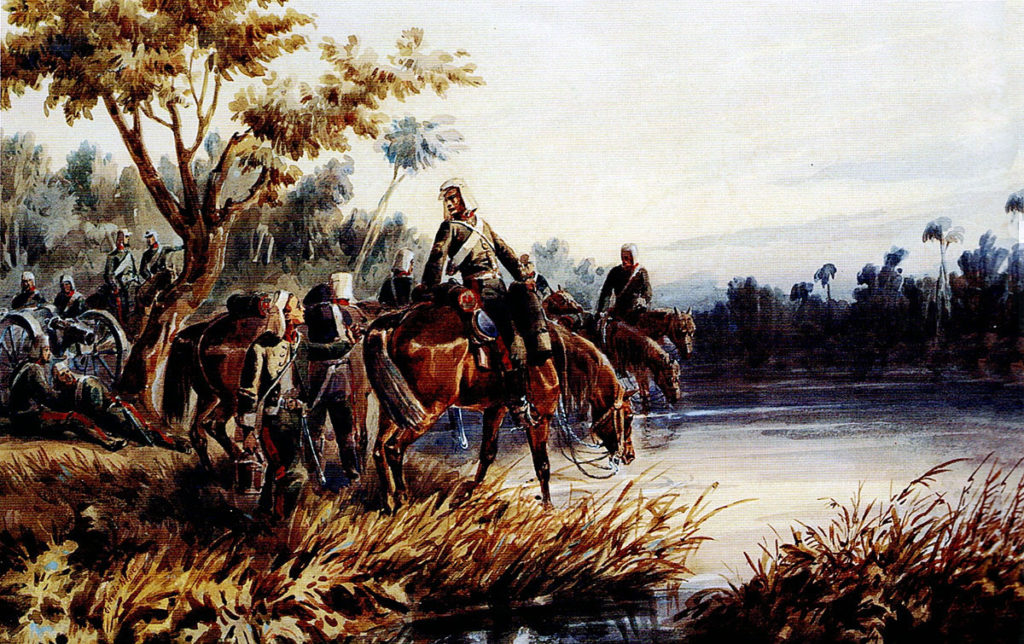
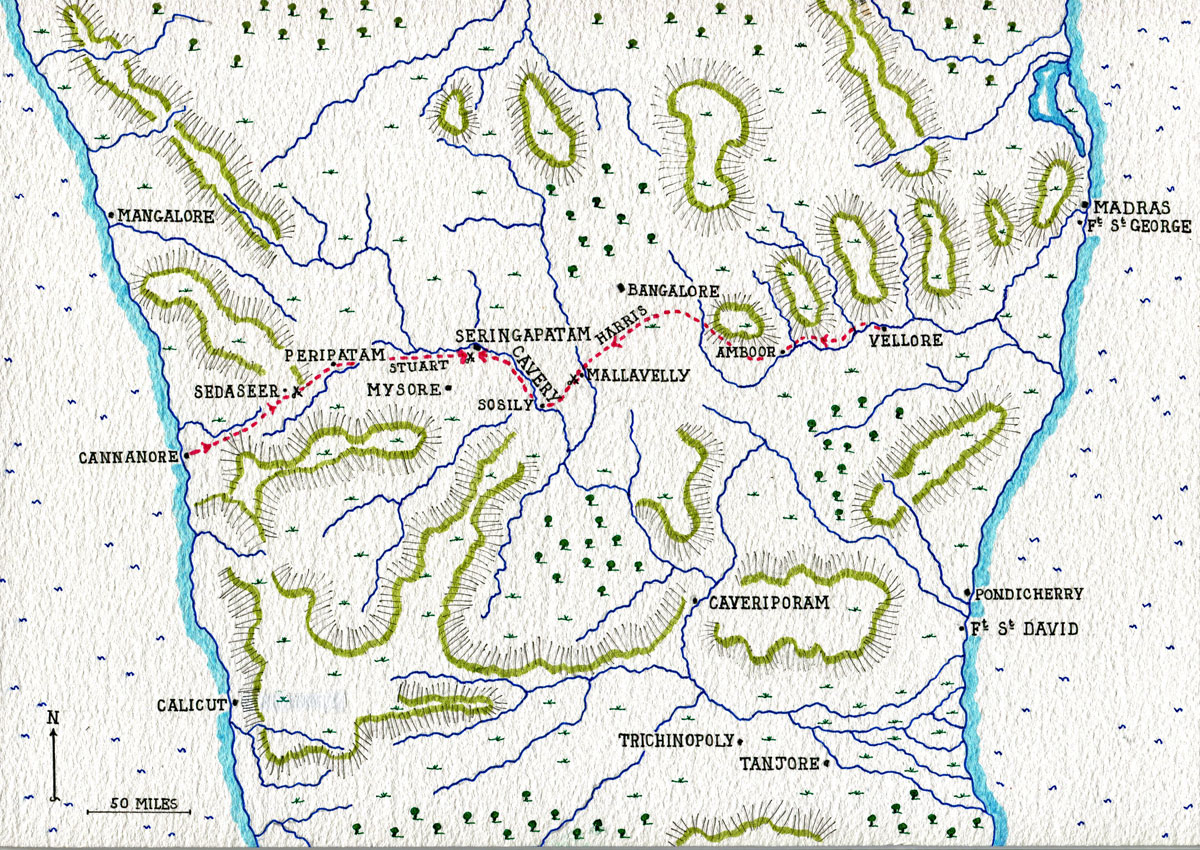
One force, comprising troops from the Madras Presidency and commanded by Harris, would march from the east coast to meet a second force, comprising troops from the Bombay Presidency and commanded by General Stuart, thereafter mounting a joint attack on Tipu Sultan’s fortress of Seringapatam, lying approximately in the centre of Mysore territory on the River Cavery.
The troops of the Nizam of Hyderabad would march south and join Harris’s army on its march west.
Composition of the various contingents:
General Harris’s Madras Presidency force comprised:
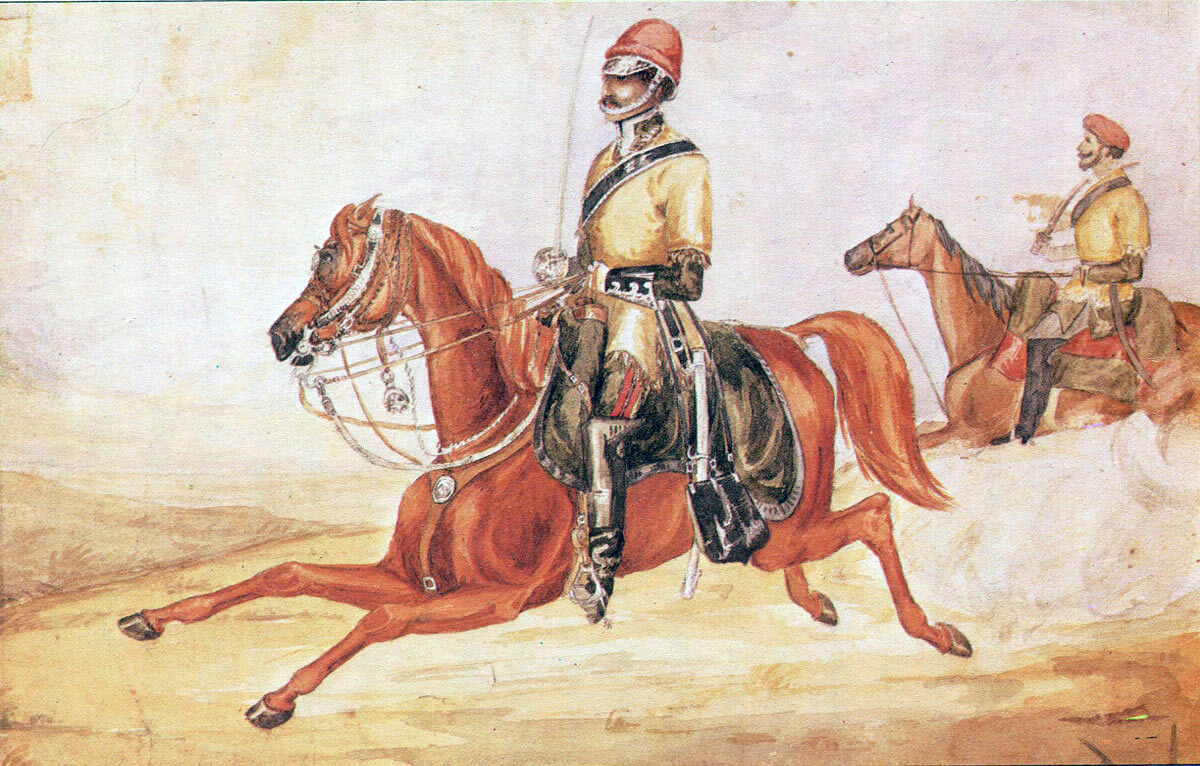
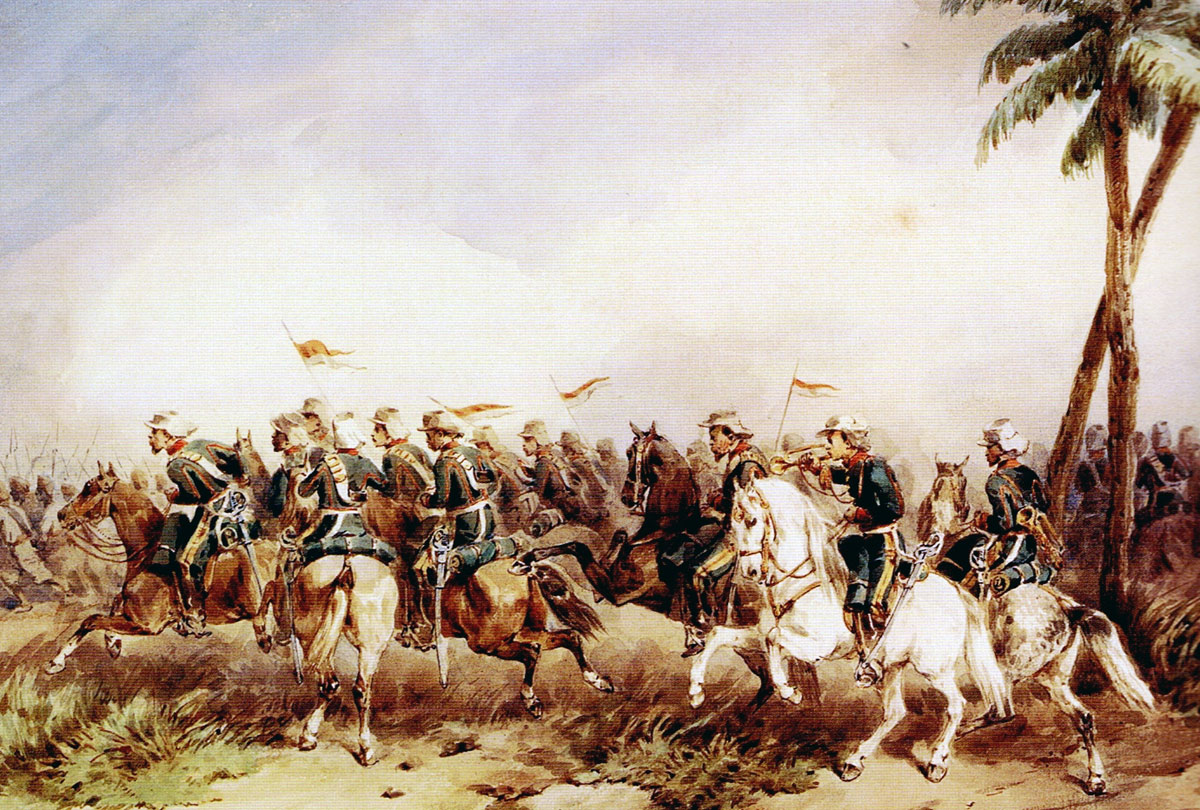
Cavalry (2,635 soldiers): Major General Floyd;
1st Brigade (Colonel Stearman, Madras Army): HM 19th Light Dragoons, 1st and 4th Madras Native Cavalry.
2nd Brigade (Colonel Pater, Madras Army): HM 25th Light Dragoons, 2nd and 3rd Madras Native Cavalry.
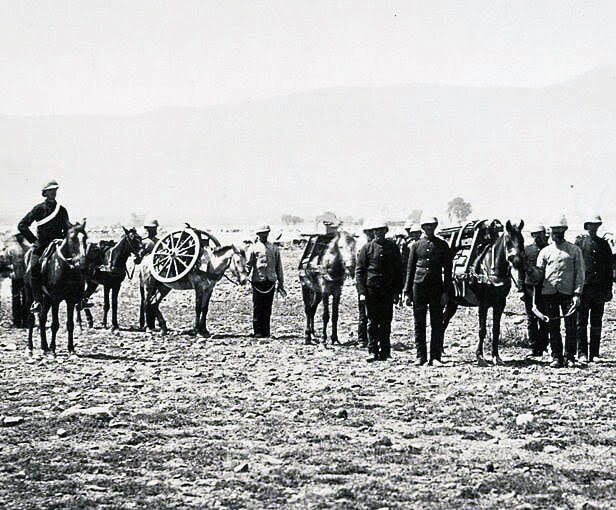
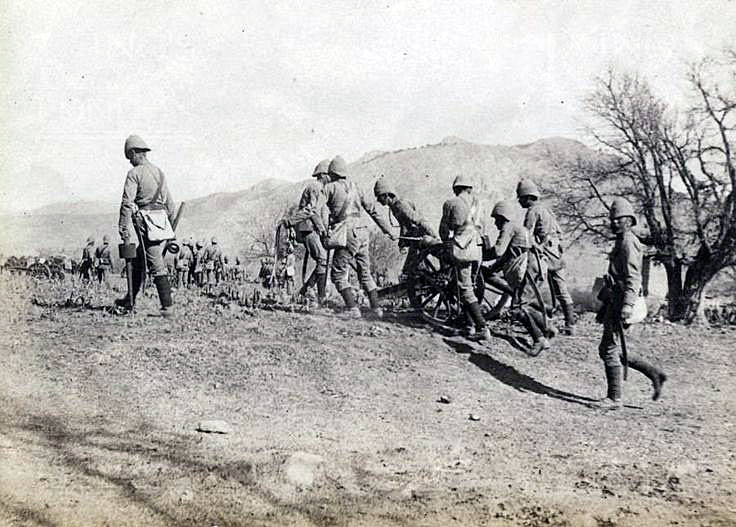
Artillery (608 soldiers and 1,483 gun lascars): 2 Cos Bengal Artillery and 1st and 2nd Battalions, Madras Artillery.
Infantry (4,381 European soldiers and 10,695 native soldiers):
Right Wing (Major General Bridges, Madras Army):
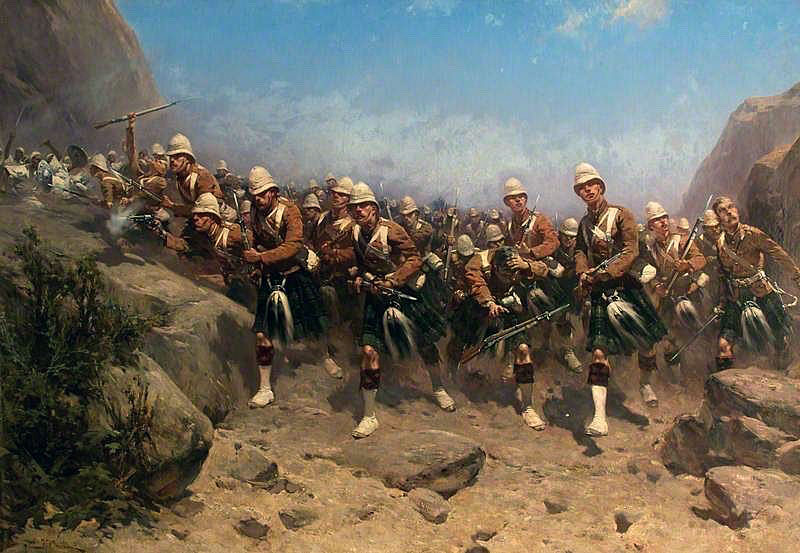
1st Brigade (Major General David Baird): HM 12th, 74th Highlanders, Scotch Brigade.
3rd Brigade (Colonel Gowdie, Madras Army): 1st/1st, 1st/6th, 1st/12th Madras Native Infantry.
5th Brigade (Colonel Roberts, Madras Army): 1st/8th, 2nd/3rd, 2nd/12th Madras Native Infantry.
Left Wing (Major General Popham, Madras Army):
2nd Brigade (Colonel Sherbrooke): HM 73rd Highlanders, De Meuron’s Regiment and HM 33rd Regiment.
4th Brigade (Lieutenant-Colonel Gardiner, Bengal Army): 3 battalions Bengal Native Infantry.
6th Brigade (Lieutenant Colonel Scott, Scotch Brigade): 2nd/5thand 2nd/9th Madras Native Infantry.
1,000 Madras Pioneers.
Lieutenant General James Stuart’s Bombay force comprised:
Right Brigade (Lieutenant Colonel Montresor): 1st/2nd, 1st/4th, 1st/3rd, Bombay Native Infantry.
Centre Brigade (Lieutenant Colonel Dunlop): HM 75th, 77th Regiments and 103rd Bombay Europeans.
Left Brigade (Lieutenant Colonel Wiseman): 2nd/3rd, 1st/5th, 2nd/2nd Bombay Native Infantry.
Infantry and Artillery 11,223 soldiers.
Hyderabad Contingent (16,157 soldiers):
Cavalry: Nizam’s Cavalry 6,000 and Old French Contingent 3621 soldiers.
1st and 2nd/10th Bengal Native Infantry, 2nd/2nd, 2nd/7th, 1st and 2nd/11th Madras Native Infantry: 1 company of Bengal Artillery.
Advance on Seringapatam:
Following the news of Nelson’s victory at the Battle of the Nile on 31st October 1798, Lord Mornington opened negotiations with Tipu Sultan. It was soon clear that there was no prospect of a peaceful settlement.
Mornington moved to Madras to supervise the East India Company’s invasion of Mysore.
Information was then received that envoys from Tipu Sultan to Napoleon in Paris had sailed from India on 7th February 1799.
Harris was given his orders to begin the attack.
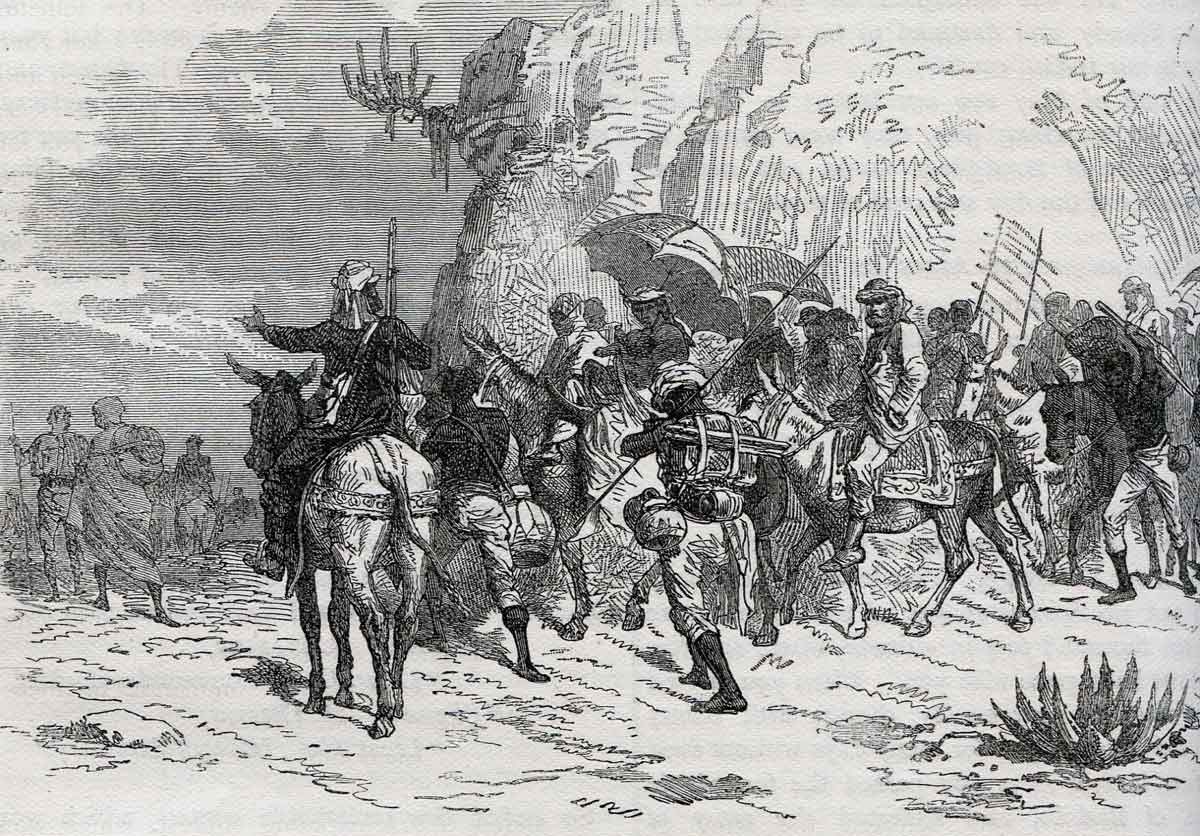
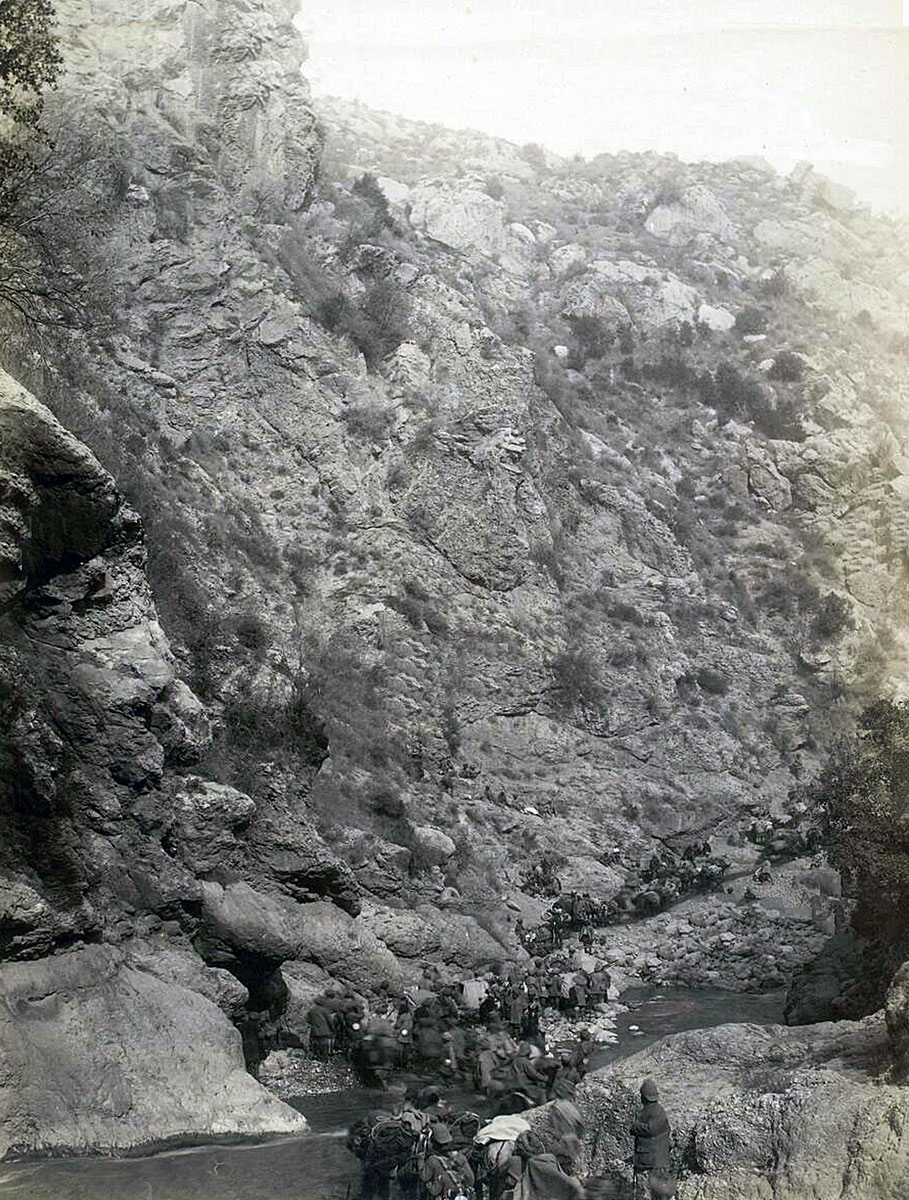
There had been considerable difficulty assembling the necessary supplies and transport. Nevertheless, Harris’s Madras force-marched west from Vellore on 11th February 1799 and was joined at Amboor on 20th February 1799 by the contingent from Hyderabad.
General Stuart’s Bombay force marched eastwards from Cannanore on the west coast of India on 21st February 1799, reaching a point 7 miles west of Peripatam on the high road to Seringapatam, 50 miles short of Tipu Sultan’s island fortress.
Urged on by the French officers in his entourage, Tipu Sultan resolved to fight the British.
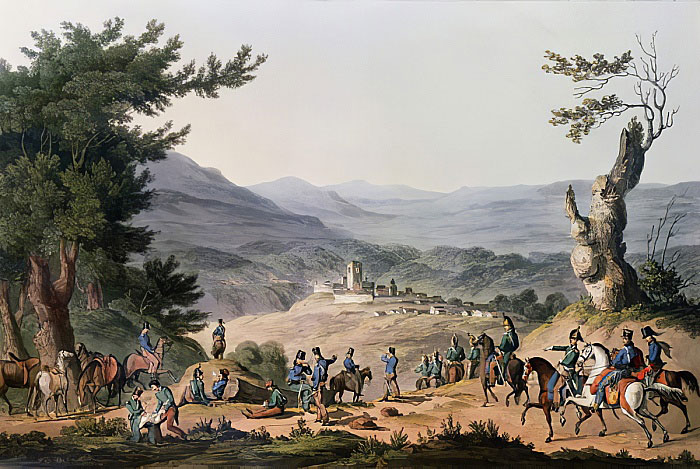
Battle of Sedaseer on 5th March 1799:
Tipu Sultan marched west with 12,000 men to attack Stuart’s force, leaving a party to watch Harris’s advance.
Stuart divided his men into 3 divisions.
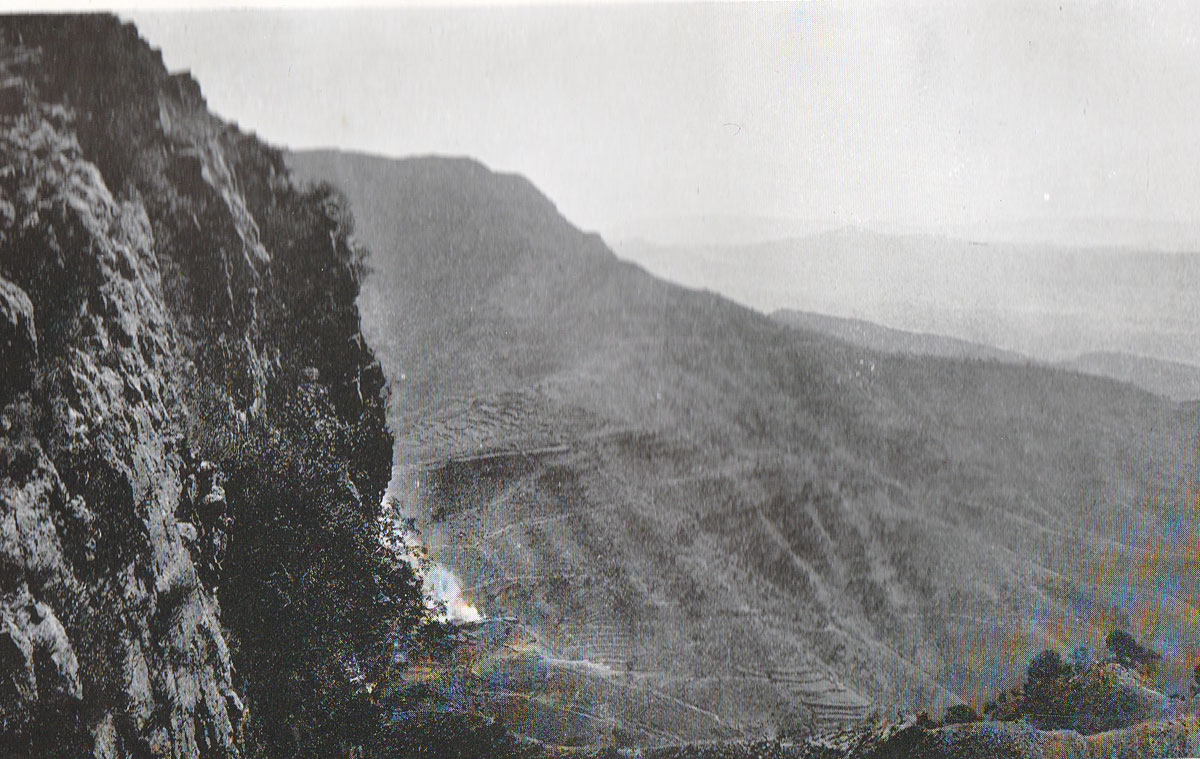
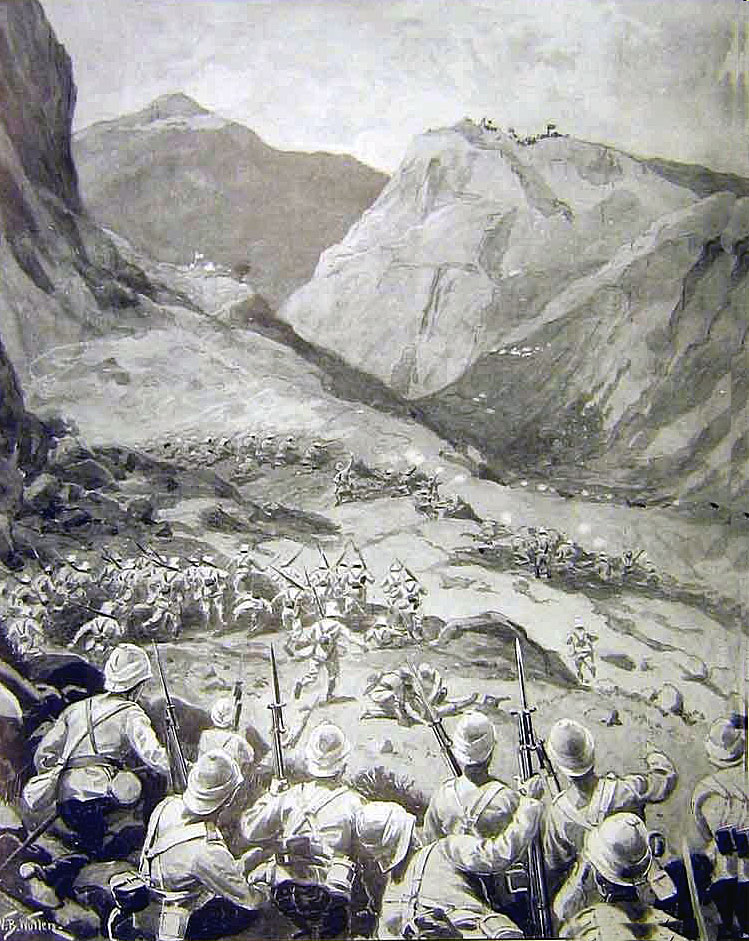
The leading division, Montresor’s brigade, held a high hill at Sedaseer on the border of Mysore and Coorg.
The other two divisions were 8 to 12 miles further back, a dangerous deployment so near to Tipu Sultan’s headquarters.
In the morning of 5th March 1799, a reconnaissance party saw a large encampment further east on the road, centred around a large green tent, which indicated the presence of Tipu Sultan.
Montresor was reinforced with a further sepoy battalion.
Between 9am and 10am, Tipu Sultan’s troops advanced through the jungle and attacked Montresor’s brigade in the front and rear.
Montresor’s battalions fought with great determination, but were near to being overwhelmed when Stuart arrived at around 2.30pm with the 77th Regiment and the grenadier and light companies of the 75th Highlanders.
30 minutes of volley firing drove off the Mysore troops attacking the rear of Montresor’s brigade.
A further 2 ½ hours of fighting saw the rest of Tipu Sultan’s force melting away into the jungle in precipitate retreat.
Fortescue comments that ‘for his dispositions in the attack, Tipu deserved better success’.
Mysore casualties at Sedaseer were 1,500 killed and wounded, while the Bombay troops lost around 140 killed, wounded and missing.
Battle of Mallavelly on 27th March 1799:
Harris’s army of Madras and Hyderabad contingents crossed the eastern border of Mysore, reaching Rayacotta, on 4th March 1799 and, after taking some hill forts, moved to Kelamungalum and on to Bangalore on 14th March 1799.
Tipu Sultan’s light cavalry were deployed along the route taken by Harris, destroying the crops to hinder his advance.
Provisioning his army was a major problem for Harris.
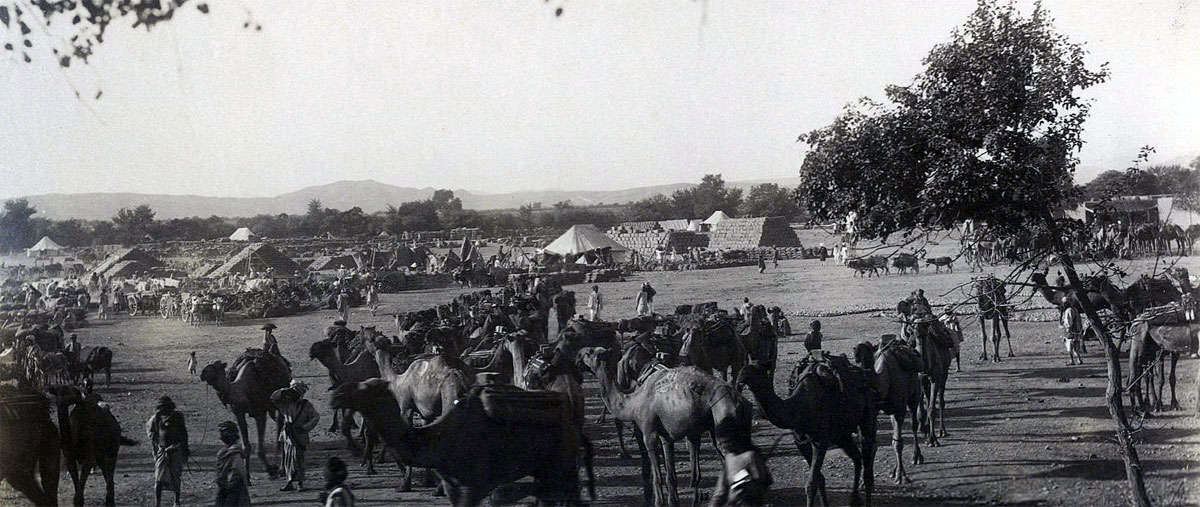
The army’s transport was provided by a vast array of 120,000 bullocks for which forage had to be found.
Major sources of this forage were the districts of Baramahal and Coimbatore, held by a force of irregular troops.
Nevertheless, the destruction of the crops in advance of Harris’s march was a significant threat to the success of the invasion.
On 16th March 1799, Harris resumed his advance, turning abruptly south-west into territory not devastated by Tipu Sultan’s cavalry.
The rate of advance of the vast assemblage of troops, pack animals and camp-followers was around 5 miles a day.
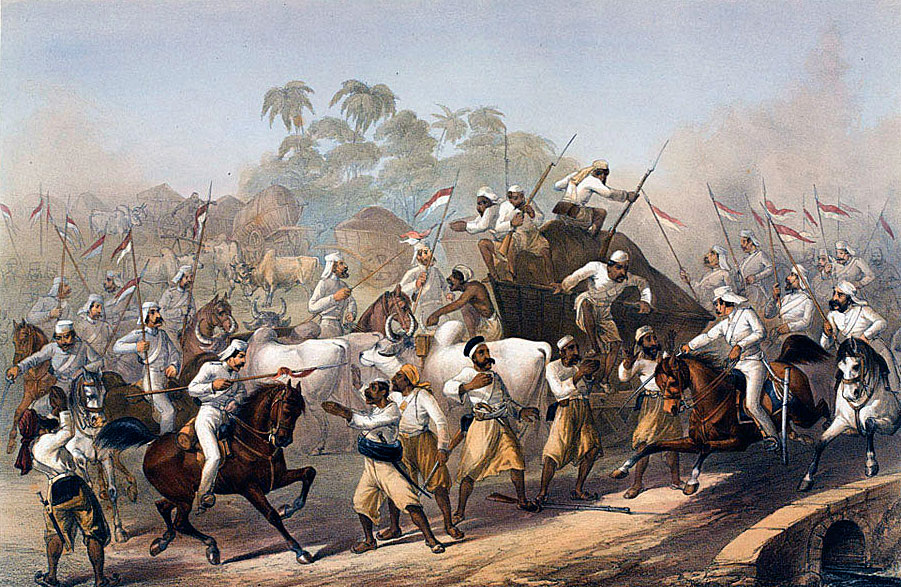
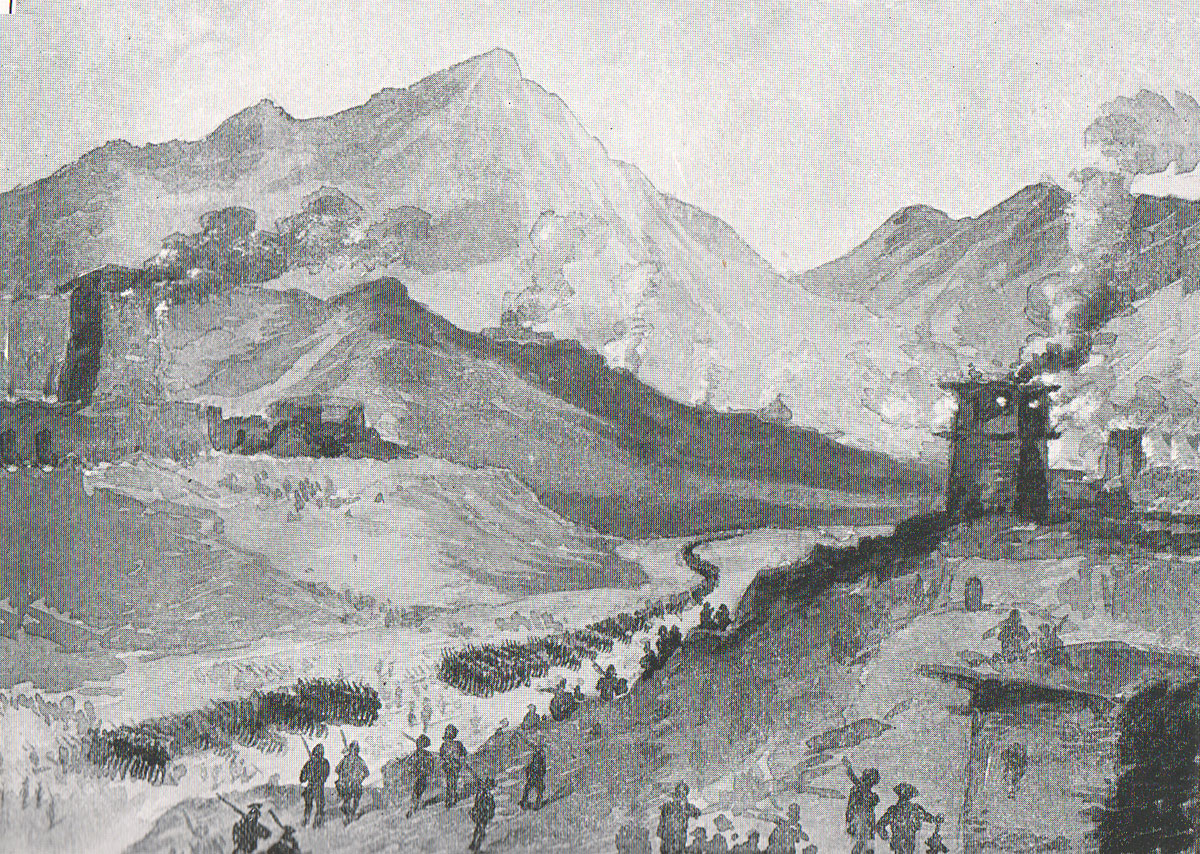
The army advanced in two parallel columns, the British and Madras regiments on the right and the Hyderabad contingent on the left. The cavalry marched in the front and the rear. The supply column occupied the centre. The whole formation was 7 miles in length and 2 miles wide.
On 24th March 1799, Harris reached the River Madoor and encamped on the banks.
Harris crossed the river, receiving news from Stuart of his success at Sedaseer.
On 27th March 1799, Harris’s army advanced towards Mallavelly.
Following the river crossing, the right column formed the advance with the cavalry.
On 26th March 1799, Harris’s army encamped 5 miles short of Mallavelly.
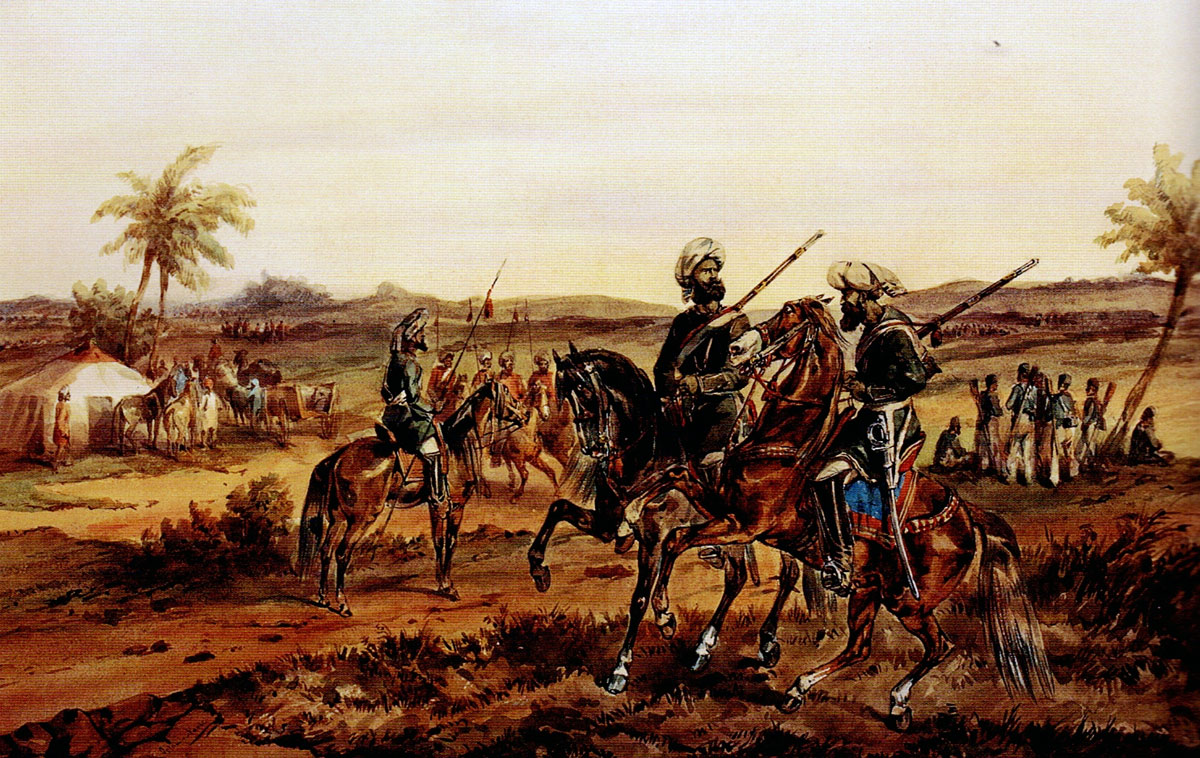
On 27th March 1799, the advance was resumed, with Colonel Wellesley’s division and the Hyderabad contingent on the left wing of the main army.
As the army came within a mile of Mallavelly, Tipu Sultan’s cavalry was seen positioned on the right of the army.
Tipu Sultan’s infantry were on the heights beyond Mallavelly.
Tipu Sultan’s guns could be seen moving along his line to the south, to take Harris’s army in the flank.
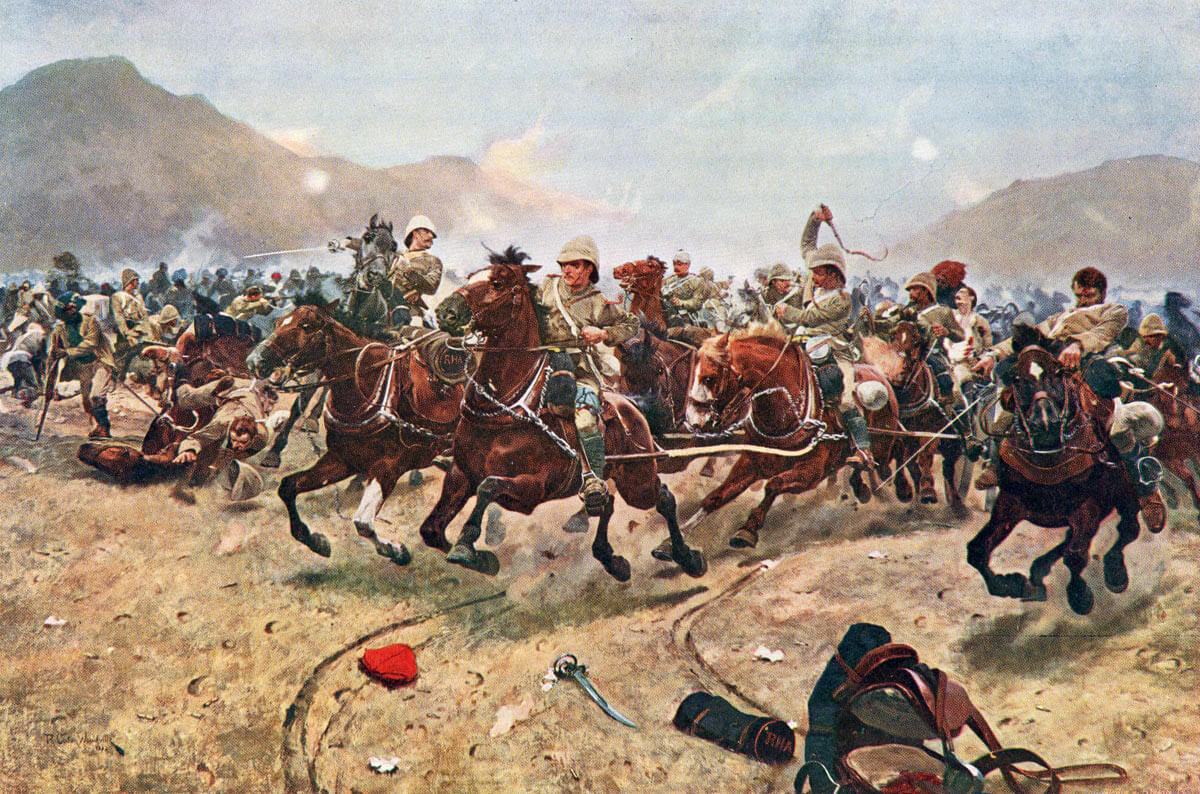
Wellesley was instructed to attack Tipu Sultan’s right flank, supported by Floyd’s cavalry, while the British regiments led by Harris attacked the village of Mallavelly.
Under the threat of attack, the Mysore army withdrew to a line of hills further to the rear of Mallavelly.
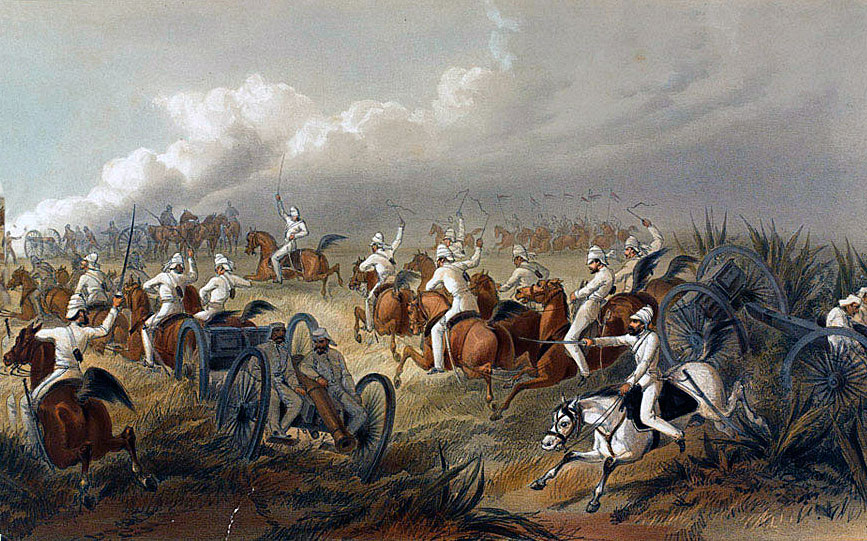
On General Harris’s orders, the army picquets, commanded by Lieutenant Colonel Sherbrooke, with 2 regiments of cavalry, HM 25th Light Dragoons and a native regiment, commanded by Colonel Stapleton Cotton, went ahead with the Quartermaster-General’s parties to mark out a camp.
2 Mysore guns opened fire on these parties and the Mysore mounted men became more threatening on the British right flank.
Cotton cleared some parties of cavalry and rocket men from 2 nearby villages.
As the Mysore horse advanced, the picquets were formed up to resist them and General Harris ordered a number of guns forward with Robert’s, Baird’s and Gowdie’s Brigades, taking position on the left of the picquets.
Wellesley’s division came up on the left of Gowdie’s Brigade, with Floyd’s cavalry in support.
Harris’s line advanced down the slope from the heights, descending into low uneven ground.
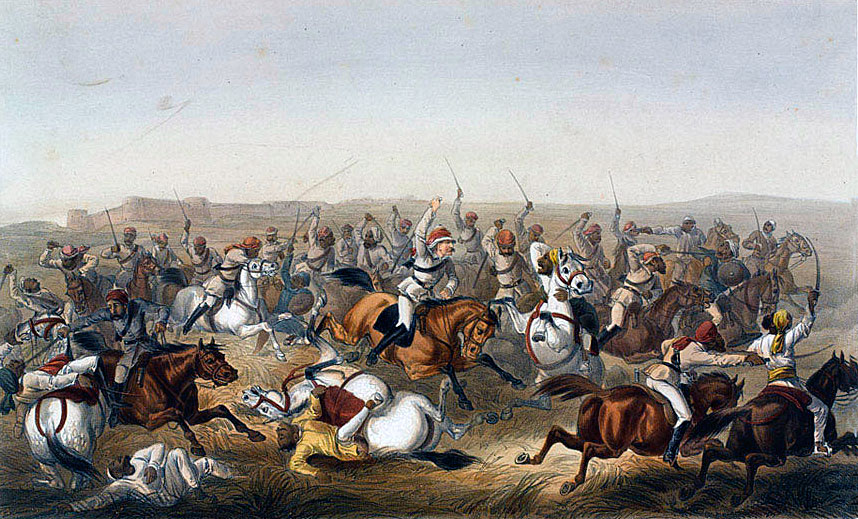
Tipu Sultan’s army thereupon delivered a heavy attack on the left and centre of Harris’s line.
On the British left, Wellesley’s Division was led by the 33rd Regiment.
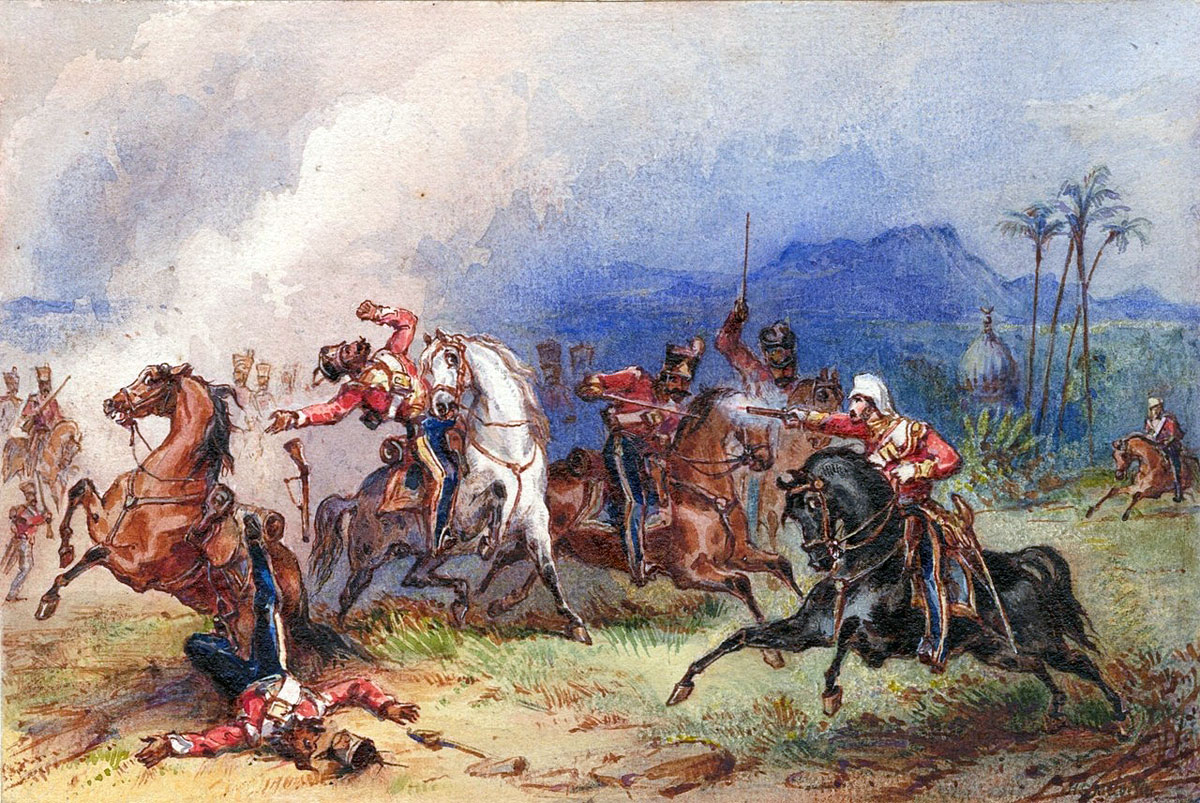
Fortescue states that 10,000 Mysore infantry, supported by cavalry, attacked the 33rd, but were held by the regiment’s volleys, until they were charged by Floyd’s cavalry and driven back in confusion with heavy casualties.
Another force of Mysore infantry attacked the left flank of Baird’s Brigade, but were countered by the 74th Highlanders, who in turn were threatened by a body of cavalry charging out of the jungle.
Baird halted the 74th, while the Mysore cavalry were repelled by the 12th Regiment and the 94th Scotch Brigade. The Mysore cavalry wheeled and galloped along Harris’s line of native battalions, escaping without a casualty, in spite of volleys discharged at them.
While these piece-meal attacks were taking place, Tipu Sultan withdrew his guns, for the safety of which he was obsessive.
The whole Mysore line then withdrew to another ridge in the rear. Harris’s army followed the Mysoreans for 2 miles and halted.
On 28th March 1779, Harris resumed his march to the north-west of Mallavelly, but his plan was to change his route and cross the River Cavery at Sosily, 15 miles south-west of Mallavelly. He would thereby be travelling through country unravaged by Tipu Sultan’s cavalry and be enabled to approach Seringapatam from the west, after joining Stuart’s Bombay force.
Harris followed this route, after a reconnaissance confirmed that the ford at Sosily was intact and undefended.
The army crossed the River Cavery at Sosily, finding a substantial quantity of supplies in the fort and village and continued its slow march to Seringapatam, arriving before the island fortress on 5th April 1799.
The casualties in Harris’s army from the fighting around Mallavelly were around 70 killed and wounded.
Tipu Sultan’s casualties were around 1,000 killed and wounded.
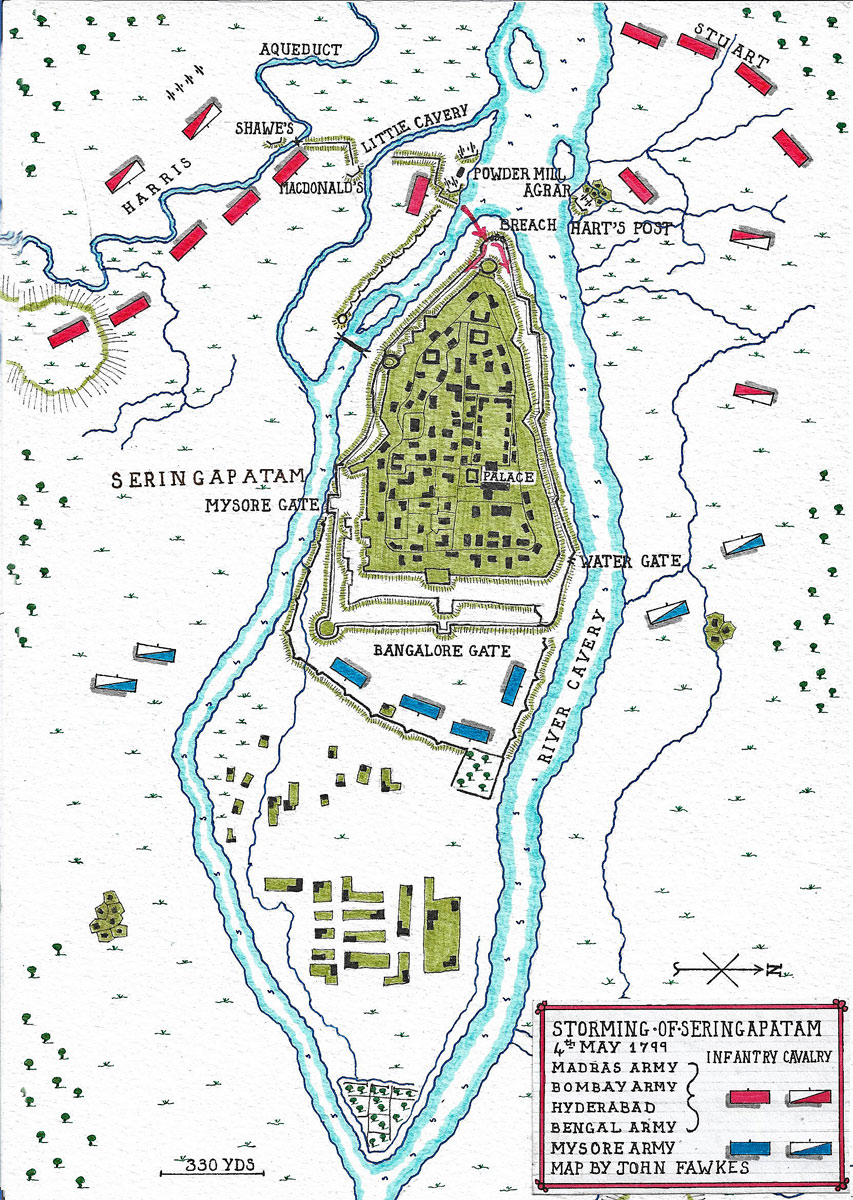
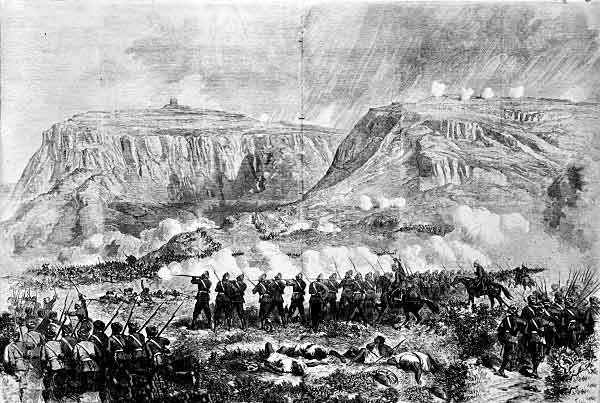
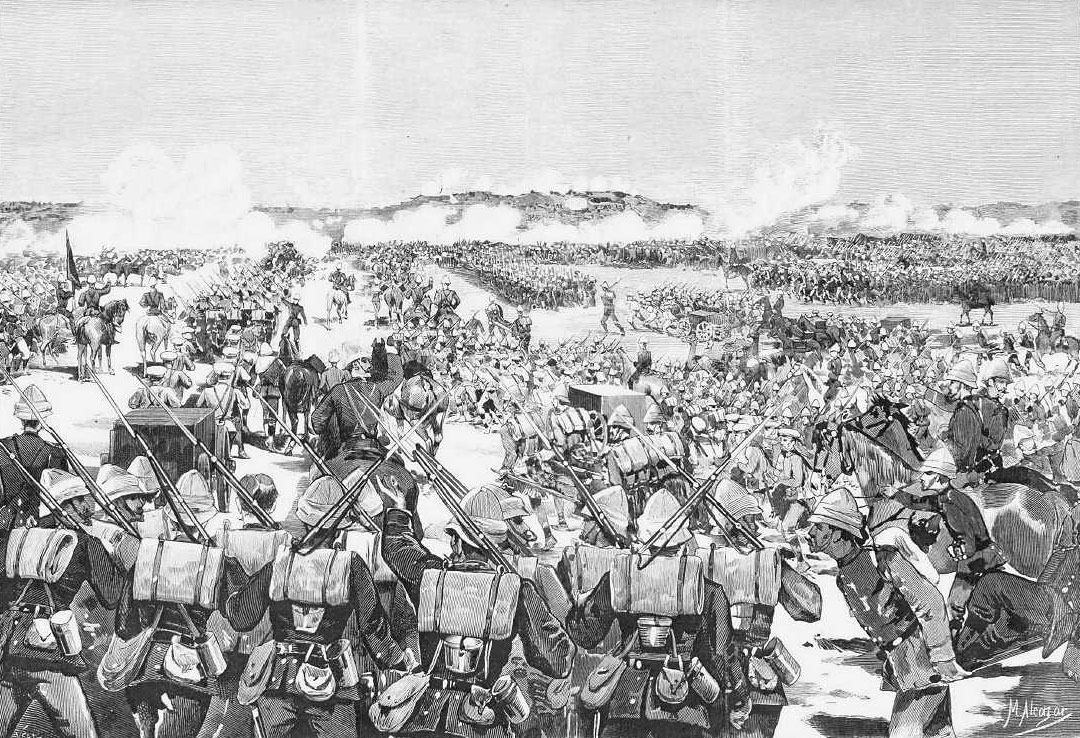
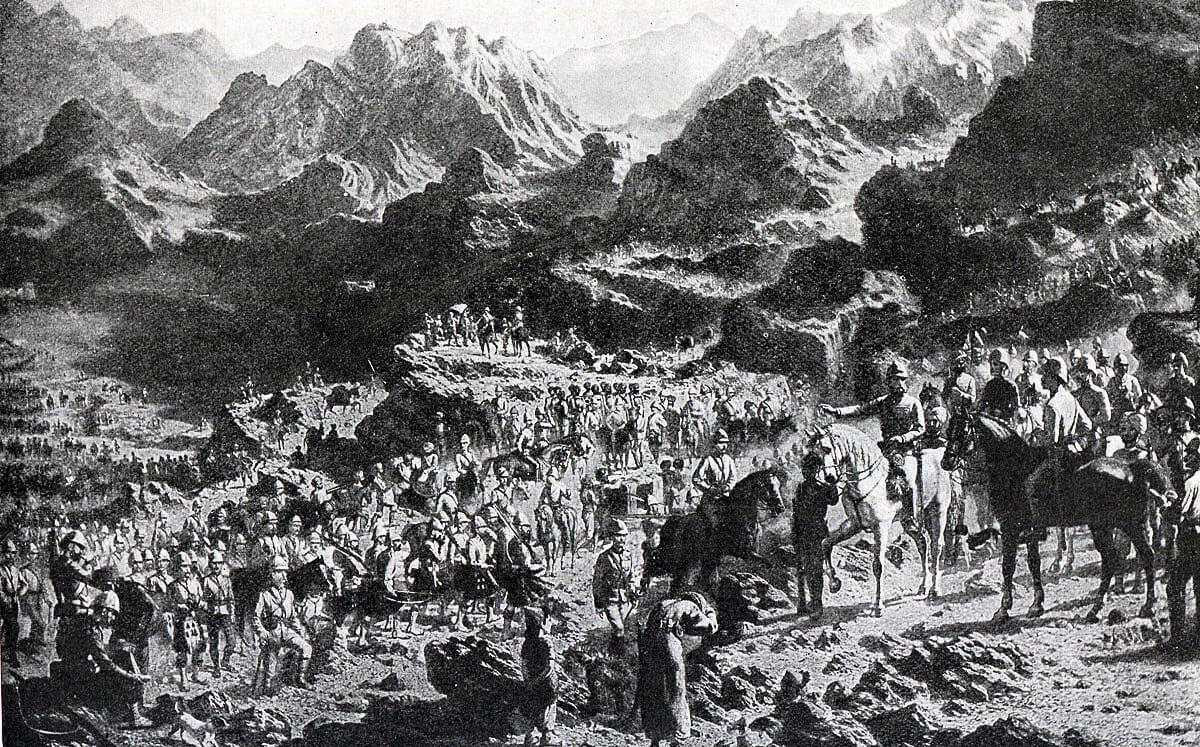
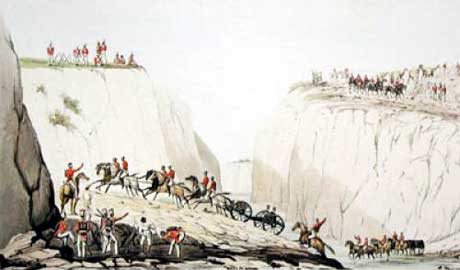
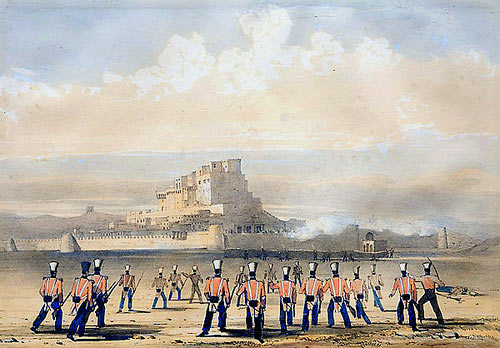
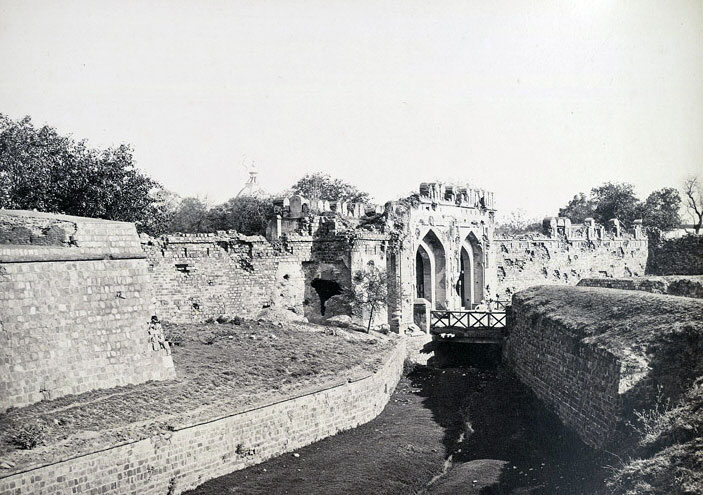
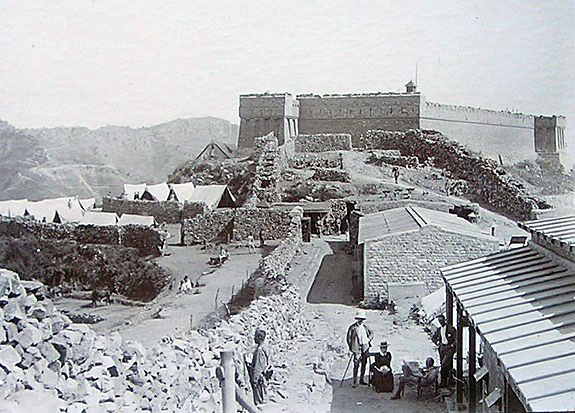
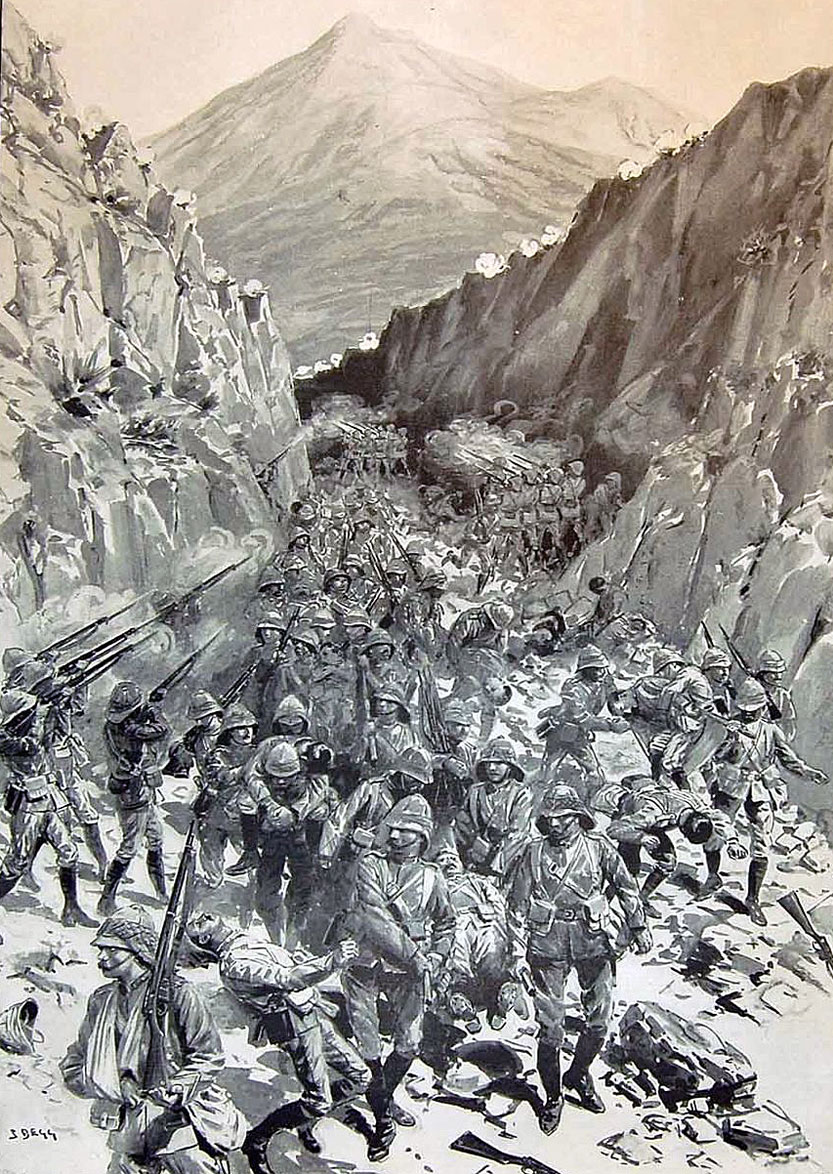
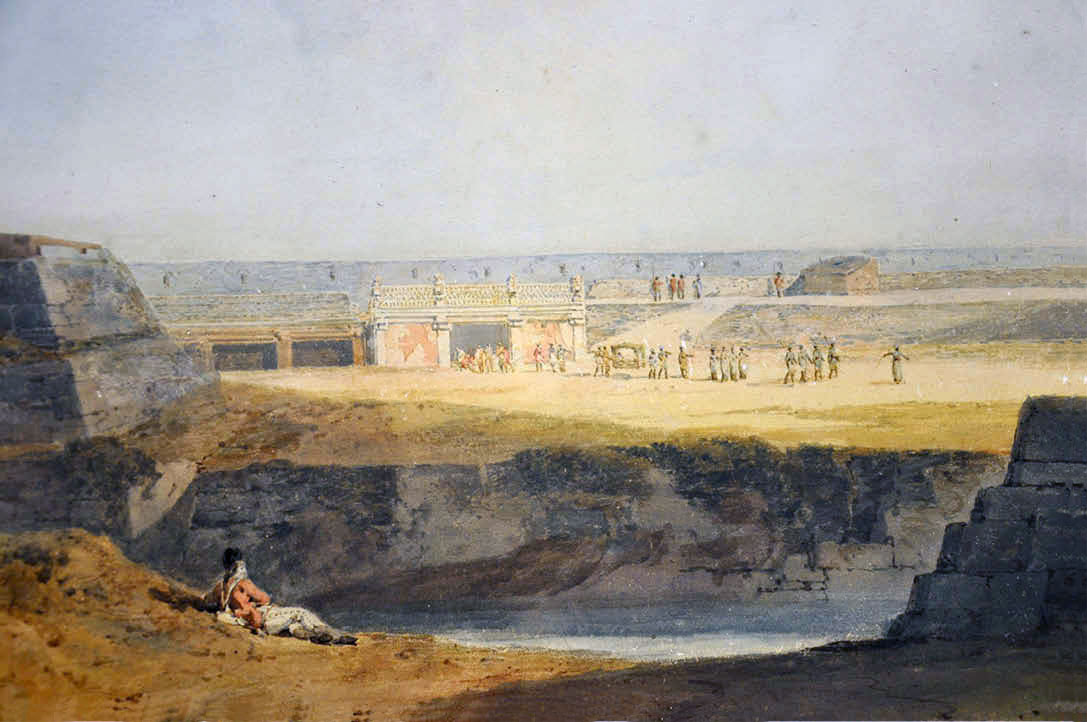
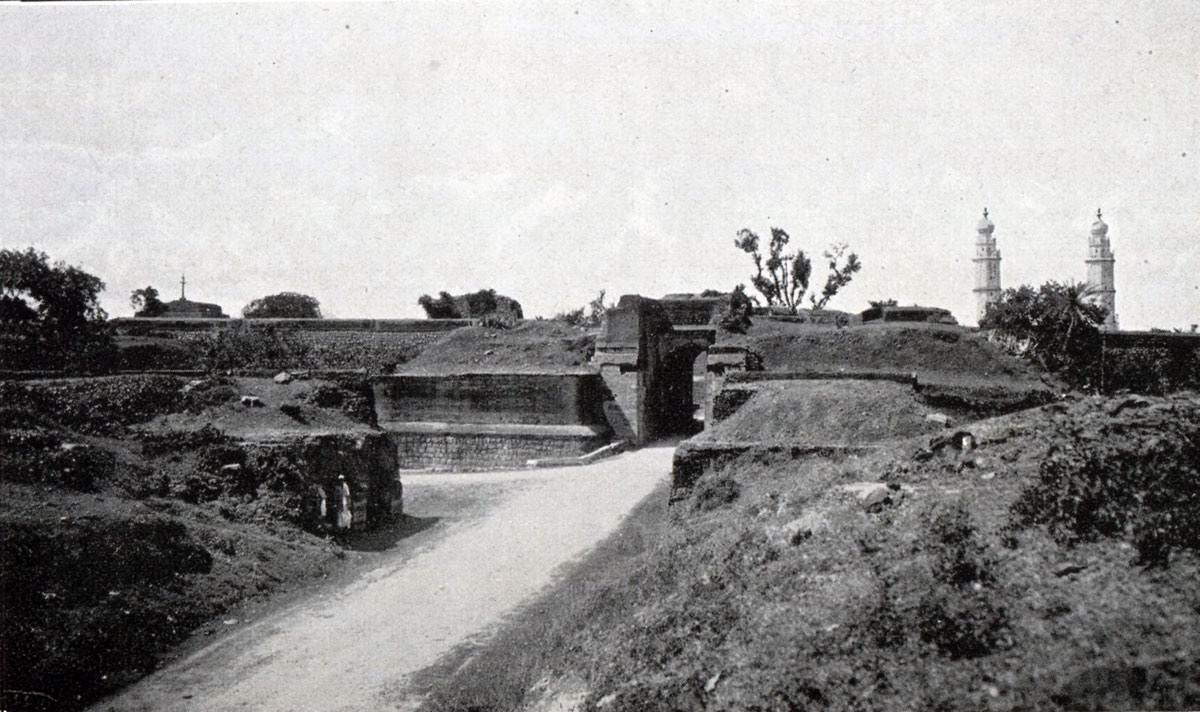
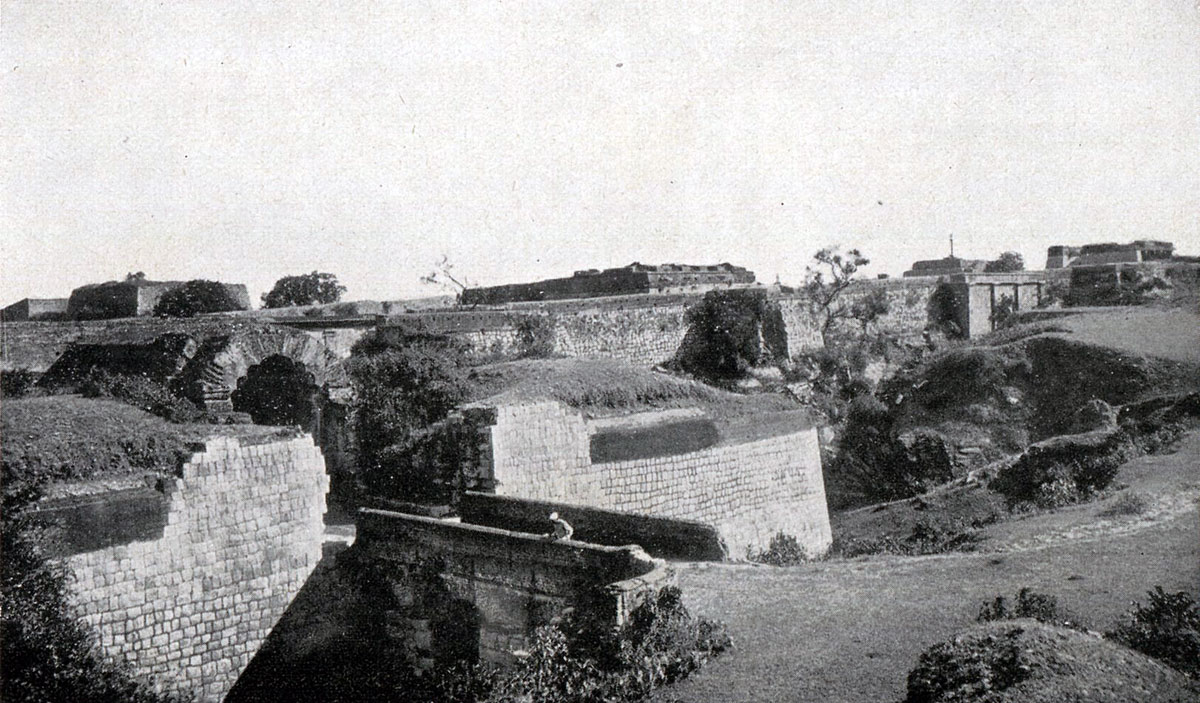
Storming of Seringapatam:
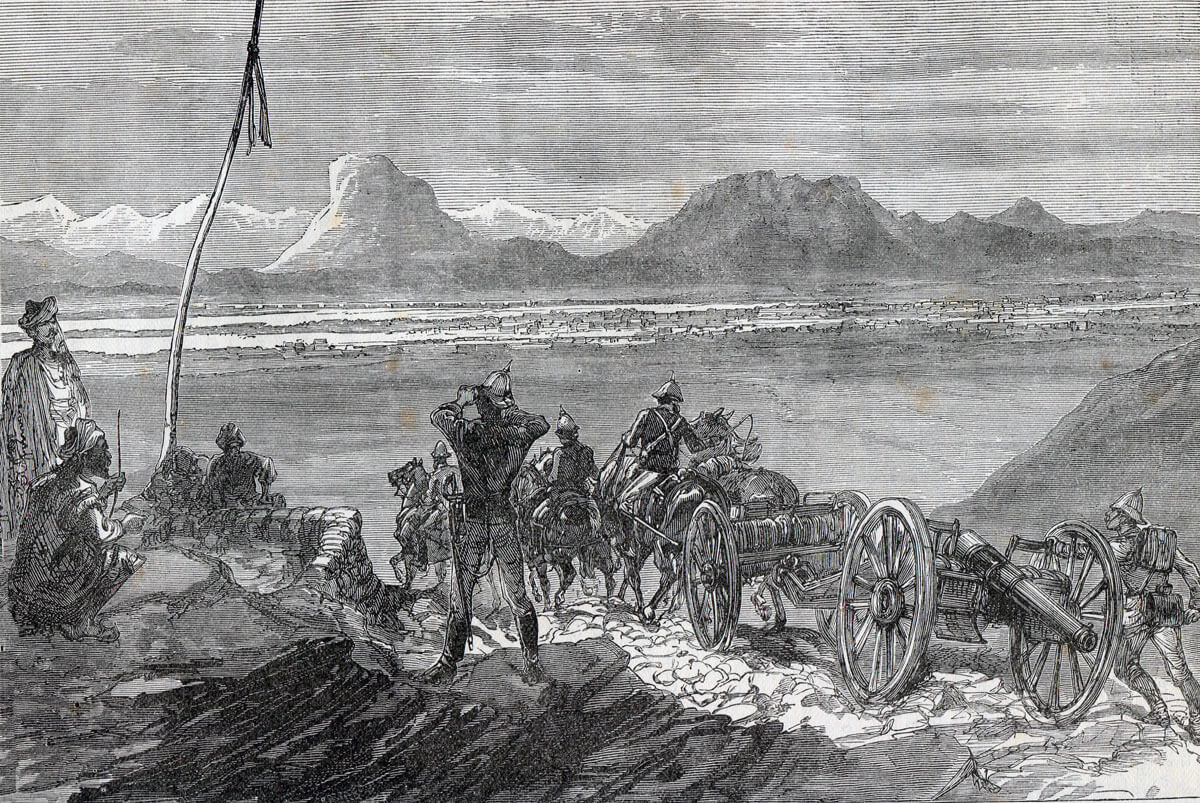
On 5th April 1799, Harris’s army took up a position on the south bank of the River Cavery to the south-west of Seringapatam.
The army’s right lay on high ground, with its left covered by an aqueduct and the River Cavery.
Along the rear of the army’s position lay a series of deep ravines.
In front, beyond the aqueduct, were several ruined villages and high points from which the British camp could be sniped and which required to be occupied.
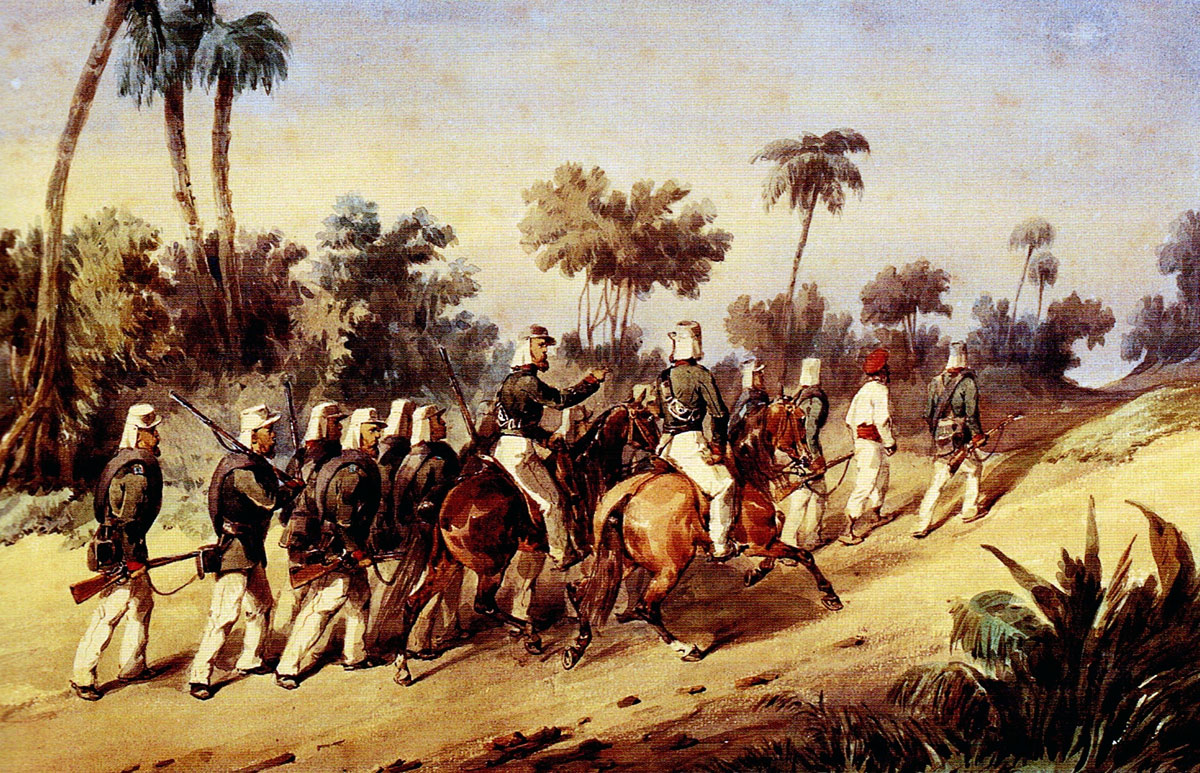
On the night of 5th April 1799, two parties set out to capture the Mysore positions along the aqueduct, 3 battalions under Colonel Shawe and 2 battalions under Colonel Wellesley, including his own regiment the 33rd.
Neither party was able to achieve its goal until the next morning, when Wellesley returned to the attack, with the Scotch Brigade, 2 native battalions and 4 guns and the Mysoreans were driven from their positions.
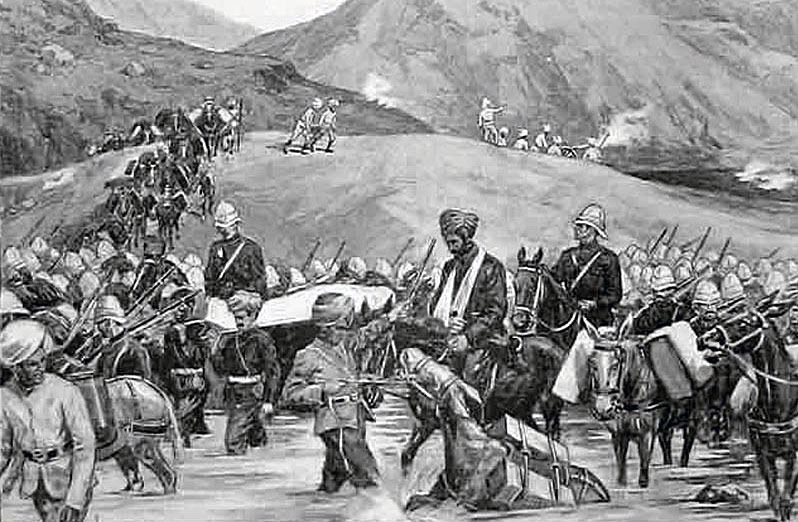
On the 6th April 1799, General Floyd marched with 4 regiments of cavalry and most of the Hyderabad contingent to Peripatam, to bring Stuart’s Bombay army to Harris’s camp at Seringapatam, which he did on 14th April 1799.
It was now found that the army’s supply of rice was not, as believed, sufficient for 33 days, but only for 18 days on half rations.
This discovery caused Harris to press the siege of Seringapatam with considerable urgency.
After consultations with the army’s engineers, Harris resolved to attack the north-west corner of the fortress.
On 16th April 1799, Stuart’s Bombay force crossed to the north bank of the River Cavery and, on the next day, Colonel Hart, with the 75th Regiment and 2 battalions of Bombay sepoys, supported by the 74th Highlanders and a Madras sepoy battalion, stormed the village of Agrar on the banks of the river.
That night a battery of 6 cannon and 2 howitzers was established in the ruins of Agrar, named Hart’s Post and opened fire on the north-west angle of the fortifications of Seringapatam.
South of the River Cavery, the Mysore troops were forced back from the subsidiary stream of the Little Cavery and an advanced post established called Macdonald’s Post.
A trench was dug from Macdonald’s Post to a ruined village in the rear, called Shawe’s Post, enabling troops to approach the fortifications.
While these operations were under way, General Floyd was despatched with the cavalry and a brigade of infantry to bring up a supply column from Baramahal.
Tipu Sultan’s troops were occupying an entrenched line along the western bank of the River Cavery parallel to the fortress wall.
This entrenchment was subjected to fire from Hart’s Post and from guns positioned by Harris.
On the evening of 20th April 1799, the British stormed a powder mill on the bank of the River Cavery, with losses to the Mysoreans of 250 killed and wounded.
Taking the powder mill enabled the British to dig a trench to the bank of the River Cavery and establish a battery firing straight across the river into the targeted north-west angle of the fortress walls.
The marking out of a further battery on the north bank of the river caused the Mysore troops to launch an attack, on 22nd April 1799, on Stuart’s positions.
This attack was beaten off with Mysore casualties of around 600 killed and wounded.
That night a first zig-zag trench was dug from the 8-gun battery to the bank of the River Cavery and batteries established, firing across the river into the wall.
The heavy fire forced the withdrawal of the guns positioned in the towers flanking the proposed breach area.
The zig-zag trench was within 200 yards of the northern end of the entrenchment on the west bank of the River Cavery.
This entrenchment was 800 yards long with a circular redoubt at the southern end.
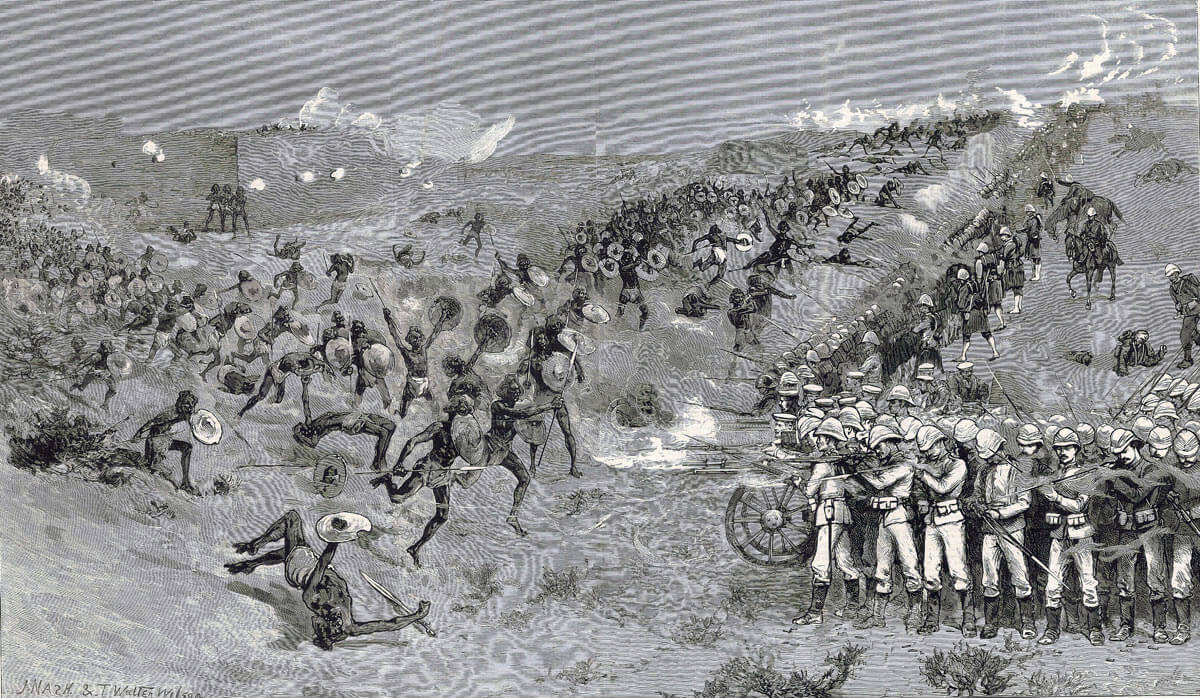
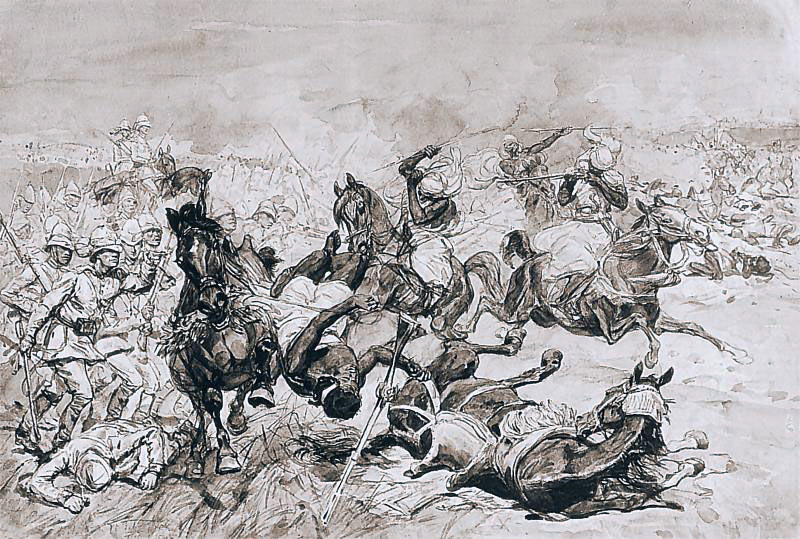
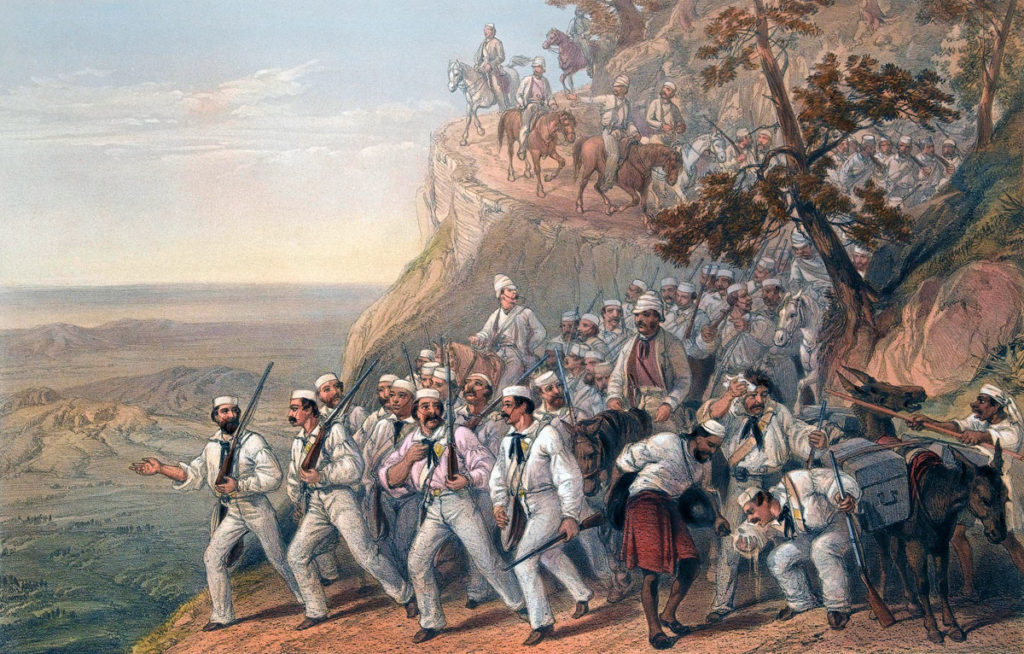
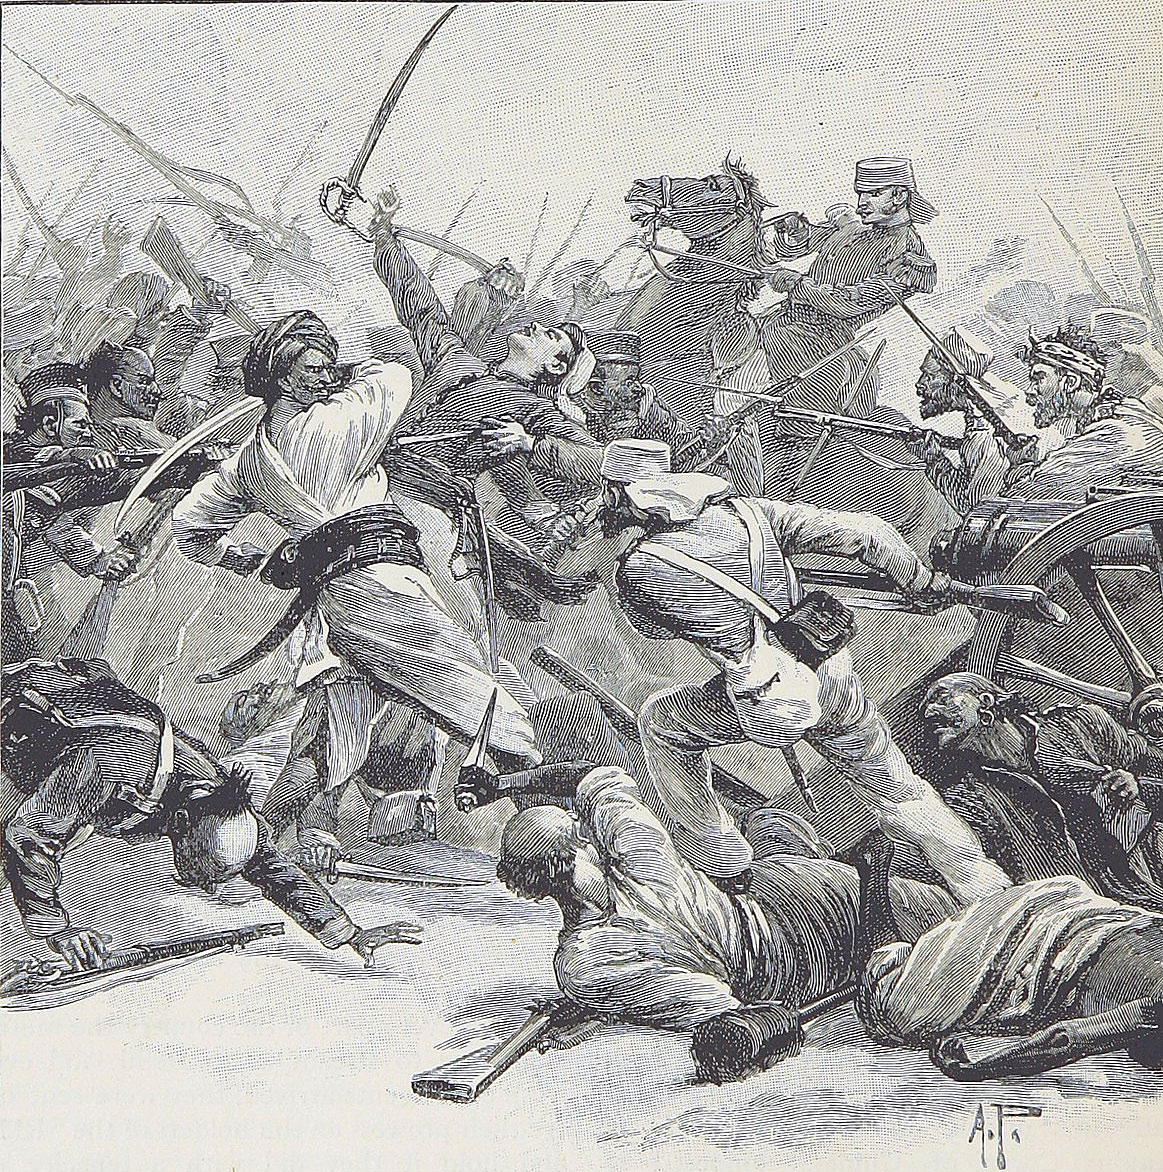
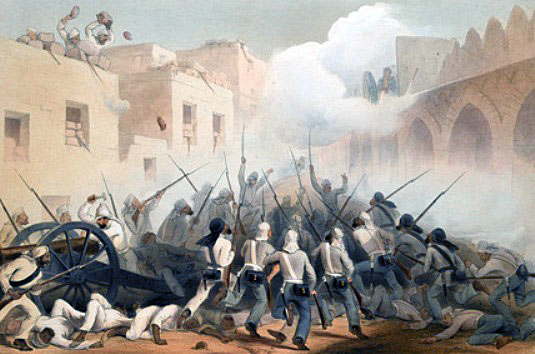
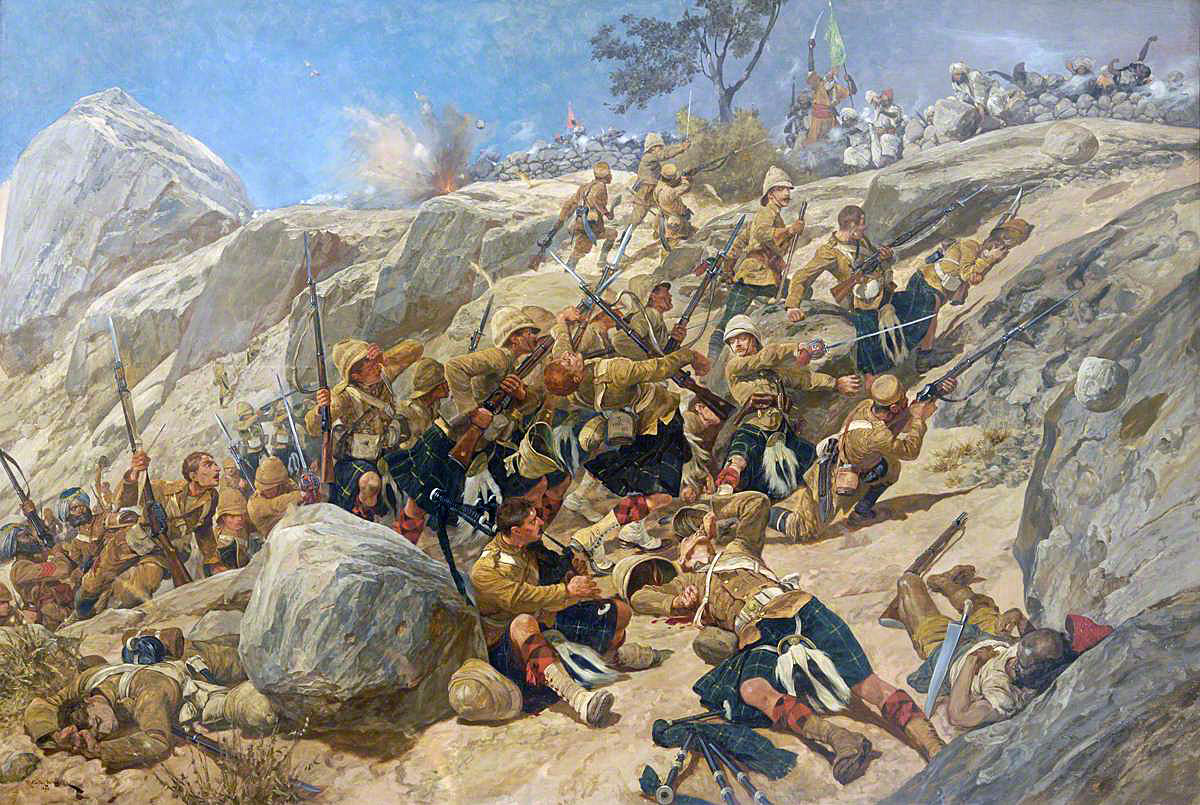
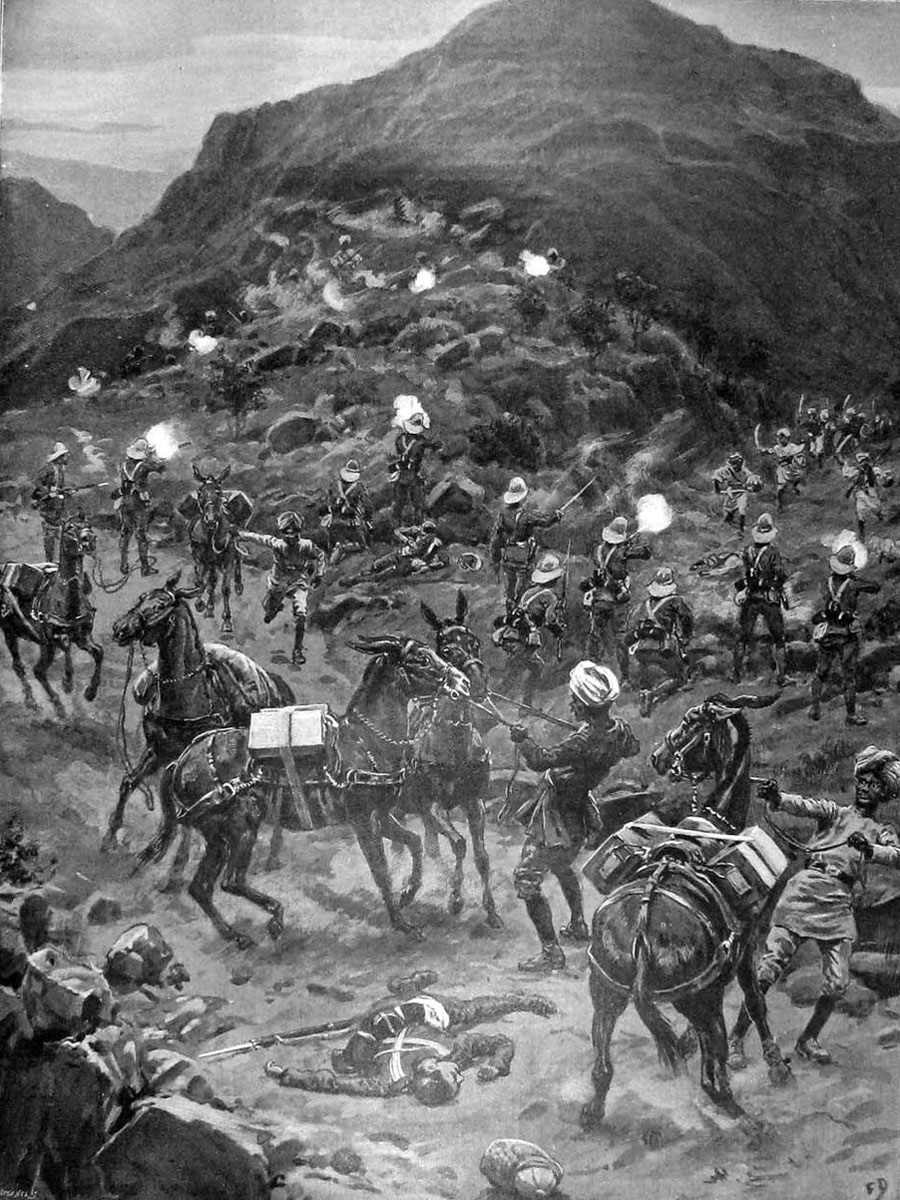
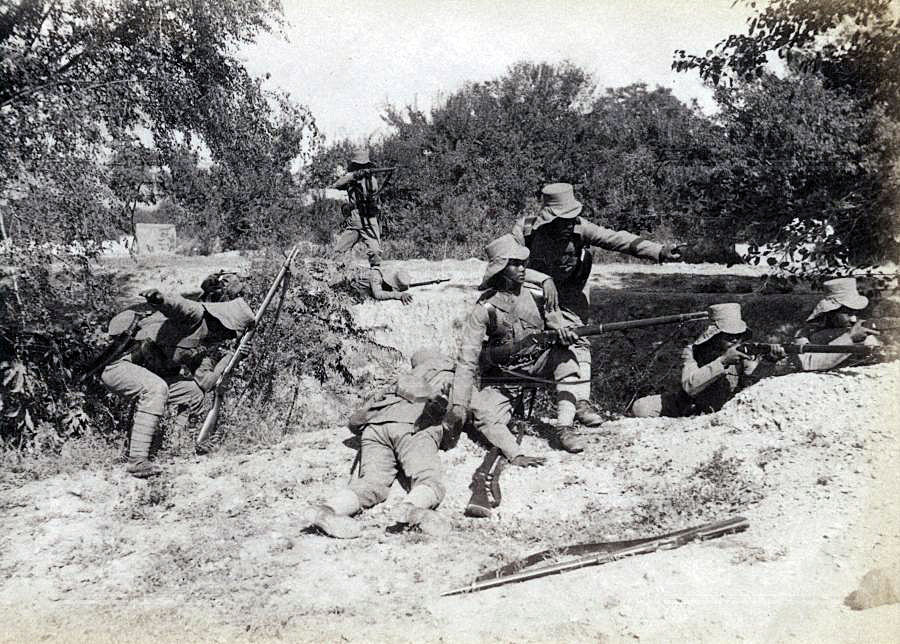
On the evening of 26th April 1799, Colonel Wellesley commanded an attack on the entrenchment by two columns, the first of 4 companies from the 94th Scotch Brigade and the second of 4 companies from the 73rd, each supported by 4 companies of sepoys from the Bengal and Madras armies.
The trenches were quickly taken but the British troops came under heavy fire from the circular redoubt, which was in turn stormed by Lieutenant Colonel Campbell with companies from the same British regiments.
The redoubt garrison fled across the bridge onto Seringapatam island pursued by Campbell’s contingent, which inflicted a number of casualties and spiked 2 guns before withdrawing.
British and sepoy casualties in this assault were around 300 killed and wounded.
During the morning of 27th April 1799, the British force established itself on the bank of the Cavery River facing the fortress wall and built new batteries.
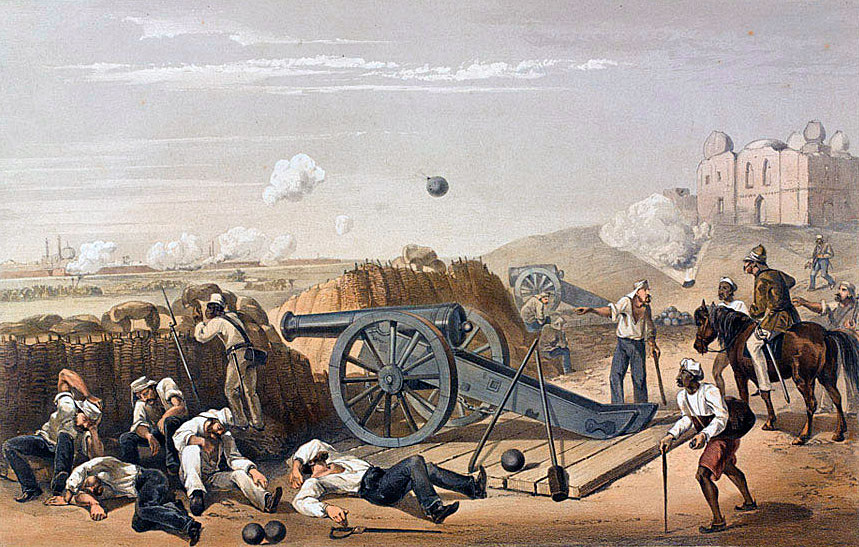
On 2nd May 1799, these batteries opened fire from 29 cannon and 6 howitzers on the area of the fortress wall intended to be breached and across the fortress interior.
One of the howitzer rounds hit a rocket magazine in the fortress, which exploded with a wild display of pyrotechnics.
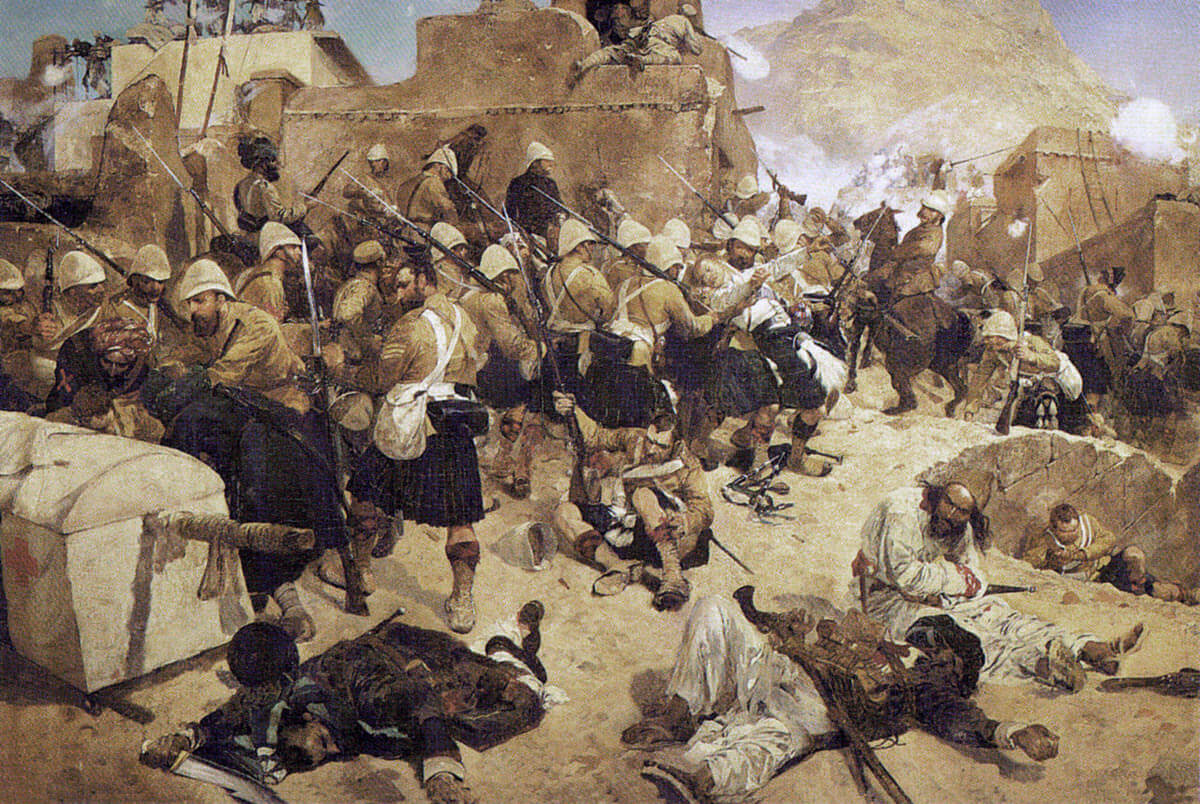
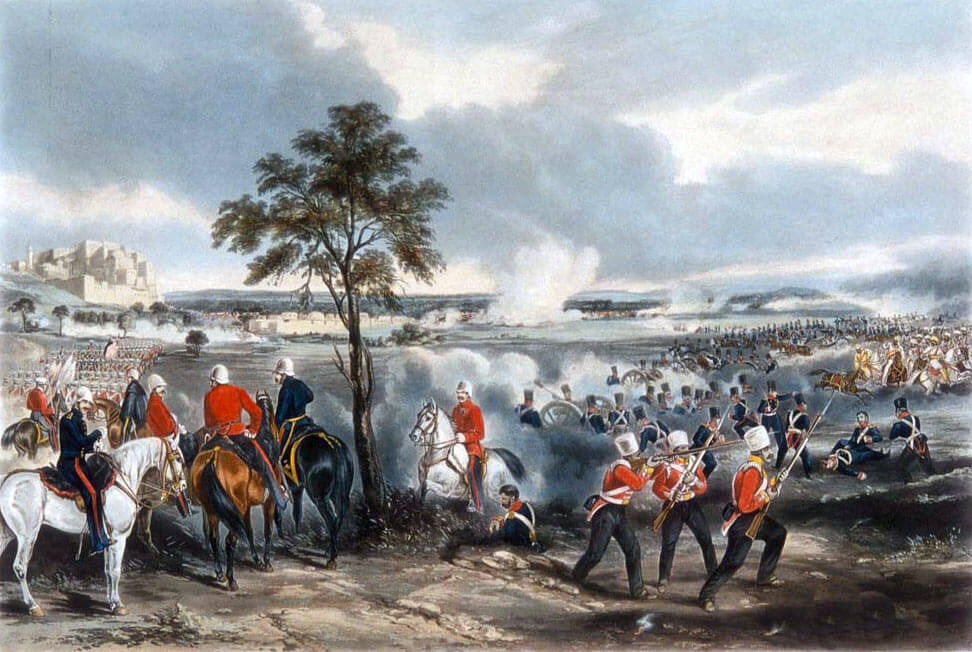
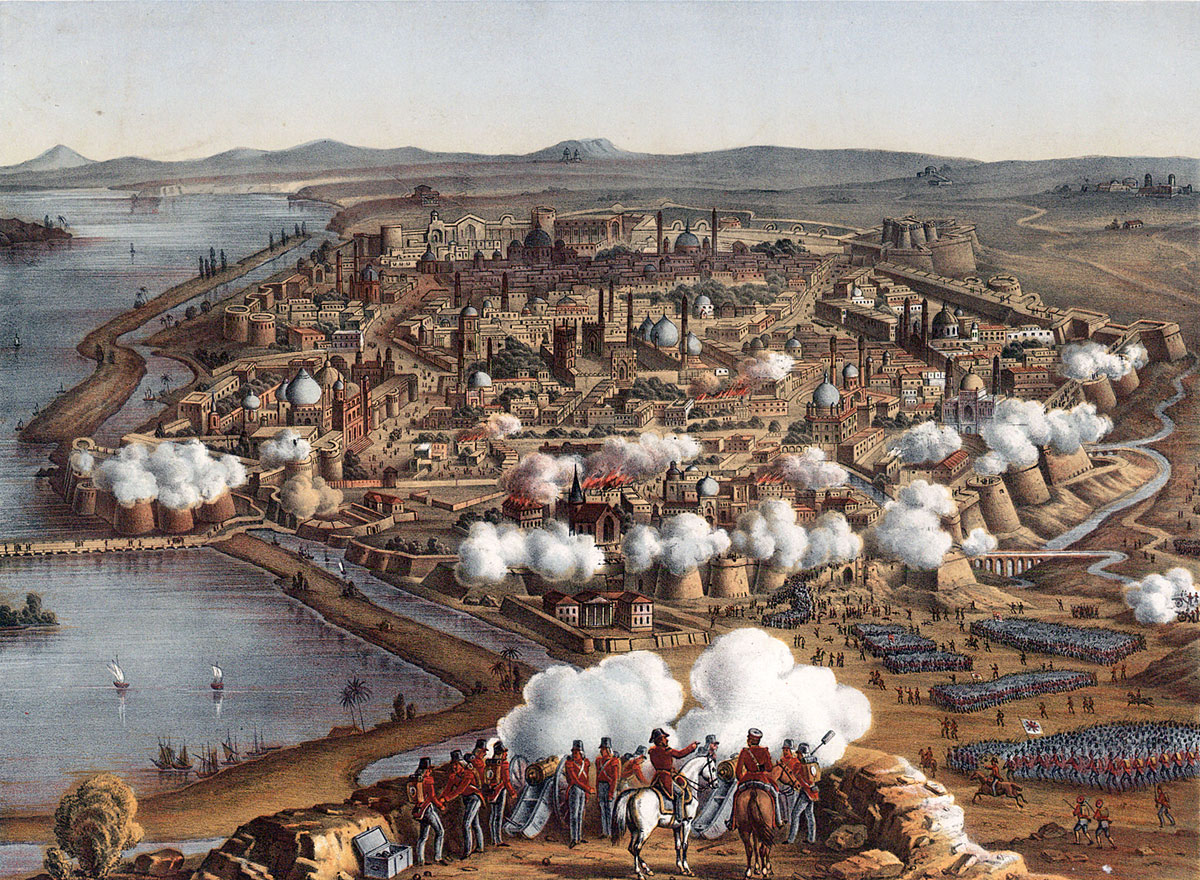
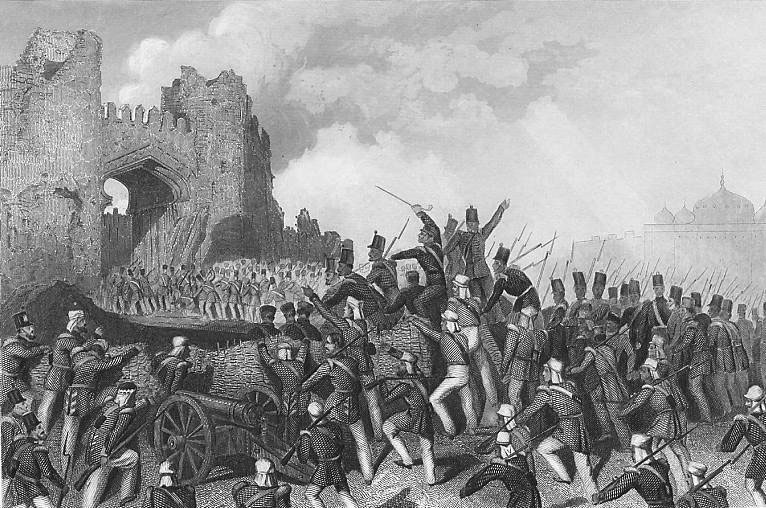
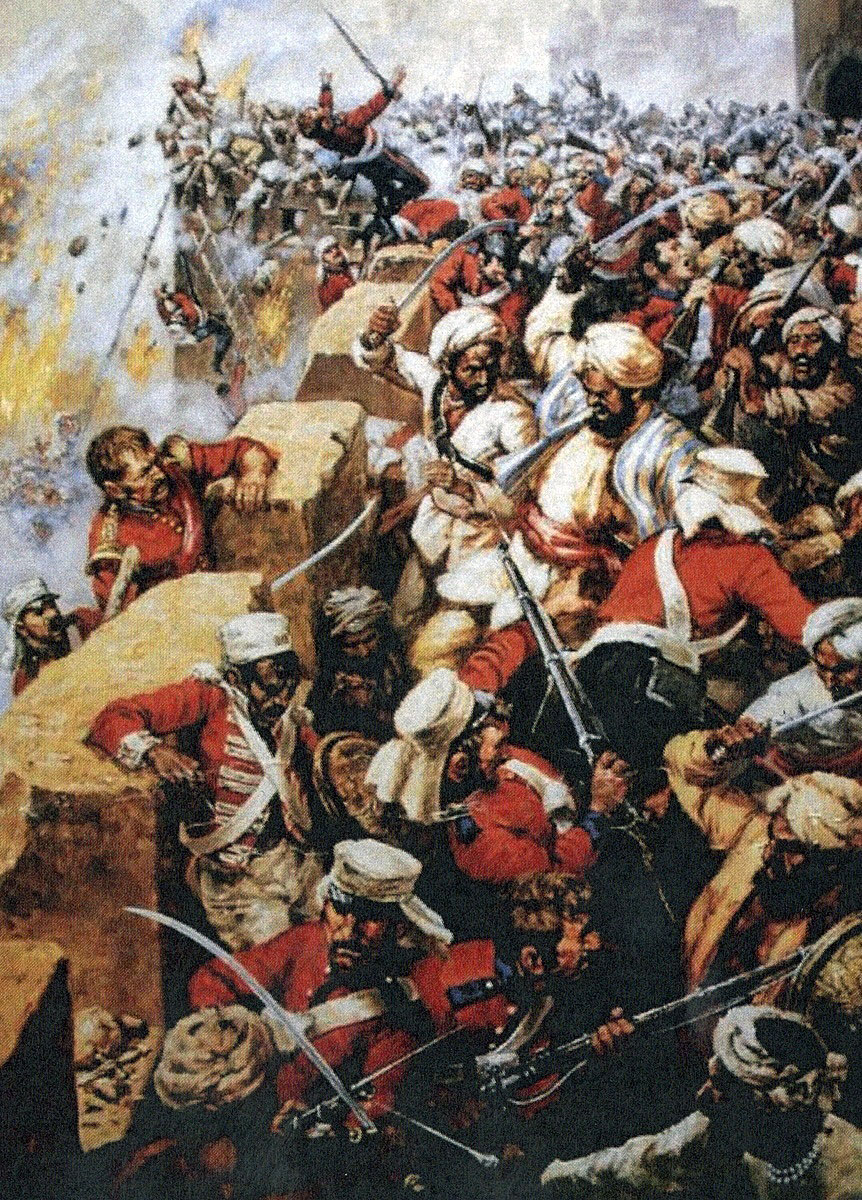
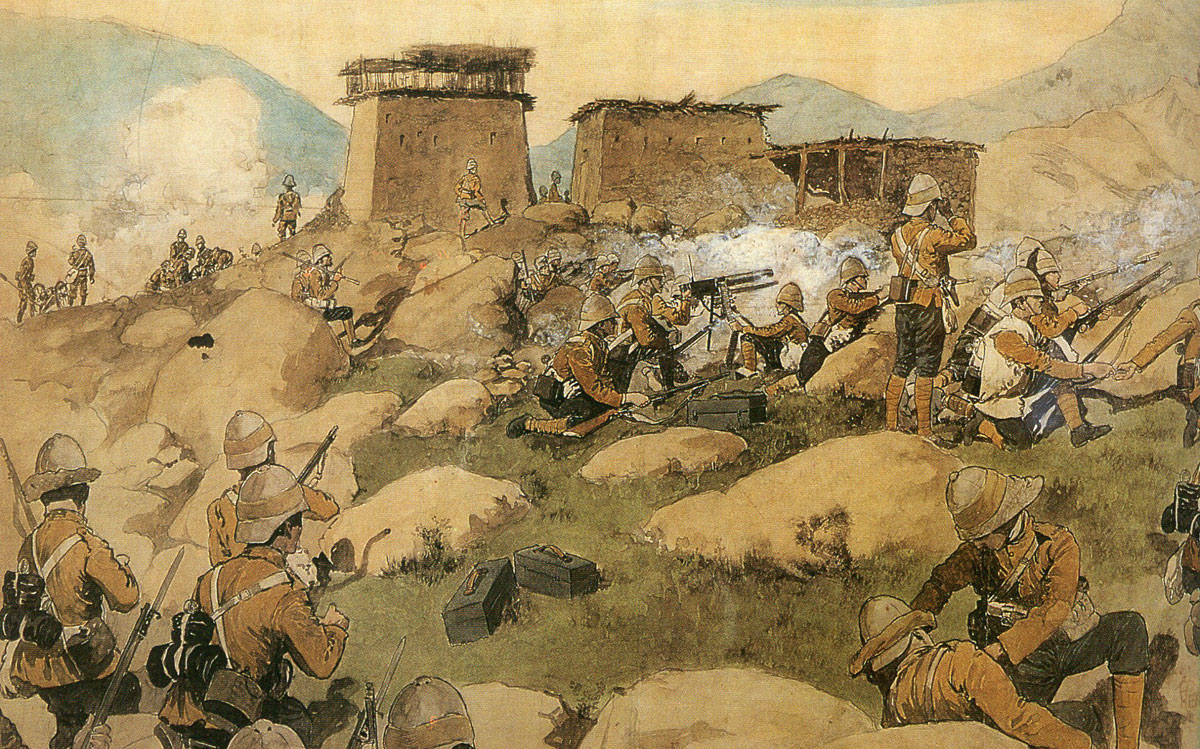
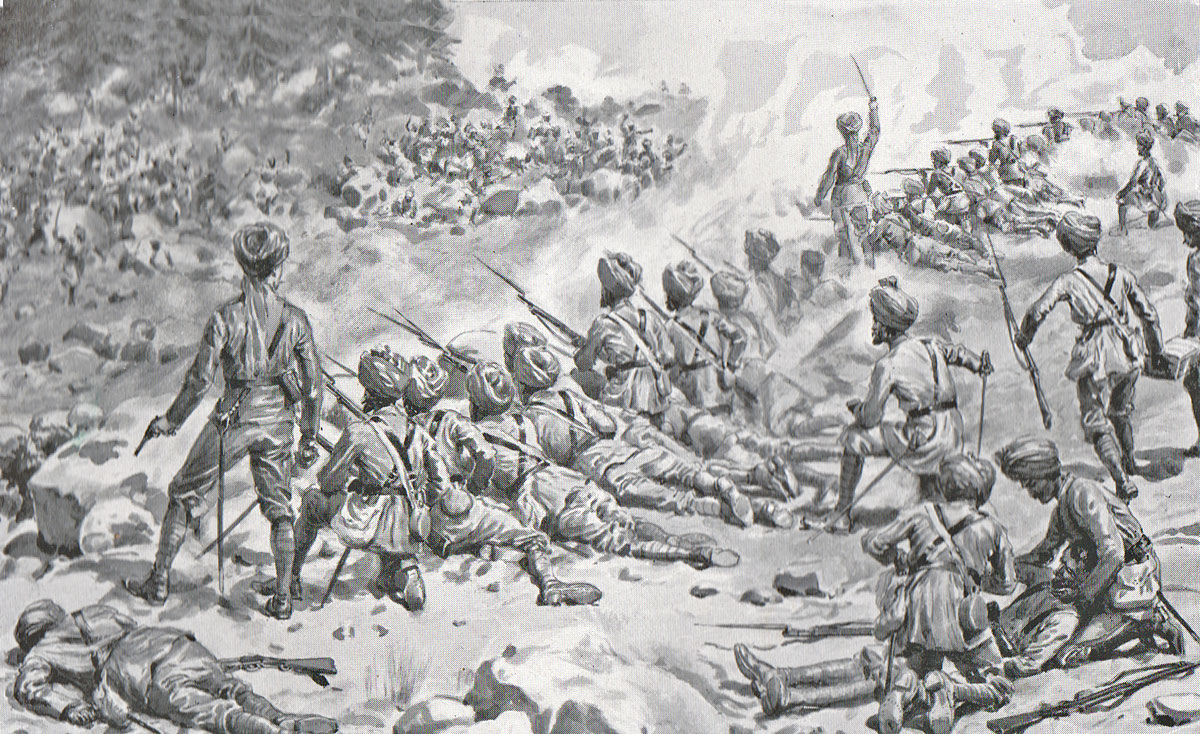
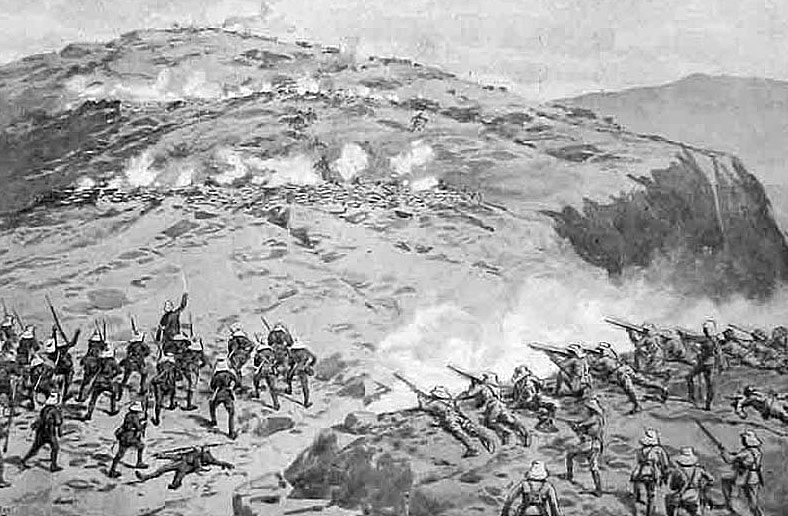
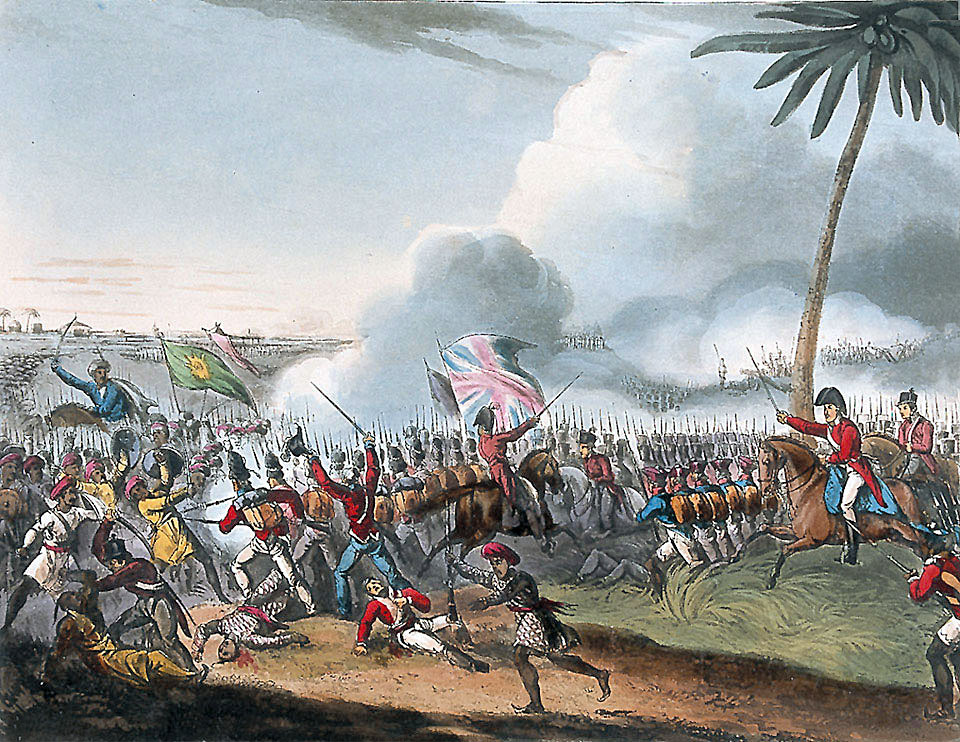
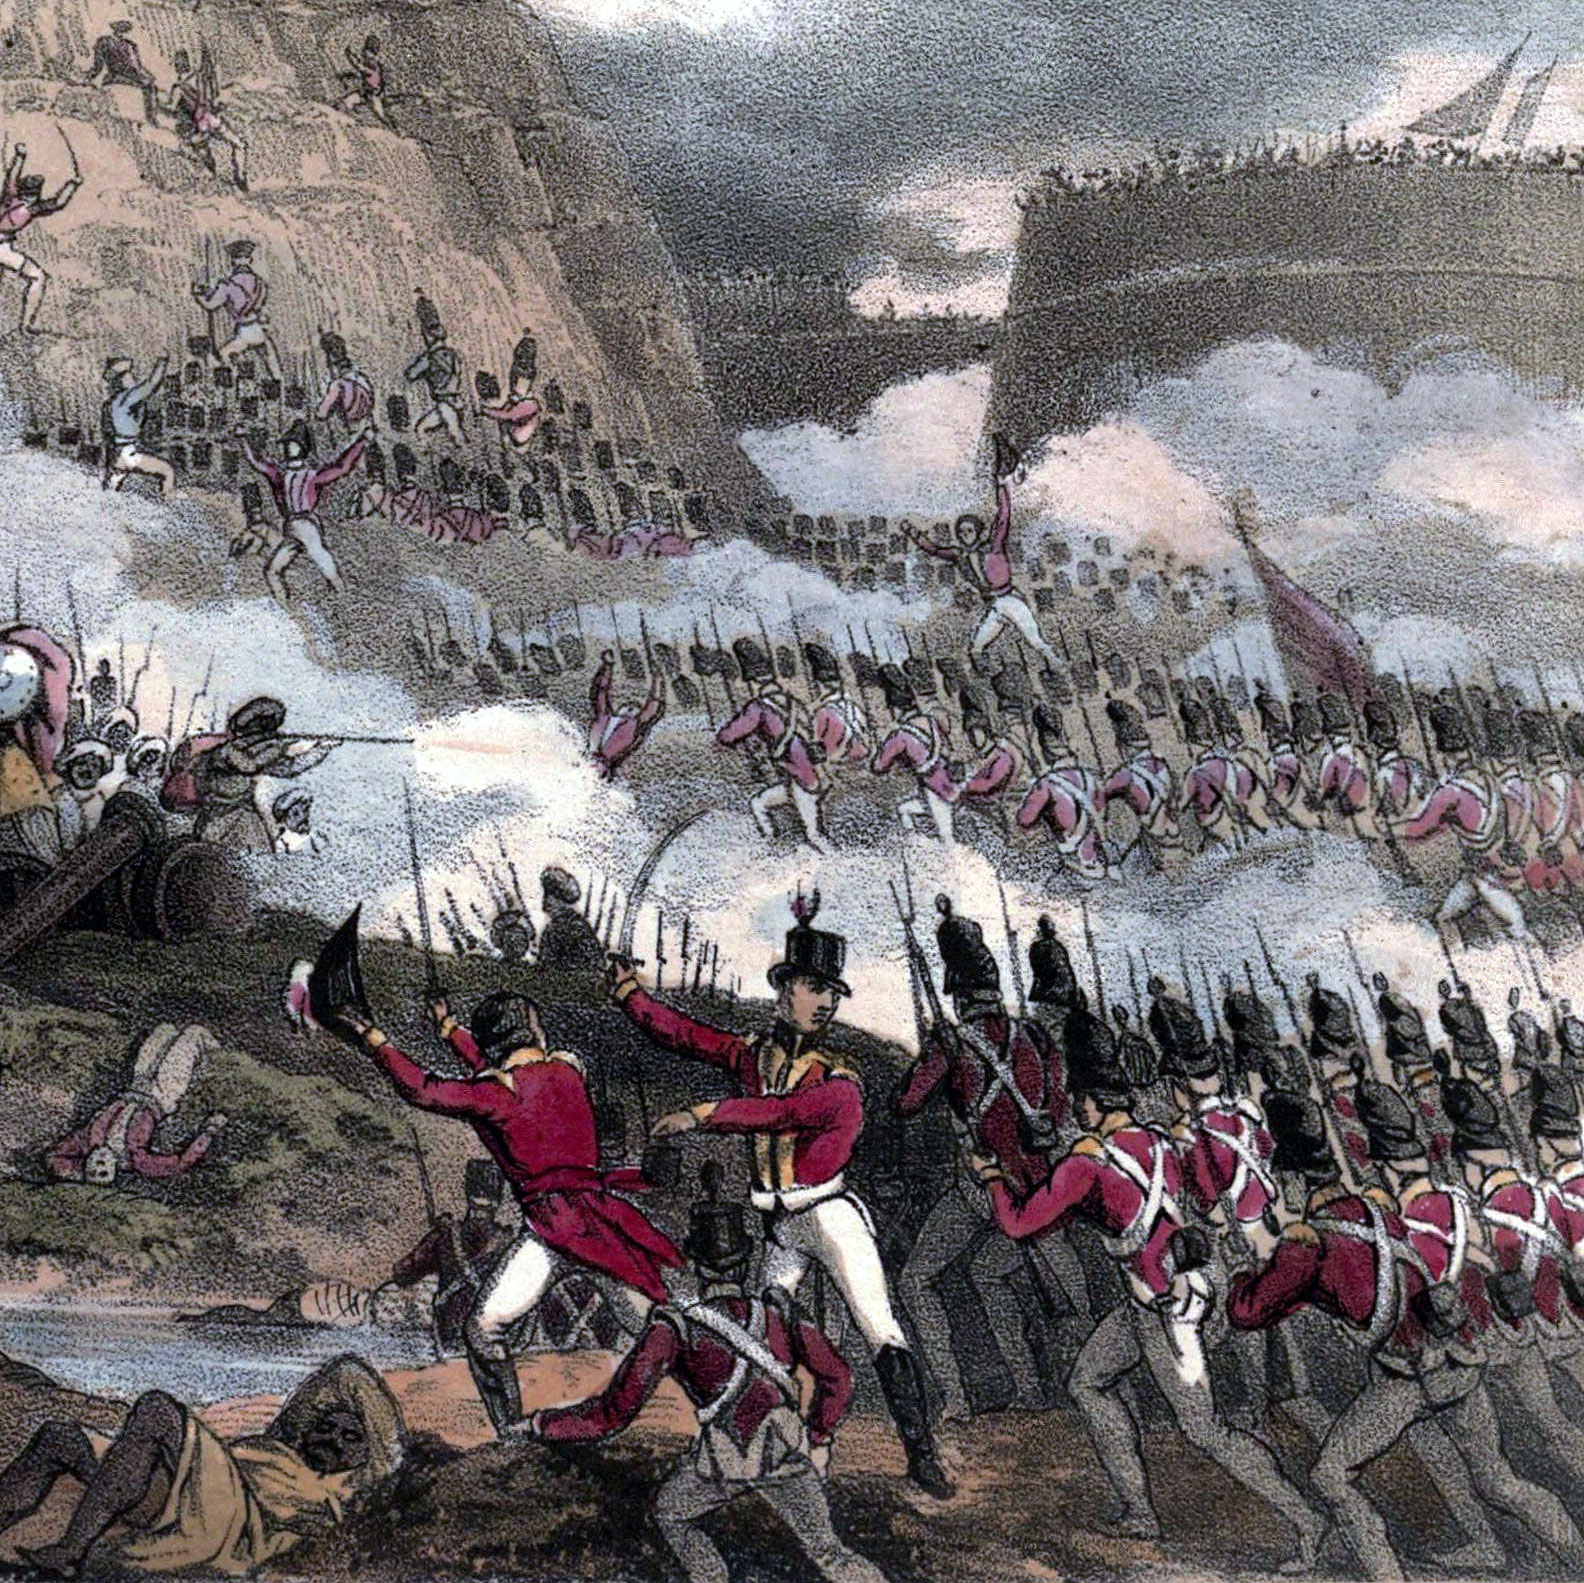
On the evening of 3rd May 1799, the breach was pronounced practicable and Harris prepared his plans for the final assault.
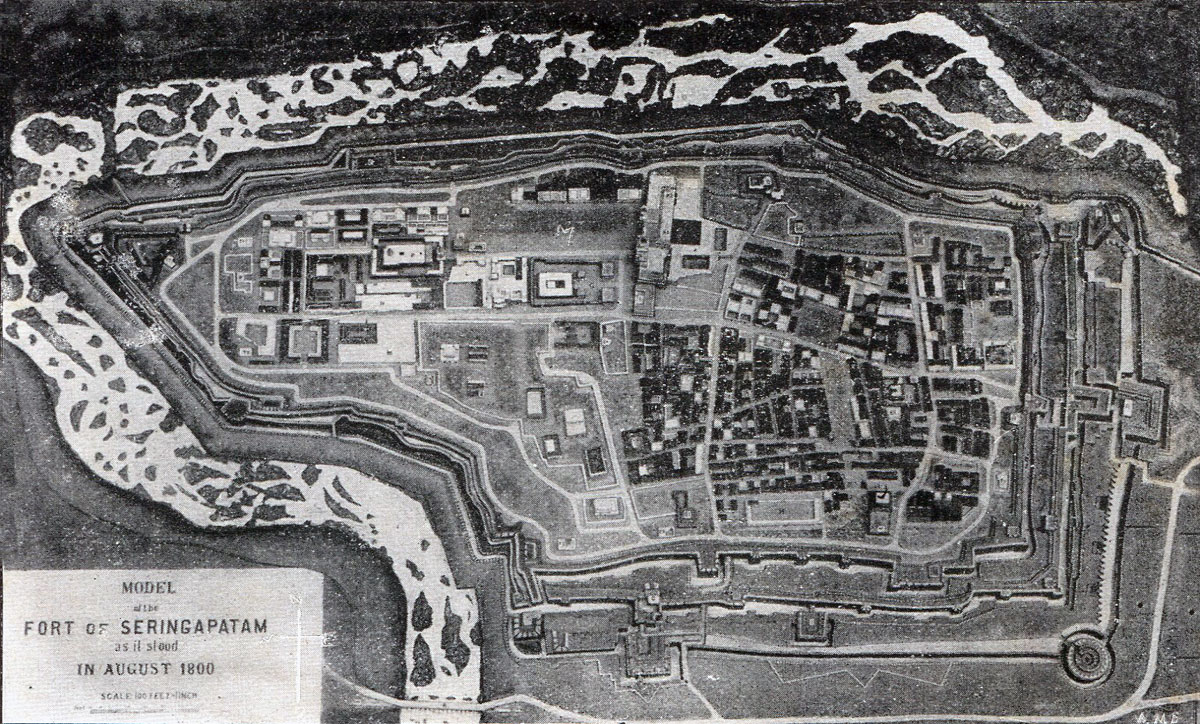
Command was entrusted to General Baird.
Baird had been a prisoner of Tipu Sultan in Seringapatam for a number of years and an officer in the 1792 siege of the island fortress by Lord Cornwallis. From these experiences Baird knew much of the layout of the fortress.
The attacking column, comprising 2,862 Europeans and 2,003 native troops, was divided in two. Both sections would storm the breach and then divide, one section attacking along the rampart to the left and the other to the right.
The left attack, commanded by Lieutenant Colonel Dunlop, comprised the flank companies of his regiment, the 77th, the 75th and the 103rd, with the whole 12th and 33rd Regiments, 10 flank companies from Bengal native battalions and a body of artillerymen.
The right attack, commanded by Colonel Sherbrooke, comprised the flank companies of the 94th Scotch Brigade, de Meuron’s Regiment, the 73rd and 74th Highlanders, with 14 flank companies from Bombay and Madras native battalions and some gunners.
Each attack was to be headed by a sergeant and 12 volunteers, followed by 25 men, commanded in the right attack by Lieutenant Lawrence of the 77th Regiment and in the left attack by Lieutenant Hill of the 74th Highlanders.
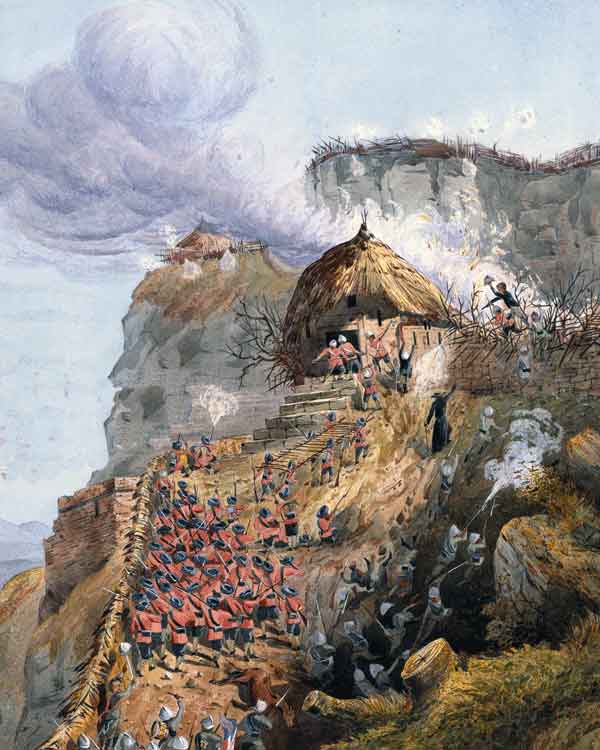
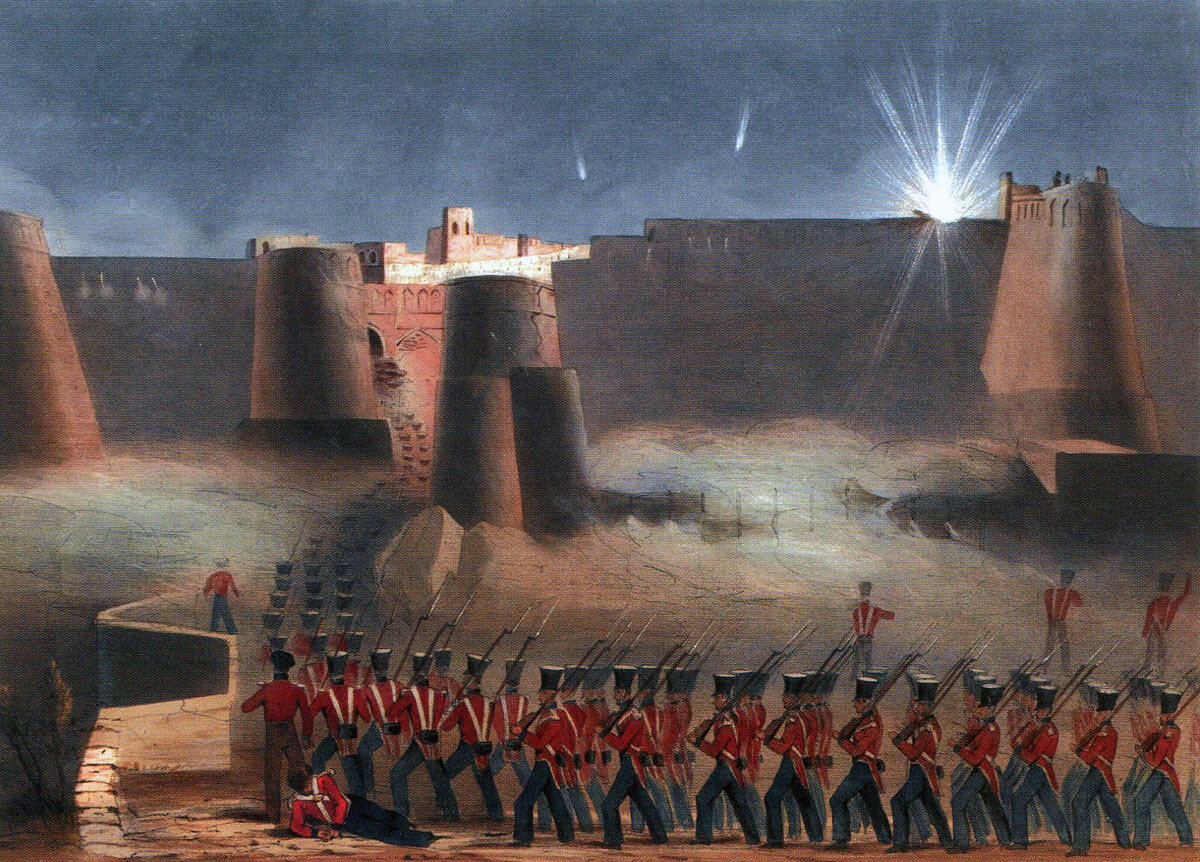
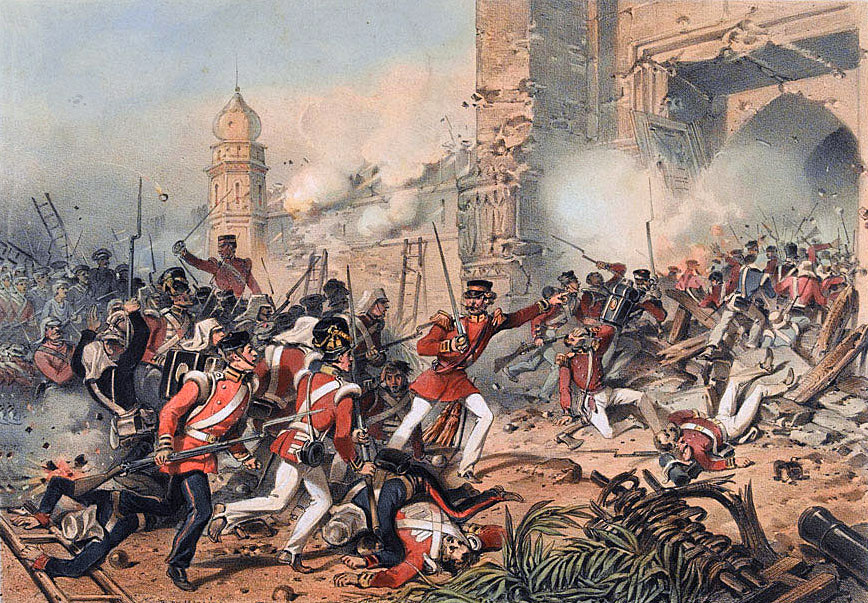
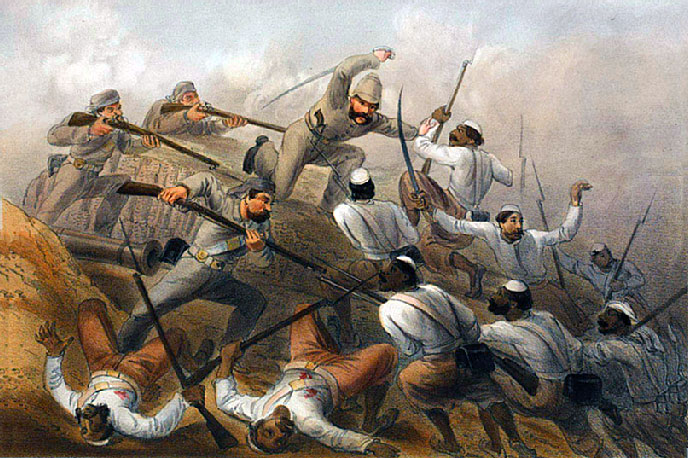
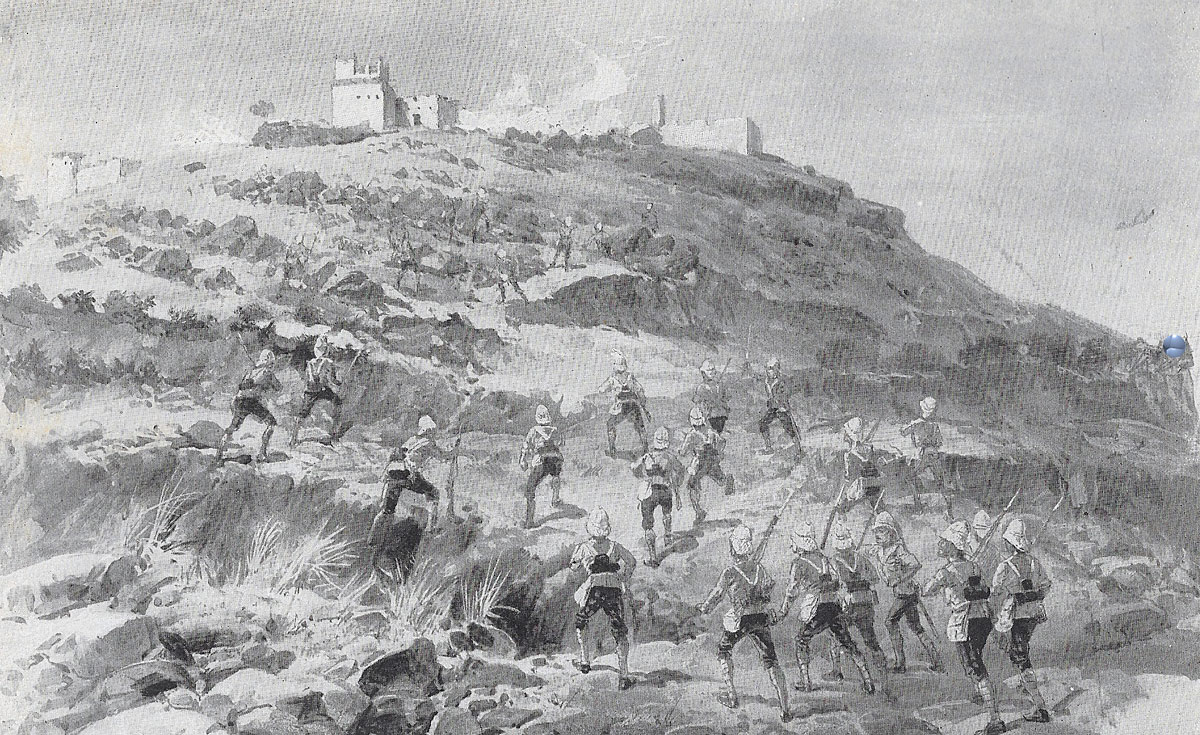
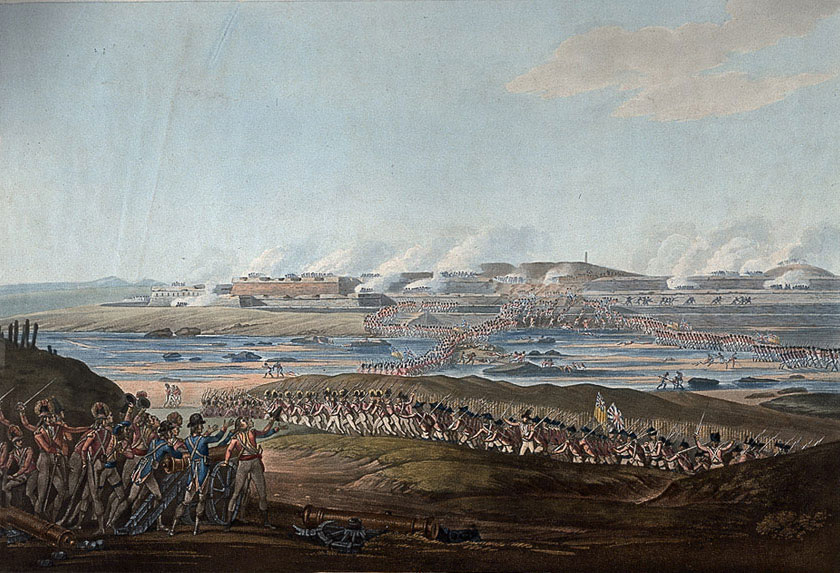
The storming column made its way to the forward trenches in small parties during the night of 4th May 1799, so as to escape notice by the garrison and was in place at dawn.
The assault was to be launched at 1pm, on the basis that the garrison would not expect an attack at the hottest hour of the day.
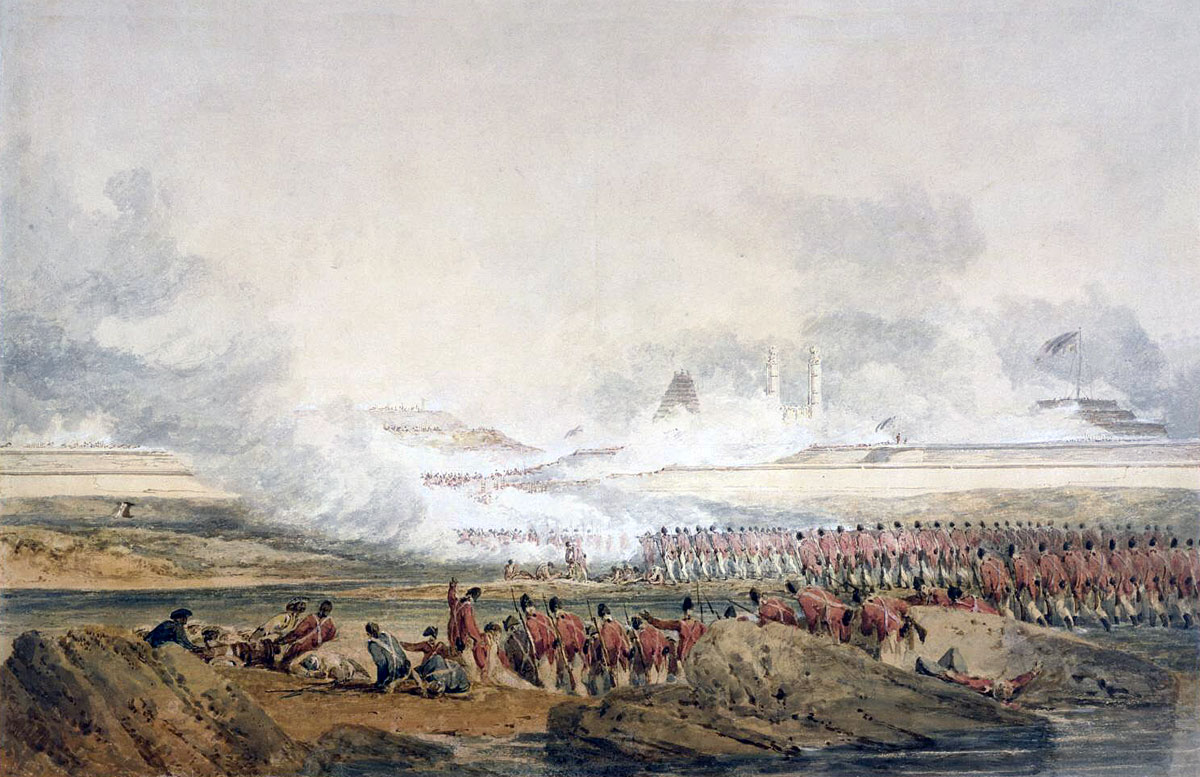
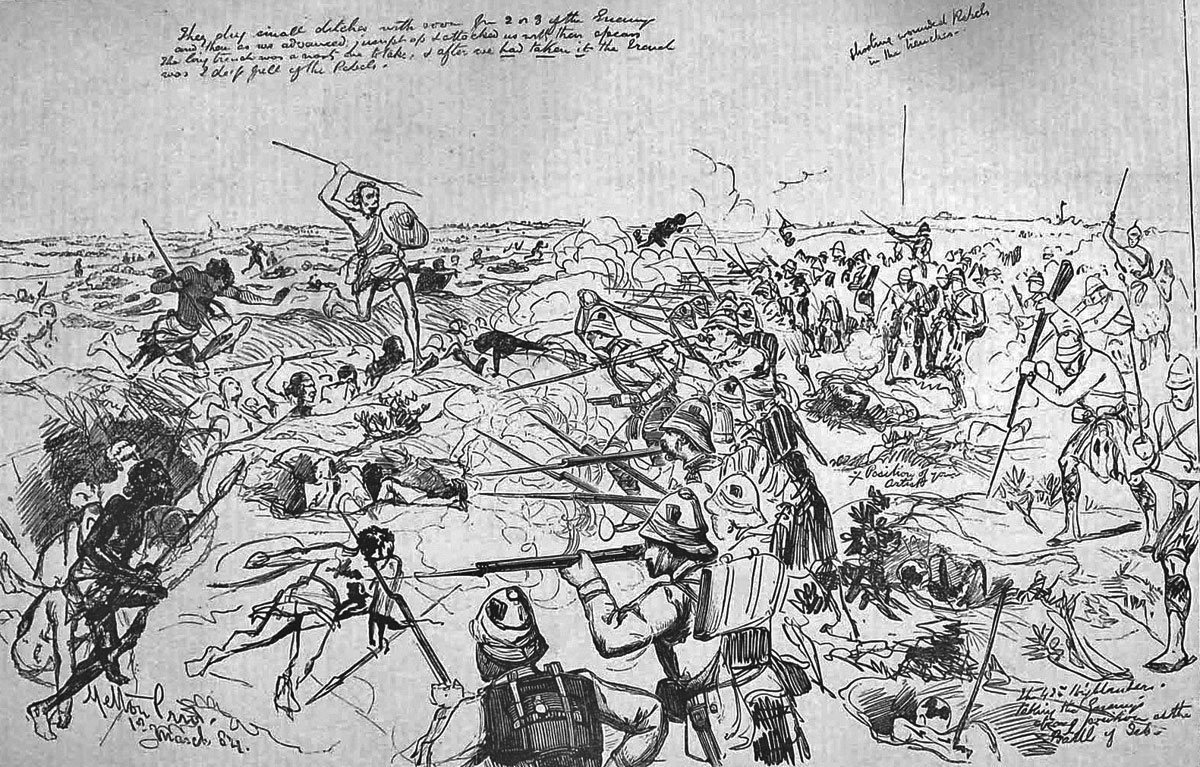
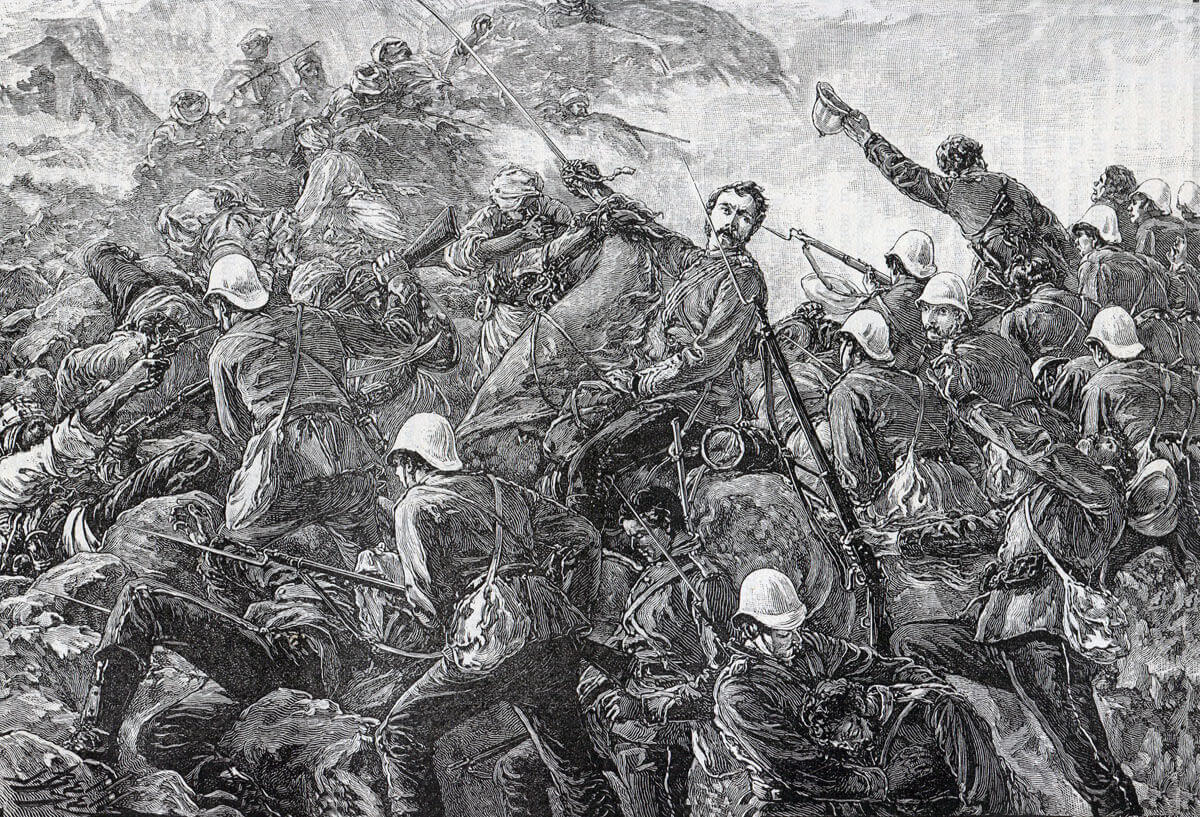
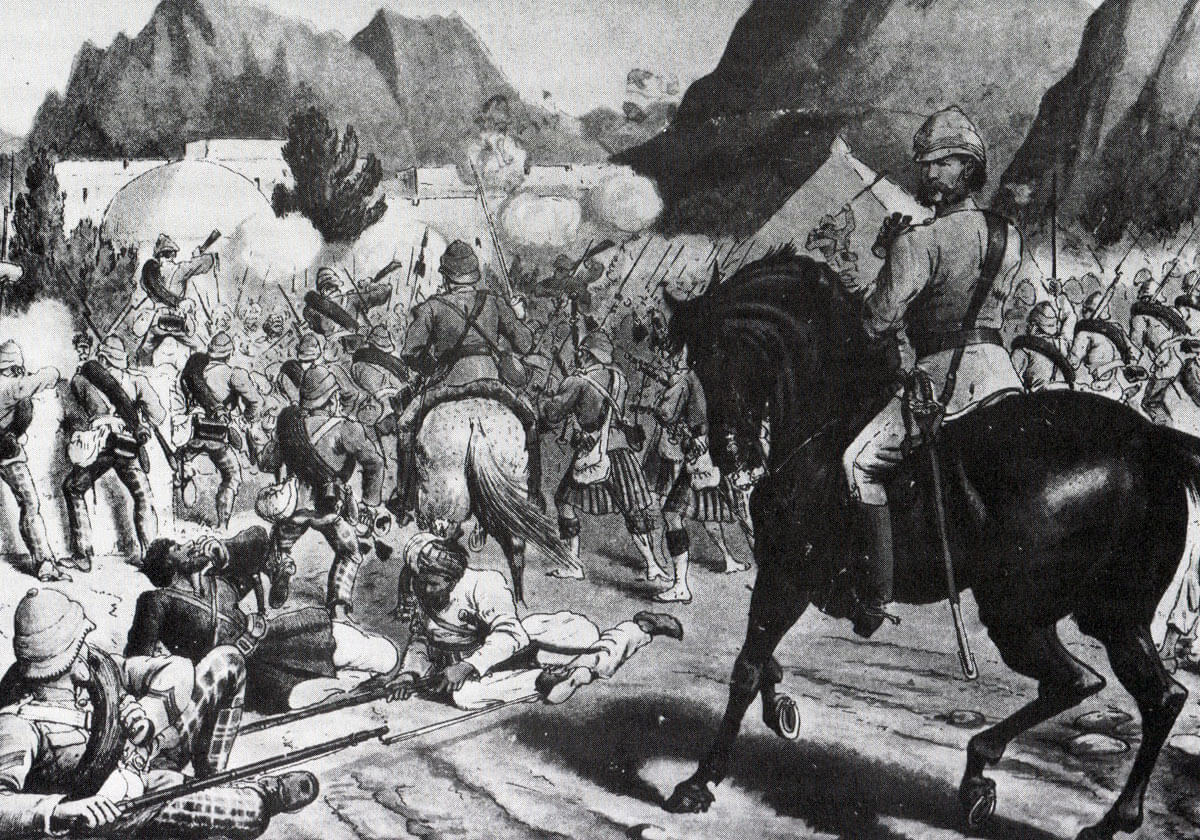
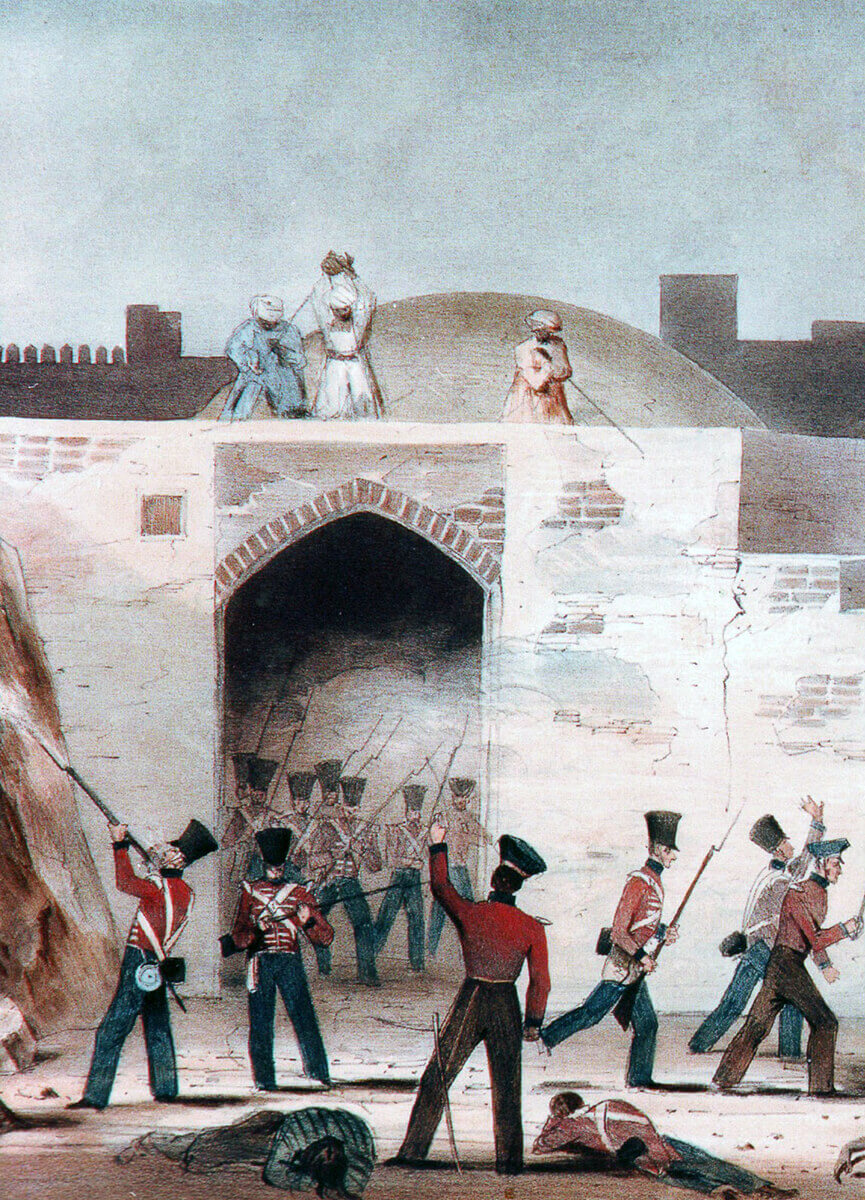
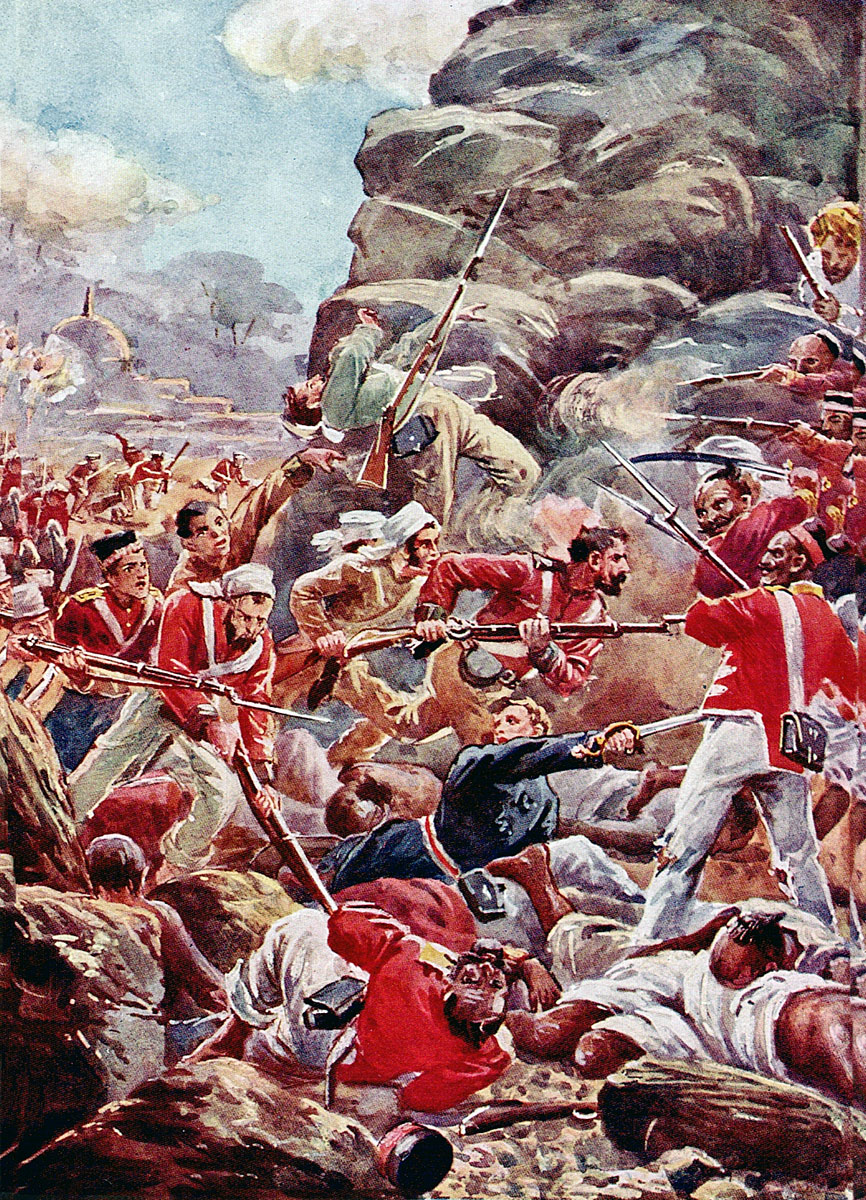
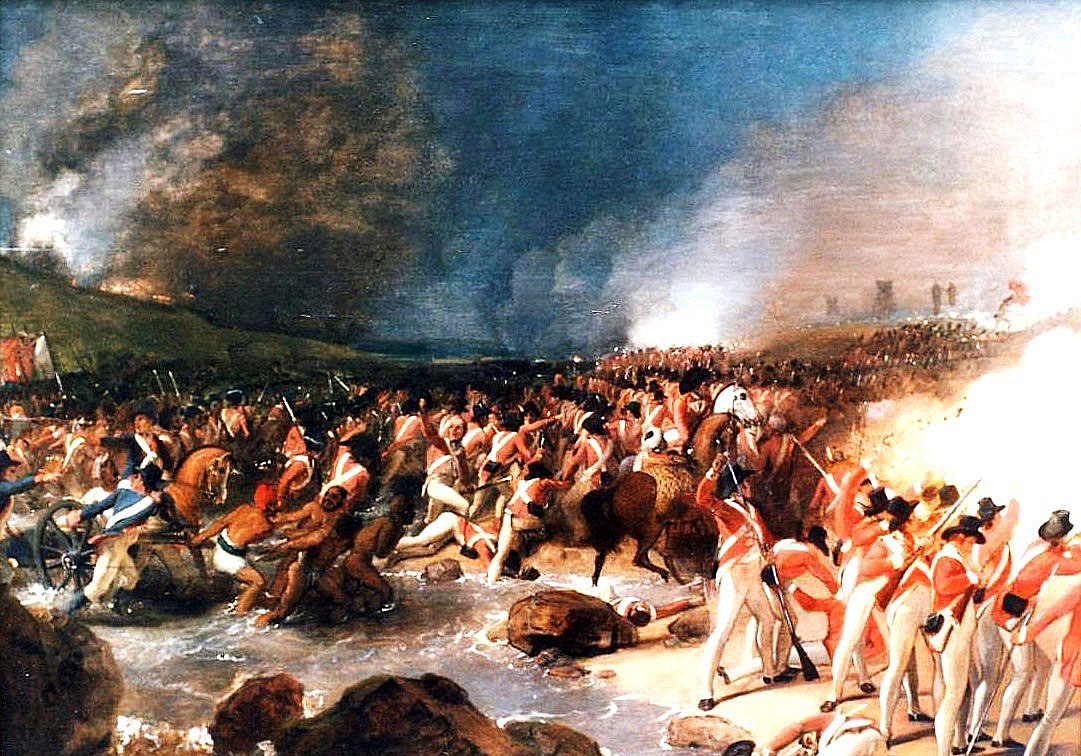
The British guns continued to fire on the breach until 1pm, when General Baird ordered the advance.
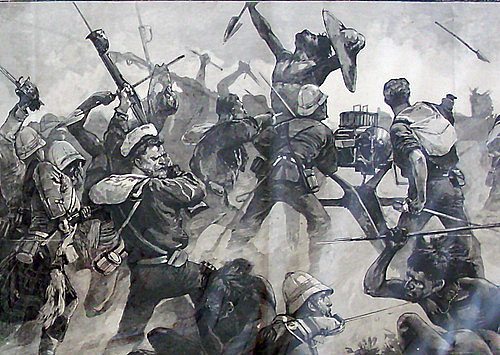
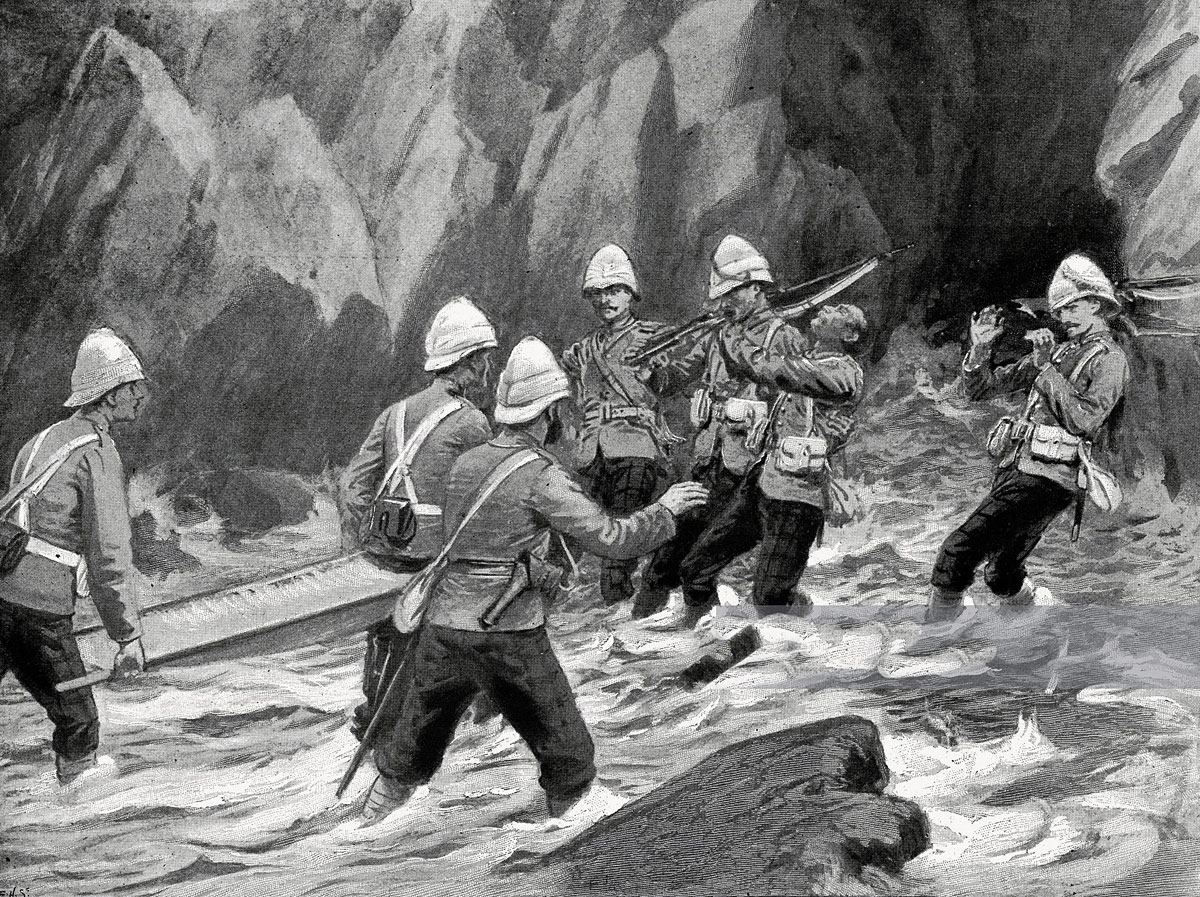
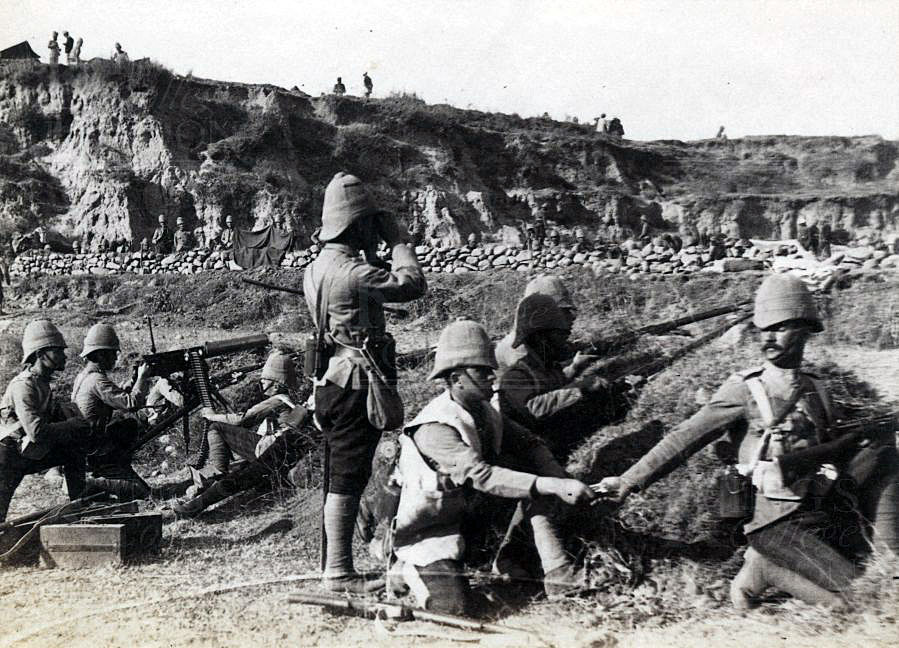
The distances were short: 100 yards from the trench to the river bank; the river, rocky and varying in depth from ankle-deep to waist-deep, was 280 yards wide; a small stone wall, backed by a ditch 60 yards wide, stood before the breach itself.
A heavy fire of grape, musketry and rockets was levelled from the ramparts, inflicting casualties on the attackers and causing many to leave the passage of the ford, marked out in advance.
Rubble from the bombarded wall filled the ditch, making it easier to cross.
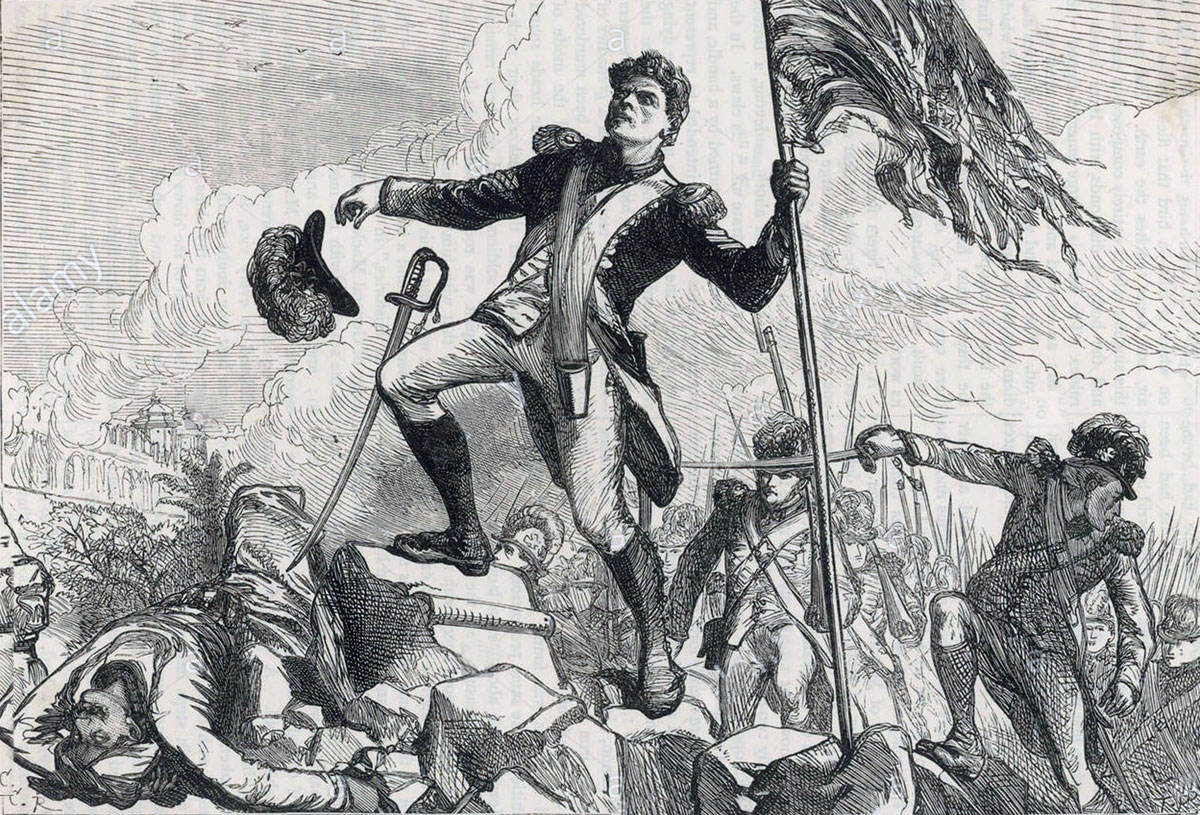
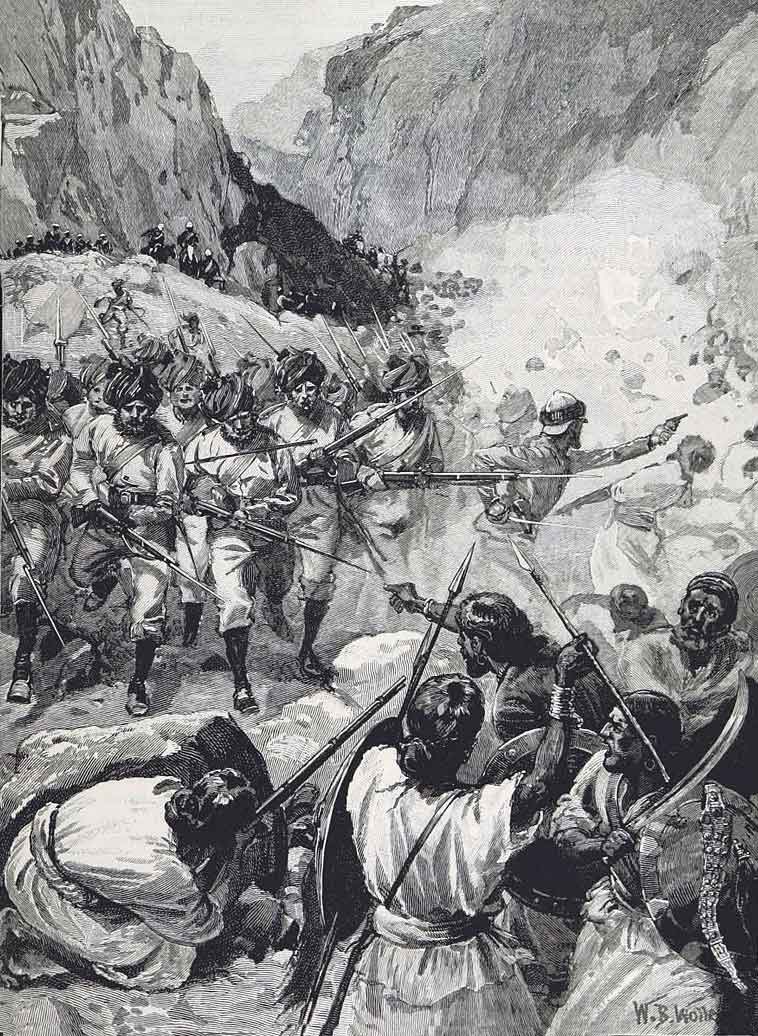
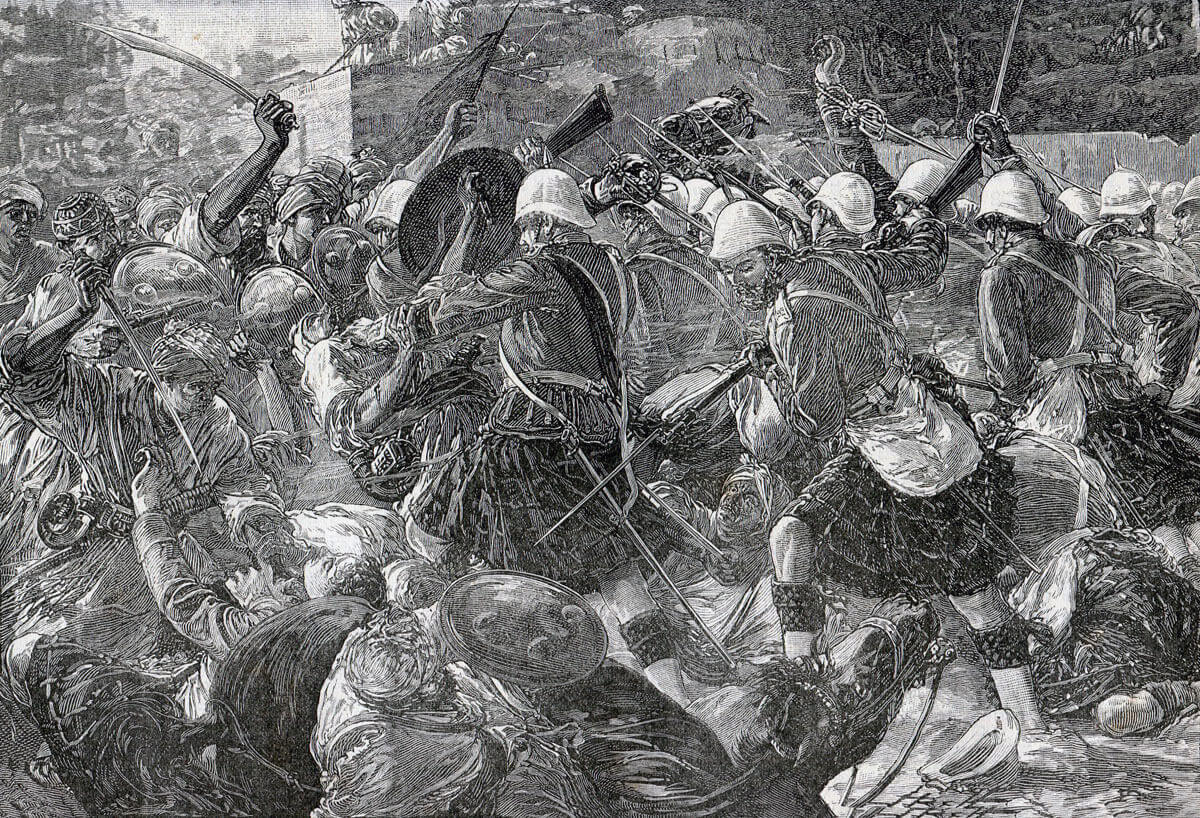
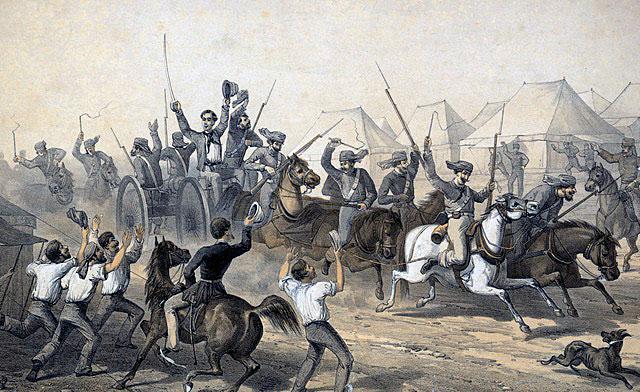
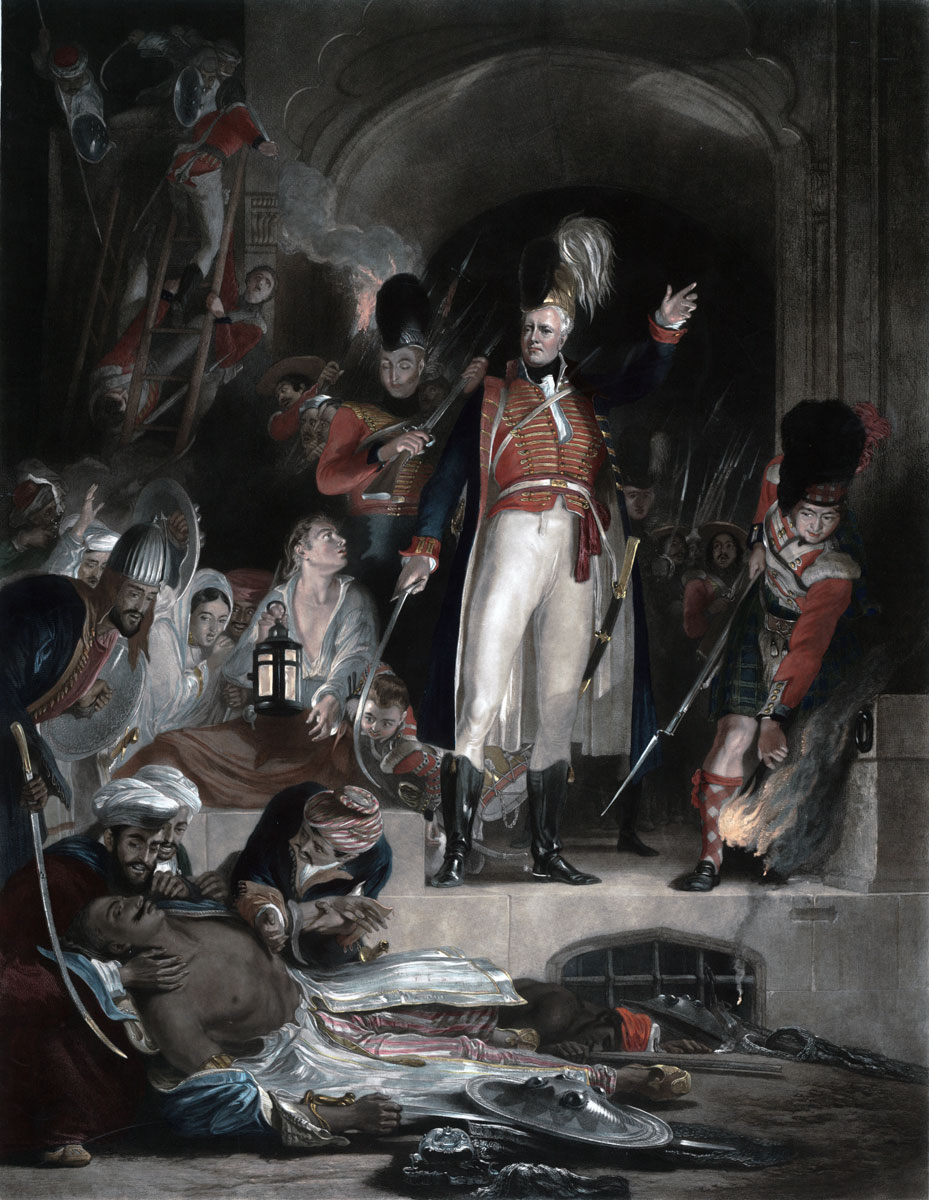
General Baird led the way across the ford and the ditch and the colours of one of the regiments was flying from the rampart within 6 minutes of the commencement of the attack.
On the far side of the breach, the attacking troops were confronted by a further wide ditch, lying between the outer and the inner ramparts.
The two sections of the attacking column divided, the left attack setting off along the north rampart to the left and the right attack to the south.
Each column was followed by a group of Mysoreans on the inner rampart.
The area of the breach was left unattended by the attacking columns and the defenders.
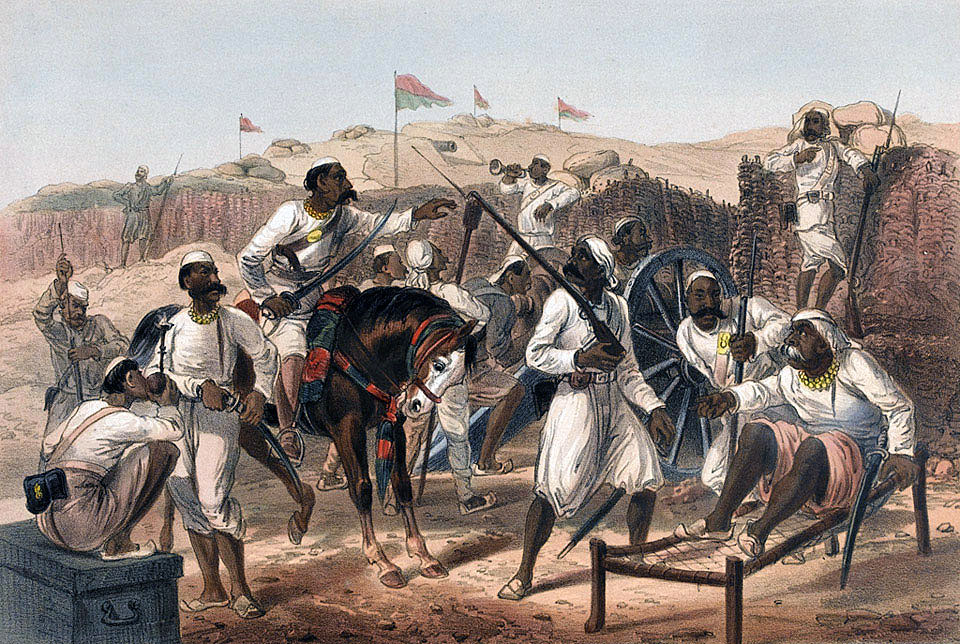
A party of soldiers from the 12th Regiment, commanded by Captain Goodall, came into the breach and, looking for a way into the fortress, discovered a narrow ramp positioned across the wide inner ditch, left by a Mysore working party.
The ramp was long and extremely narrow, but in the excitement of the attack the soldiers from the 12th ran across it and found themselves on the unattended inner rampart. They followed the Mysore soldiers along the northern rampart.
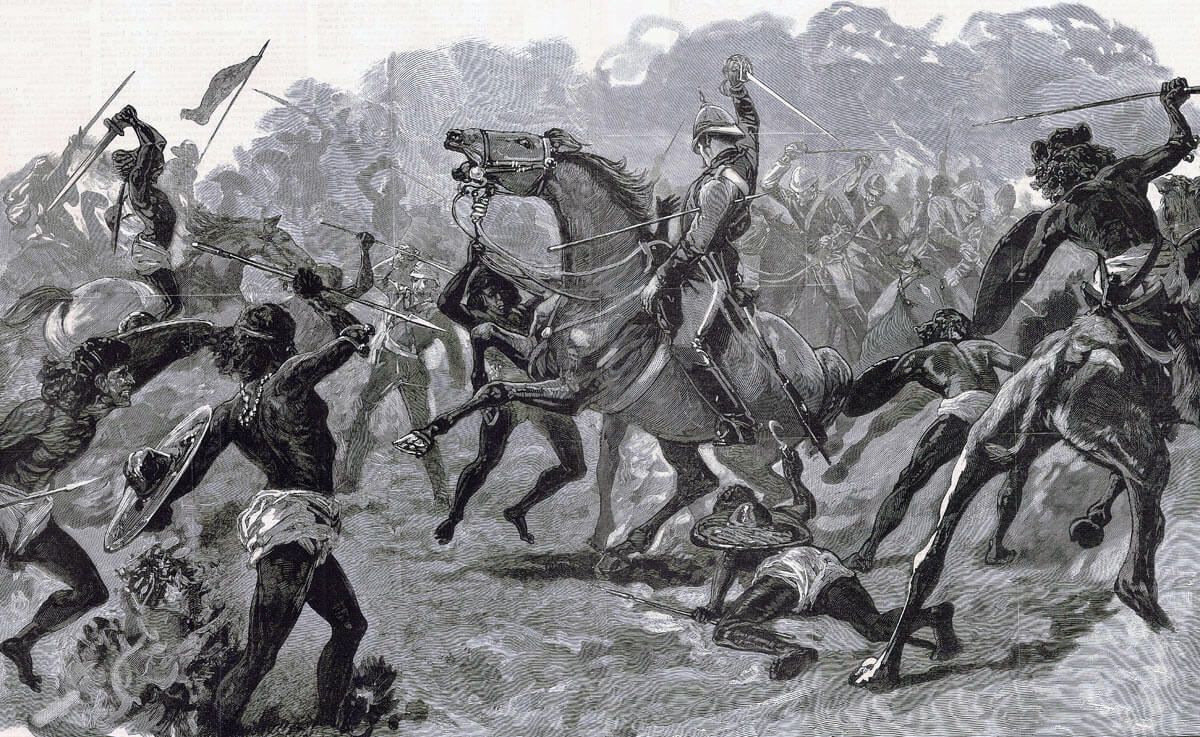
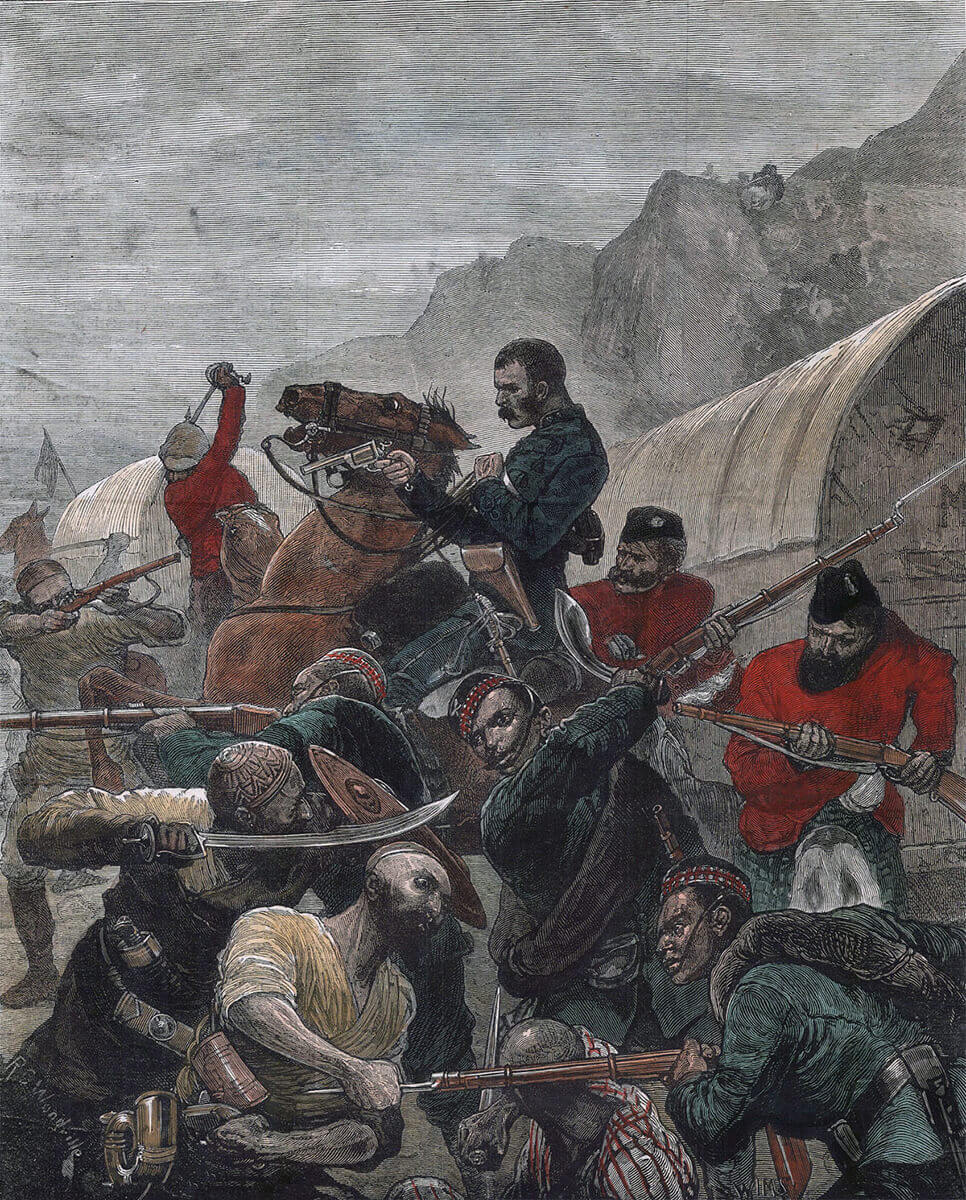
In the meantime, Dunlop’s left attack cleared the north-west bastion and the faussebraye, which had provided the deadliest fire on the attacking column.
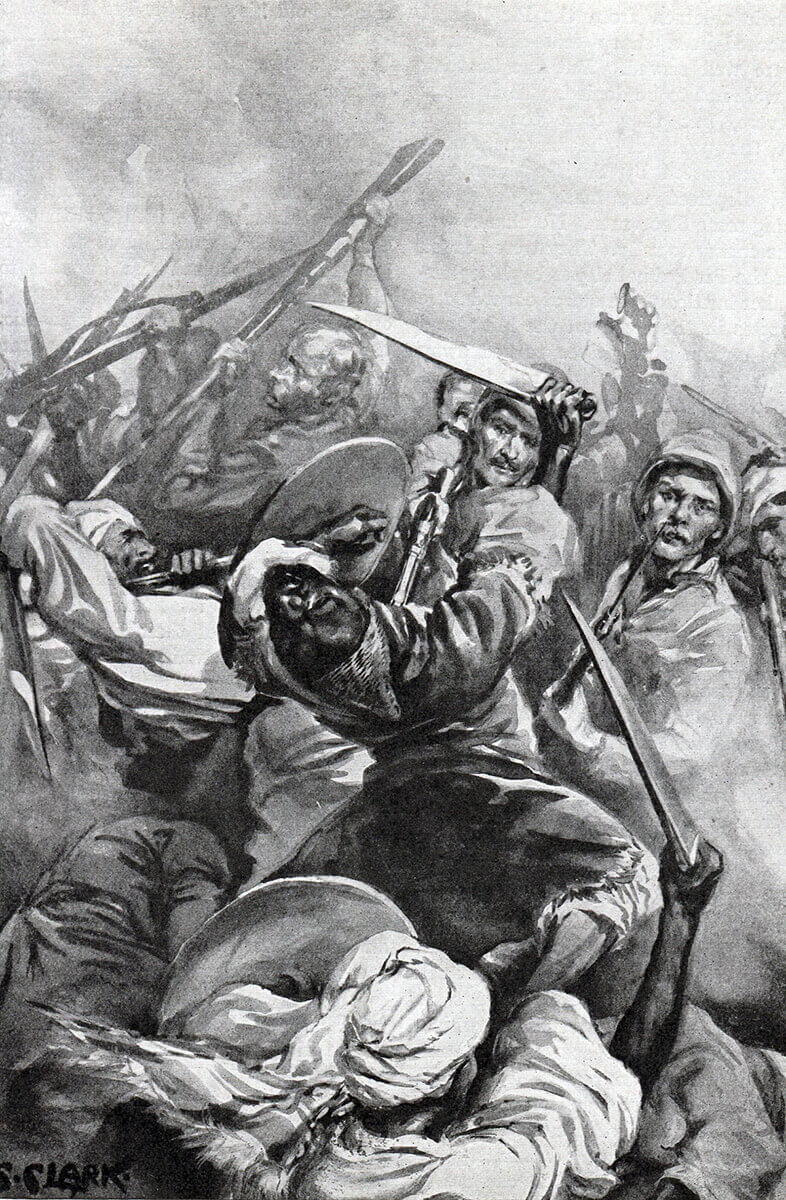
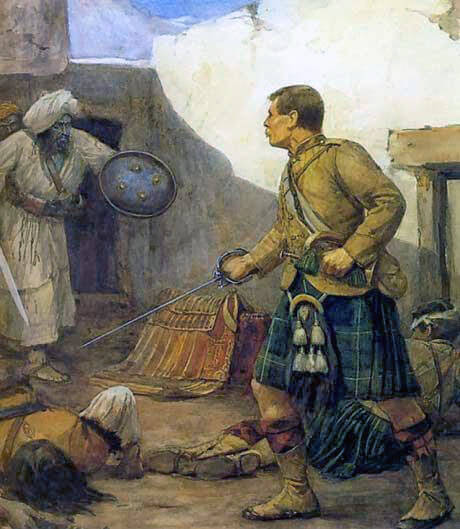
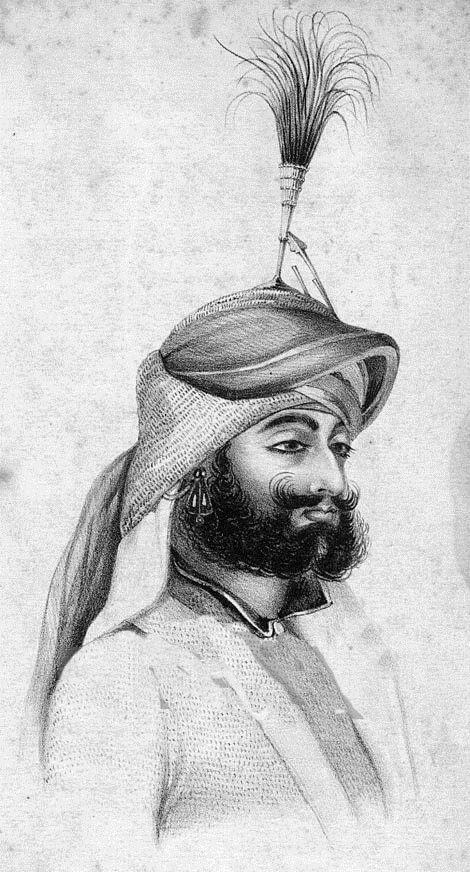
A further 300 yards along the northern rampart, the attackers were halted by a traverse, held by a force of Mysore soldiers commanded by Tipu Sultan himself.
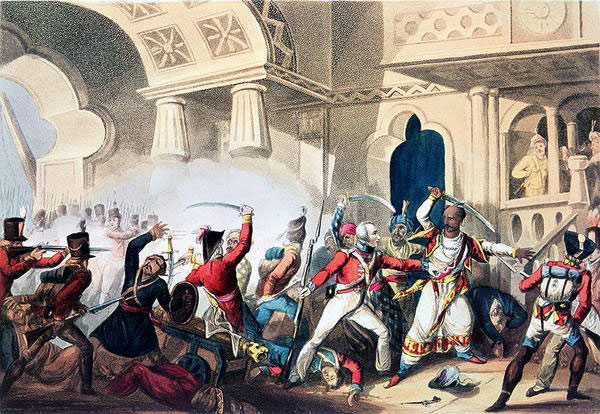
Several attacks on the traverse, one led by Lieutenant Farquhar of the 74th, were repelled, Farquhar being shot dead.
Finally, more British troops came up and Tipu’s men on the traverse were outflanked by Goodall’s party running past them on the inner rampart and firing from behind.
The retreat of Tipu Sultan’s men became a route as they attempted to escape the surge along the inner and outer ramparts.
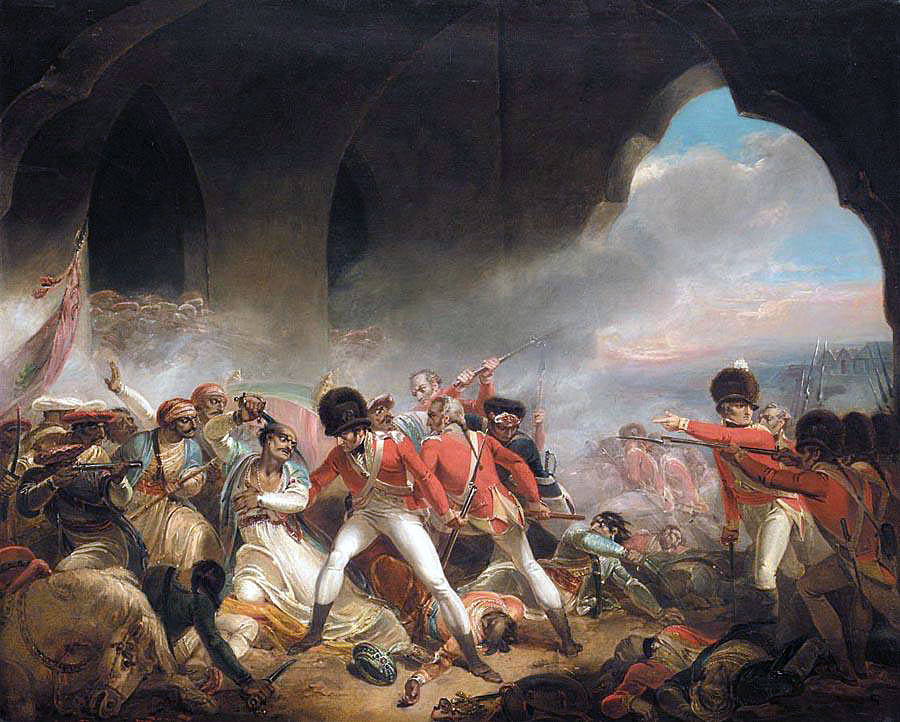
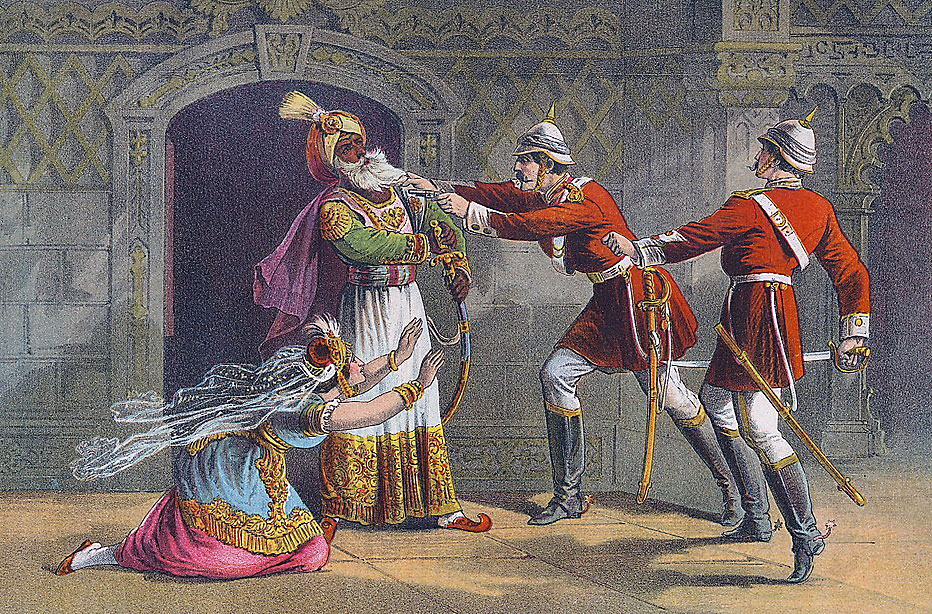
Tipu Sultan was borne along in the rush. He attempted to enter a gateway to reach his palace inside the fortress, but met a surge of Mysore soldiers escaping from the British troops now inside the fortress.
Somewhere in the area of the gate, Tipu Sultan was shot by a British Grenadier attempting to pillage his body of the gold buckle on his sword belt.
Sherbrooke’s right column met little resistance and pursued the Mysore soldiers holding the southern wall of the fortress, until they fled by a ford off the island to the east, pursued by shots from the fortress’ own guns now turned on the garrison by the British attackers.
Sherbrooke’s men continued along the rampart and into the fortress, meeting the men of the left attack, with shouts of triumph.
The fortress of Seringapatam was taken.
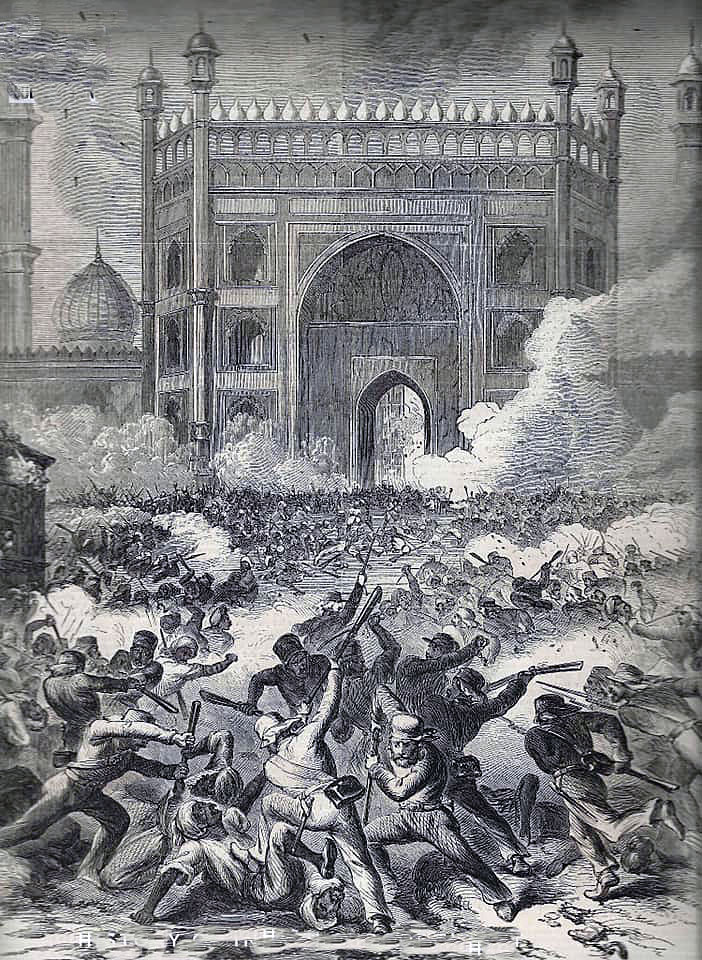
A press of the garrison attempting to escape formed in the Bangalore Gateway in the eastern wall of the fortress, where they were shot down by the attacking sepoys. Many died when the gateway caught fire.
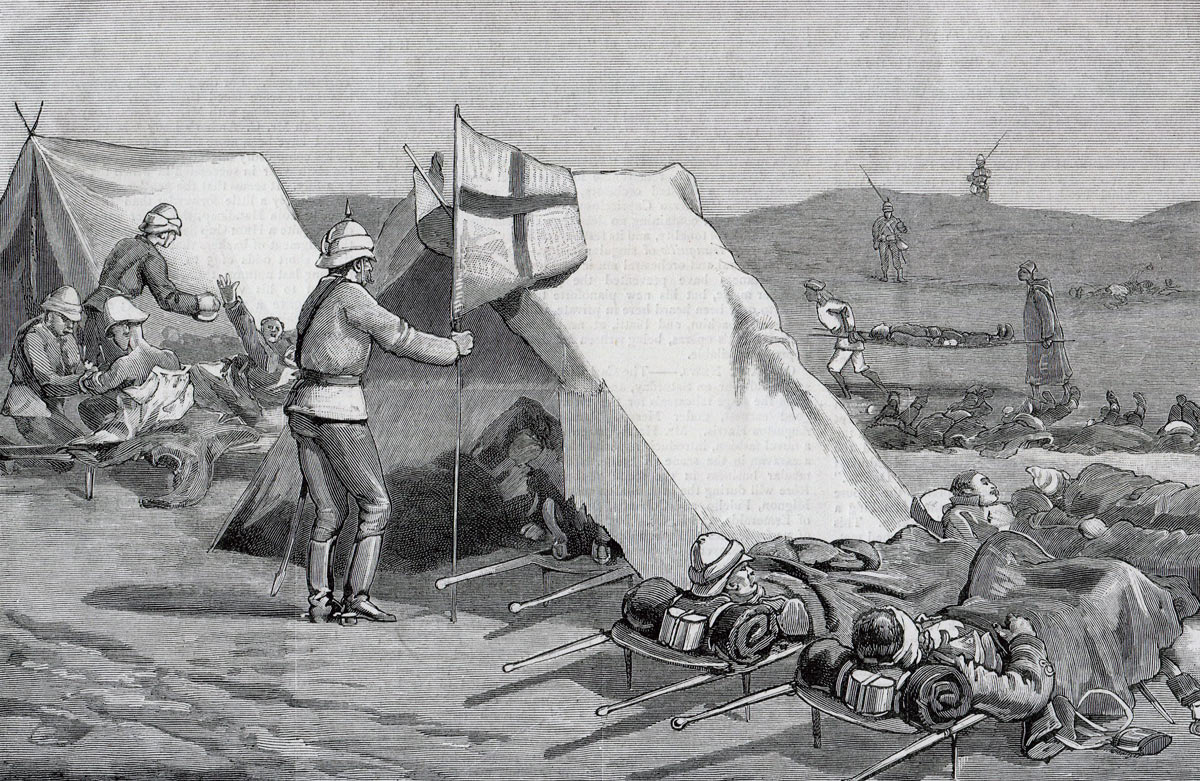
British casualties in the assault were 69 Europeans and 12 sepoys killed, with 248 Europeans and 32 sepoys wounded and 4 Europeans and 2 sepoys missing.
The search for Tipu Sultan after the Storming of Seringapatam and his funeral:
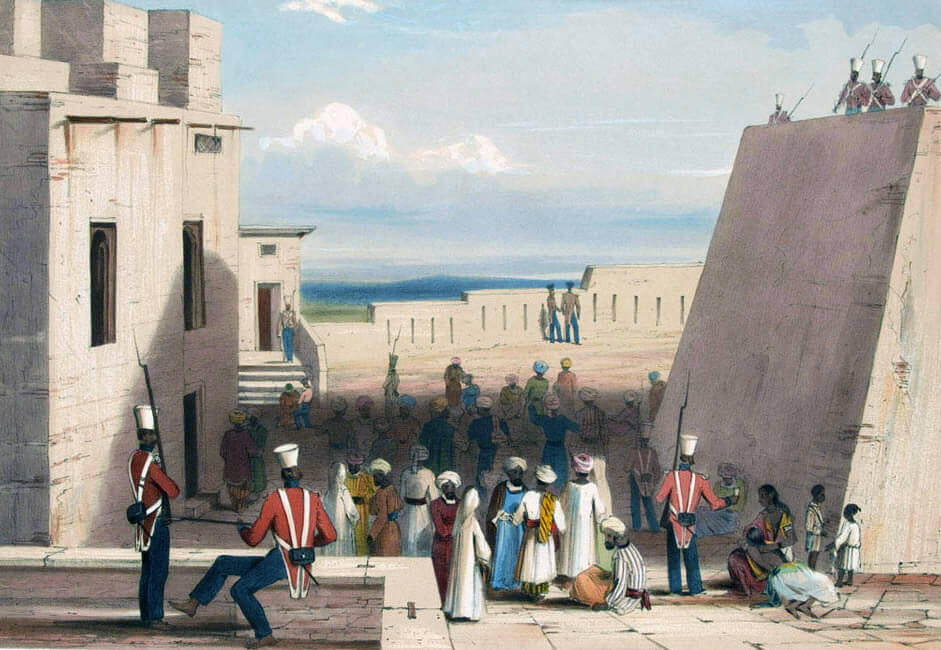
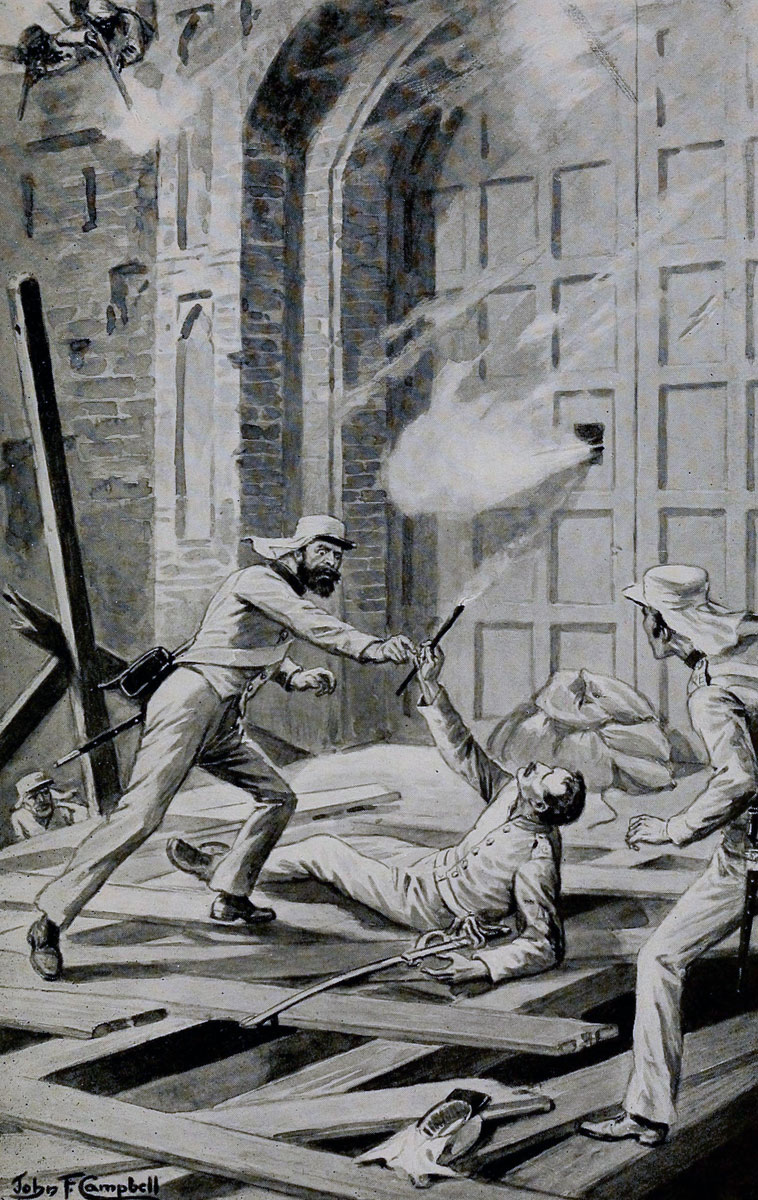
As resistance collapsed and the British and sepoy troops rampaged through the fortress, General Baird sent a flag of truce into Tipu Sultan’s palace to summon him to surrender.
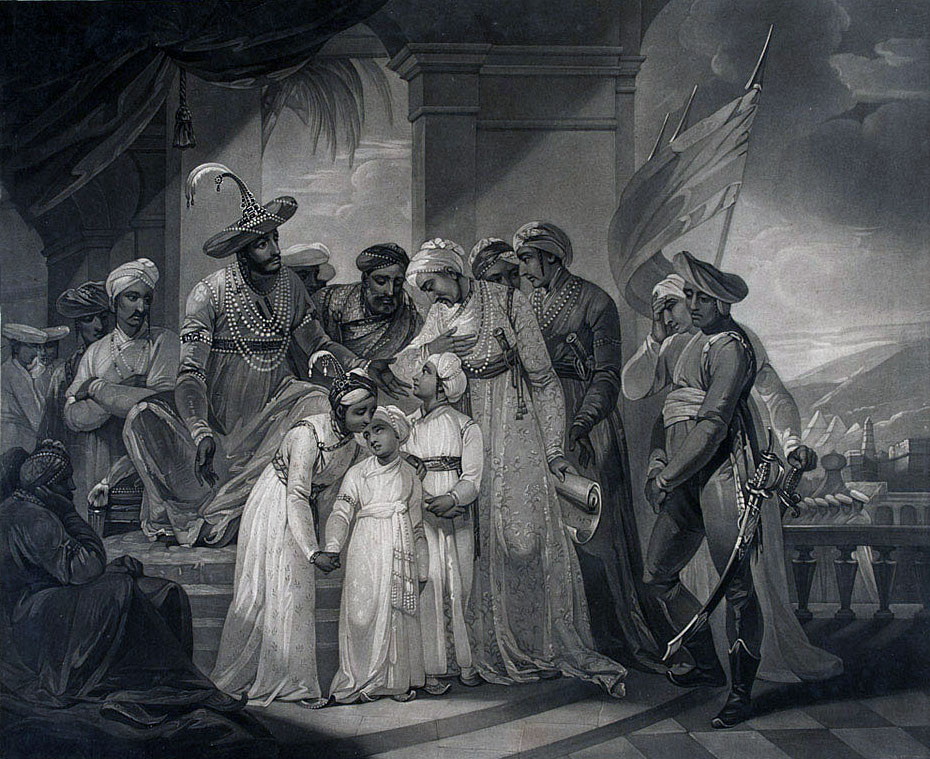
Finally admitted to the palace, Baird found only Tipu Sultan’s two young sons with their attendants. The princes were escorted away by a guard.
Baird began the search for Tipu Sultan himself.
After a thorough examination of the palace, Baird went to the northern gateway, where he found a pile of dead Mysoreans, killed in attempting to escape the fortress.
One of Tipu Sultan’s attendants was found there, alive.
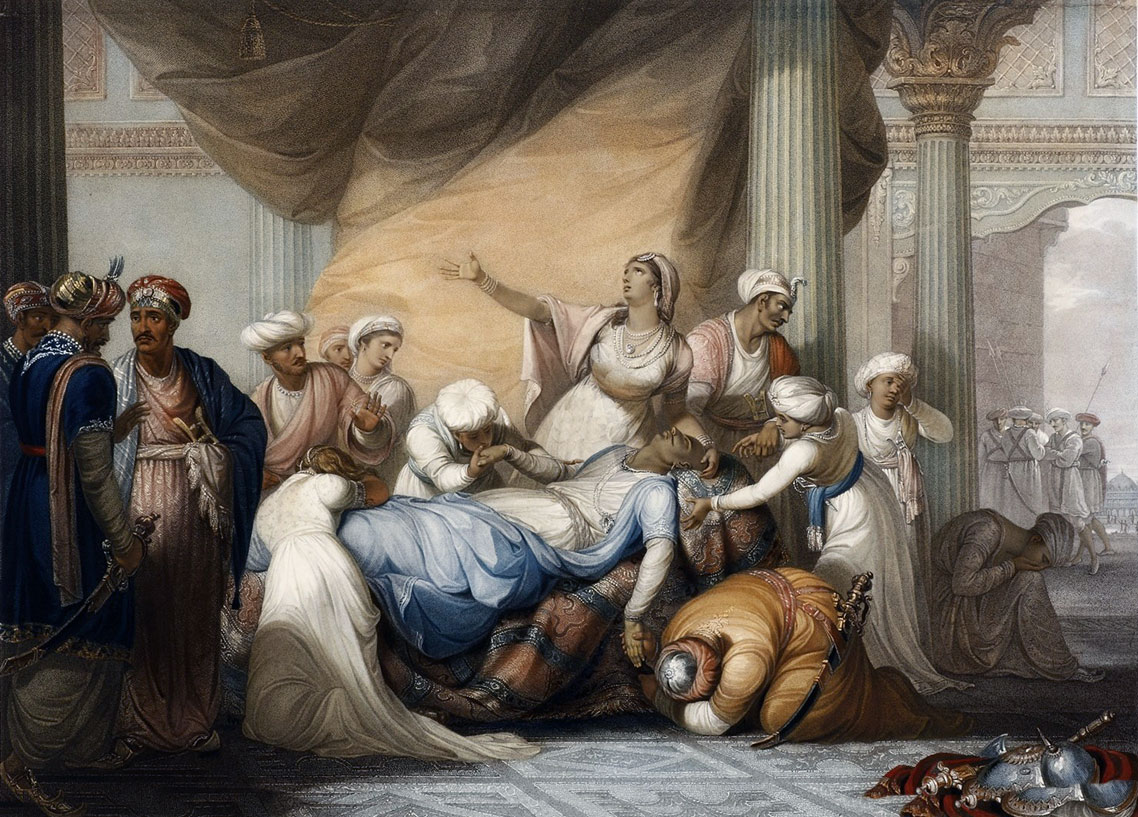
The attendant pointed out where Tipu Sultan had been killed.
The British troops and sepoys sifted through the heaps of corpses until a body was found that the attendant identified as Tipu Sultan.
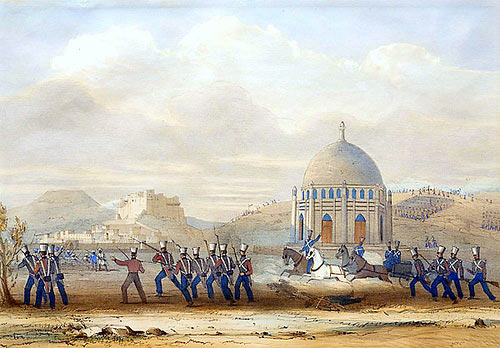
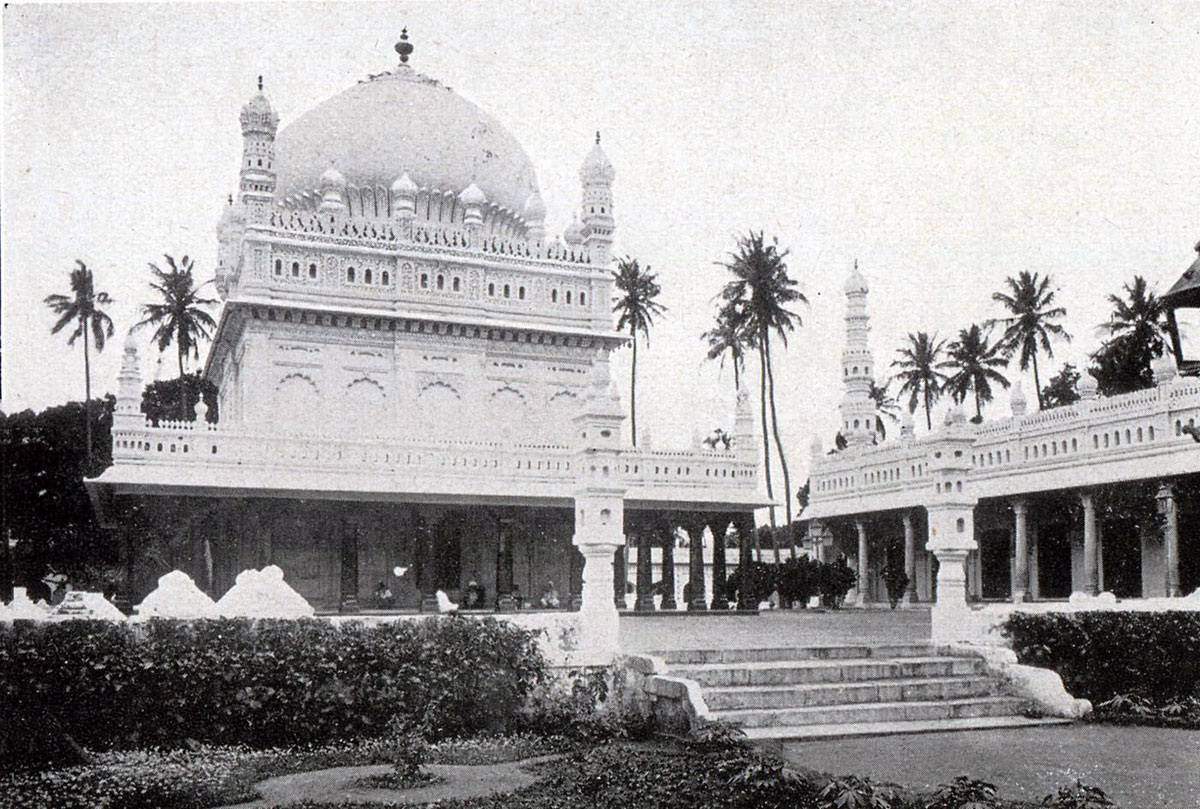
On the next day, 5th May 1799, Tipu Sultan was buried with due ceremony, his body escorted by British Grenadiers.
Casualties in the Siege of Seringapatam:
British losses in the Siege of Seringapatam were 22 officers killed and 45 wounded, with 181 Europeans killed, 622 wounded and 22 missing and 119 natives killed, 420 wounded and 100 missing.
Losses in the Mysore army are unknown.
Aftermath to the Storming of Seringapatam:
At the close of the funeral of Tipu Sultan, a heavy storm broke over the fortress and the surrounding camps, killing several officers and soldiers of the Bombay army.
As the storm raged, the British troops and sepoys pillaged the palaces and buildings of Seringapatam.
Prize money was paid to the officers and soldiers of the victorious British and Indian army from the loot taken during the sack of Seringapatam. The sums paid to officers and troops of the European regiments were: to General Harris upwards of £100,000, to each general officer around £10,000, to colonels £4,320, to lieutenant colonels £2,590, to majors £1,720, to captains £864, to lieutenants £432, to warrant officers £108, to sergeants £14, to privates £7.
By the peace treaty that followed the capture of Seringapatam, the state of Mysore was divided, certain areas being taken over by the East India Company, others passing to the Nizam of Hyderabad and the Mahrattas. The rump of the state was returned to the old Hindu dynasty of Mysore.
Tipu Sultan’s army was disbanded and the defence of Mysore taken over by the East India Company against an annual payment.
General Harris made sure that the Madras Army took over Tipu’s establishment of draft bullocks that were of such high quality and had enabled the Mysore army to move about with such facility.
Harris’s and Stuart’s armies were distributed around Mysore as garrisons.
Fortescue comments that the defeat of Tipu Sultan was a key step in establishing the East India Company as the dominant power in South India.
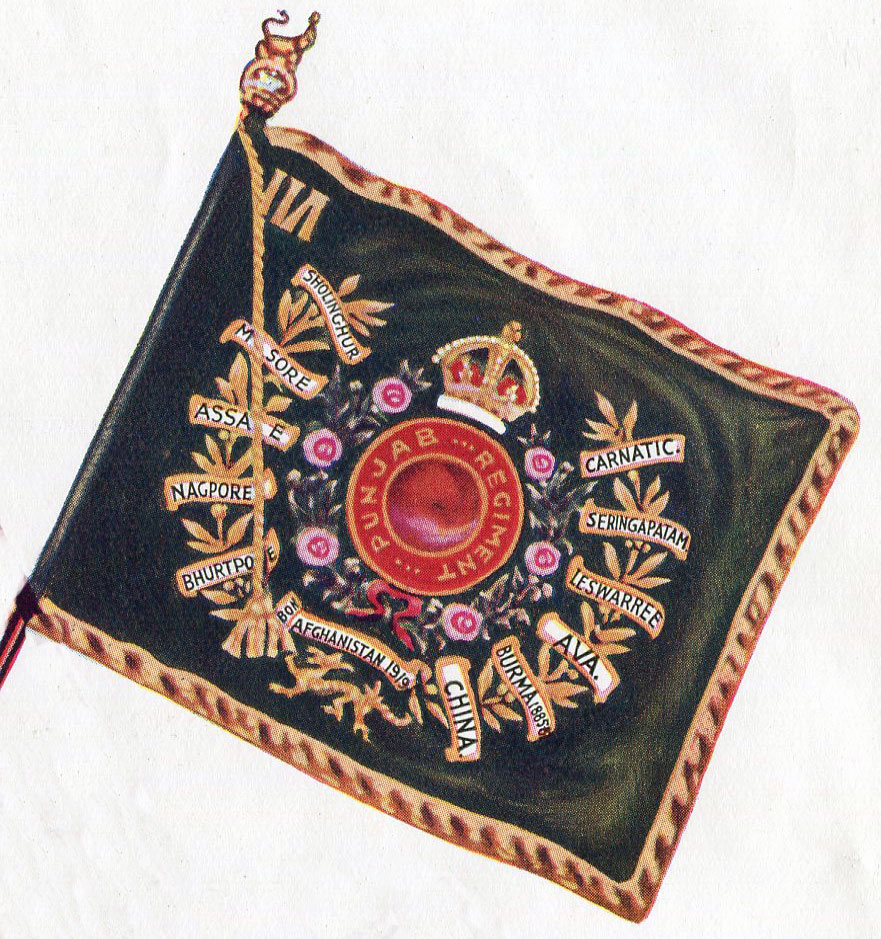
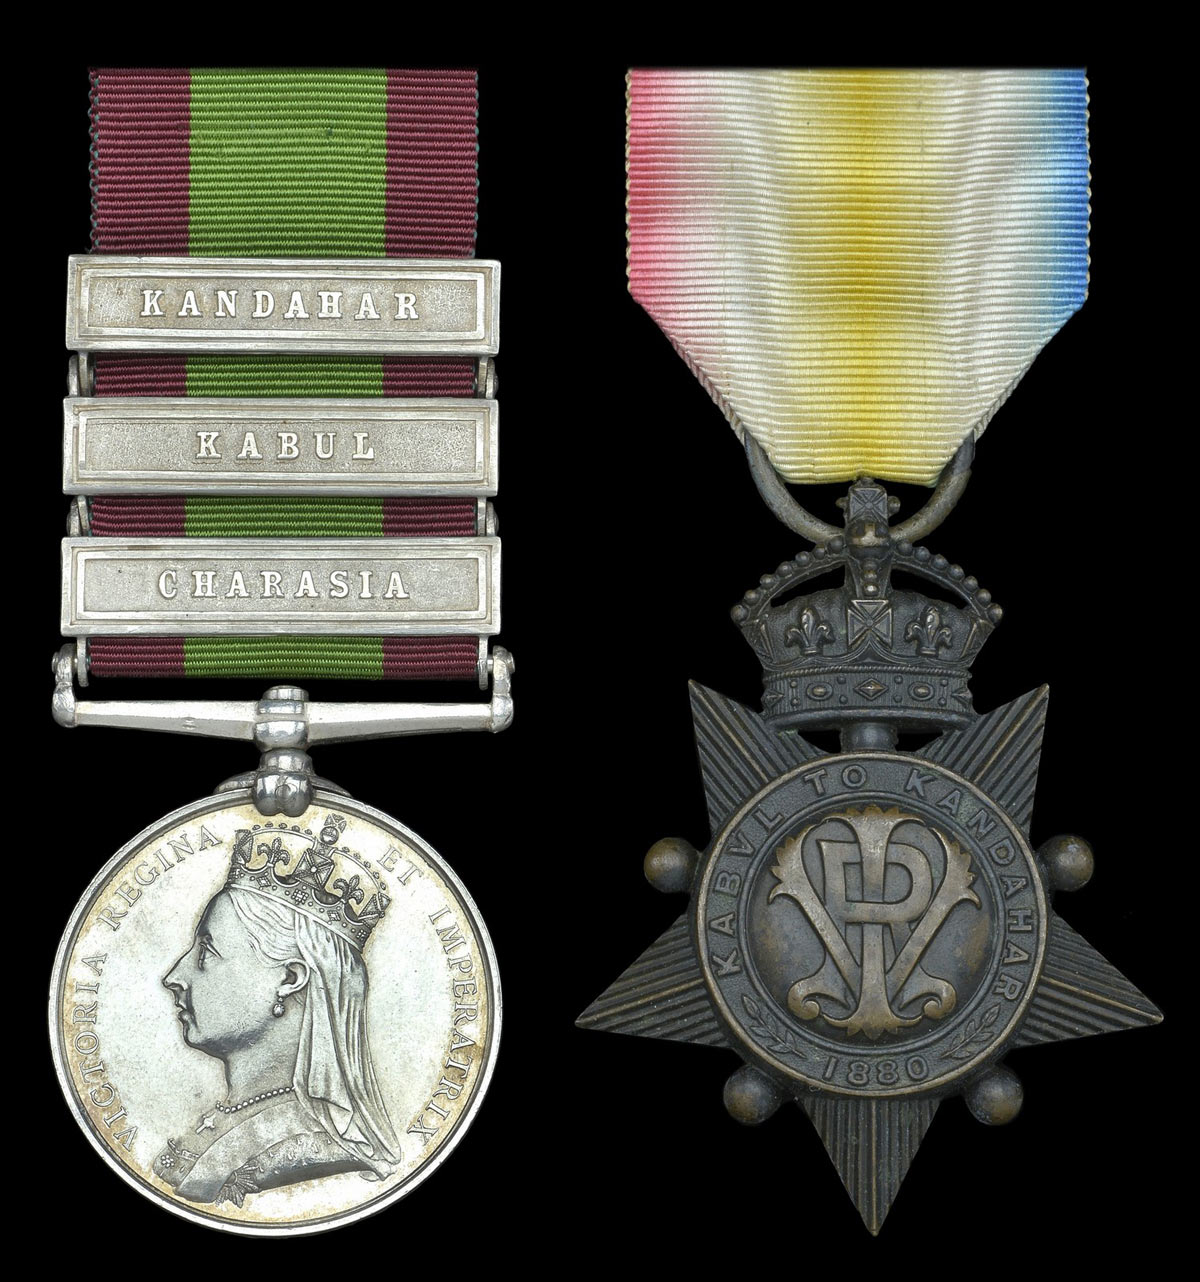
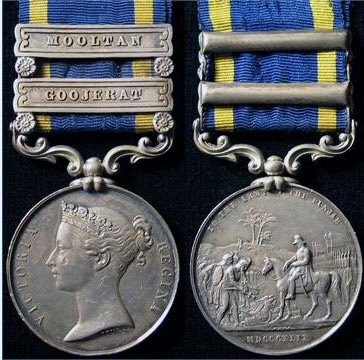
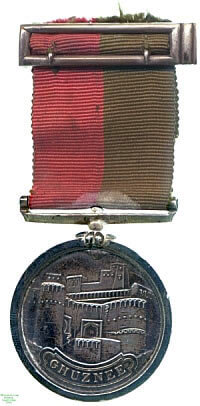
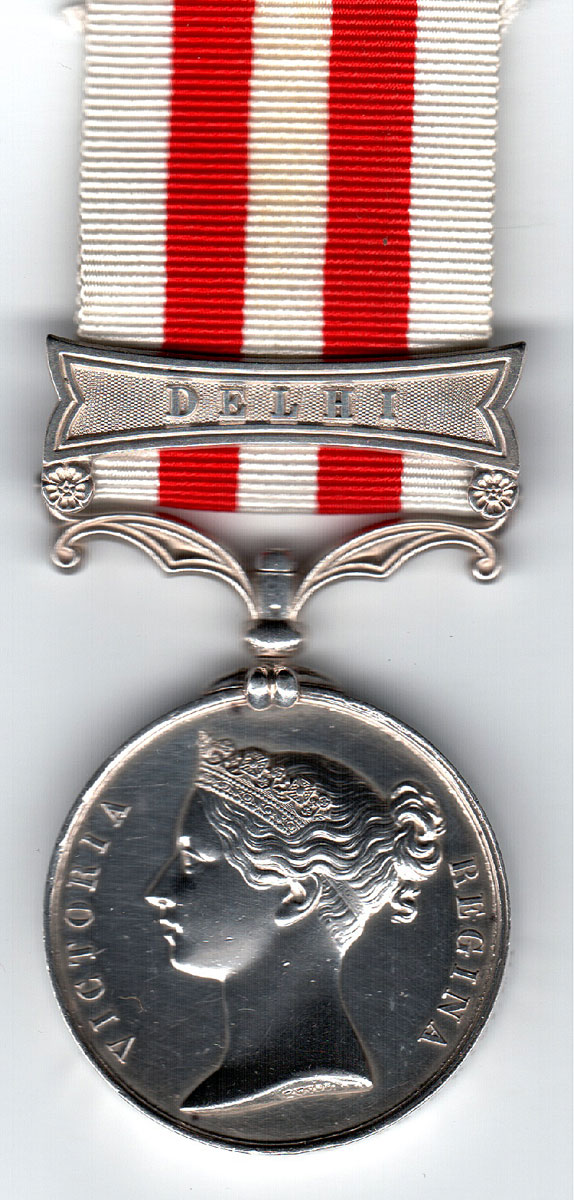
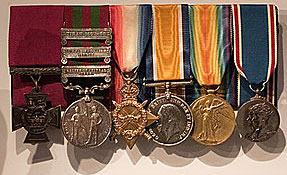
Battle Honours and Medal for the Storming of Seringapatam:
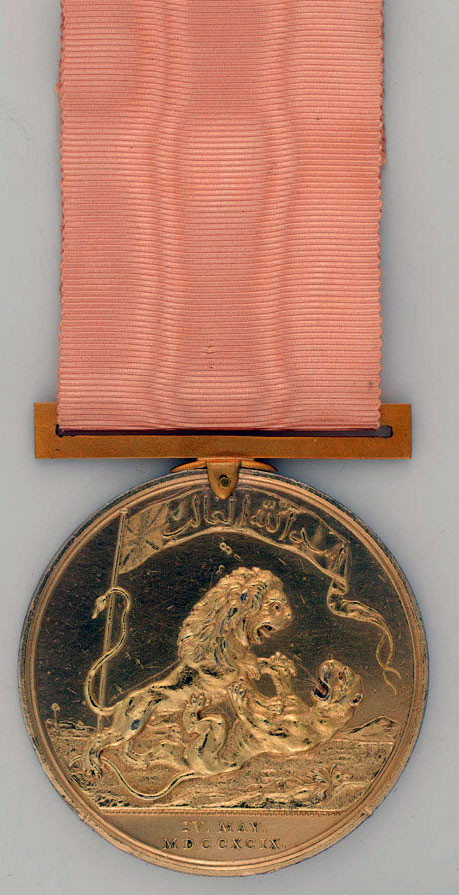
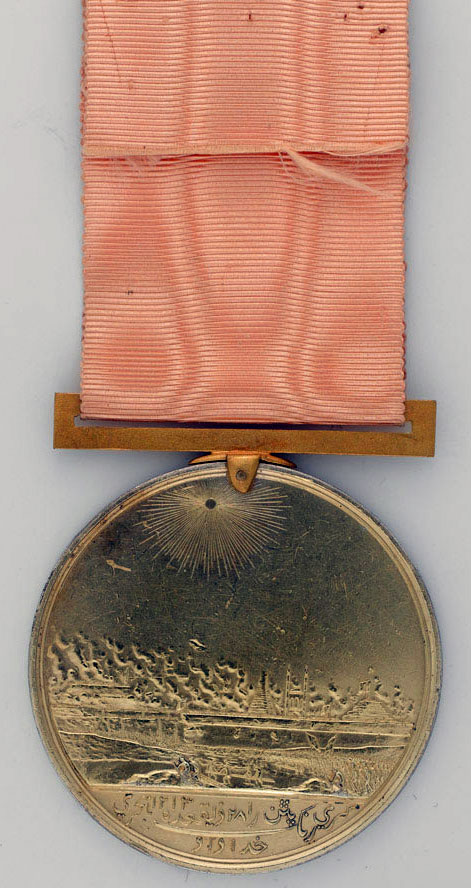
The British East India Company issued a medal commemorating the taking of Seringapatam. The medal was awarded to the officers of Harris’s army.
The medal shows the British lion attacking the Indian tiger.
The Battle of Seedaseer became a battle honour for these Bombay regiments: 2nd, 3rd and 4th Bombay Infantry.
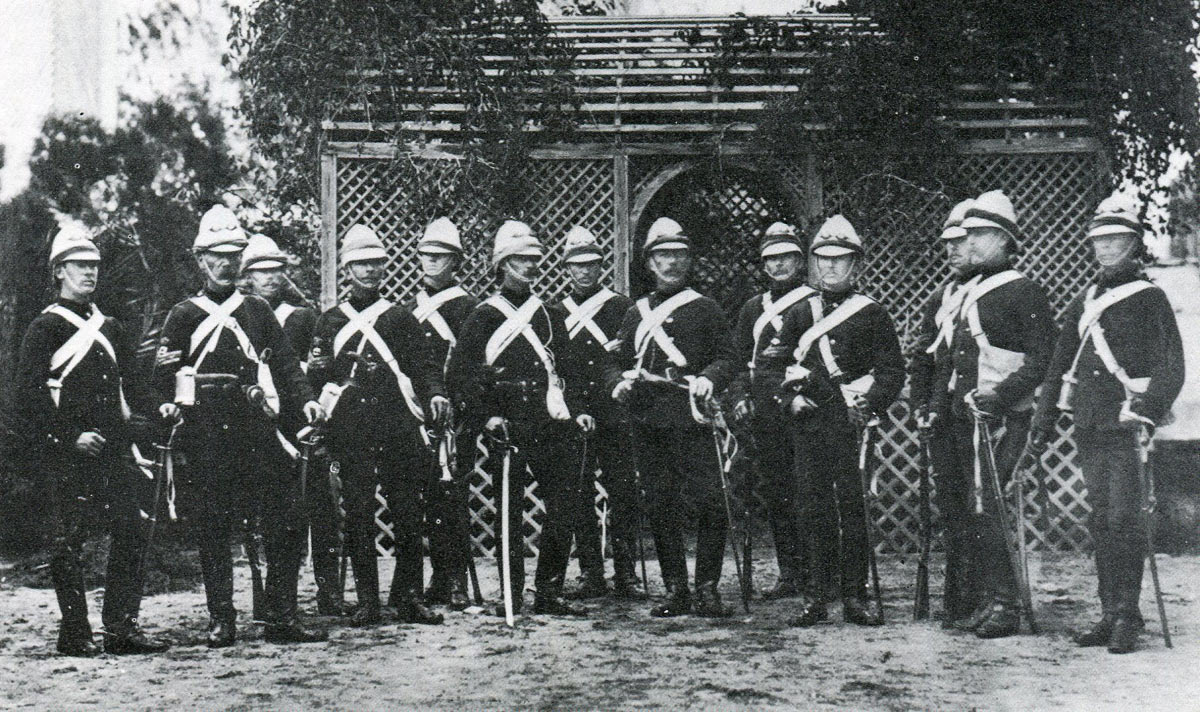
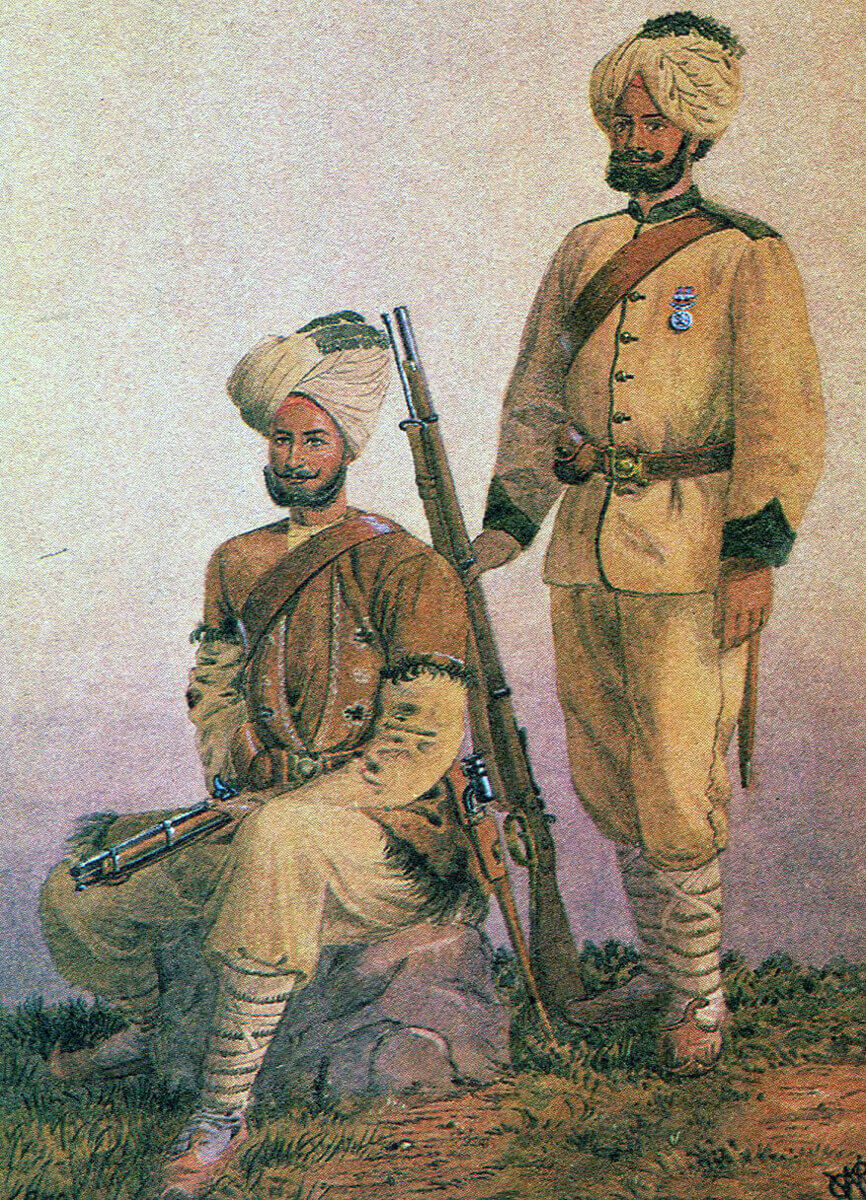
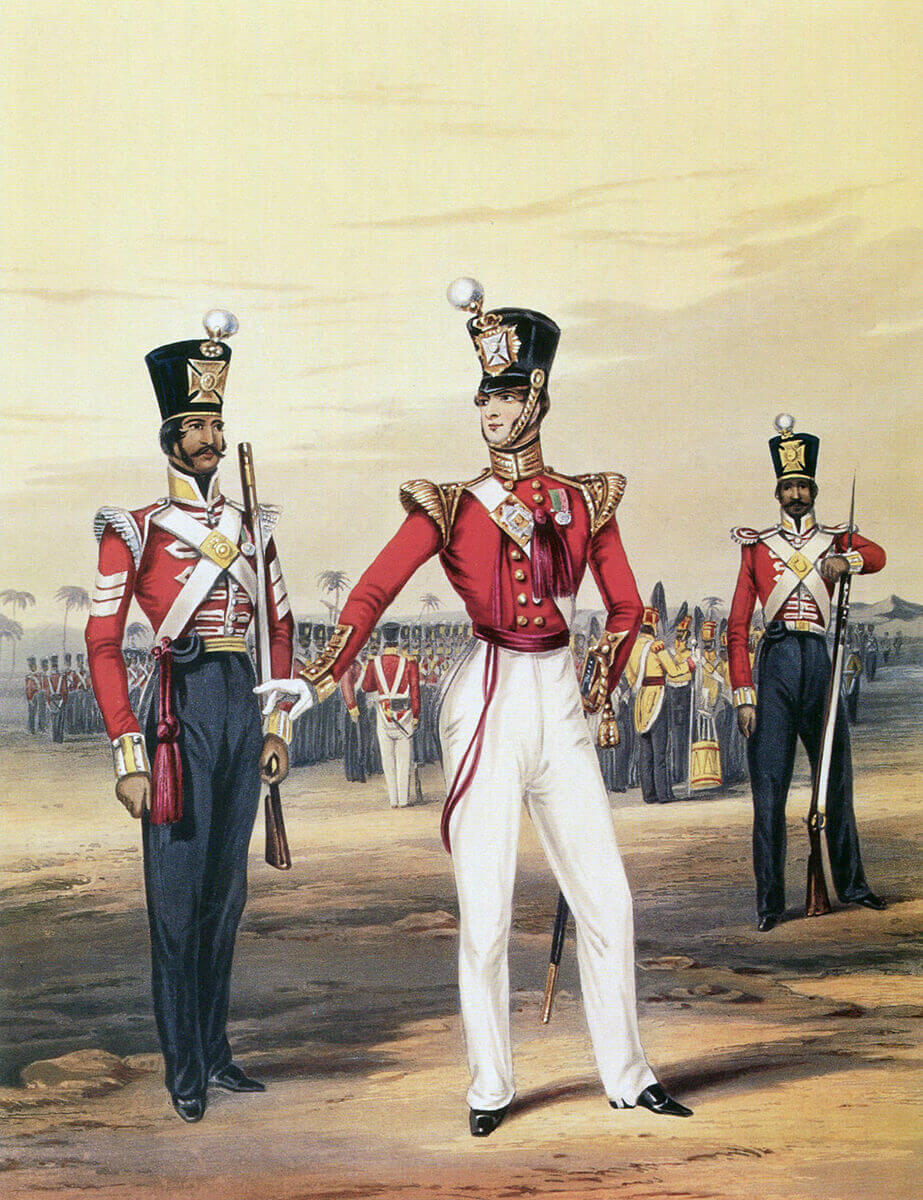
The Storming of Seringapatam became a battle honour for the following British and European regiments: HM 12th, 33rd, 73rd Highland, 74th Highland, 75th Highland, 77th Regiments, 94th Scotch Brigade and 1st Bombay Europeans.
A number of Bengal, Bombay and Madras native regiments also received the battle honour of ‘Seringapatam’.
Anecdotes and traditions from the Storming of Seringapatam:
- General Harris received £100,000 in prize money from the capture of Seringapatam. On his return to England, Harris built Belmont House near Faversham in Kent in 1801. He was promoted general in 1812 and, until his death in 1829, was colonel of the 73rd Highland Regiment (later 2nd Battalion, the Black Watch).
- General Harris’s army career started in the American War of Independence. Harris fought at Lexington and Bunker Hill where he was severely wounded. He ended his career as General Lord Harris.
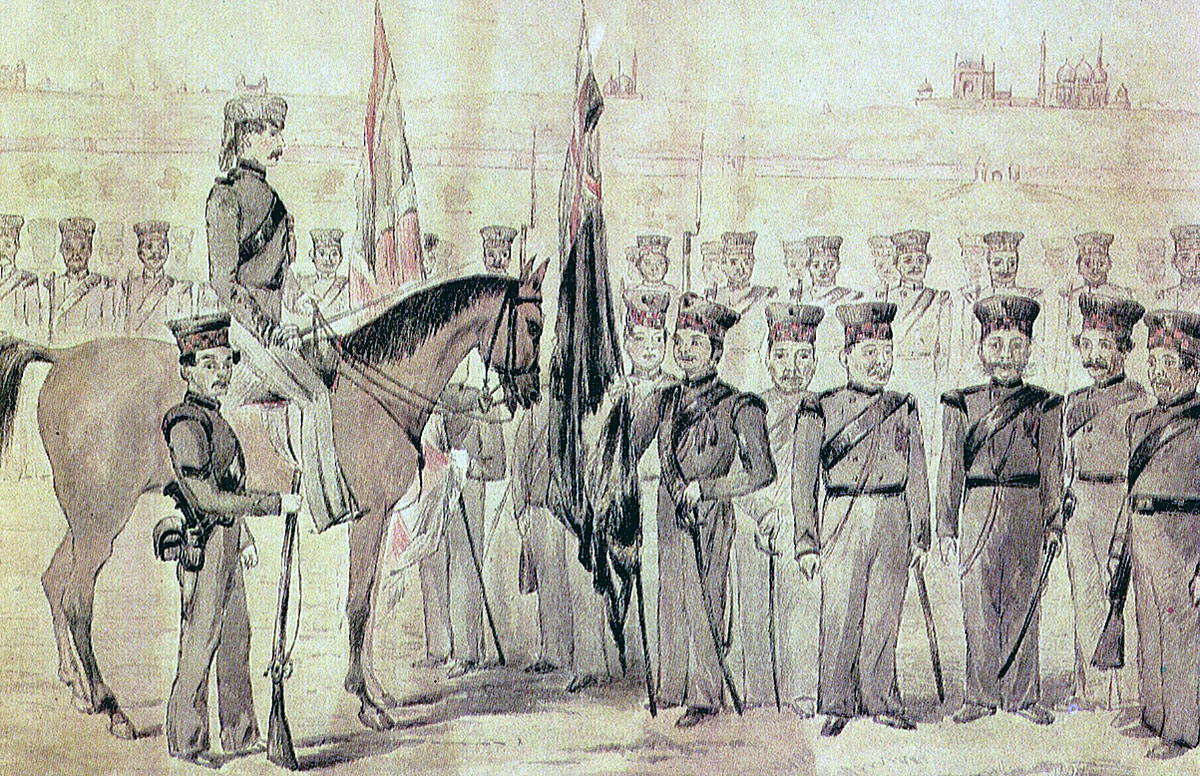
- The regiment referred to as the ‘Scotch Brigade’ was a regiment formed in 1794 for service in India from Scottish officers serving in the Scotch Brigade in the Dutch service. The Dutch Scotch Brigade dated from 1586 and saw service in many European wars, until it was dissolved in 1782, on the outbreak of war between Britain and the Netherlands. The title of the regiment, on formation in 1794, was ‘94th Regiment, Scotch Brigade’. In 1881 the regiment became the 2nd Battalion of the Connaught Rangers.
- The Swiss Regiment de Meuron was raised in 1781 for service with the Dutch East India Company by Colonel Charles-Daniel de Meuron. With the invasion of the Netherlands by Revolutionary France in 1795, the Prince of Orange directed Dutch colonies to hand themselves to the British. With the Dutch surrender of Ceylon to the British in 1796, the Regiment de Meuron passed into the British service, serving at the Storming of Seringapatam and in the Peninsular War. After service in North America, the regiment was disbanded in 1816.
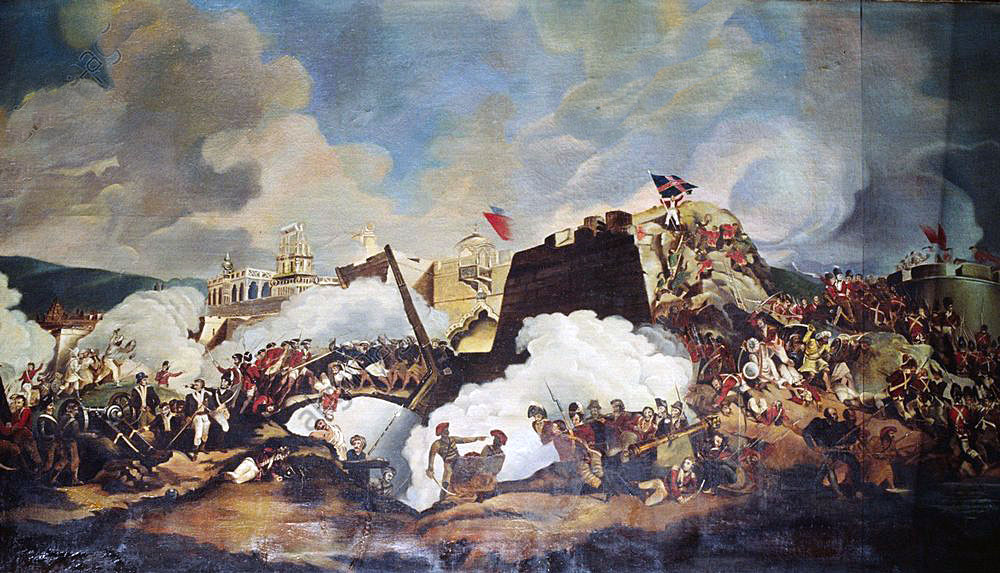
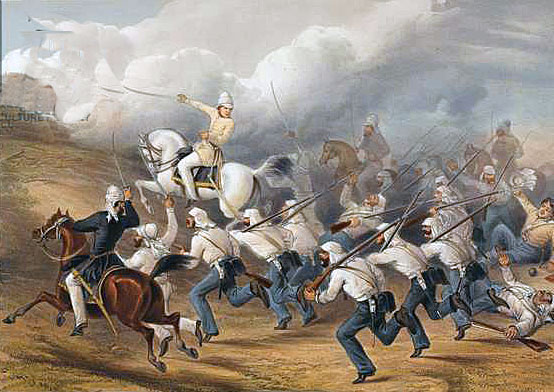
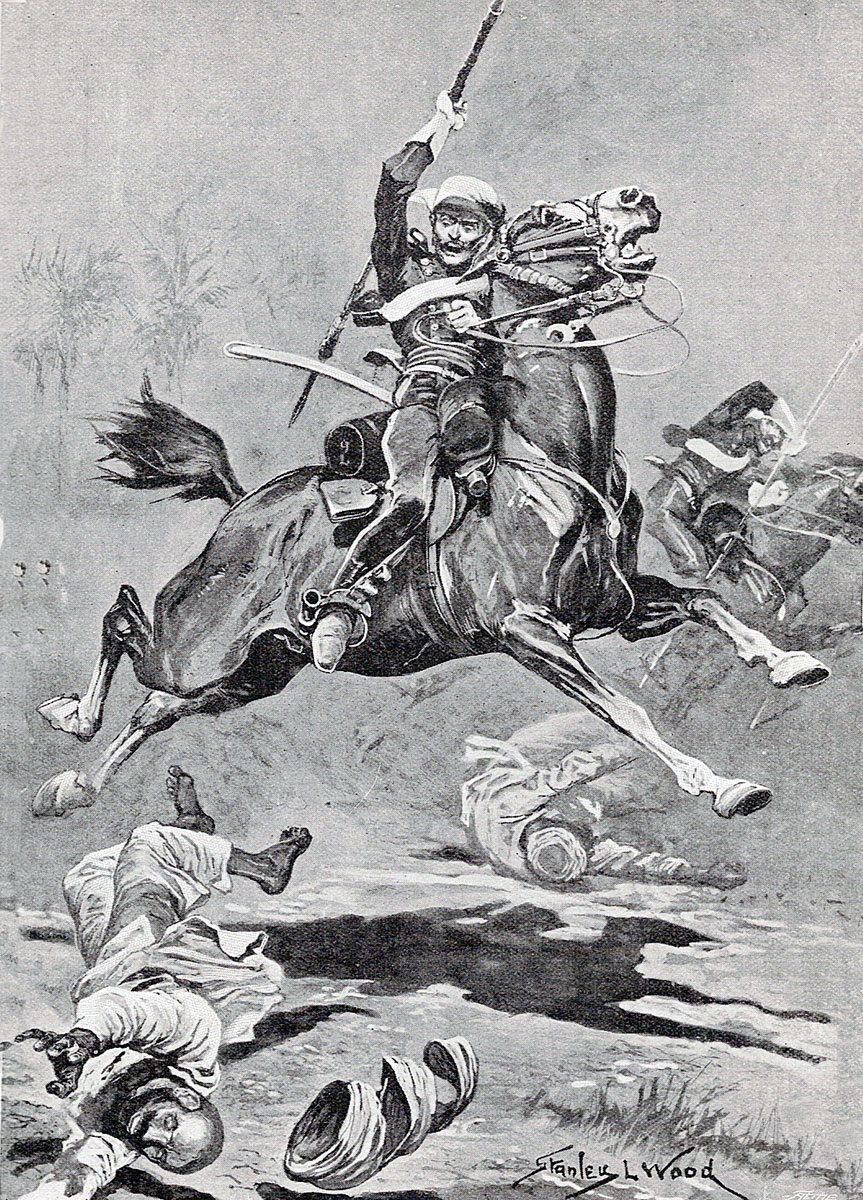
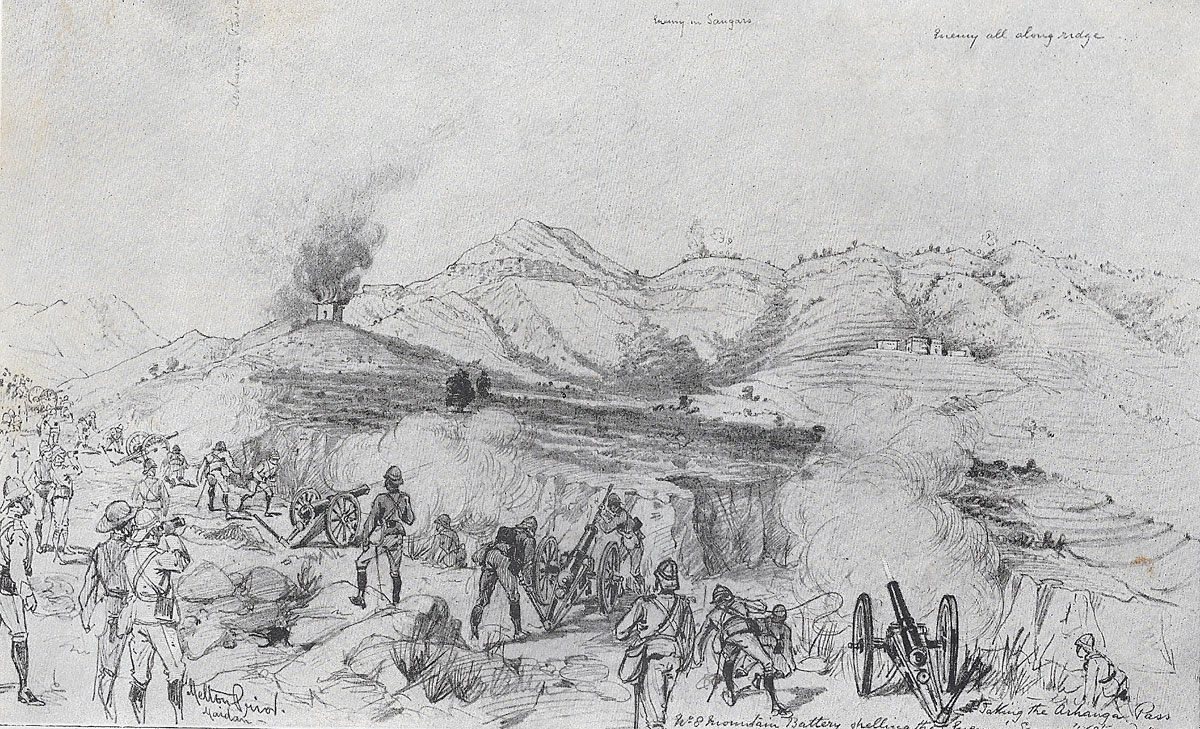
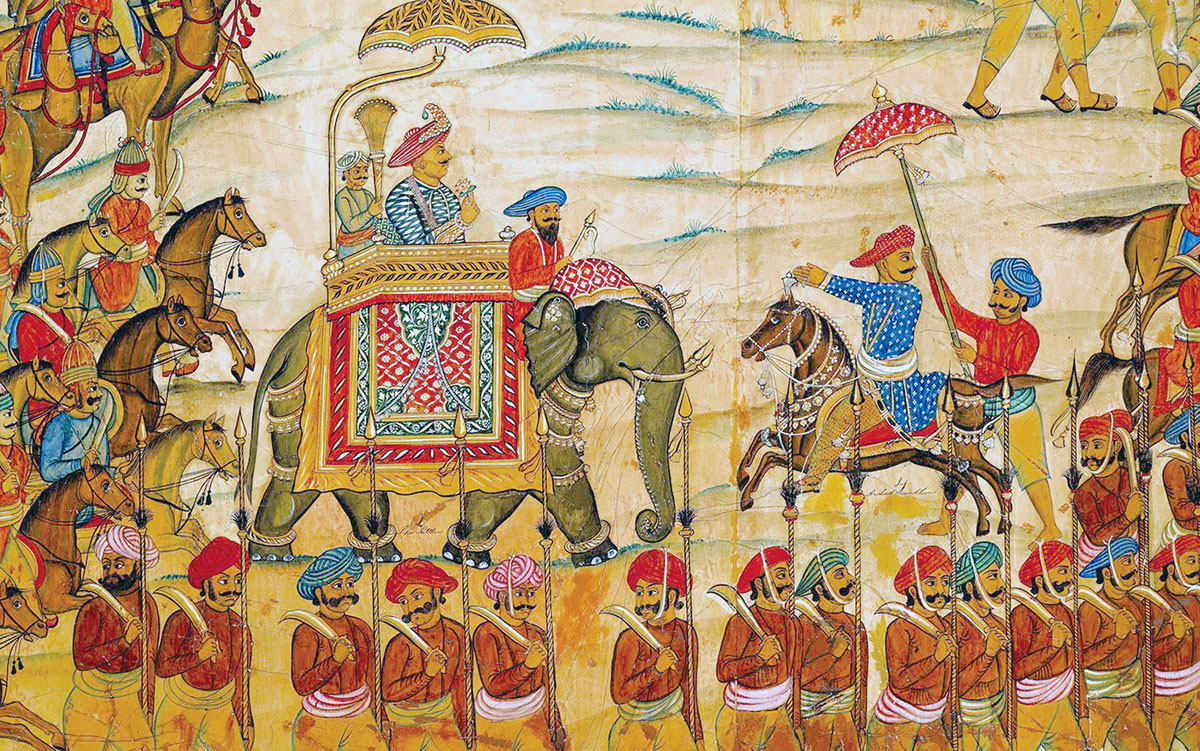
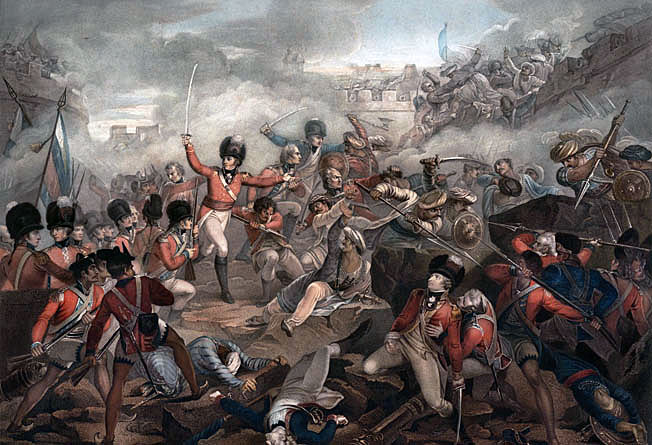
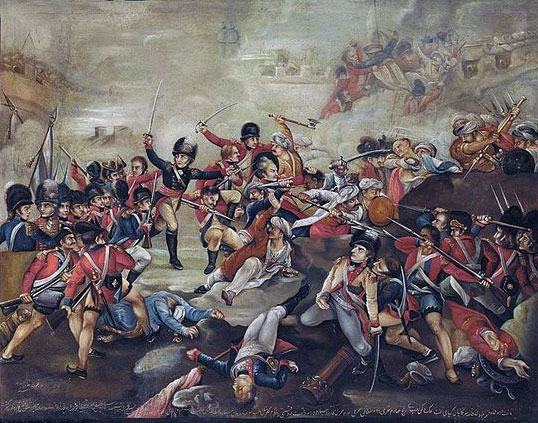
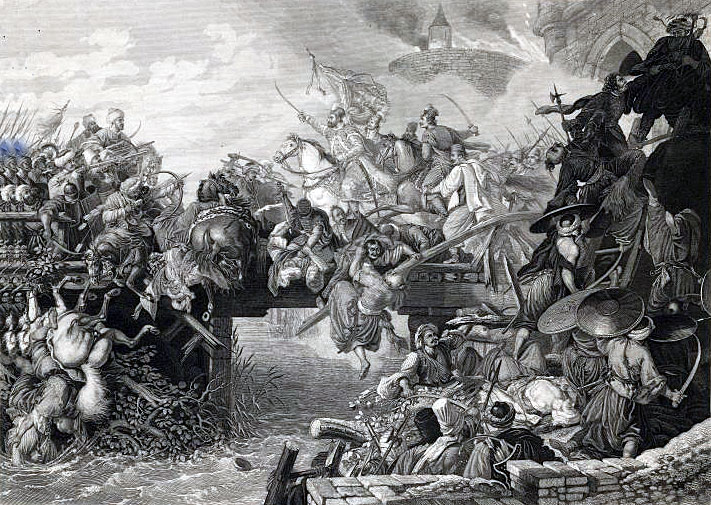
- The Storming of Seringapatam became a popular subject for British artists, including William Mallord Turner. Several of his pictures of the event appear on this page. The picture by Peter Frafft in 1800 (below) gives a wholly mythical aspect to the subject. There does not appear to have been any such incident and neither side was armed with bows, spears and shields.
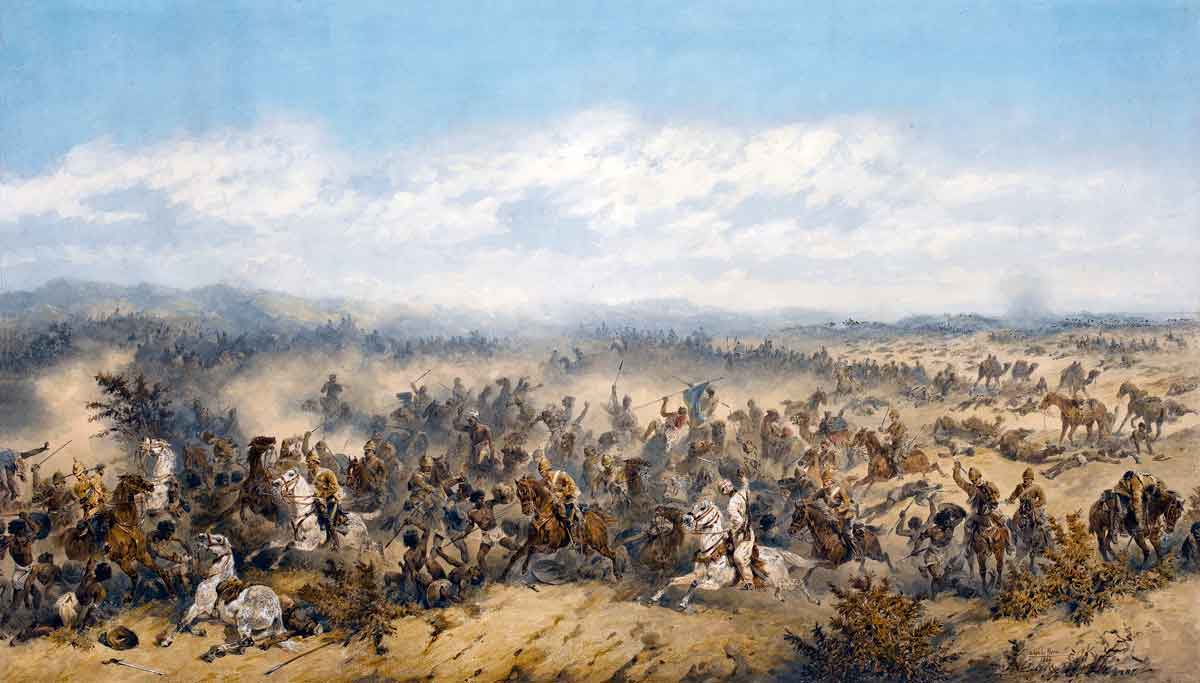
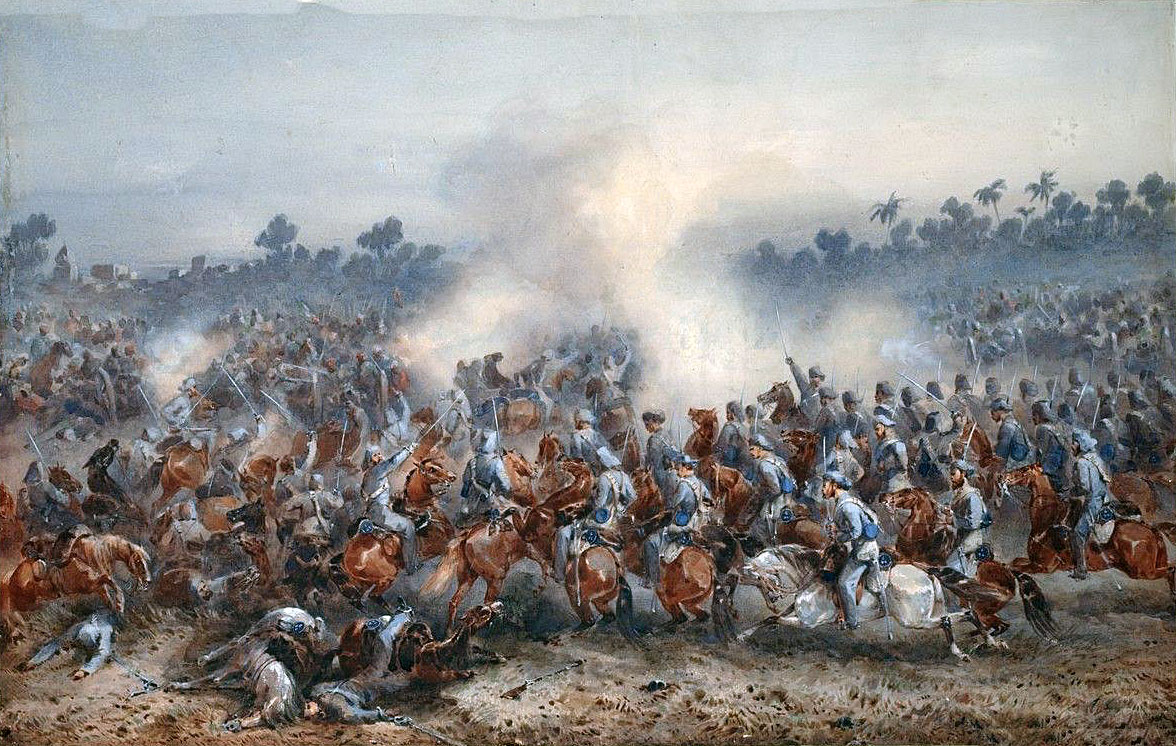
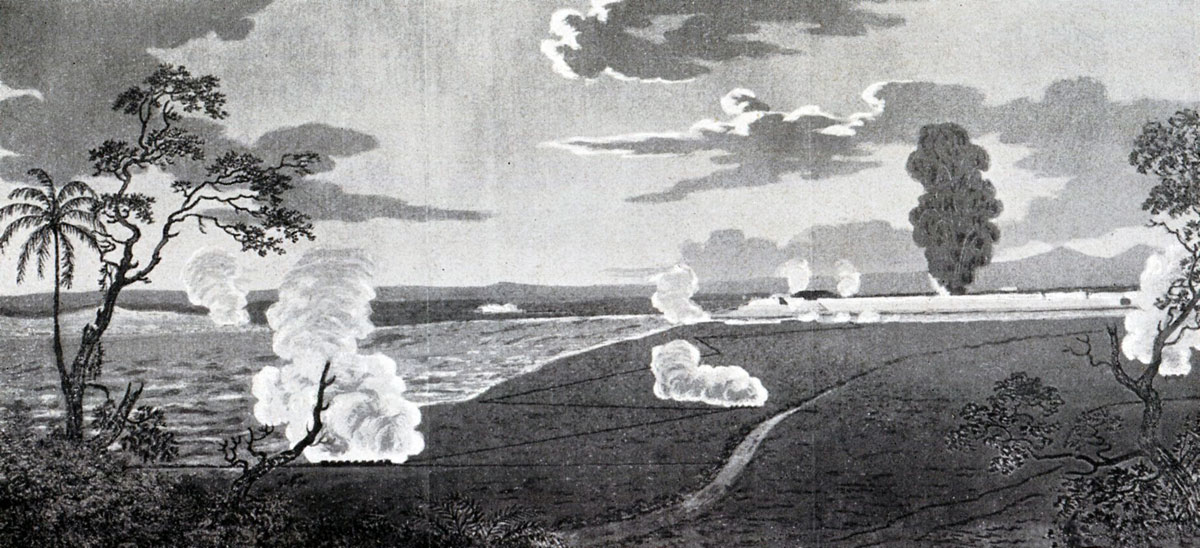
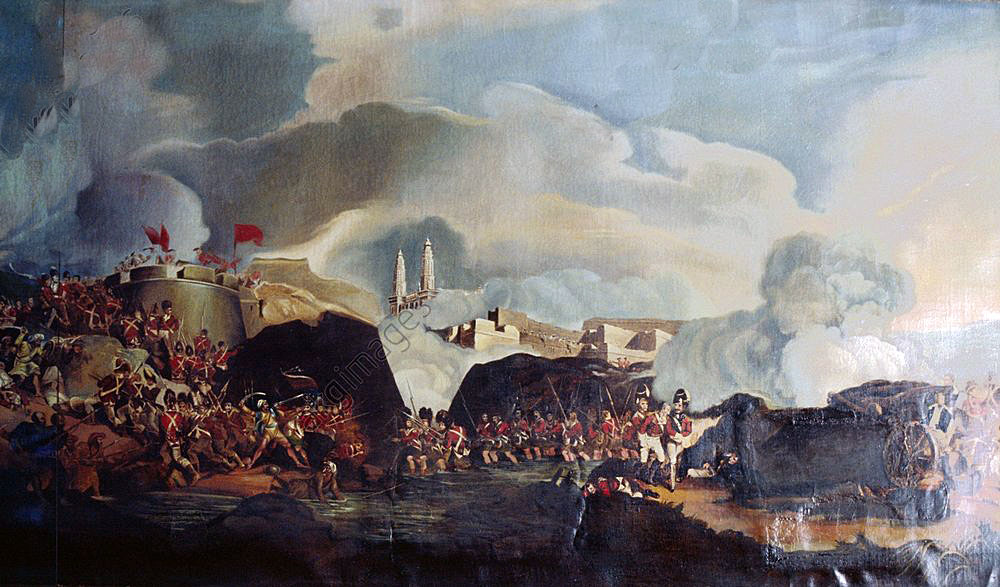
- The artist Robert Kerr Porter painted a panorama of the Storming of Seringapatam 120 feet long in 1800, which caused a sensation in London. The picture is shown in two parts, the left part and the right part on this page. The picture was exhibited in the Lyceum Theatre with the description: “THE centre Object is General Baird surrounded by his Staff, and calling his Men to follow Serjeant Graham of the Forlorn Hope, who having snatched the Colours from the Ensign, planted them on the Breach, and as he gave the 3d Huzza of Victory, and Indian with a Pistol shot him through the Heart. – At the Foot of the Bastion is a Party of Tippoo’s Soldiers, who are repulsed by the Grenadiers of the 74th. – Near them is Colonel Macleod, who at the Onset was wounded through the Lungs, leading off by a Serjeant of the Meuron Regiment. – On the Bastion to the Right, stands Colonel Sherbrook animating his Men to the Assault. – Crossing the Cavery is the Remainder of the 73rd. – And behind them the brave Colonel Dunlop borne off wounded, between two Grenadiers. – In front of the Mortar Battery, is Major Allen with Colonel Dallas and Major Beatson. – In the Distance is a View of General Harris and the British Camp. – To the Left of the Grand Breach, lies Lieut. Farquhar, supported as he is Dying, on one of the Tyger Guns, taken from the Enemy; he is upheld by an Artillery-Man, who points to the Indians from whom he received his Death, while the Grenadiers at the Point of the Bayonet are pressing to avenge it. – On the Ramparts stands Tippoo himself, directly above the Gateway under which he fell. – A French Officer, a little further off, is pointing to the Scene on the centre Bastion; – And on the Bridge is the desperate Conflict between the Company’s Troops and Hyder Ally’s Grenadiers: Lieut. Laler of the 73d, who commanded the Sepoys, is wounded, and struggling with his Enemy as he is falling into the Water. – In the Rear of the Artillery-Men, are the Nizam’s Troops pressing forward to the Action, headed by Lieut. Colonel Mignan and flanked by the Gallant Brigade Major Pasley.”
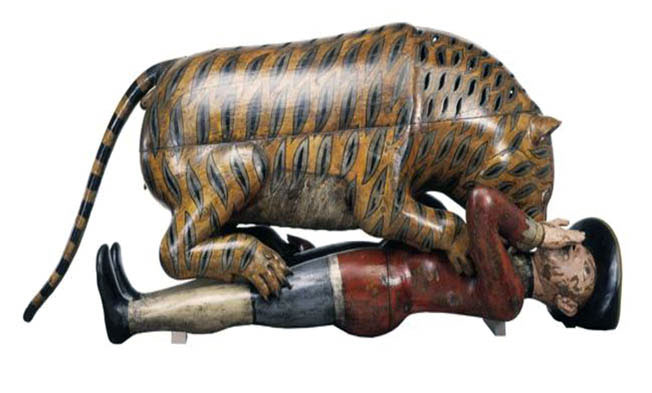
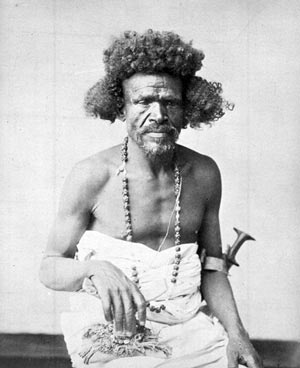
- Tipu Sultan possessed a clockwork model of a tiger attacking a British officer. The model is now in the Victoria and Albert Museum.
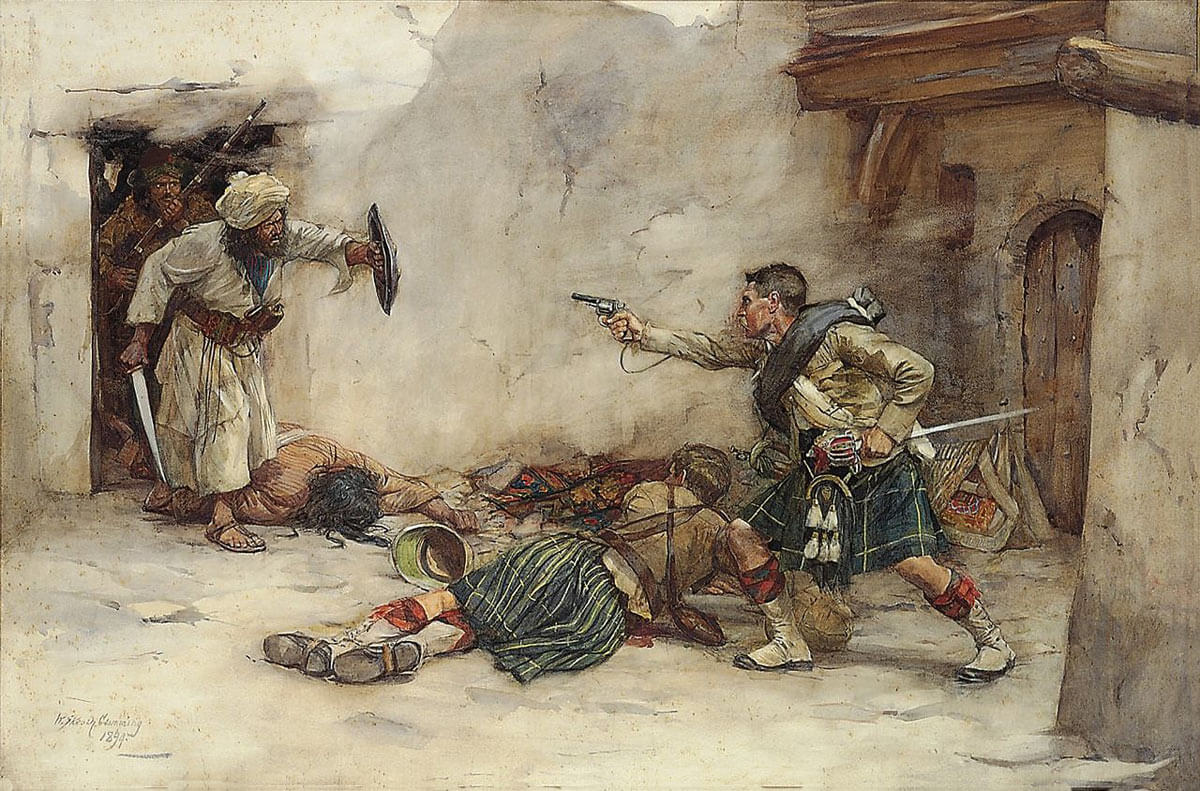
- Many traditions and stories relate to the Storming of Seringapatam. It is said that the storming troops, both European and Sepoy, ruthlessly cut down the defenders after discovering that the prisoners taken by Tipu Sultan’s troops had been murdered by having nails hammered into their heads on Tipu’s orders.
- It is said that Tipu Sultan was warned that the assault of the fortress was about to take place and, refusing to believe the information, ordered that his troops be withdrawn from the ramparts to be paid, while he himself dined.
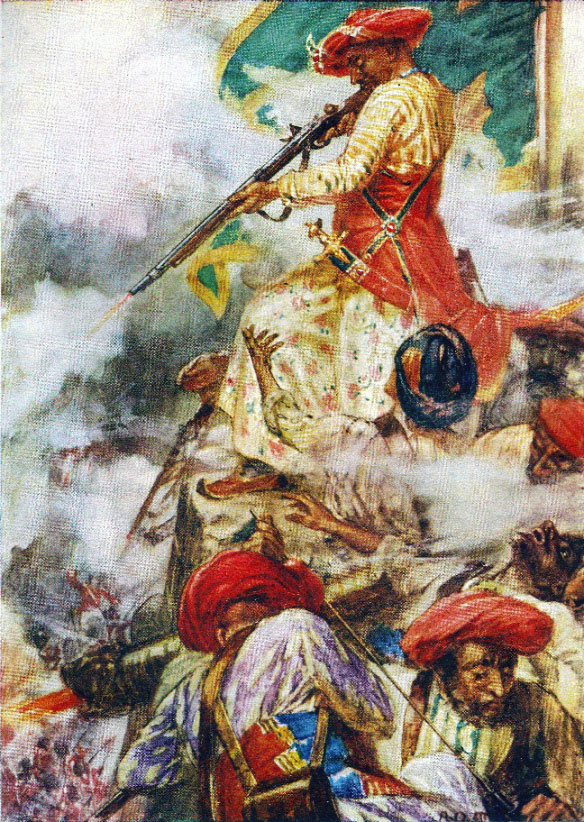
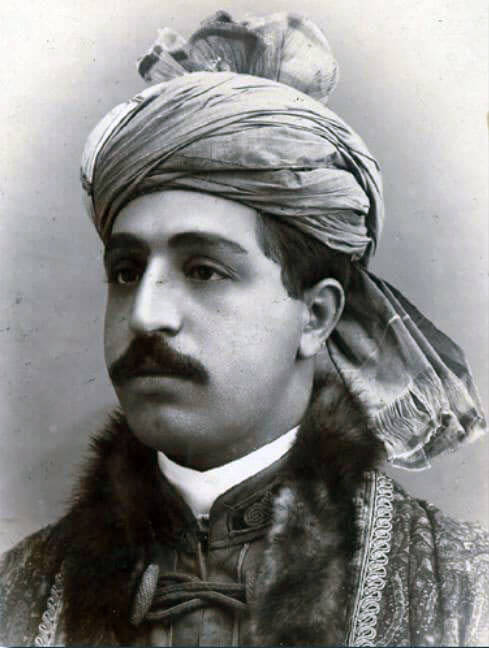
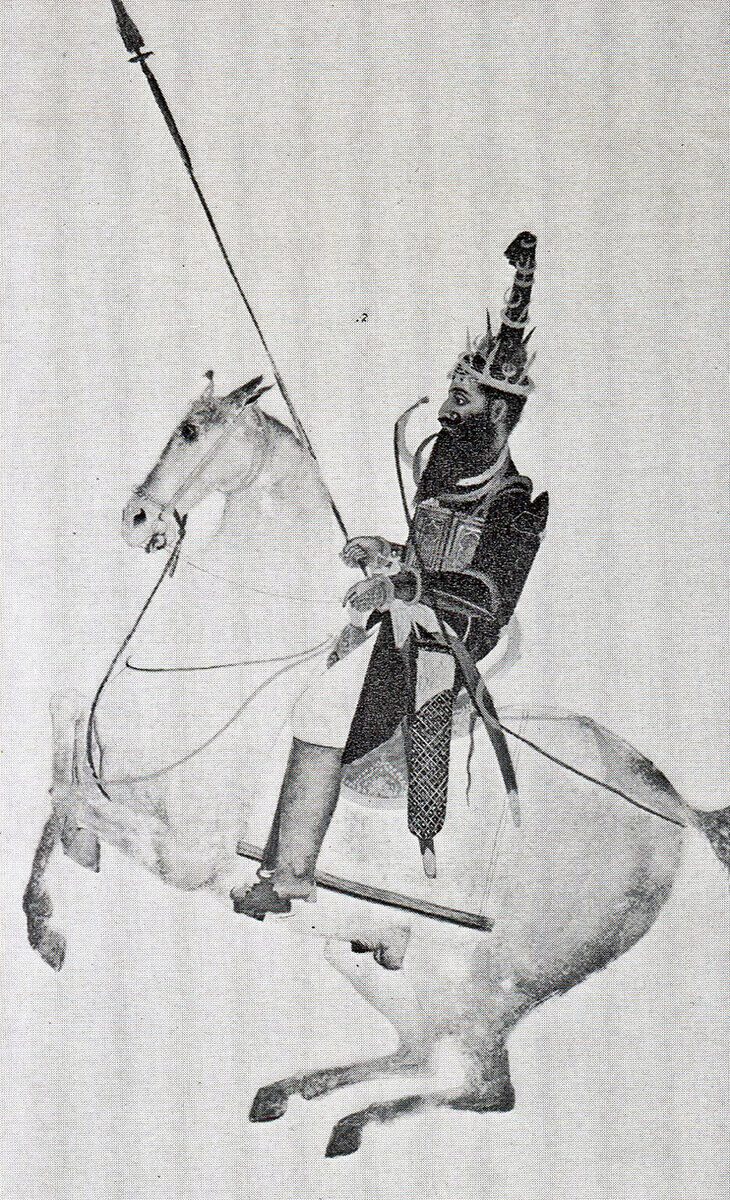
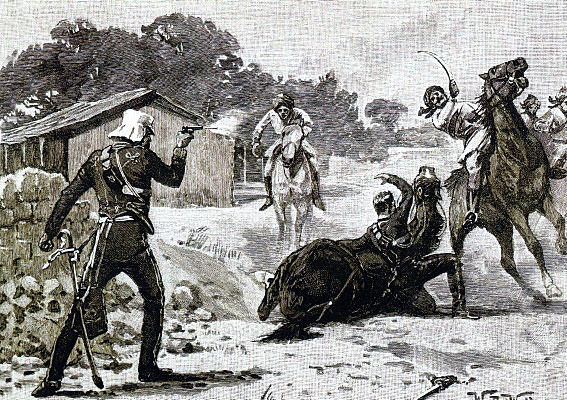
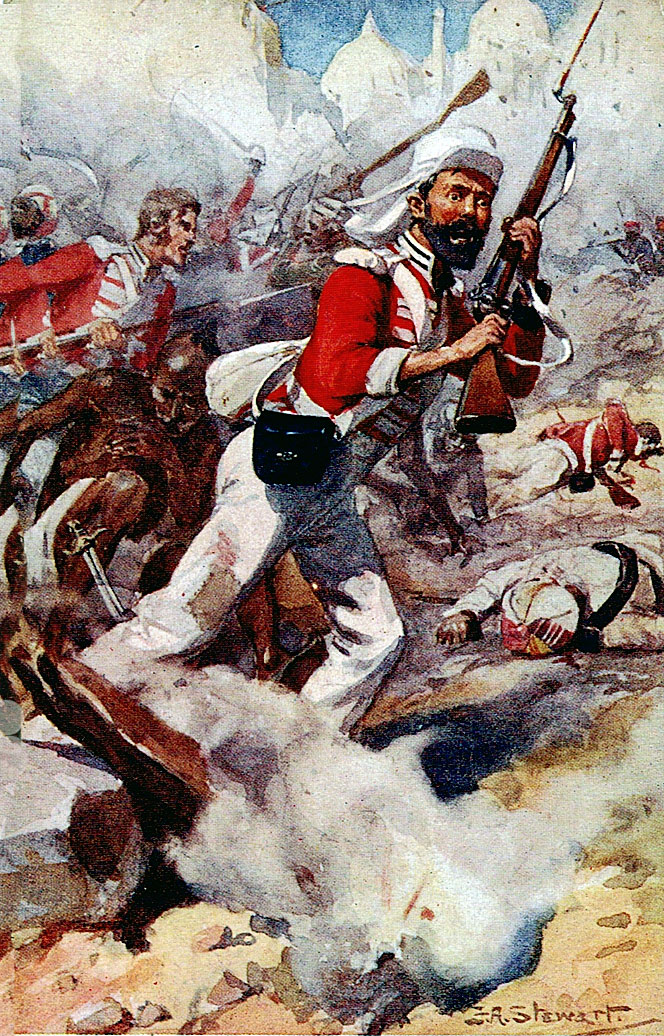
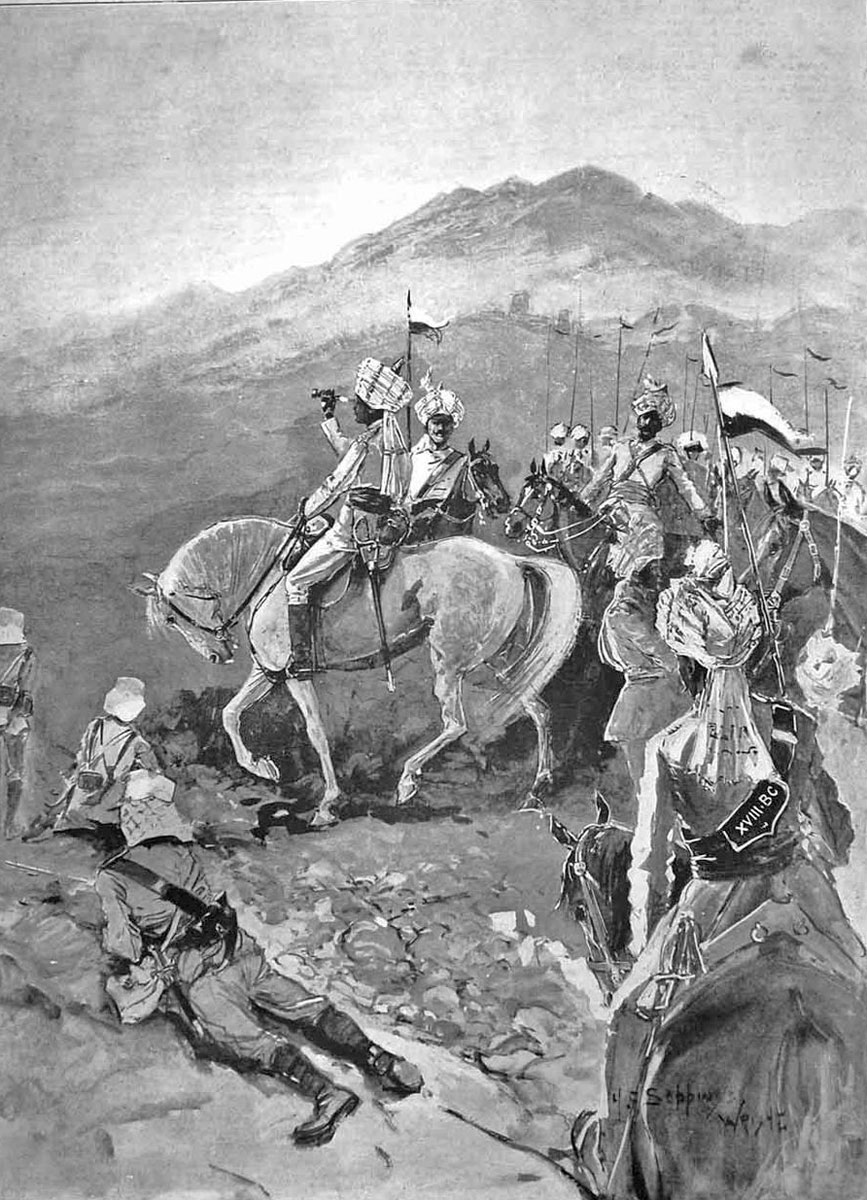
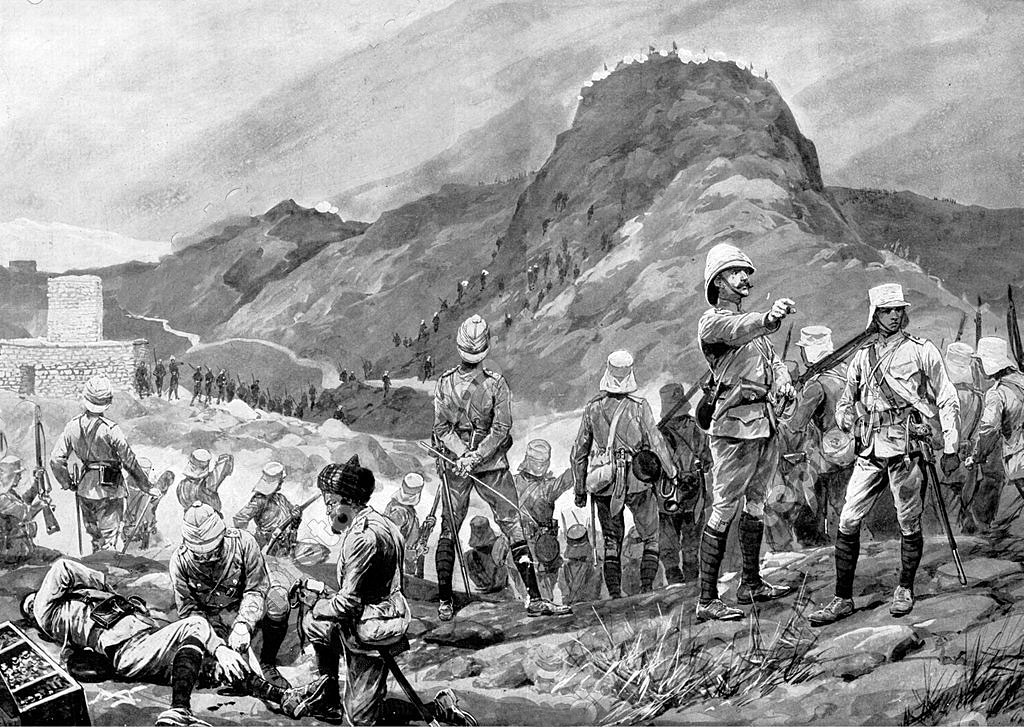
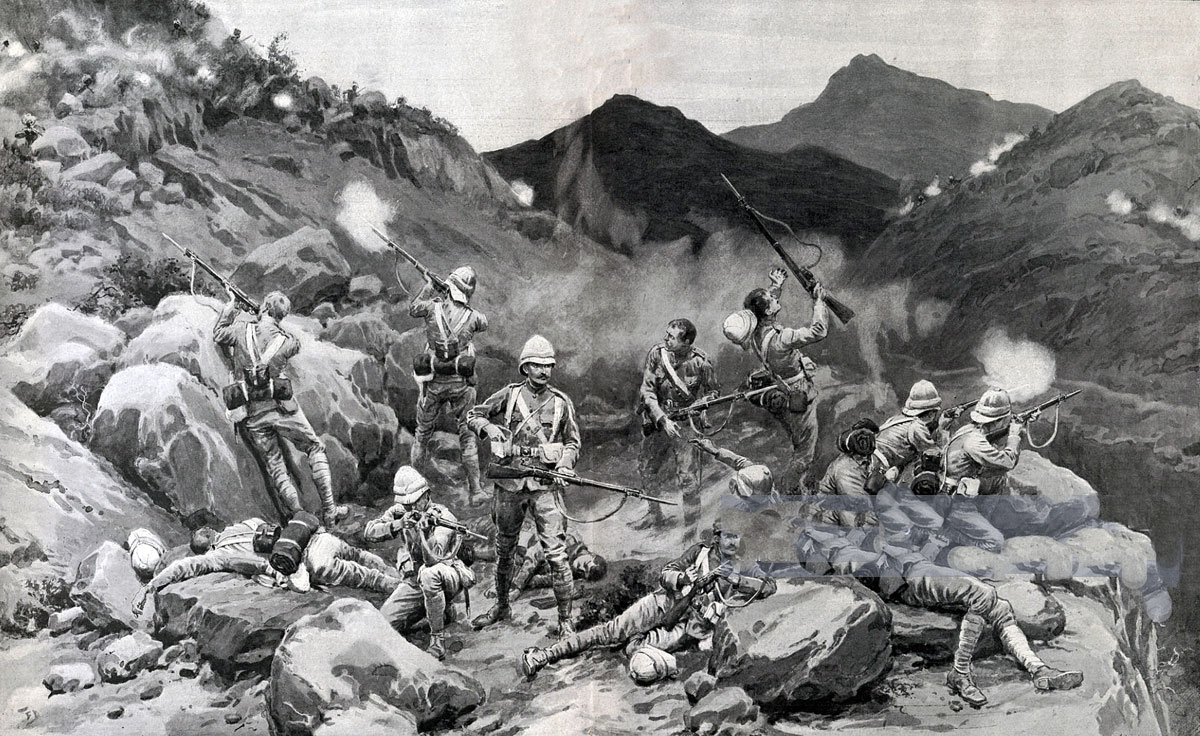
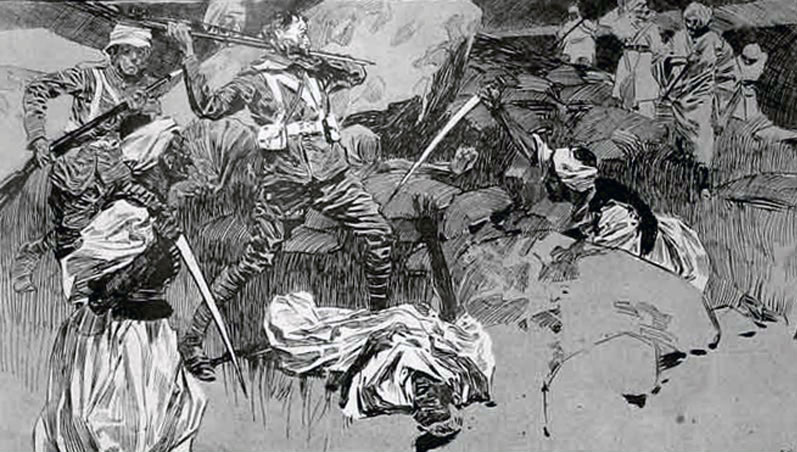
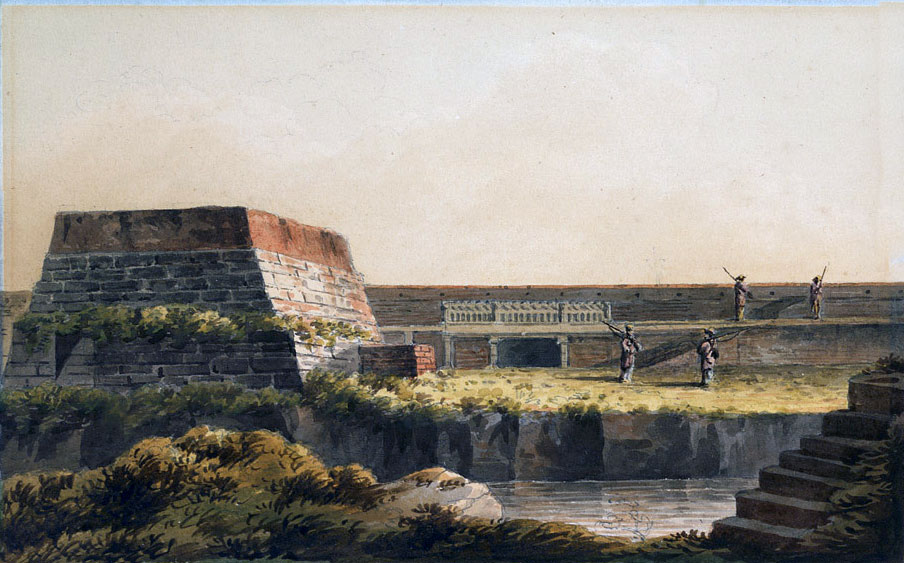
Tipu Sultan on the ramparts during the Storming of Seringapatam on 4th May 1799 in the Fourth Mysore War
- The warning of the impending attack is said to have been given to Tipu Sultan by Muslim and Brahmin astrologers, who announced that the 4th May was an inauspicious day. Tipu accepted the warning to the extent of giving lavish presents to the astrologers: including an elephant, bags of seeds, money, a black bullock, a milch buffalo and other items. One of the gifts was an iron pot filled with oil into which Tipu looked so that his face was reflected in the oil, a ceremony used in Hindustan to avert misfortune.
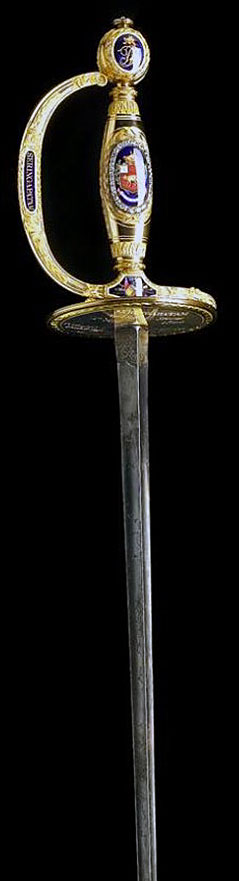
Sword presented to Sir David Baird for the Storming of Seringapatam on 4th May 1799 in the Fourth Mysore War
- Tipu Sultan is reported to have been on the northern rampart and to have, himself, shot a number of the attacking European troops. Tipu Sultan was reputed to be a fine shot and to have had a large collection of firearms, which four of his attendants carried for him and reloaded. His head servant, Rajah Cawn, reported that Tipu Sultan shot 3 or 4 Europeans.
- Syed Goffar, Tipu Sultan’s officer in command in the area of the breach, warned Tipu that the assault was about to take place, a warning, it is reported Tipu rejected, on the basis that the assault would not be launched in the heat of the midday. Syed Goffar noticed the ramp by which Goodall’s party would cross the inner ditch and reach the second rampart. Syed was supervising the destruction of the ramp when he was killed, the ramp being left in place.
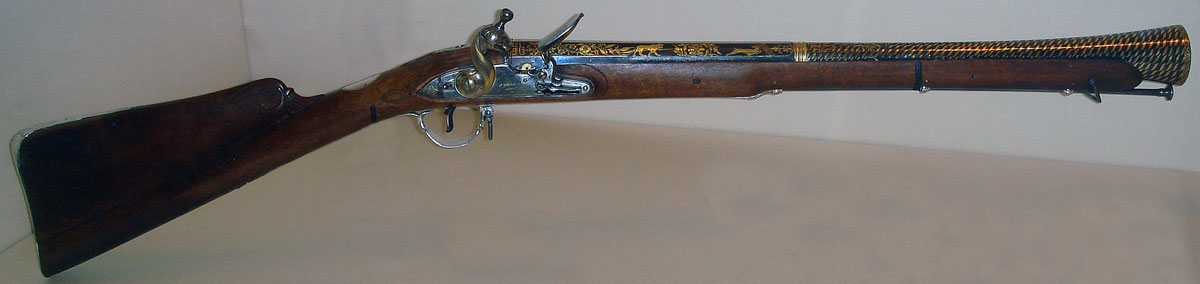
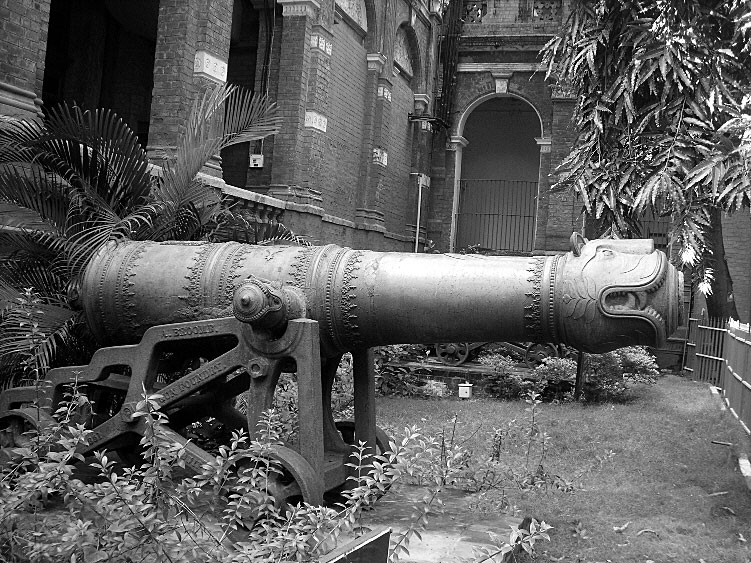
- The British military authorities were impressed by the rockets used in Tipu Sultan’s army. The use of metal rocket tubes increased range and accuracy. The British Army’s ‘Congreve Rocket’ was developed from the Mysore rocket and used against the French, achieving a European reputation. In fact, the Congreve Rocket was never a satisfactory battle weapon, being inaccurate and unreliable and was actively disliked by the Duke of Wellington.
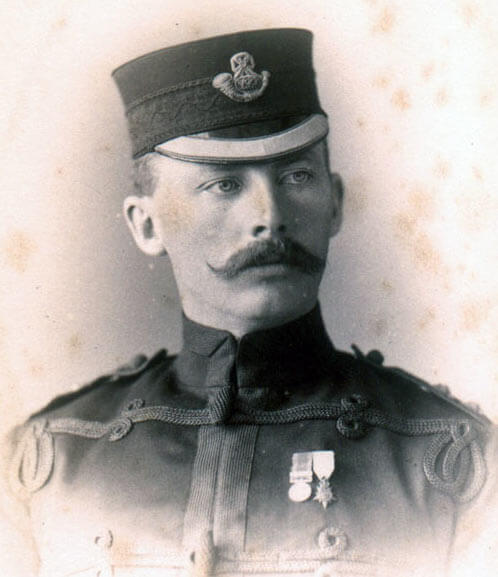
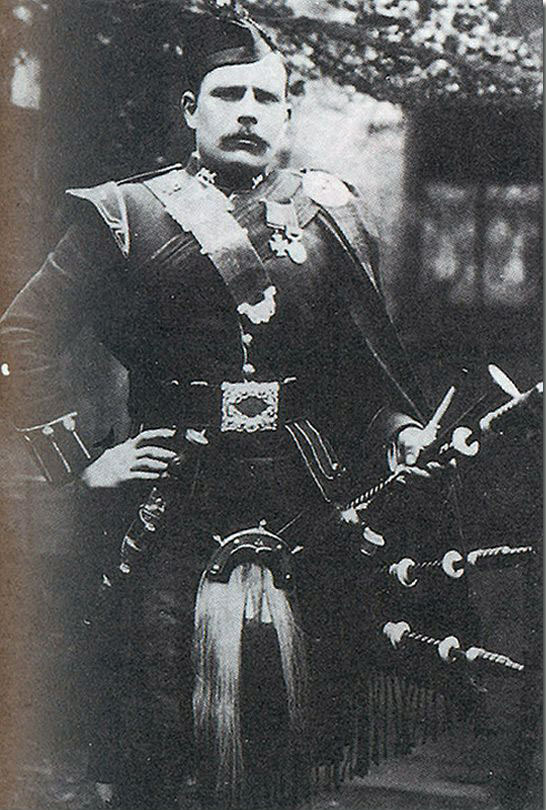
- Sir David Baird’s senior officers presented Baird with a sword to commemorate his role in the Storming of Seringapatam. The sword is displayed in the National Museum of Scotland.
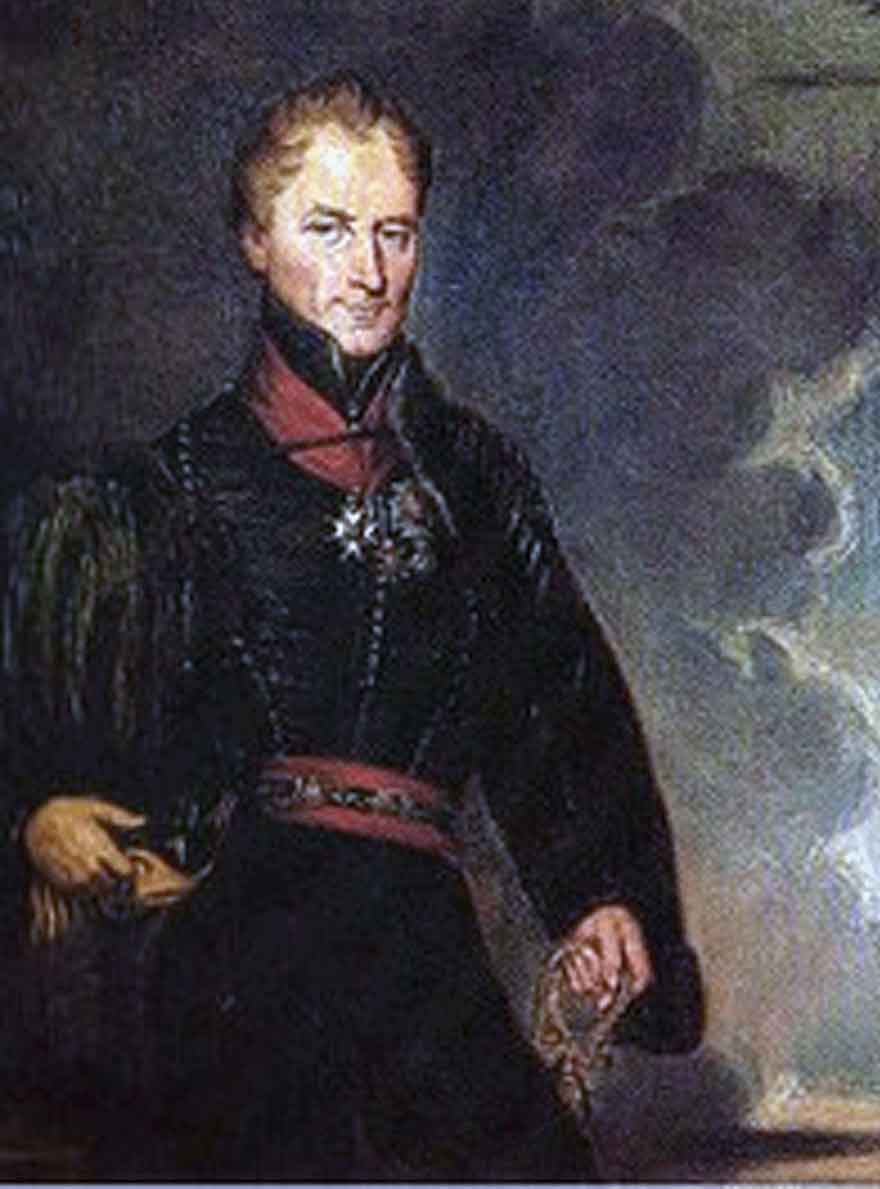
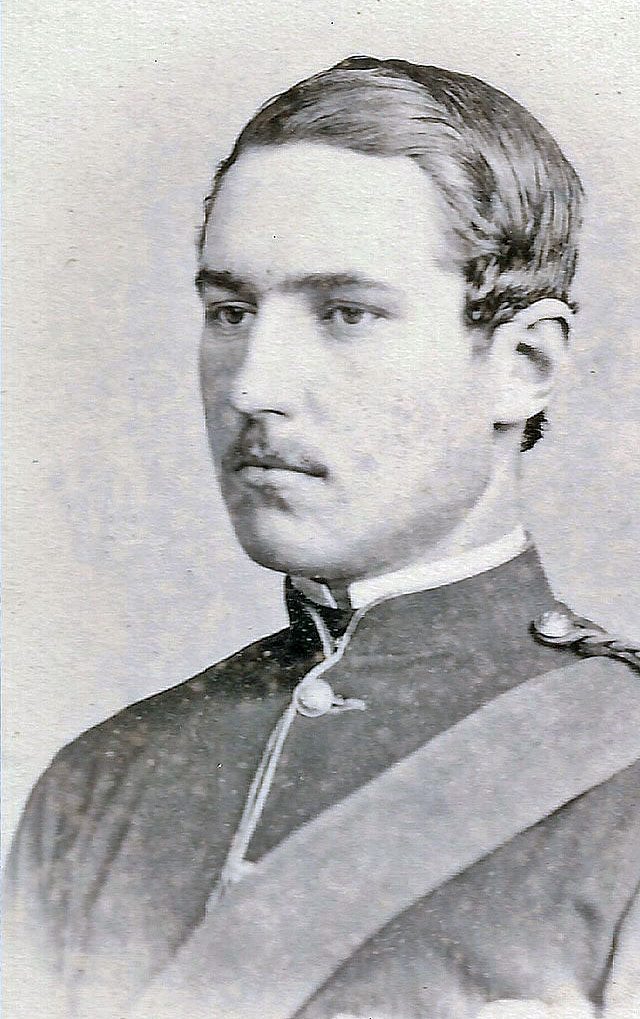
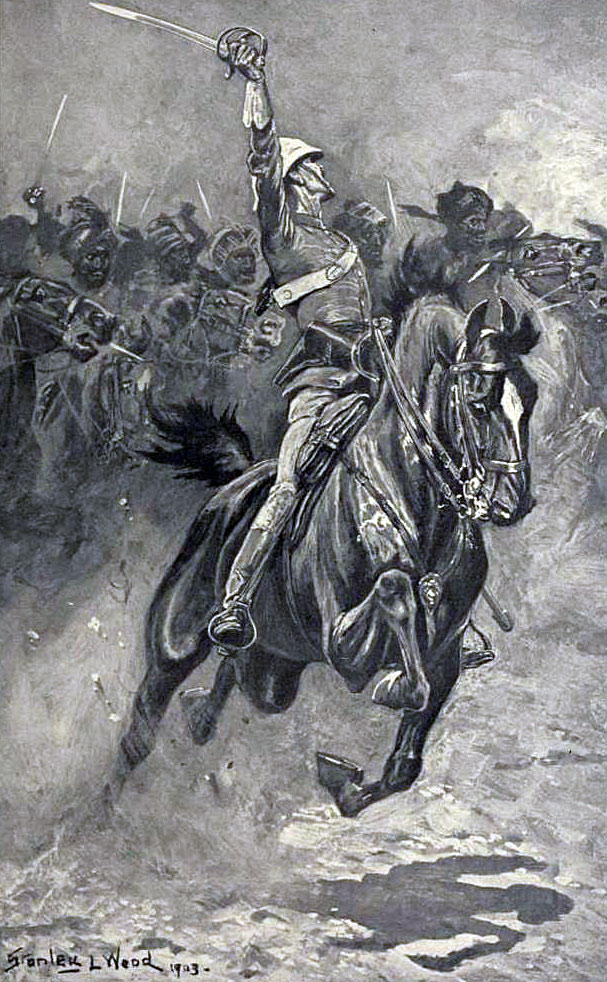
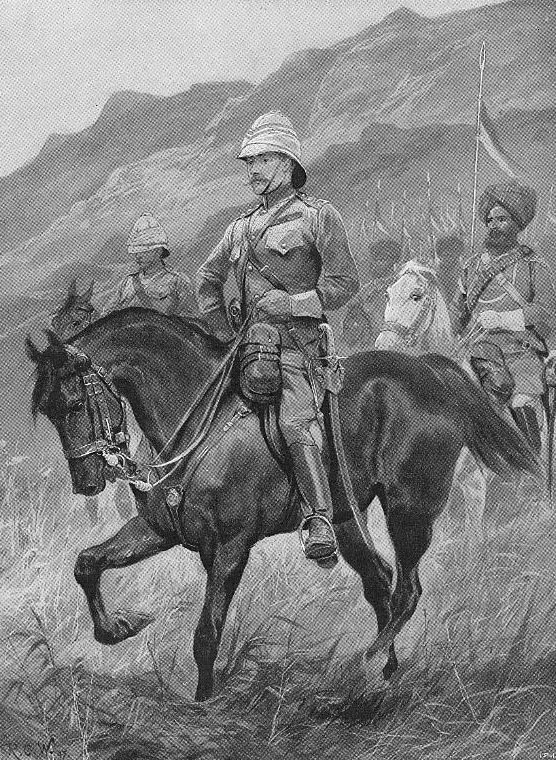
- Colonel Stapleton Cotton served under Wellesley (later the Duke of Wellington) in the Peninsular War in Spain, commanding the British and Portuguese Cavalry.
References for the Storming of Seringapatam:
History of the British Army by Fortescue Volume IV Part II
Seringapatam Past and Present by Colonel G.B. Malleson
The Last Siege of Seringapatam by Rev E.W. Thompson
Wellington: The Road to the Lion’s Mound 1769-1815 by Daniel Res

The previous battle in the British Battles Sequence is the Battle of Cape St Vincent
The next battle in the British Battles Sequence is the Battle of Assaye
To the Anglo-Mysore Wars index
32. Podcast on the Storming of Seringapatam: The capture on 4th May 1799 of Tipu Sultan’s palace fortress: A key battle in the conquest of South India by the British: John Mackenzie’s britishbattles.com podcasts