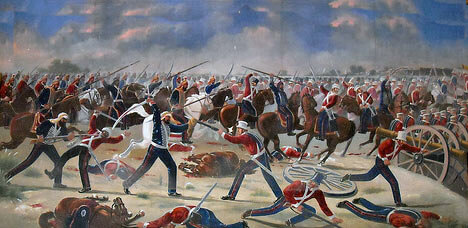
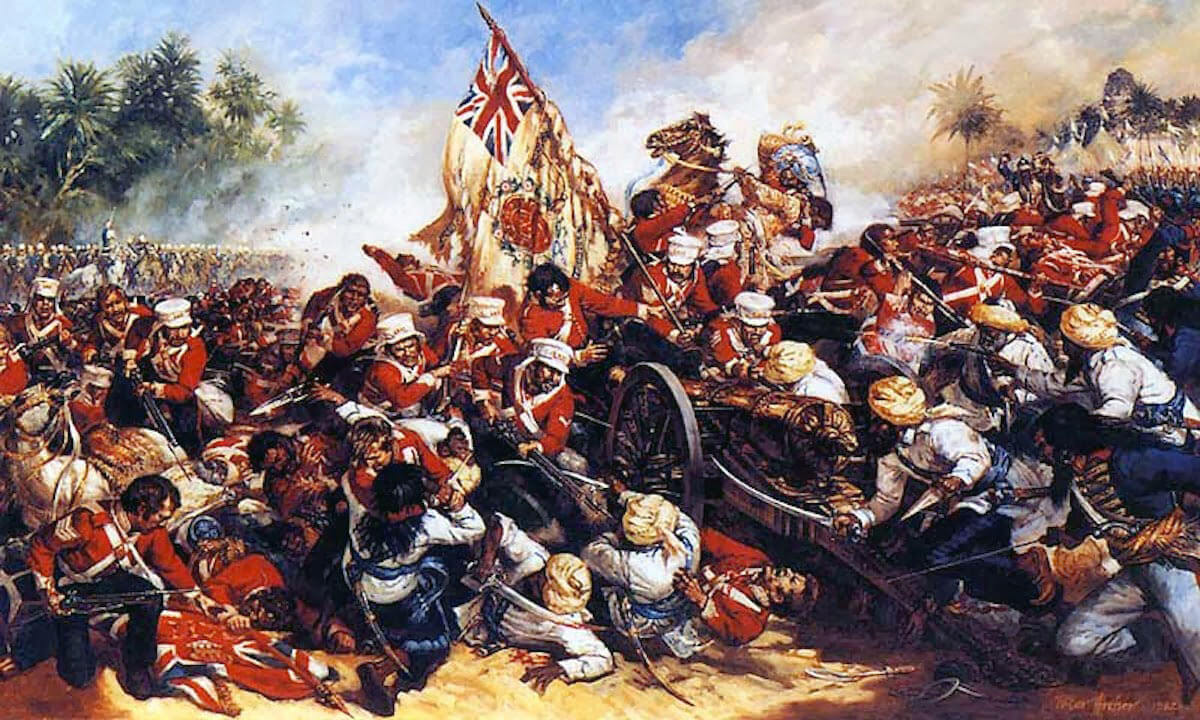
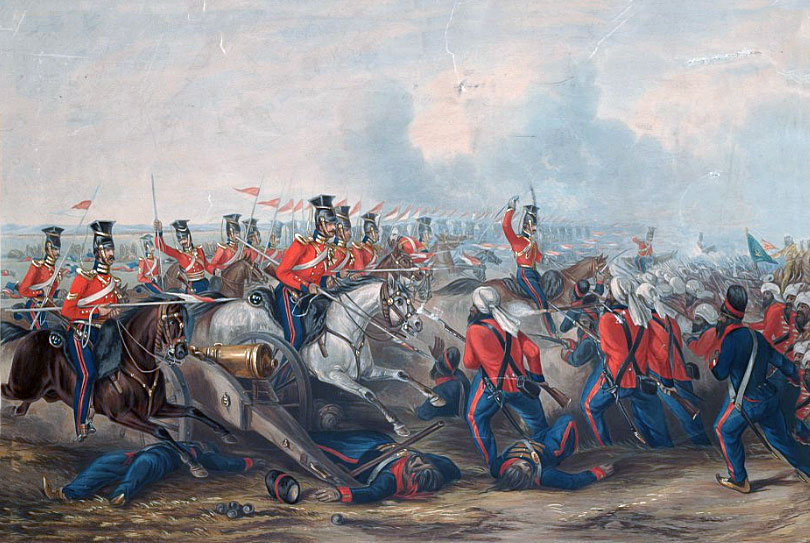
The opening battle of the Second Afghan War, fought on 21st November 1878 in the Khyber Pass
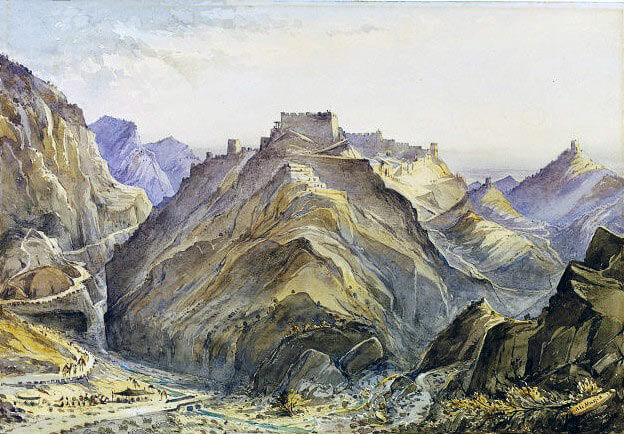
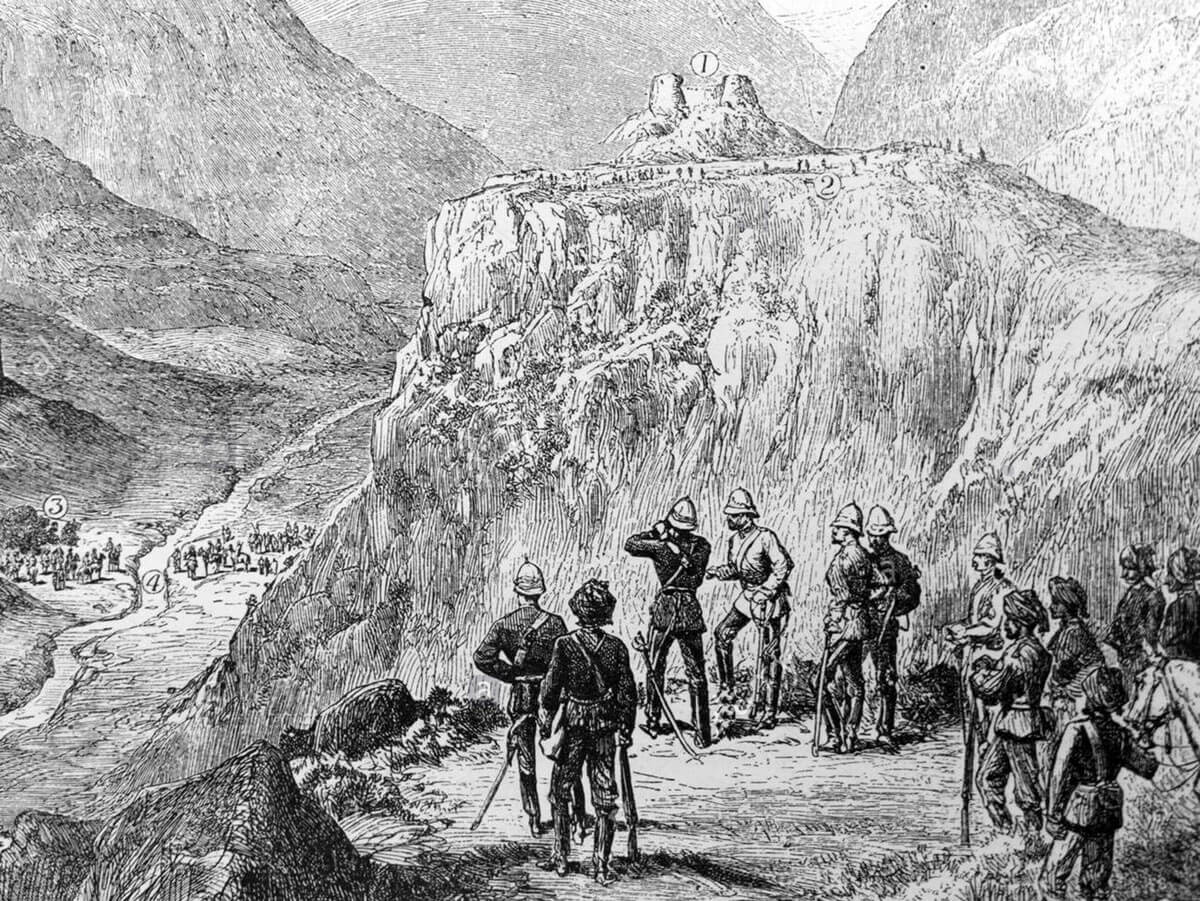
Afghan fort of Ali Masjid in the Khyber Pass: Battle of Ali Masjid on 21st November 1878 in the Second Afghan War
The previous battle in the British Battles sequence is the Battle of Magdala
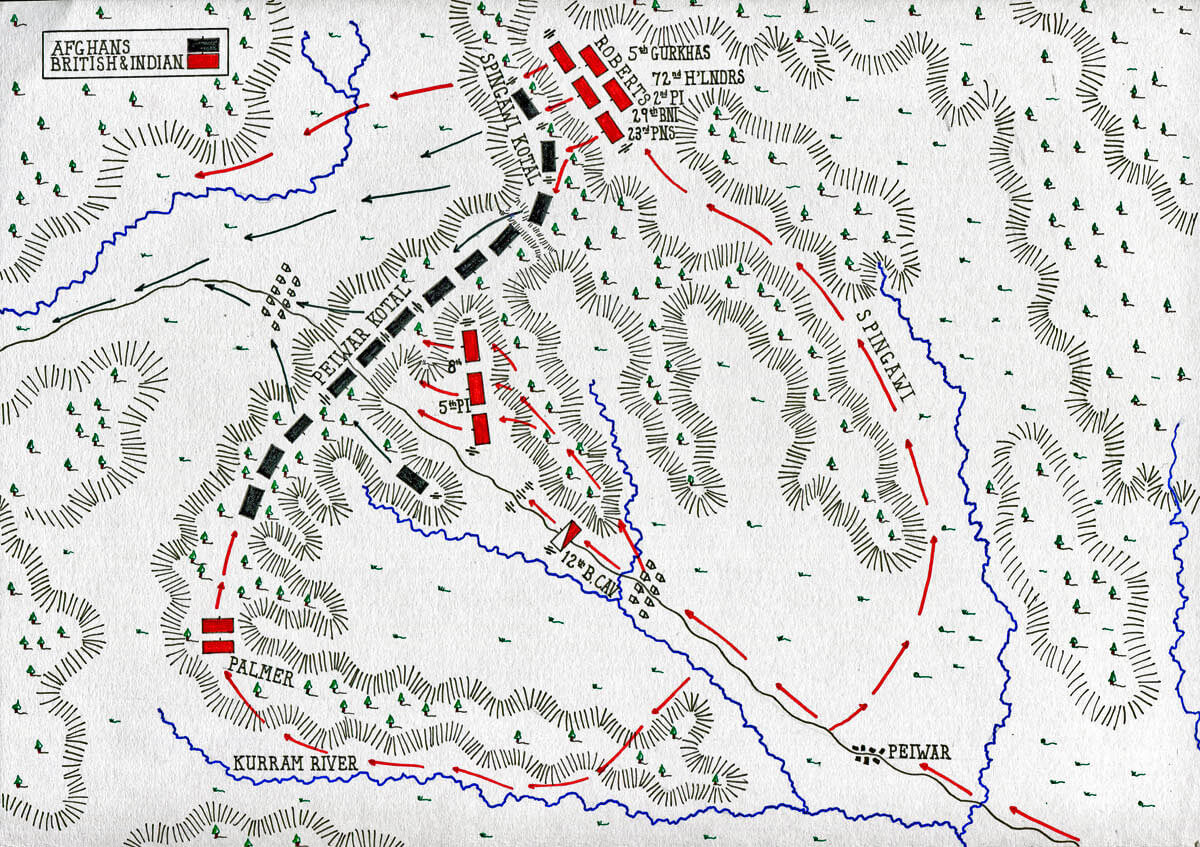
The next battle of the Second Afghan War is the Battle of Peiwar Kotal
To the Second Afghan War index
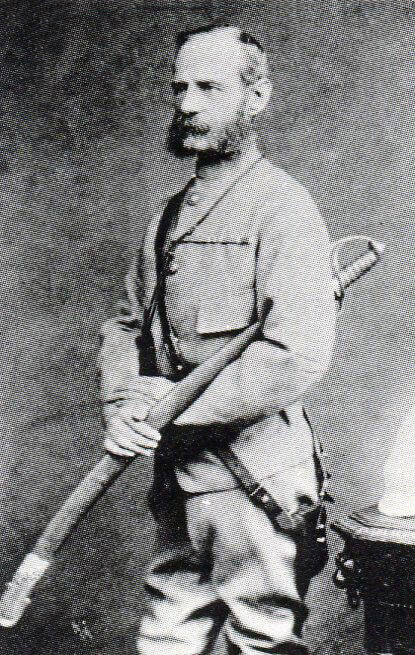
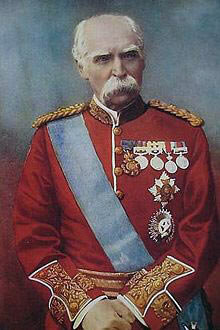
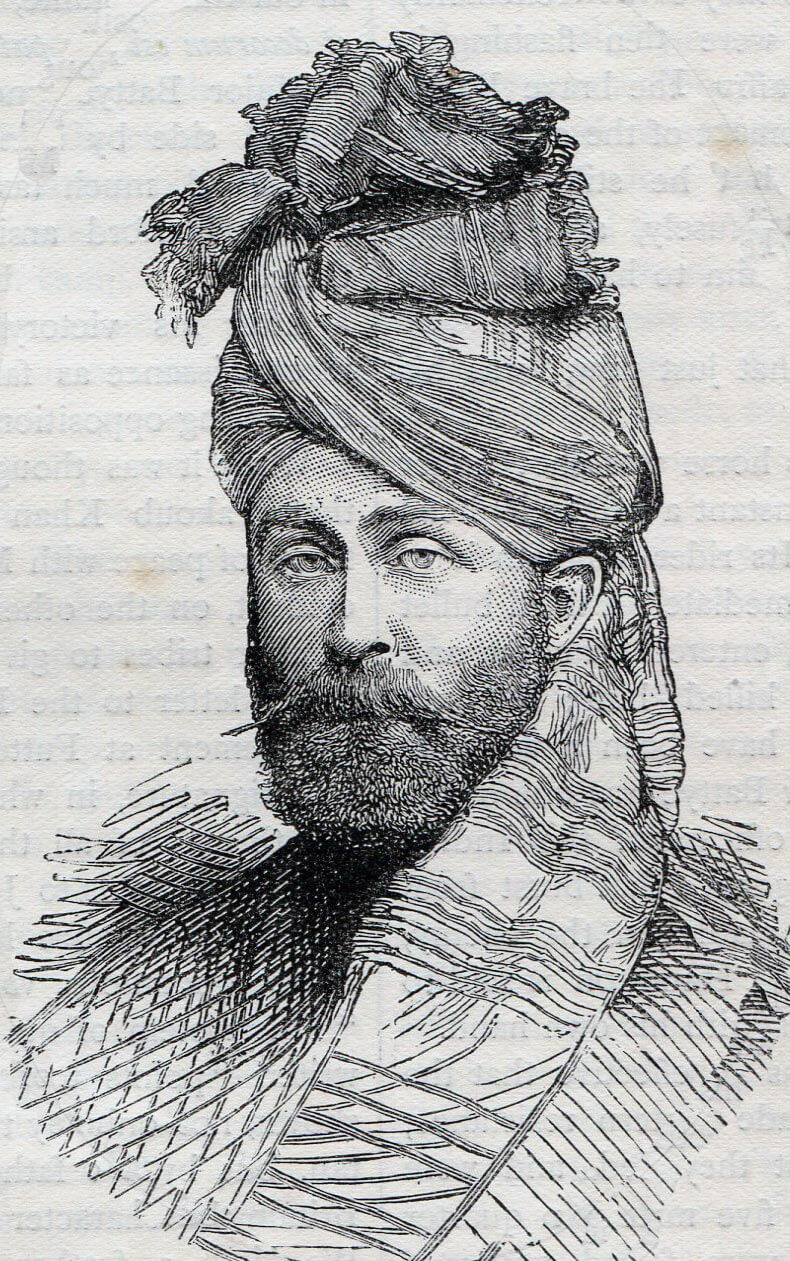
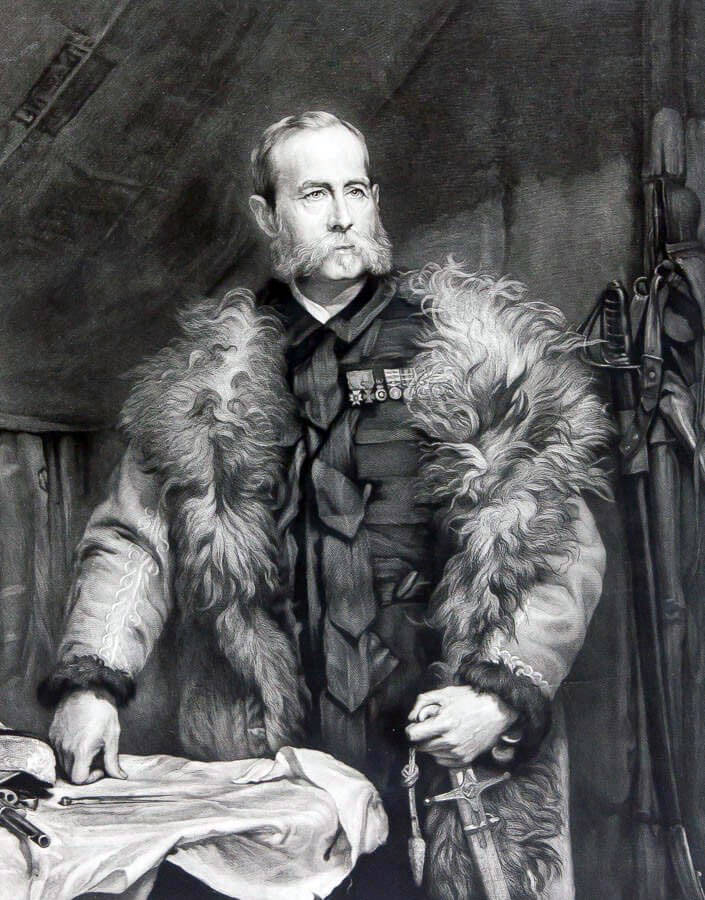
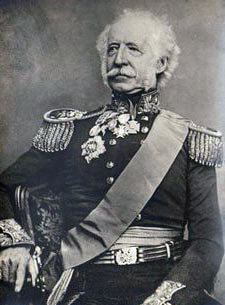
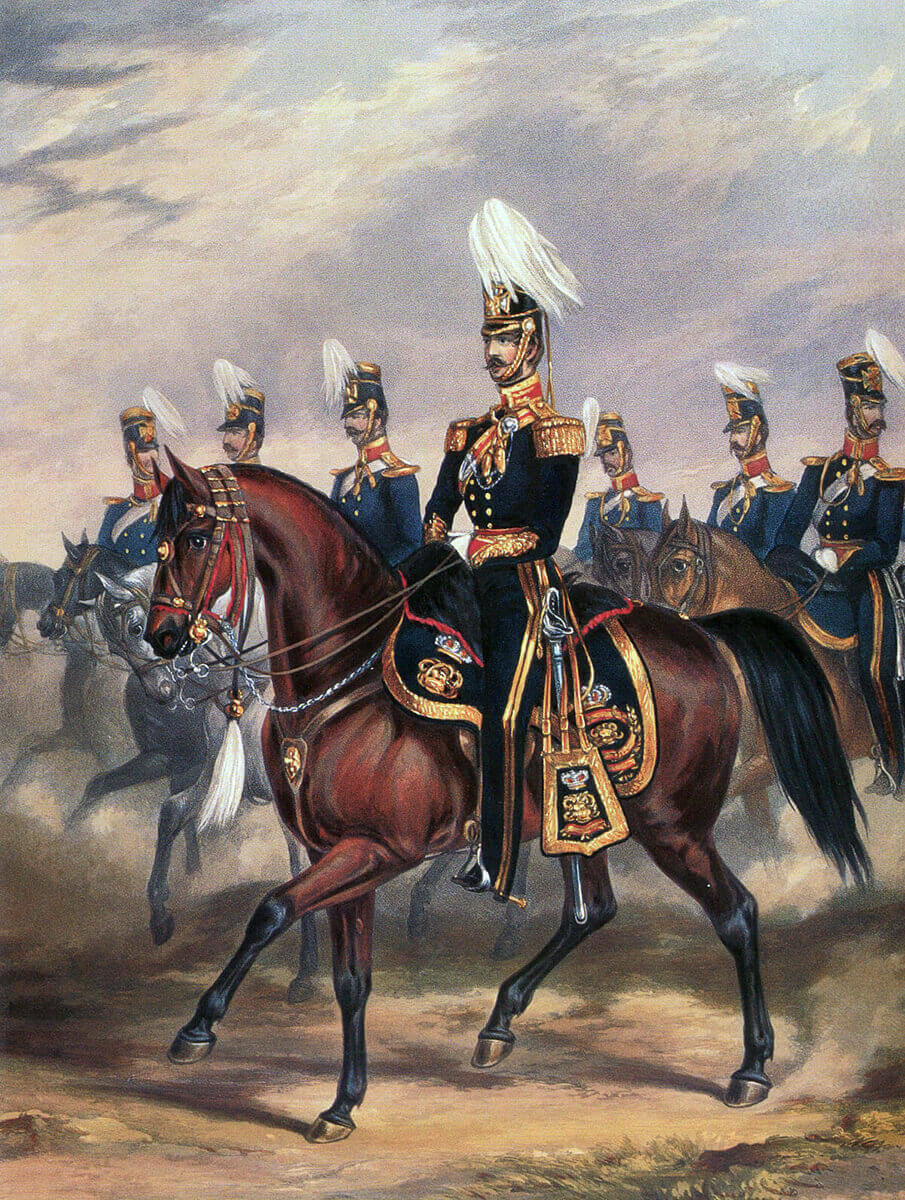
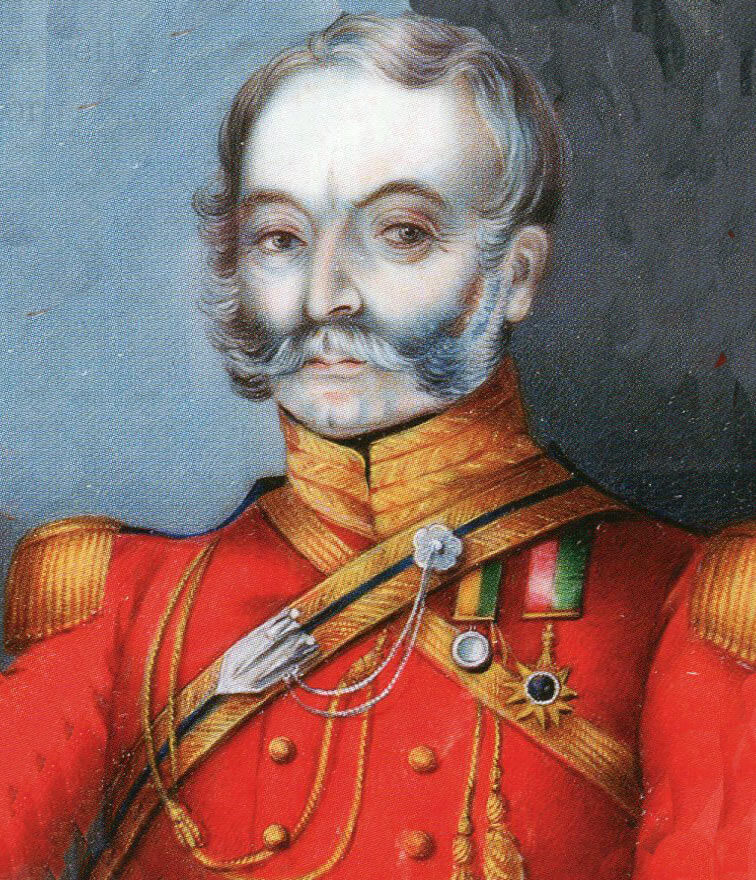
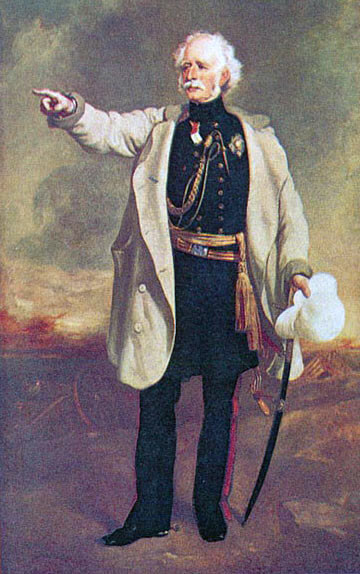
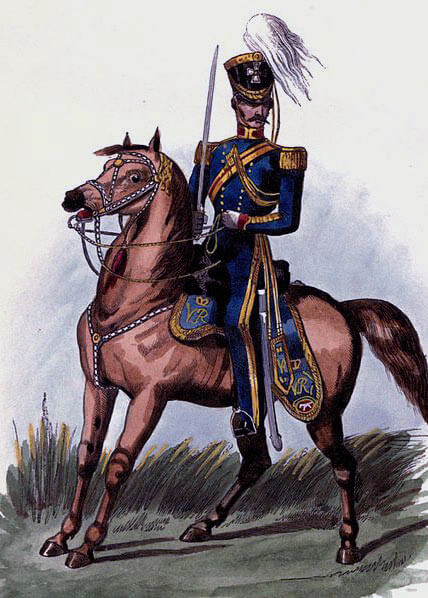
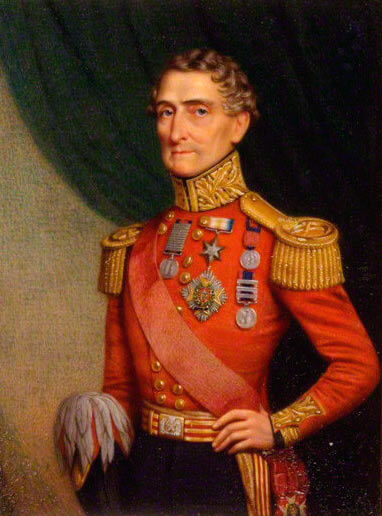
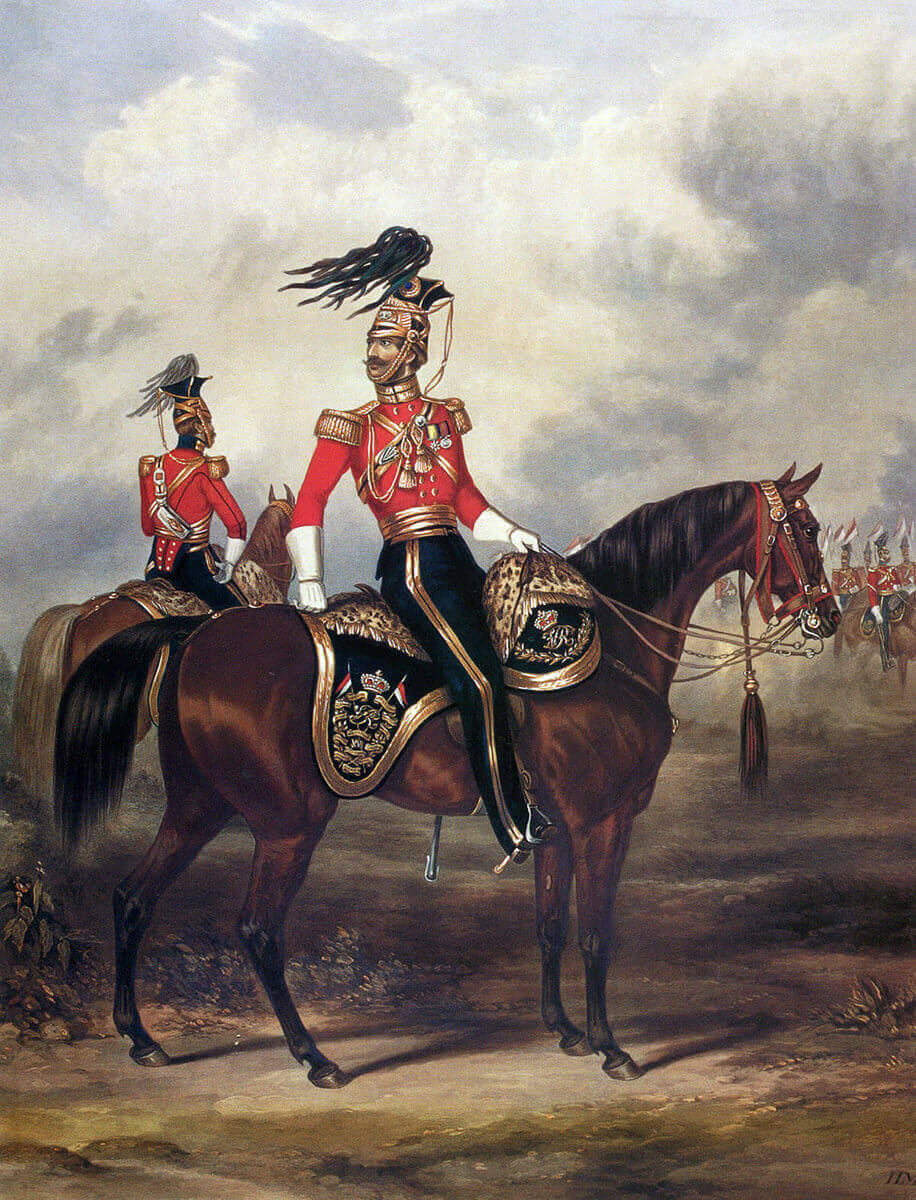
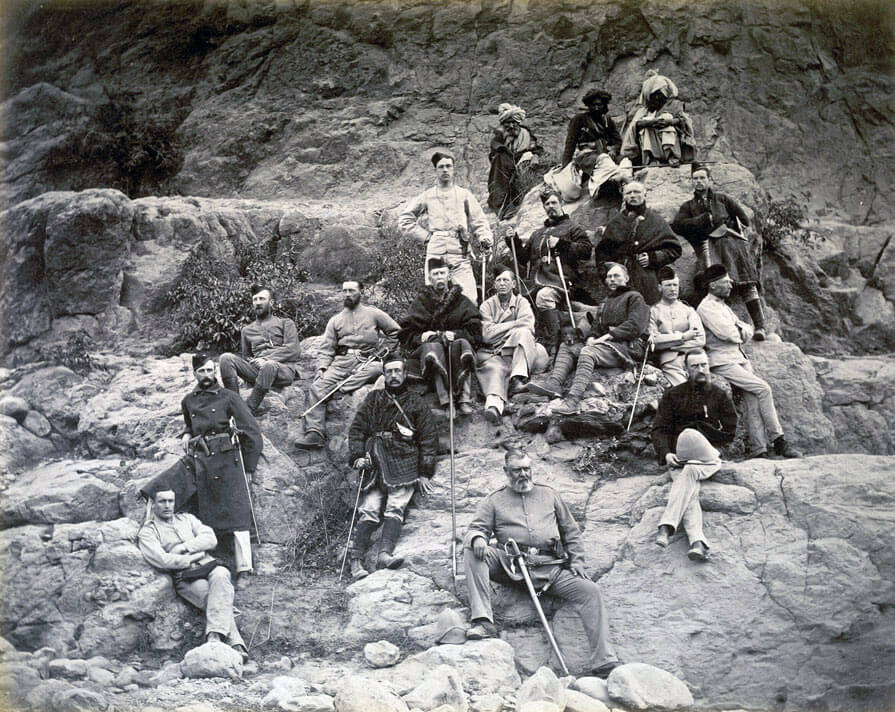
Lieutenant General Sir Sam Browne VC, British commander at the Battle of Ali Masjid on 21st November 1878 in the Second Afghan War
Battle: Ali Masjid
War: Second Afghan War.
Date of the Battle of Ali Masjid: 21st November 1878.
Place of the Battle of Ali Masjid: At the Afghan, western, end of the Khyber Pass on the border between Afghanistan and British India.
Combatants at the Battle of Ali Masjid: British and Indian troops against the Afghan army and tribesmen.
Generals at the Battle of Ali Masjid: Lieutenant General Sir Sam Browne VC against Gholam Hyder Khan.
Size of the armies at the Battle of Ali Masjid: 12,000 British and Indian troops against 3,700 Afghan troops and an unknown number of Afghan tribesmen.
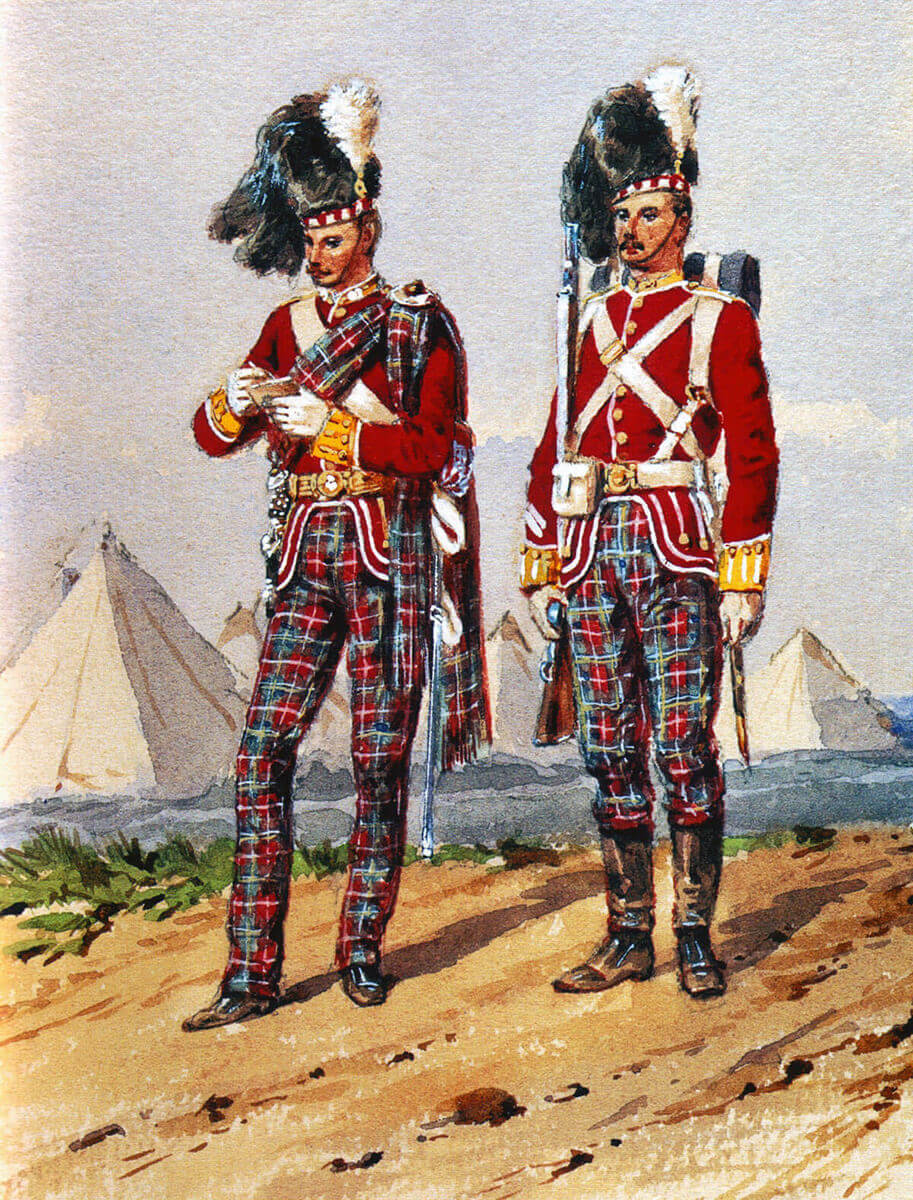
Uniforms, arms and equipment at the Battle of Ali Masjid:
The British and Indian forces were made up, predominantly, of native Indian regiments from the armies of the three British presidencies, Bengal, Bombay and Madras, with smaller regional forces, such as the Hyderabad contingent, and the newest, the powerful Punjab Frontier Force.
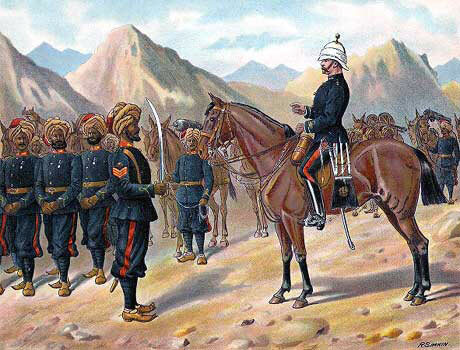
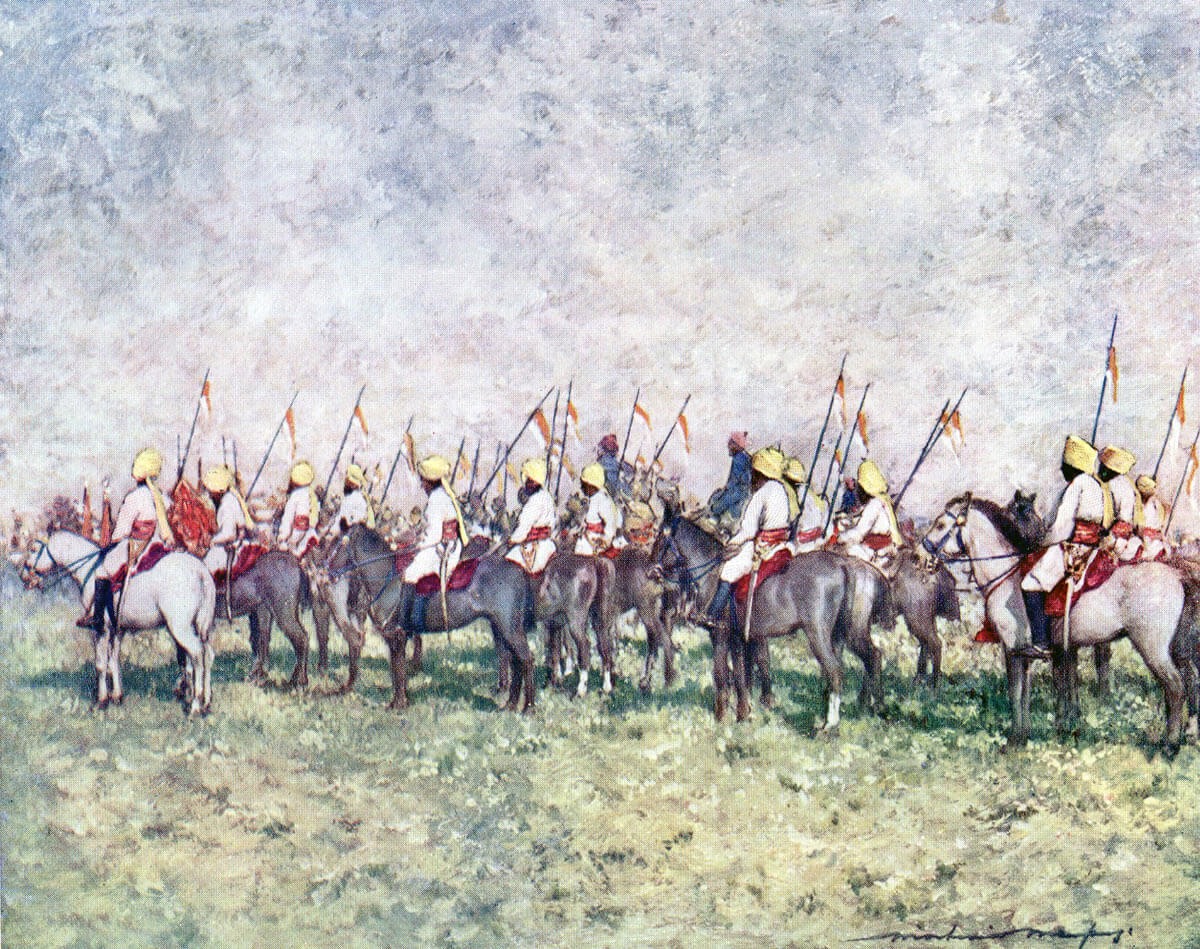
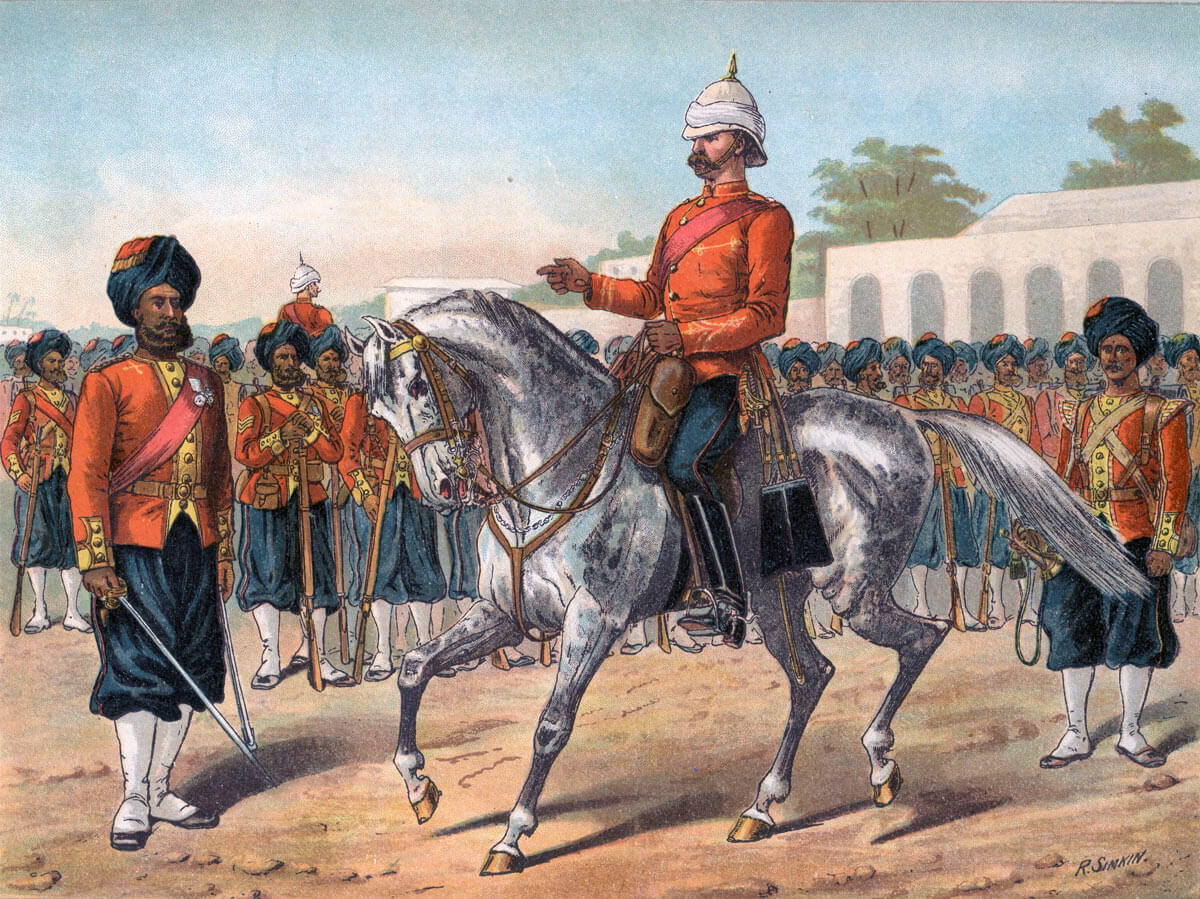
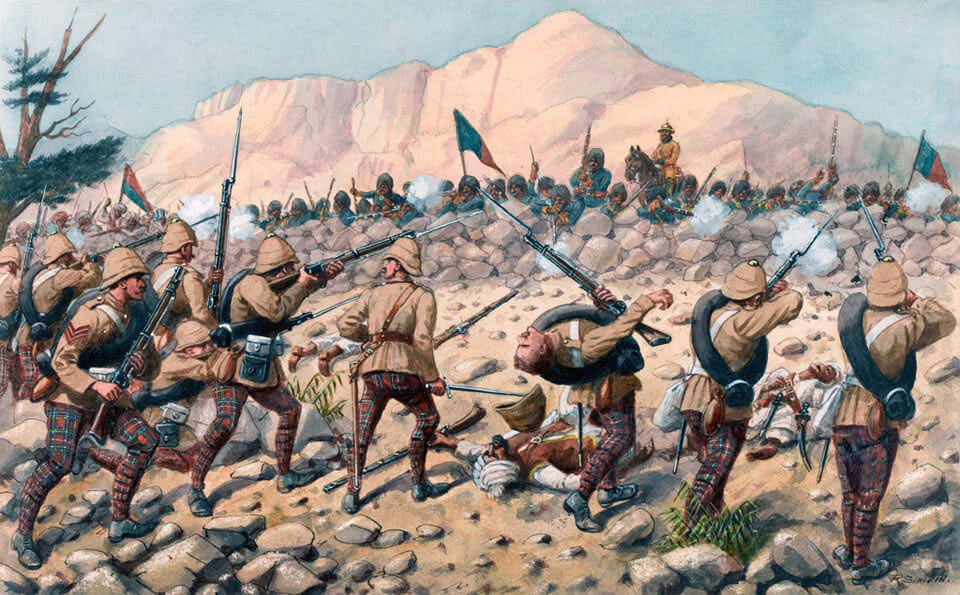
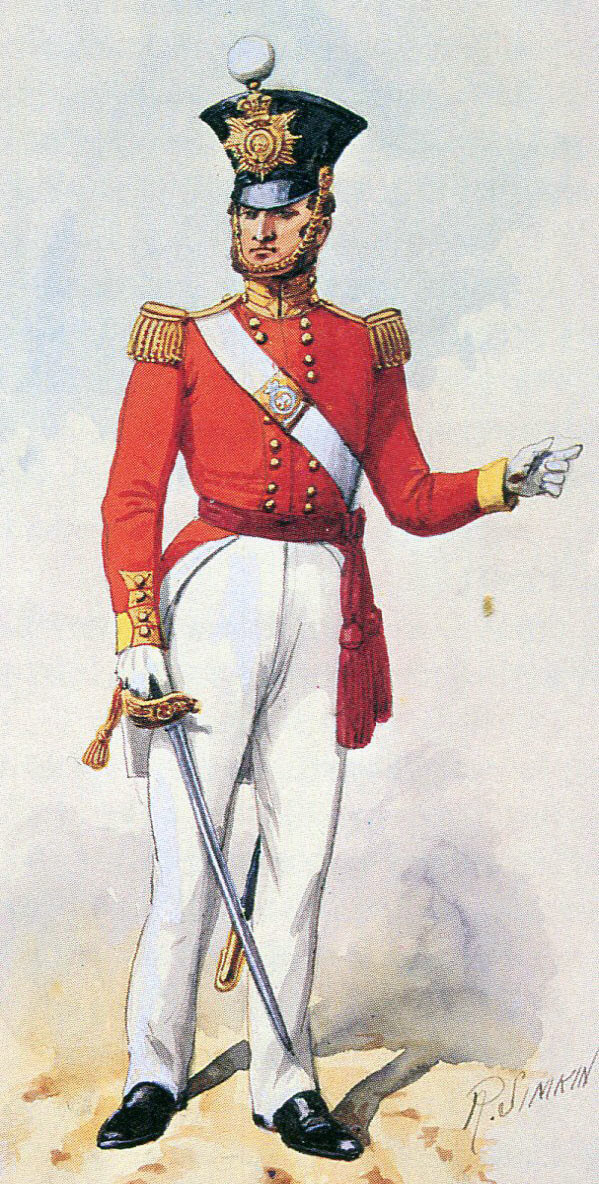
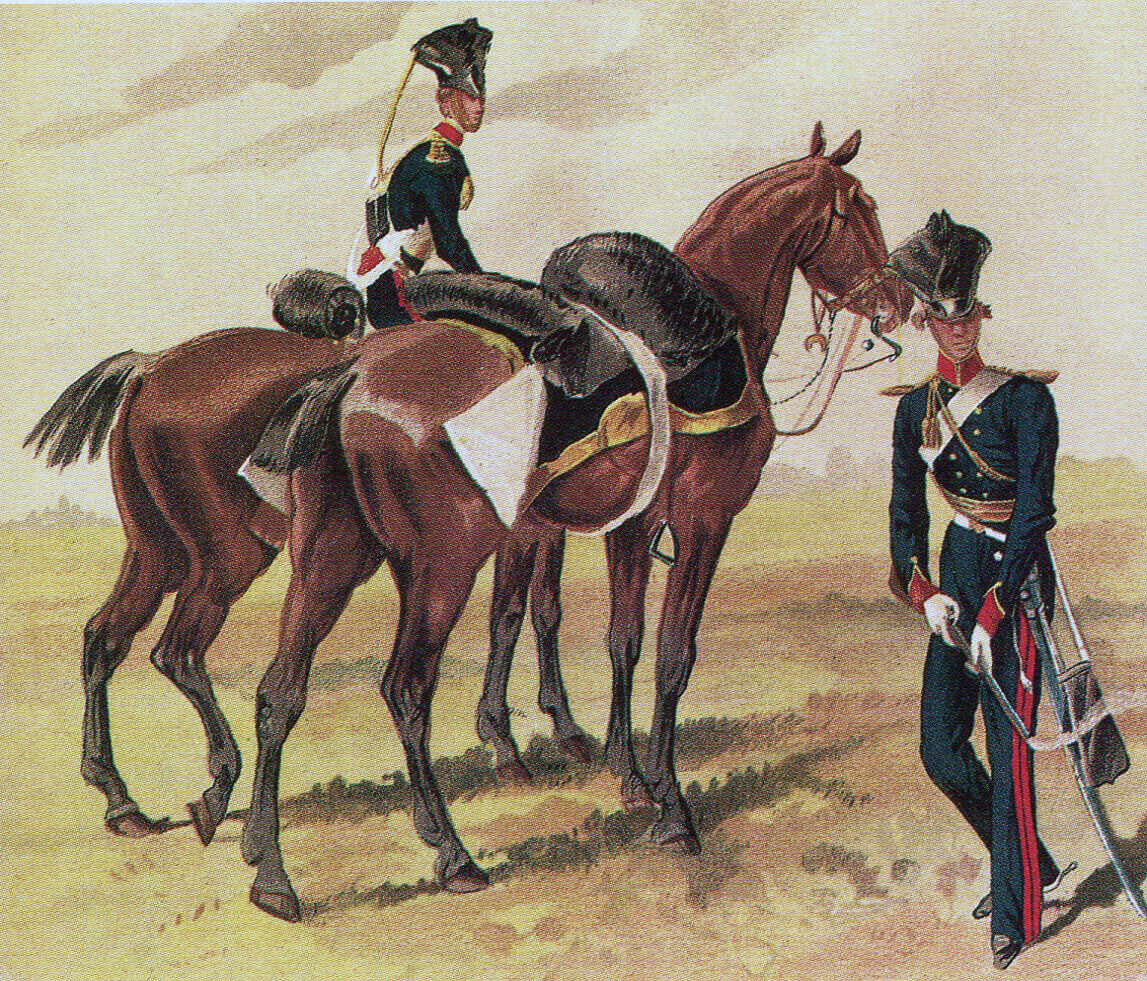
Punjab Mountain Battery: Battle of Ali Masjid on 21st November 1878 in the Second Afghan War: picture by Richard Simkin
The Mutiny of 1857 had brought great change to the Indian Army. Prior to the Mutiny, the old regiments of the presidencies were recruited from the higher caste Brahmins, Hindus and Muslims of the provinces of central and eastern India, principally Oudh. Sixty of the ninety infantry regiments of the Bengal Army mutinied in 1857 and many more were disbanded, leaving few to survive in their pre-1857 form. A similar proportion of Bengal Cavalry regiments disappeared.
The British Army overcame the mutineers with the assistance of the few loyal regiments of the Bengal Army and the regiments of the Bombay and Madras Presidencies, which on the whole did not mutiny. But principally, the British turned to the Gurkhas, Sikhs, Muslims of the Punjab and Baluchistan and the Pathans of the North West Frontier for the new regiments with which Delhi was recaptured and the Mutiny suppressed.
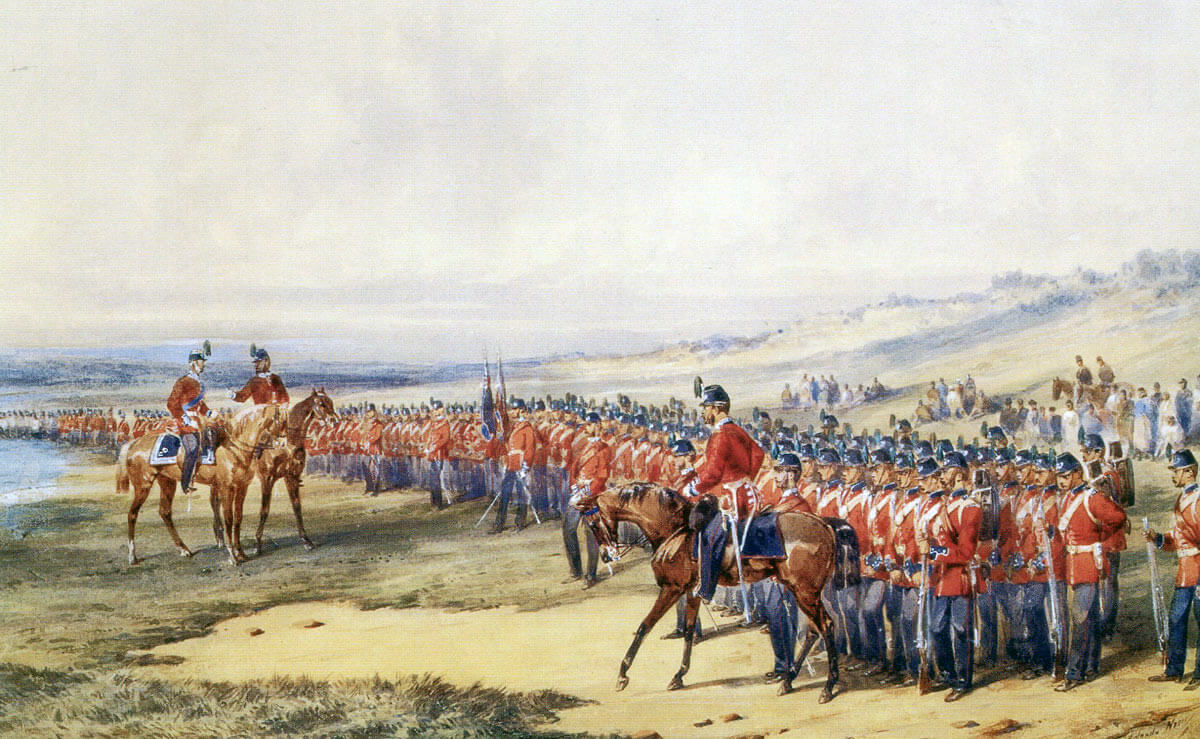
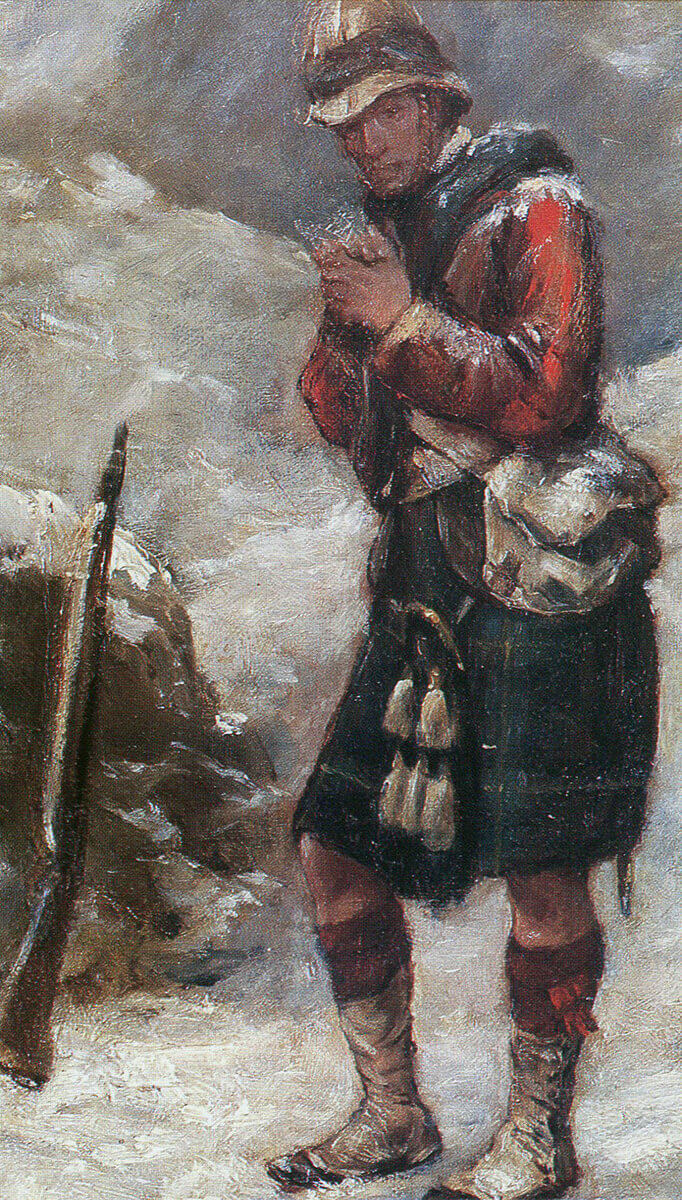
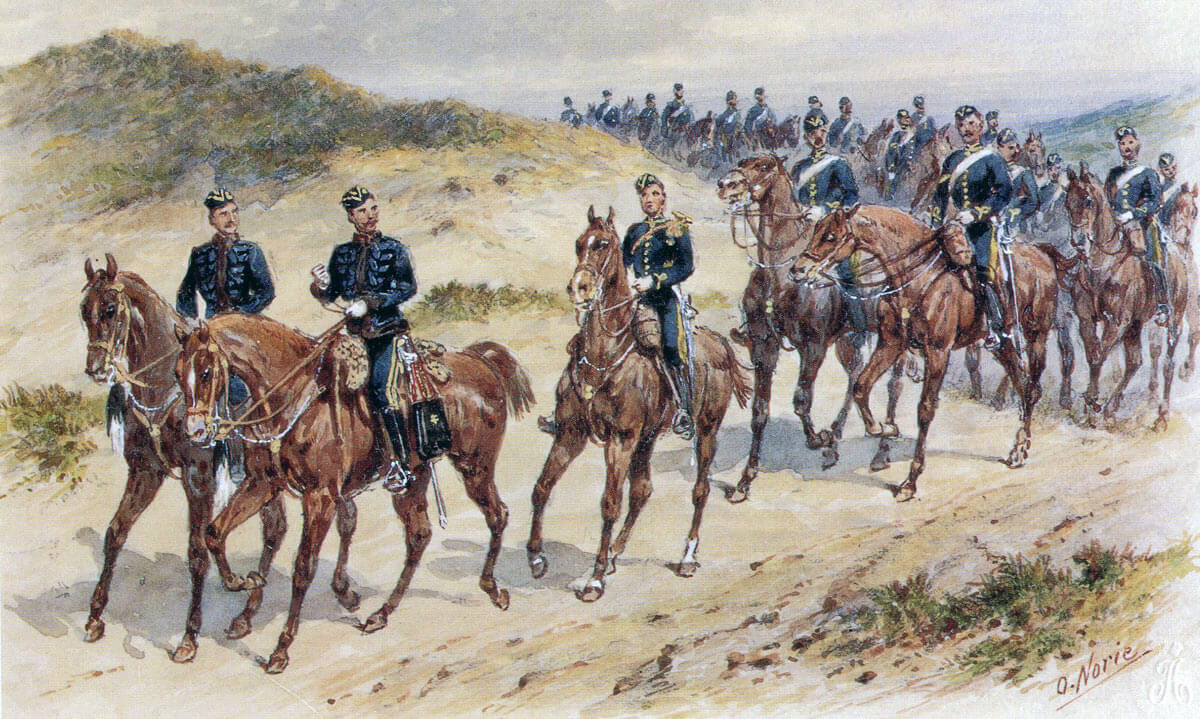
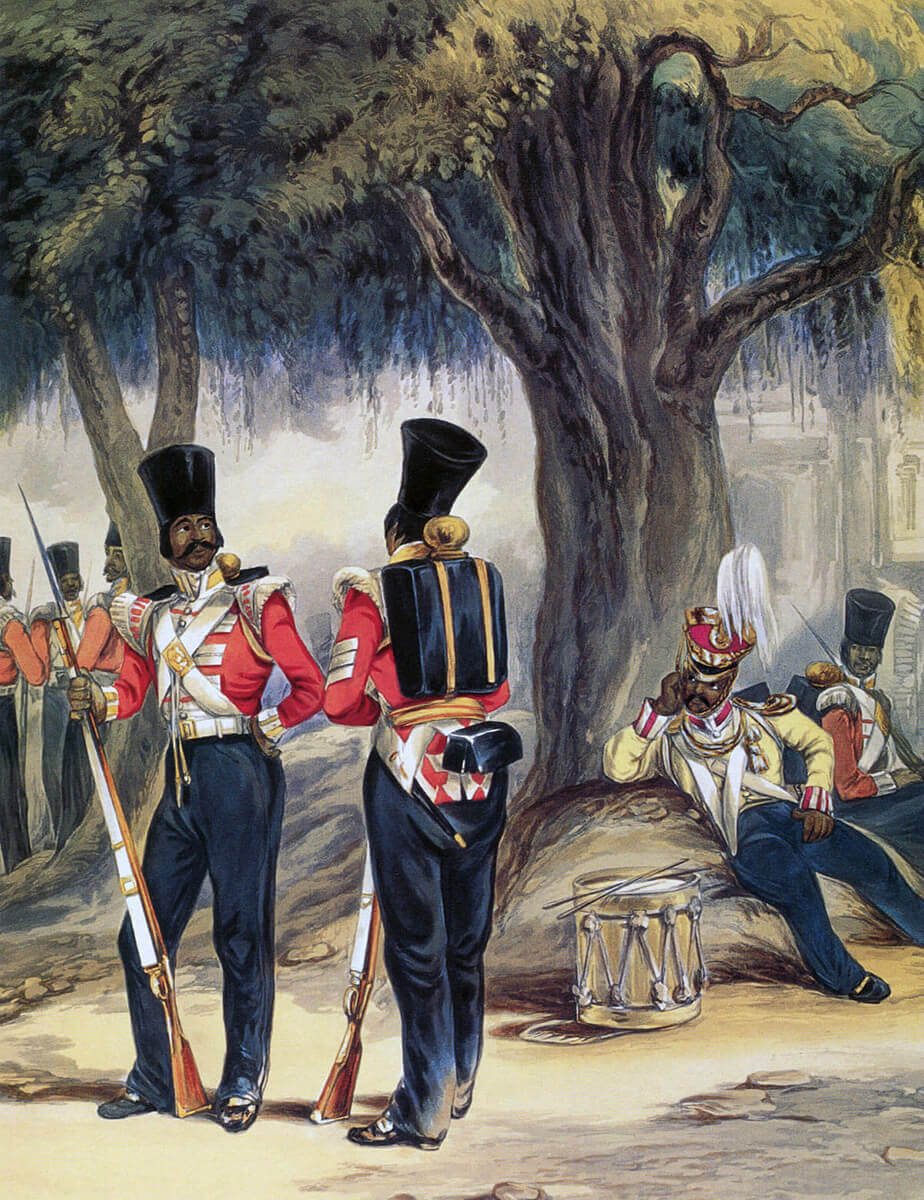
51st King’s Own Yorkshire Light Infantry in England, before leaving for India: Battle of Ali Masjid on 21st November 1878 in the Second Afghan War: picture by Orlando Norie
After the Mutiny, the British developed the concept of ‘the Martial Races of India’. Certain Indian races were more suitable to serve as soldiers, went the argument, and those were, coincidentally, the races that had saved India for Britain. The Indian regiments that invaded Afghanistan in 1878, although mostly from the Bengal Army, were predominantly recruited from the martial races; Jats, Sikhs, Muslim and Hindu Punjabis, Pathans, Baluchis and Gurkhas.
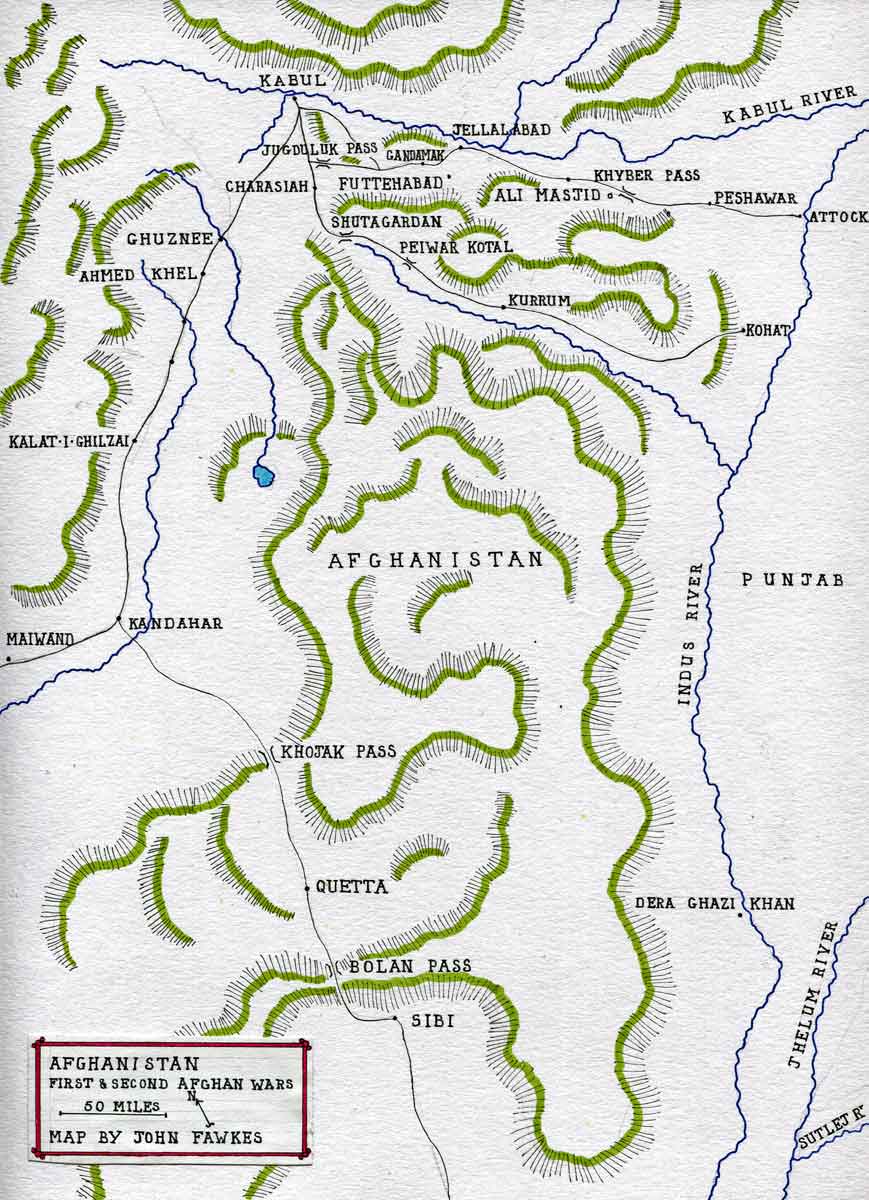
Map of Afghanistan by John Fawkes
Prior to the Mutiny, each Presidency army had a full quota of field and horse artillery batteries. The only Indian artillery units allowed to exist after the Mutiny were the mountain batteries. All the horse, field and siege batteries were, from 1859, found by the British Royal Artillery.
In 1878, the regiments were beginning to adopt khaki for field operations. The technique for dying uniforms varied widely, producing a range of shades of khaki, from bottle green to a light brown drab.
As regulation uniforms were unsatisfactory for field conditions in Afghanistan, the officers in most regiments improvised more serviceable forms of clothing.
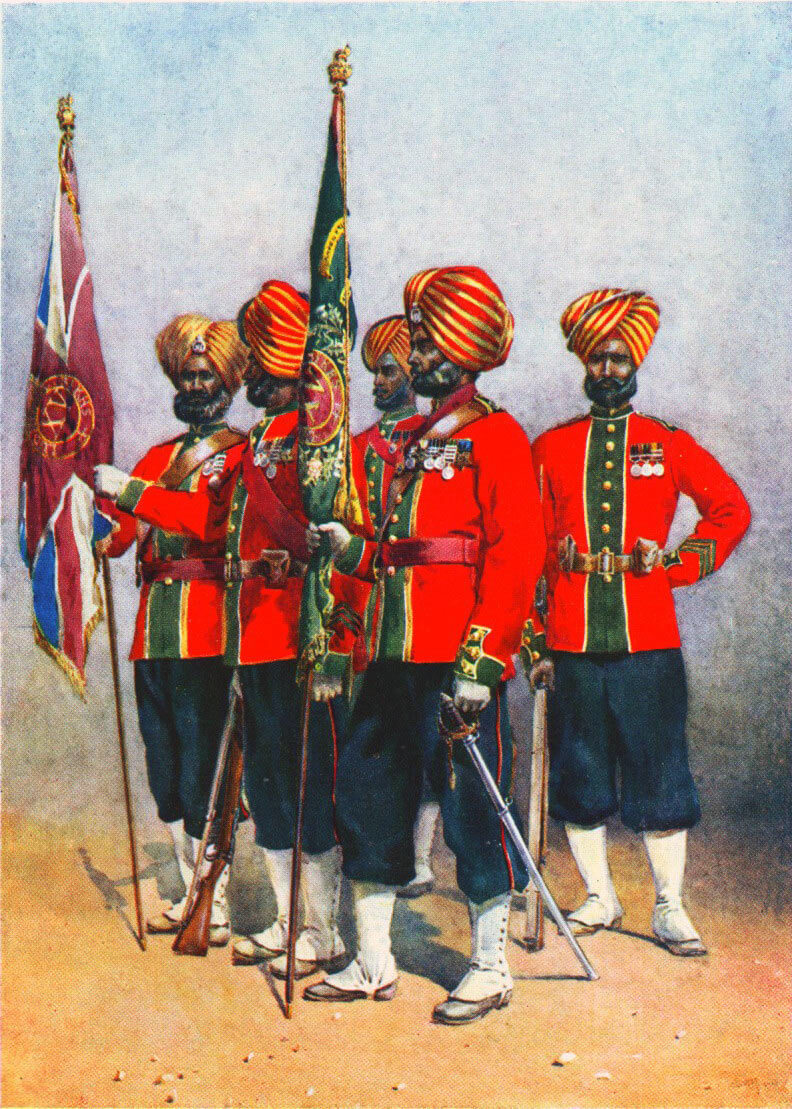
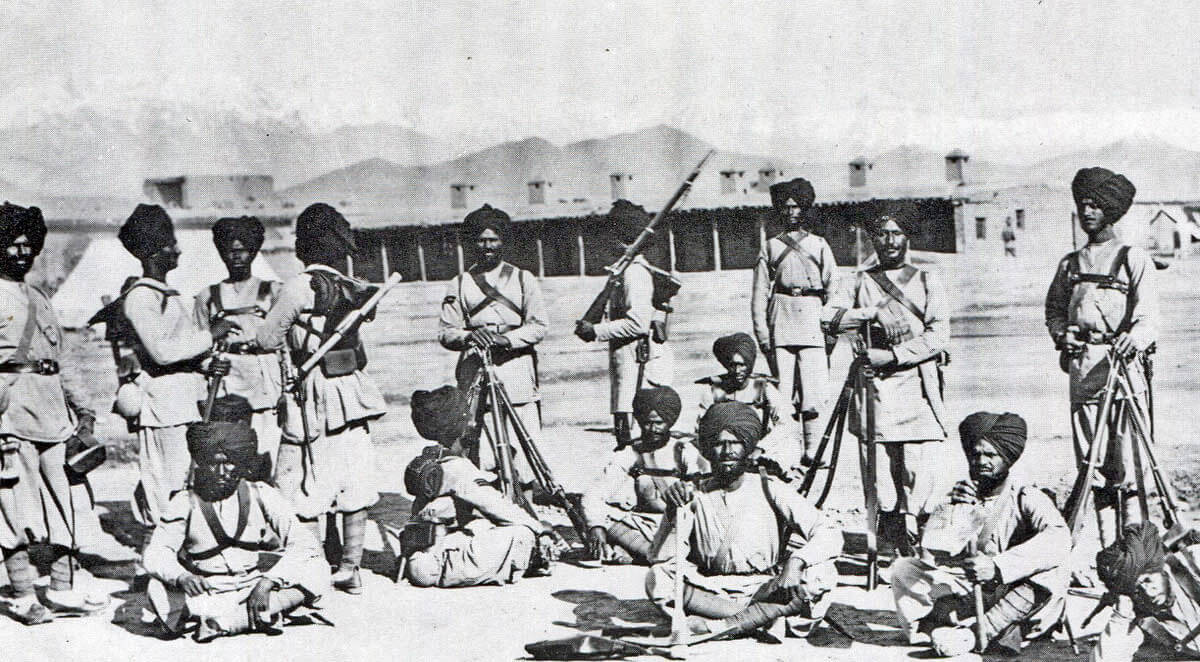
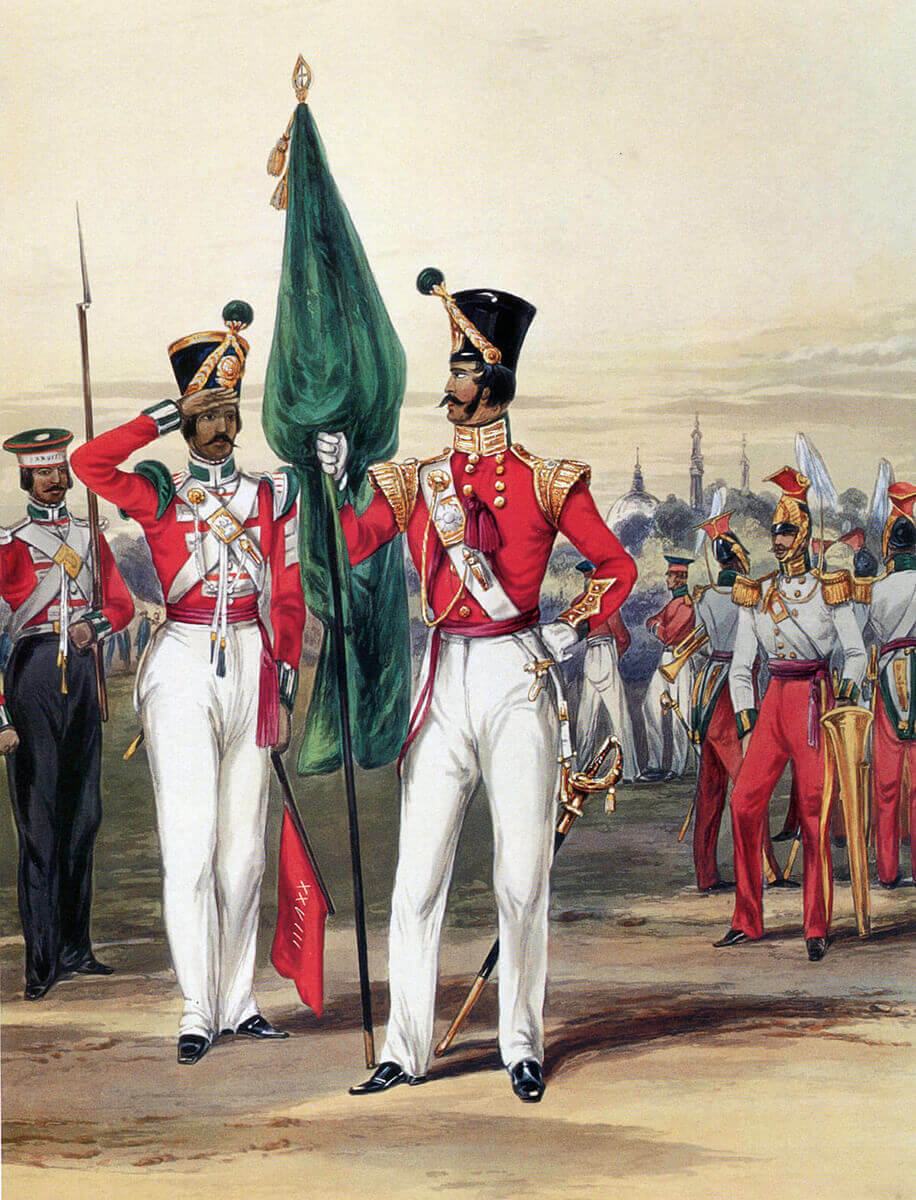
45th Rattray’s Sikhs: Battle of Ali Masjid on 21st November 1878 in the Second Afghan War
Every Indian regiment was commanded by British officers, in a proportion of some 7 officers to 650 soldiers, in the infantry. This was an insufficient number for units in which all tactical decisions of significance were taken by the British and was particularly inadequate for less experienced units.
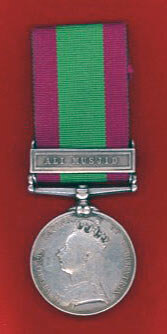
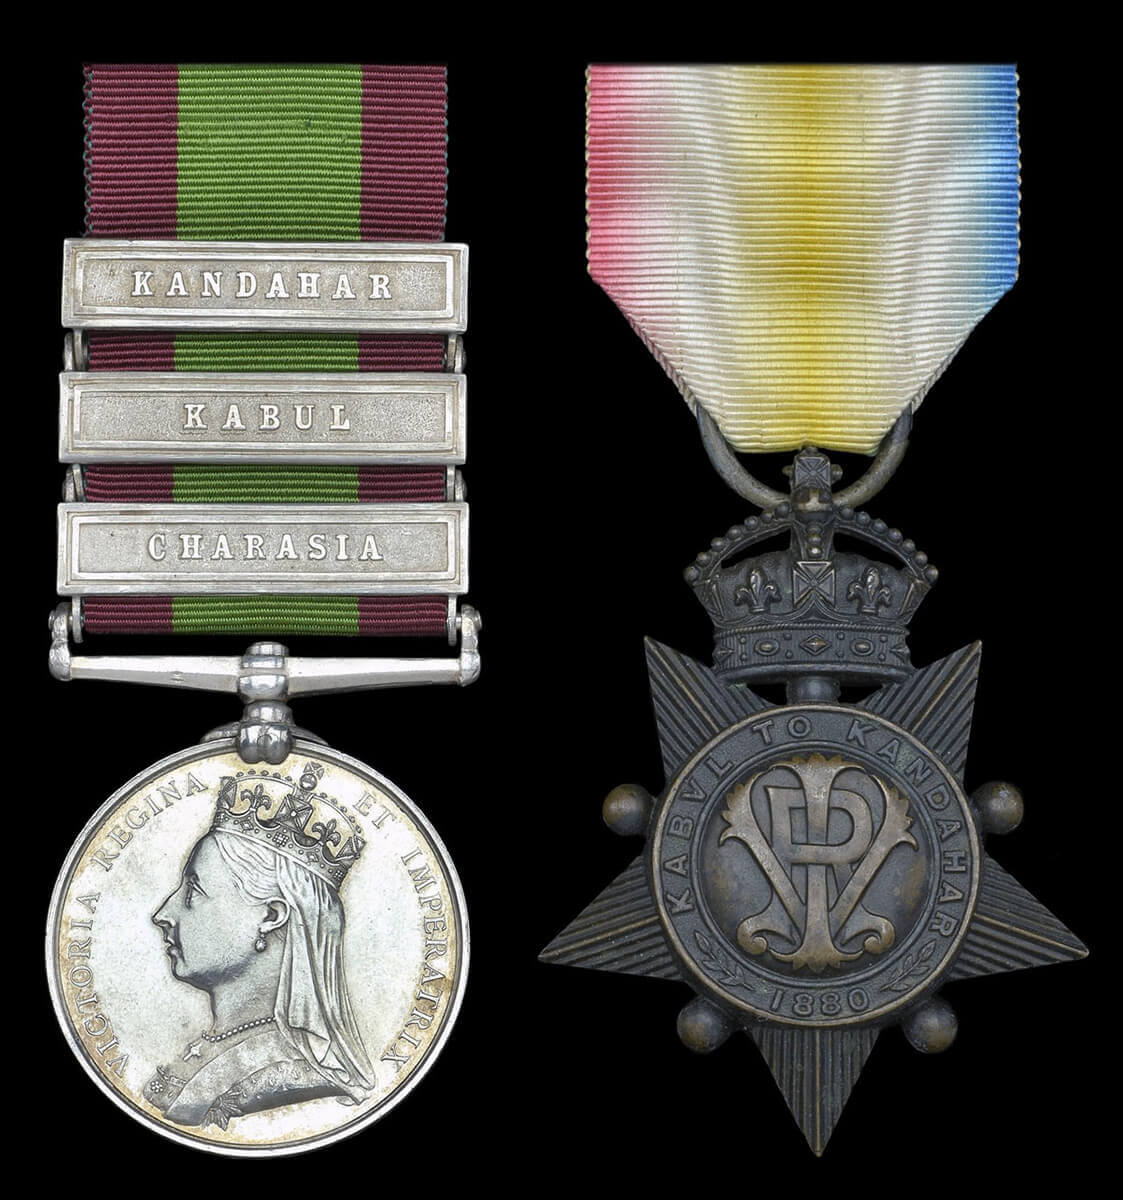
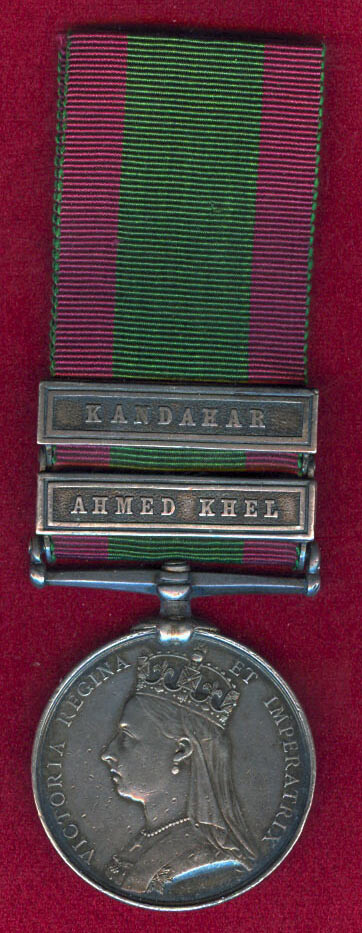
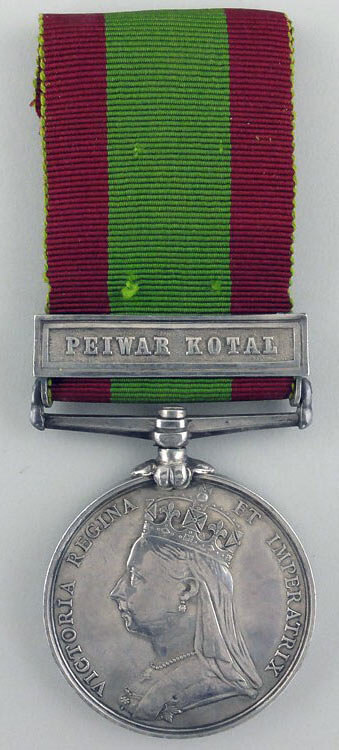
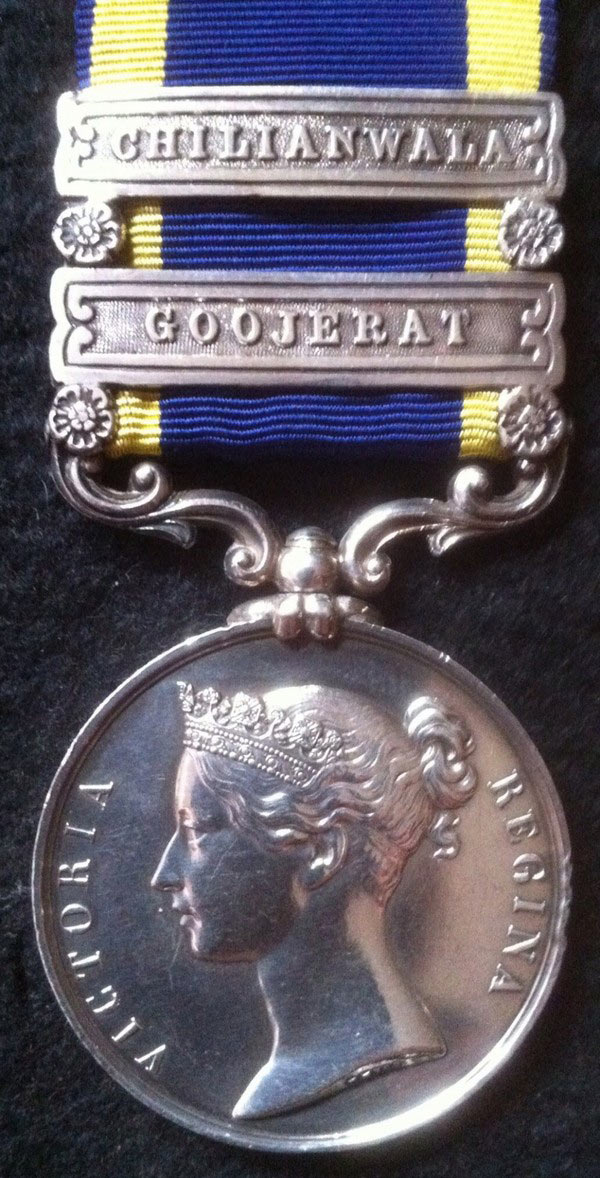
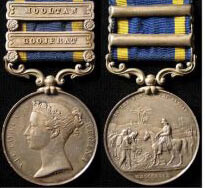
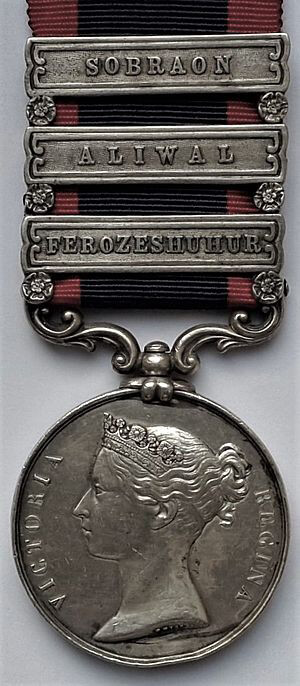
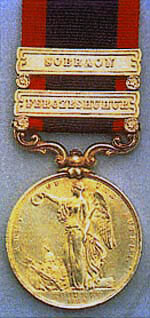
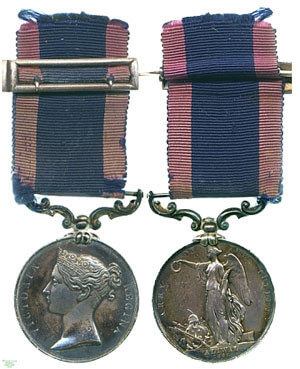
Second Afghan War medal with the clasp ‘Ali Masjid’, fought on 21st November 1878
The British infantry carried the single shot, breech loading, .45 Martini-Henry rifle. The Indian regiments still used the Snider; also a breech loading single shot rifle, but of older pattern and a conversion of the obsolete muzzle loading Enfield weapon.
The cavalry were armed with sword, lance and carbine, Martini-Henry for the British troopers, Snider for the Indian sowars.
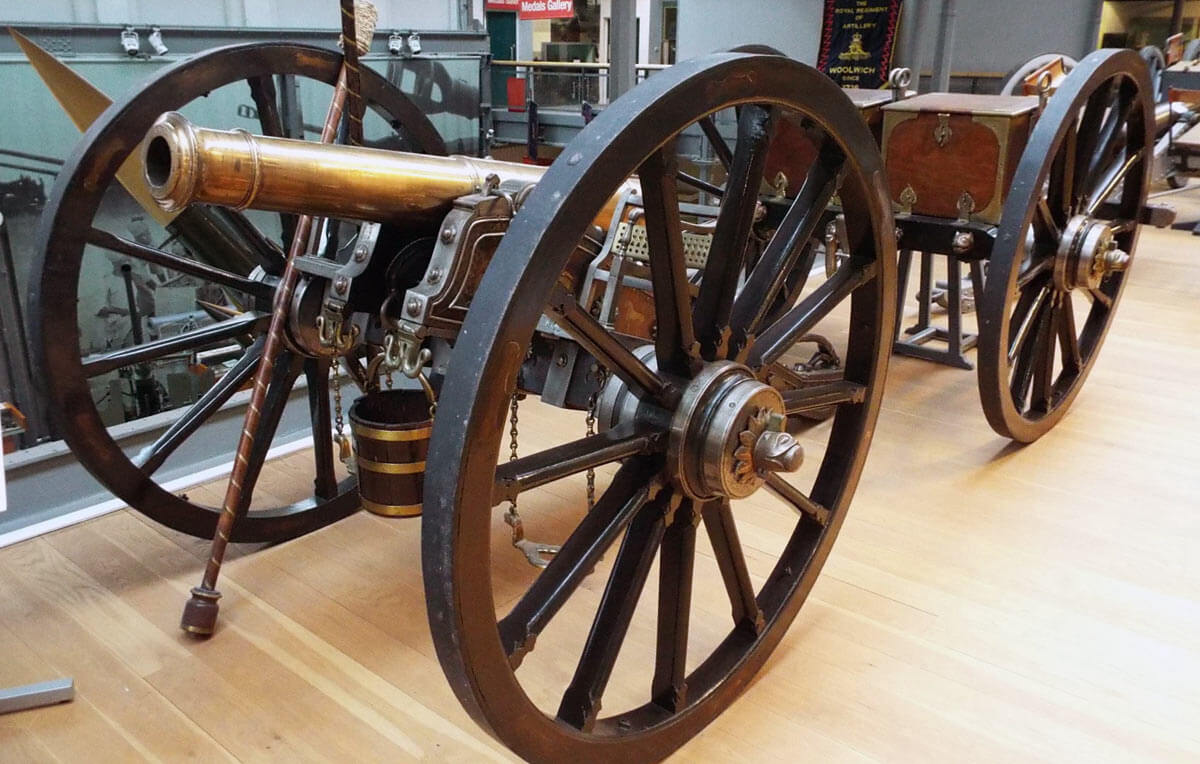
The British artillery, using a variety of guns, many smooth bored muzzle loaders, was not as effective as it could have been, if the authorities had equipped it with the breech loading steel guns being produced for European armies. Artillery support was frequently ineffective and on occasions the Afghan artillery proved to be better equipped than the British.
The army in India possessed no higher formations above the regiment in times of peace, other than the staffs of static garrisons. There was no operational training for staff officers. On the outbreak of war, brigade and divisional staffs had to be formed and learn by experience.
The British Army had, in 1870, replaced long service with short service for its soldiers. The system was not yet universally applied, so that some regiments in Afghanistan were short service and others still manned by long service soldiers. The Indian regiments were all manned by long service soldiers. The universal view seems to have been that the short service regiments were weaker both in fighting effectiveness and disease resistance than the long service.
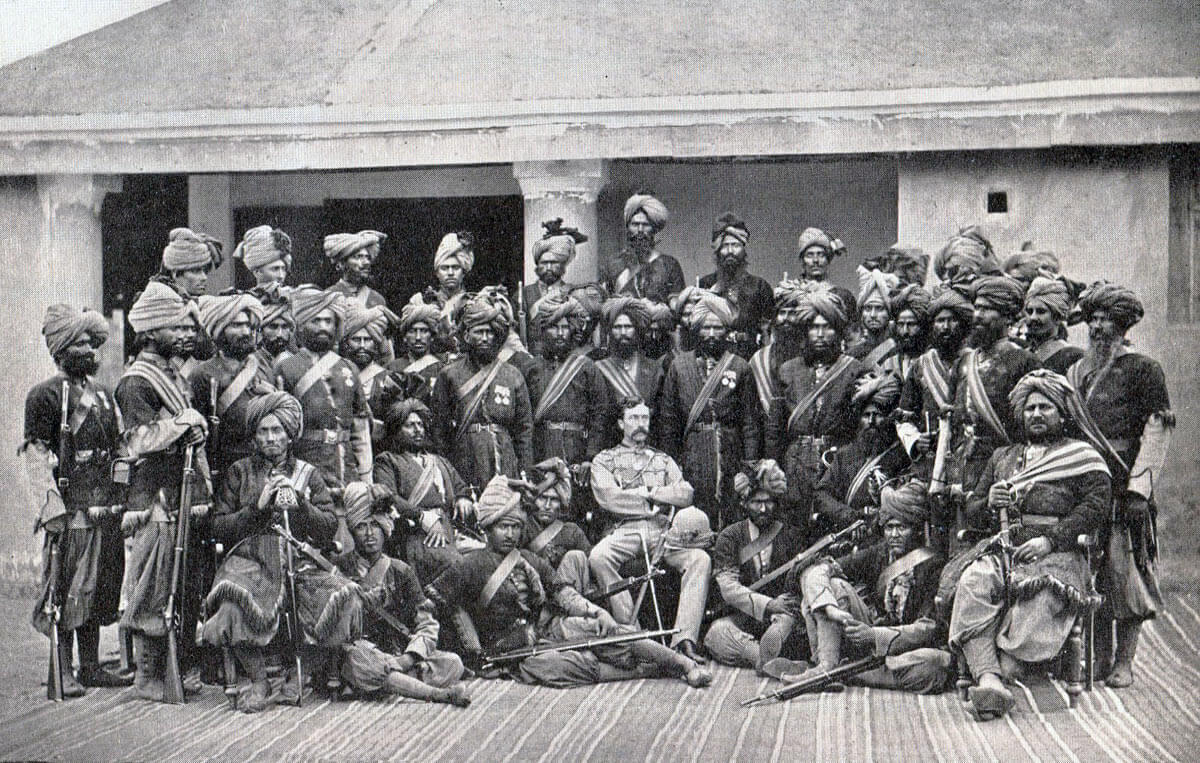
Officers of the 51st King’s Own Yorkshire Light Infantry after the Battle of Ali Masjid on 21st November 1878 in the Second Afghan War
Winner of the Battle of Ali Masjid: The British and Indians.
British and Indian Regiments at the Battle of Ali Masjid:
British Regiments:
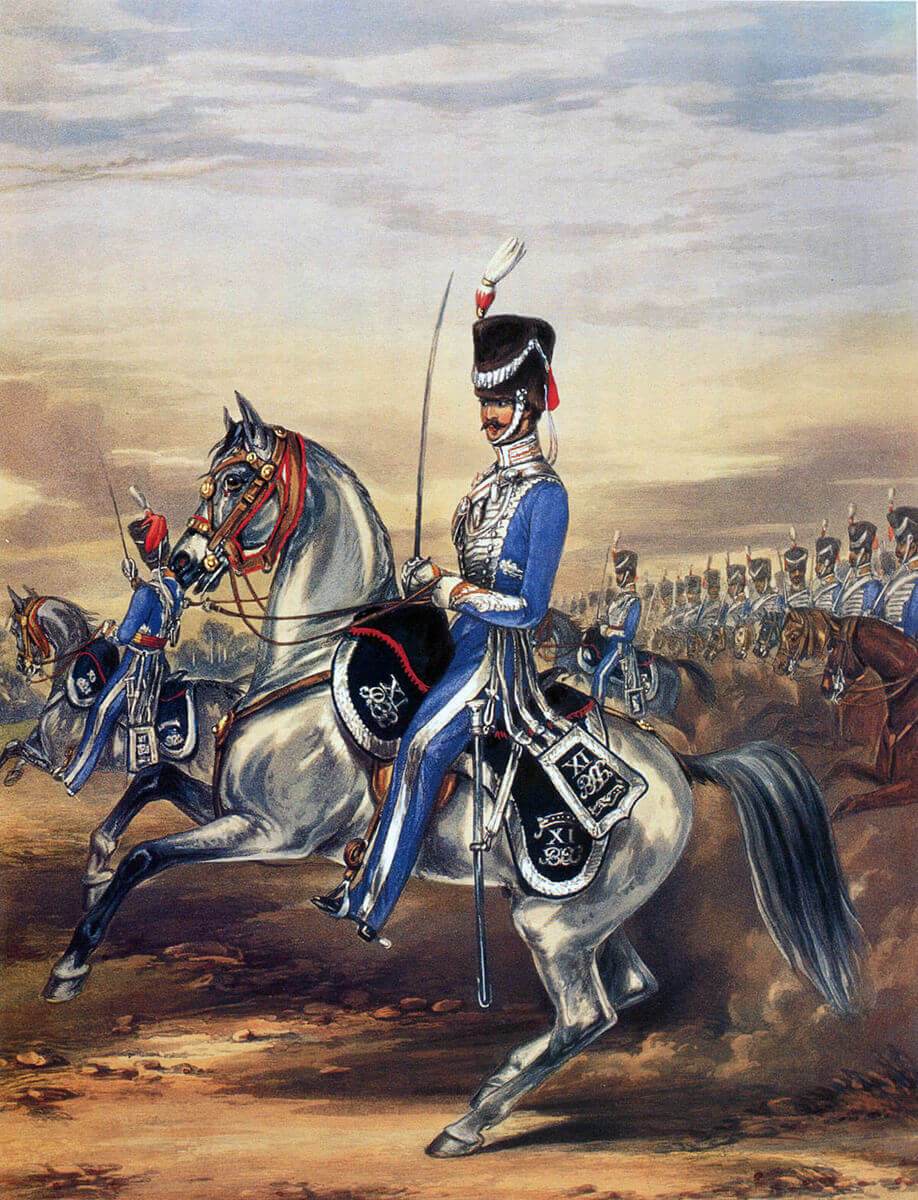
10th Hussars, now the King’s Royal Hussars *.
Rifle Brigade (4th Battalion), now the Rifles *.
Royal Horse Artillery
Royal Field Artillery
Royal Garrison Artillery
17th Regiment, later the Leicestershire Regiment and now the Royal Anglian Regiment*.
51st Regiment, later the King’s Own Yorkshire Light Infantry and now the Light Infantry*.
81st Regiment, later the North Lancashire Regiment and now the Queen’s Lancashire Regiment*.
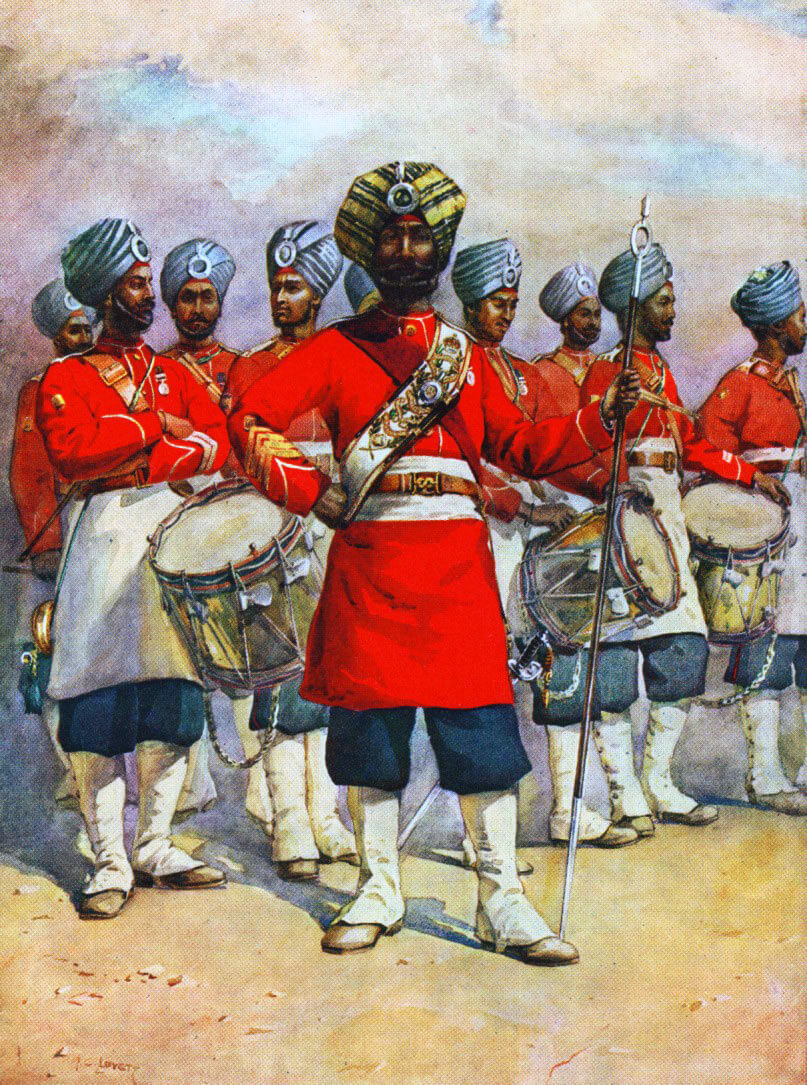
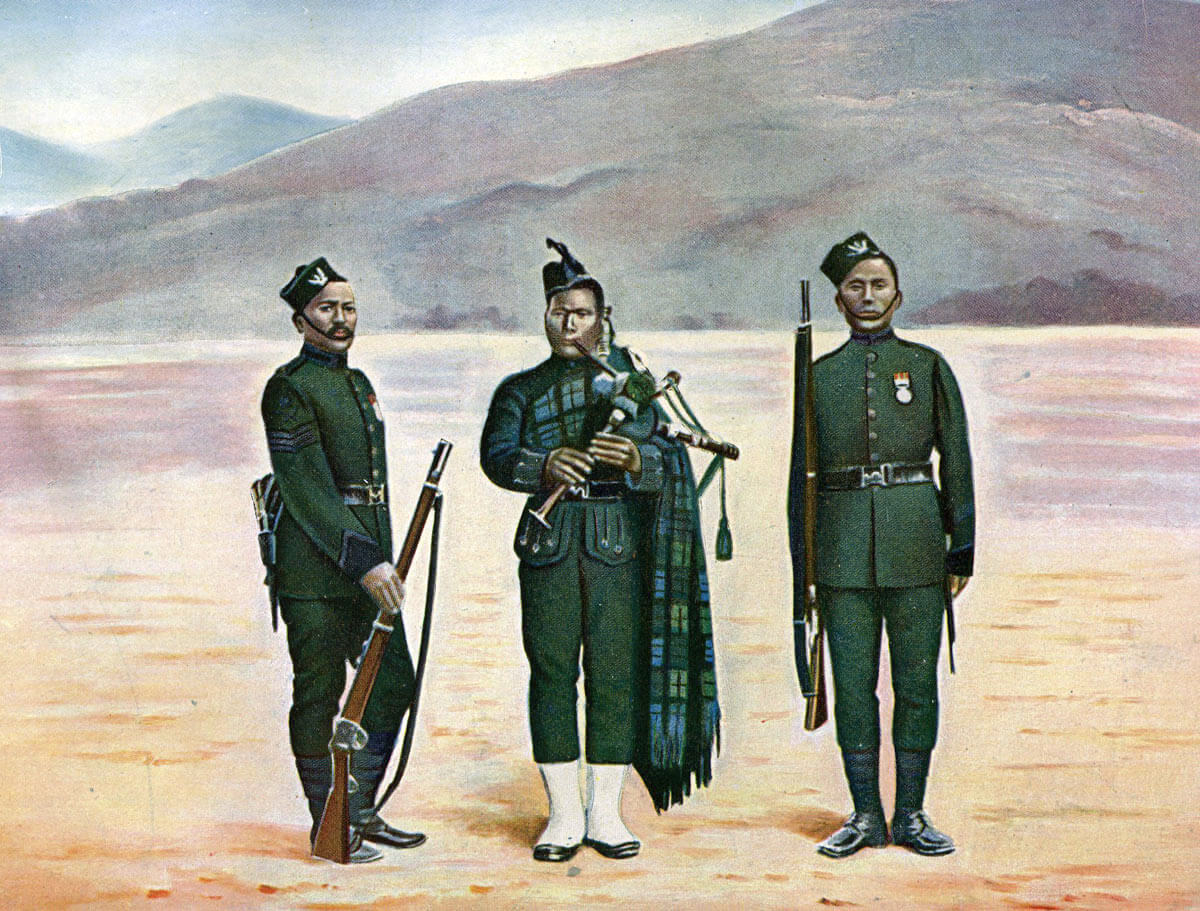
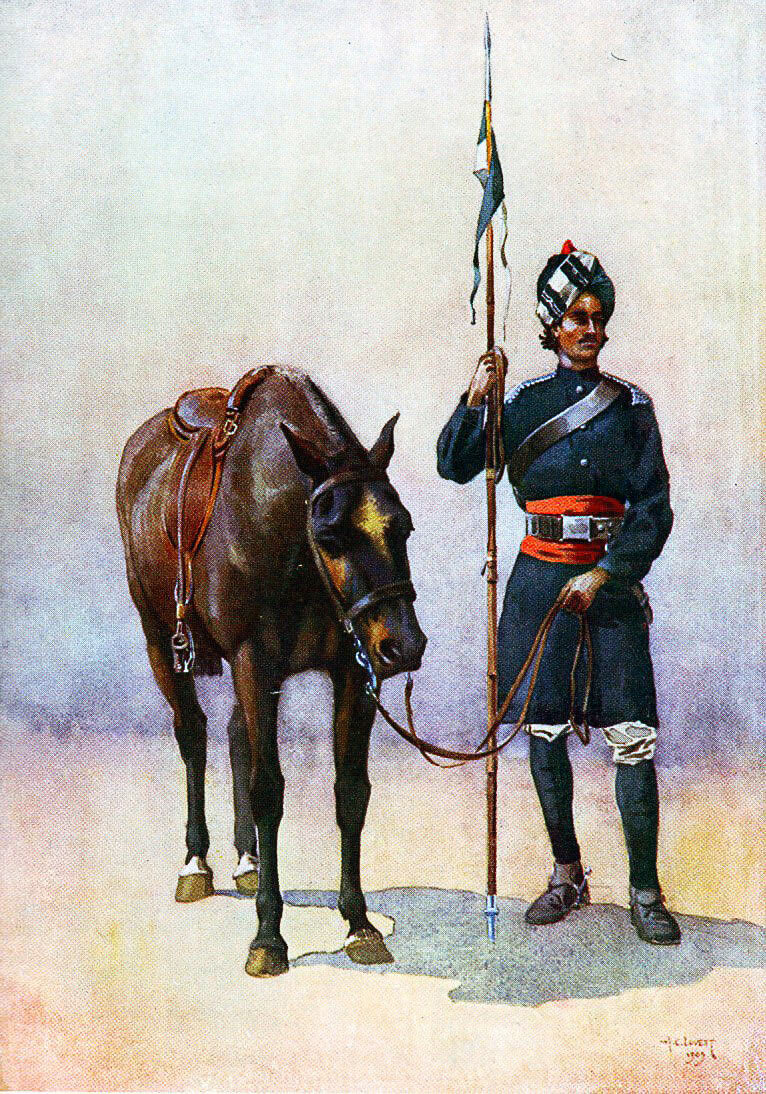
Drums of the 45th Rattray’s Sikhs: Battle of Ali Masjid on 21st November 1878 in the Second Afghan War: picture by A.C. Lovett
Indian Regiments:
11th Bengal Cavalry (Probyn’s Horse) *.
Queen’s Own Guides Cavalry*.
6th Bengal Native Infantry (Jat Light Infantry) *.
14th Bengal Native Infantry (14th Ferozepore Sikhs)*.
20th Bengal Native Infantry (Brownlow’s Punjabis) *.
27th Bengal Native Infantry (Punjabis) *.
45th Bengal Native Infantry (Rattray’s Sikhs) *.
4th Gurkha Regiment*.
Queen’s Own Guides Infantry*.
1st Sikh Infantry, (FF) *.
1st Bengal Sappers and Miners *.
*These regiments have Ali Masjid as a battle honour.
Order of Battle of the Peshawar Valley Field Force at the Battle of Ali Masjid:
GOC: Lieutenant General Sir Samuel Browne VC.
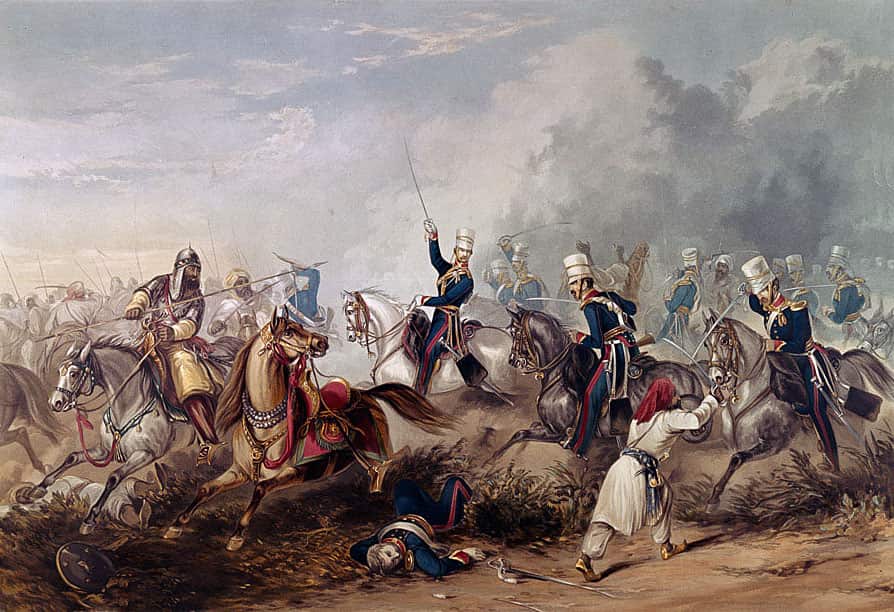
Cavalry Brigade: commanded by Brigadier-General Charles Gough VC.
10th Hussars: 2 squadrons.
11th Bengal Cavalry (Probyn’s Horse)
Queen’s Own Guides Cavalry.
Royal Artillery: commanded by Colonel Williams.
1 battery RHA
1 battery RFA
3 batteries RGA.
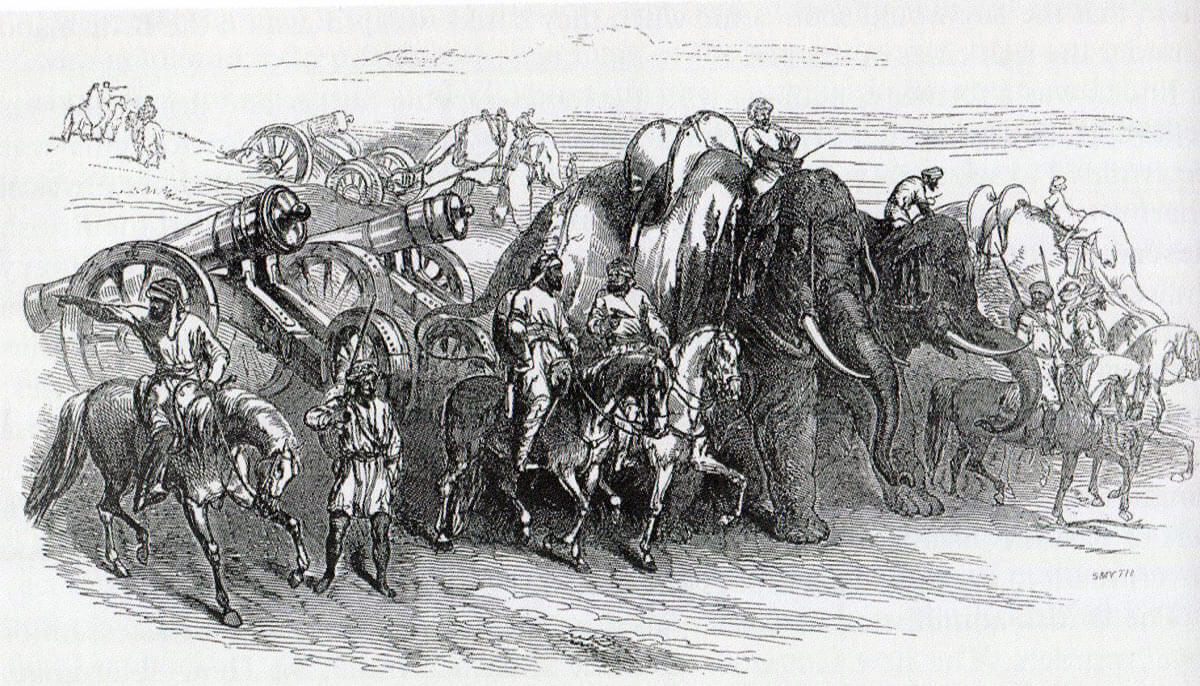
(several batteries carried on elephants).
3 batteries Mountain Artillery (the guns carried on mules).
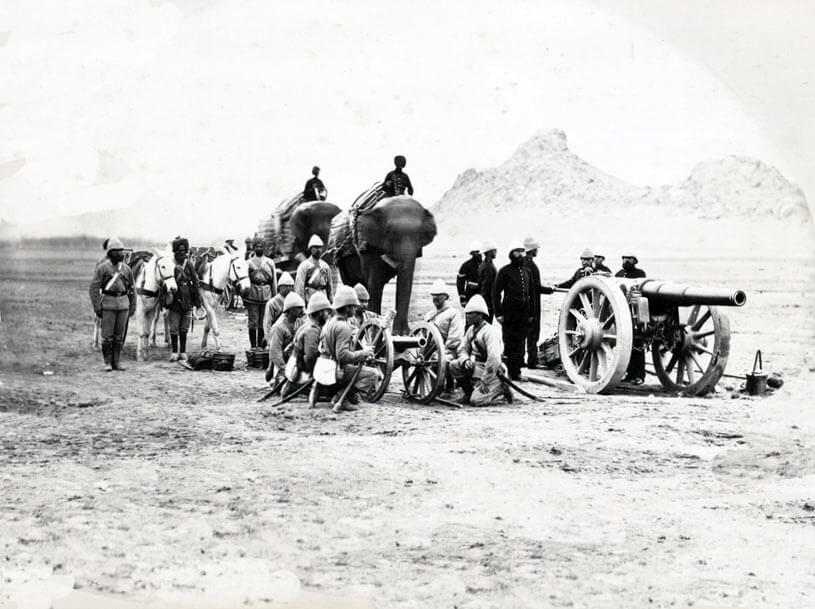
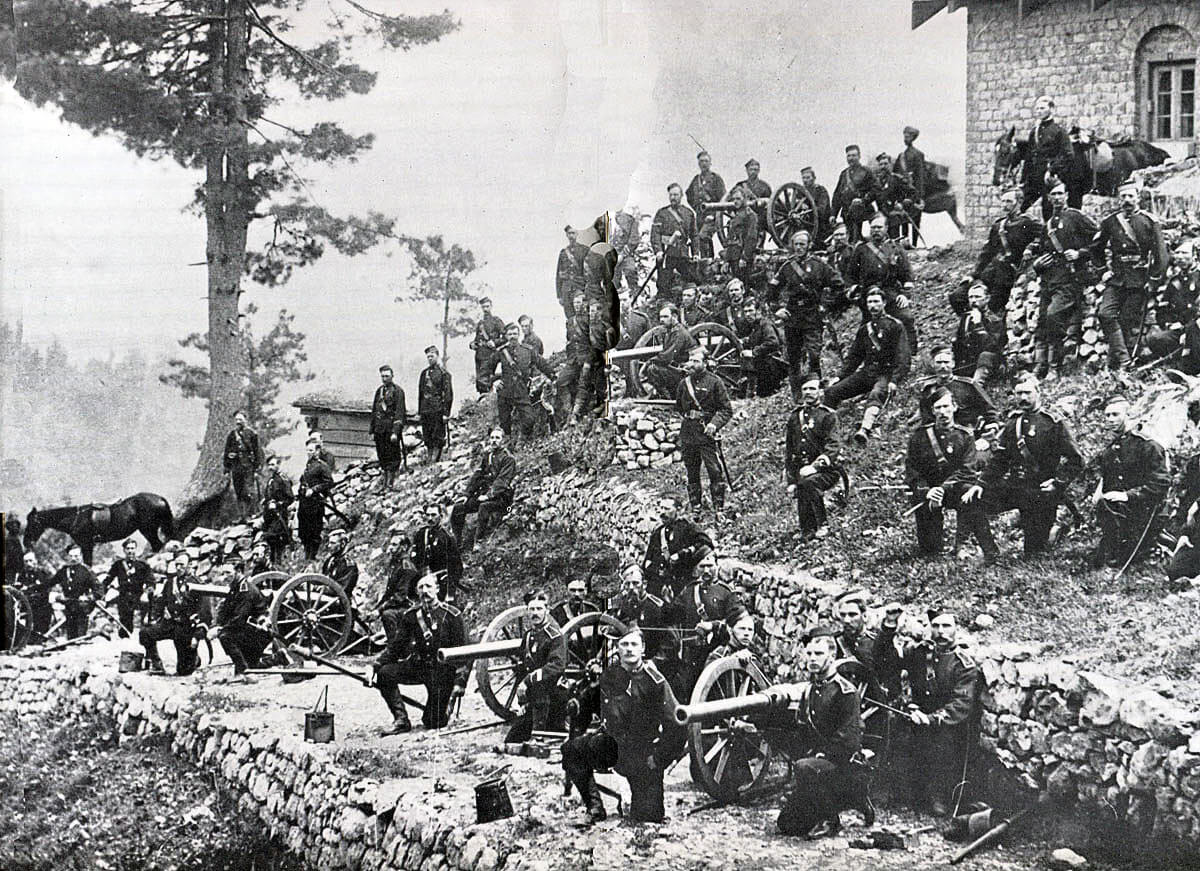
British Royal Artillery Elephant Battery with RBL 40 pounder Armstrong Gun and Mountain Battery with RML 7 Pounder gun: Battle of Ali Masjid on 21st November 1878 in the Second Afghan War
First Infantry Brigade: commanded by Brigadier-General Macpherson VC.
4th Bn Rifle Brigade.
20th Bengal Native Infantry (Brownlow’s Punjabis)
4th Gurkhas.
20th Bengal Native Infantry (Brownlow’s Punjabis): Battle of Ali Masjid on 21st November 1878 in the Second Afghan War
Second Infantry Brigade: commanded by Brigadier-General Tytler VC.
1st Bn 17th Foot.#
Guides Infantry.
1st Sikh Infantry, (FF)
Third Infantry Brigade: commanded by Brigadier-General Appleyard.
81st Foot.
14th Bengal Native Infantry (14th Ferozepore Sikhs)
27th Bengal Native Infantry (Punjabis)
Fourth Infantry Brigade: commanded by Brigadier-General Browne.
51st Foot.
6th Bengal Light Infantry (Jats).#
45th Bengal Native Infantry (Rattray’s Sikhs)
# These regiments fought in the First Afghan War.
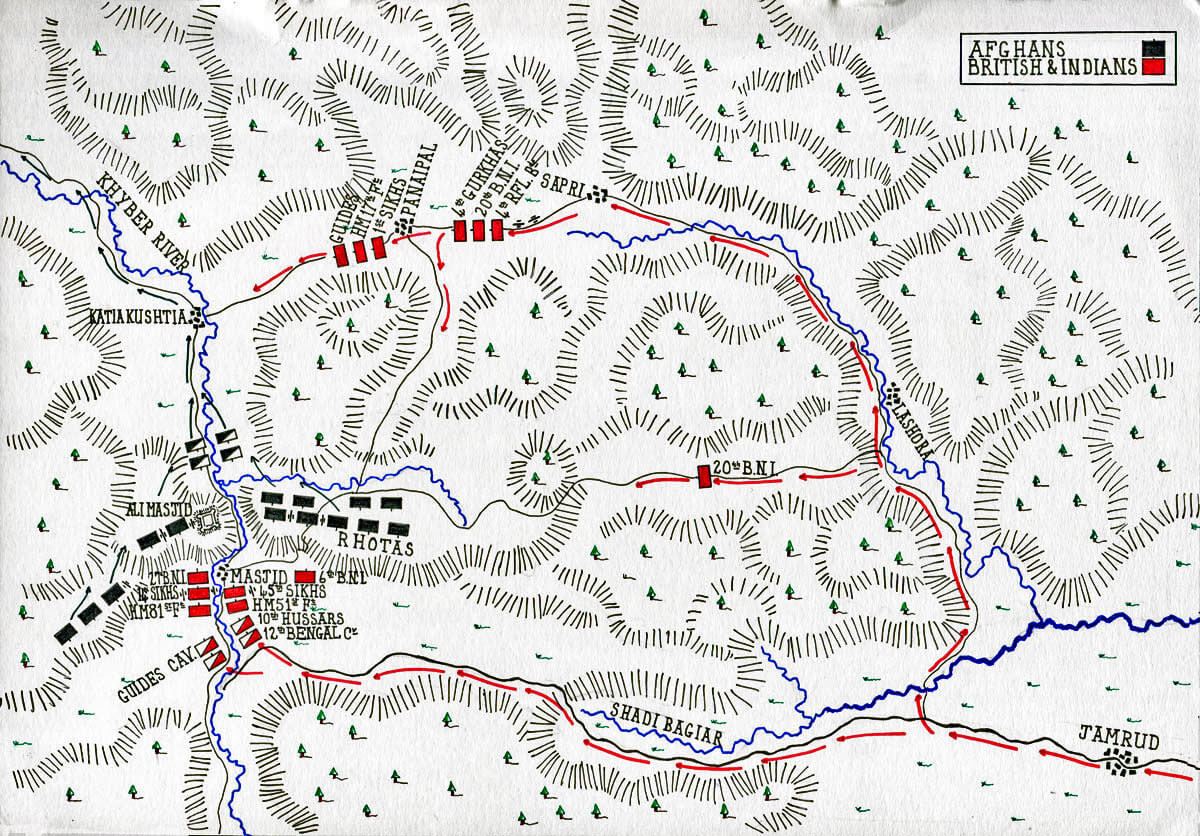
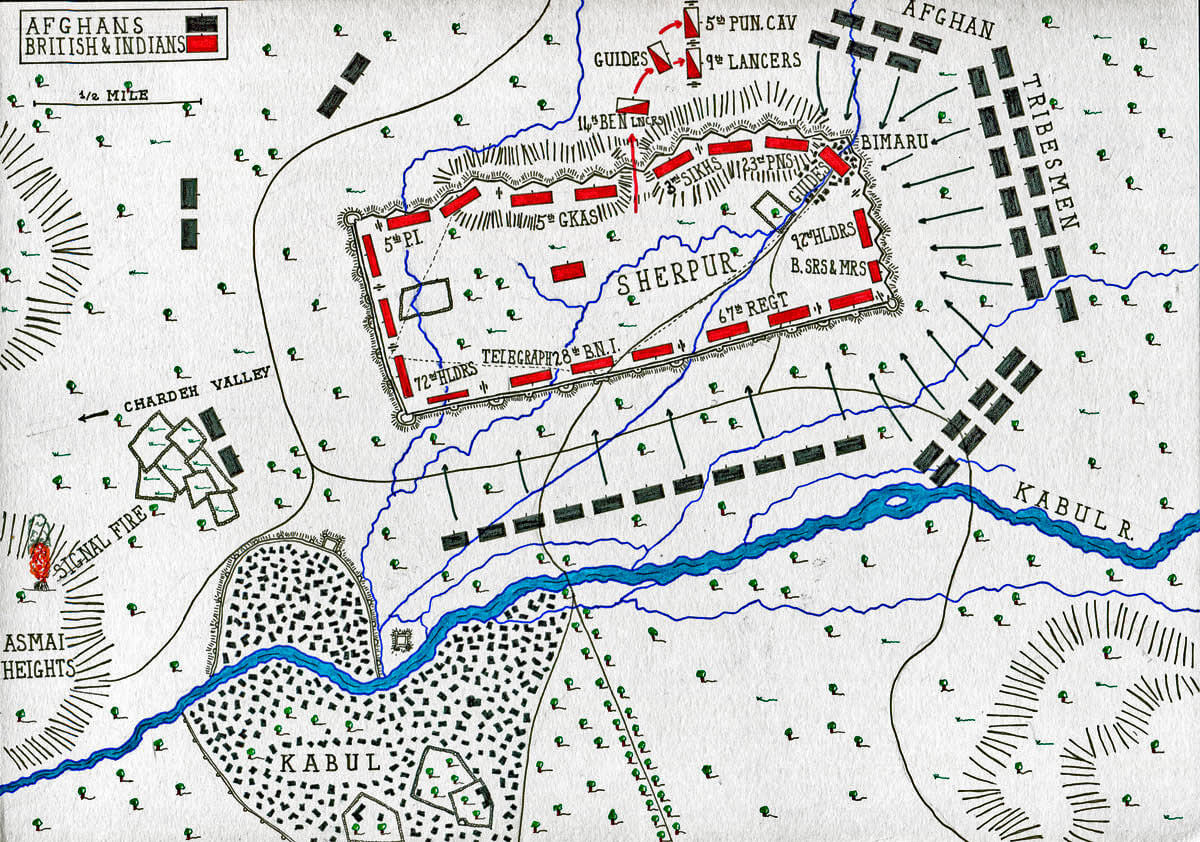
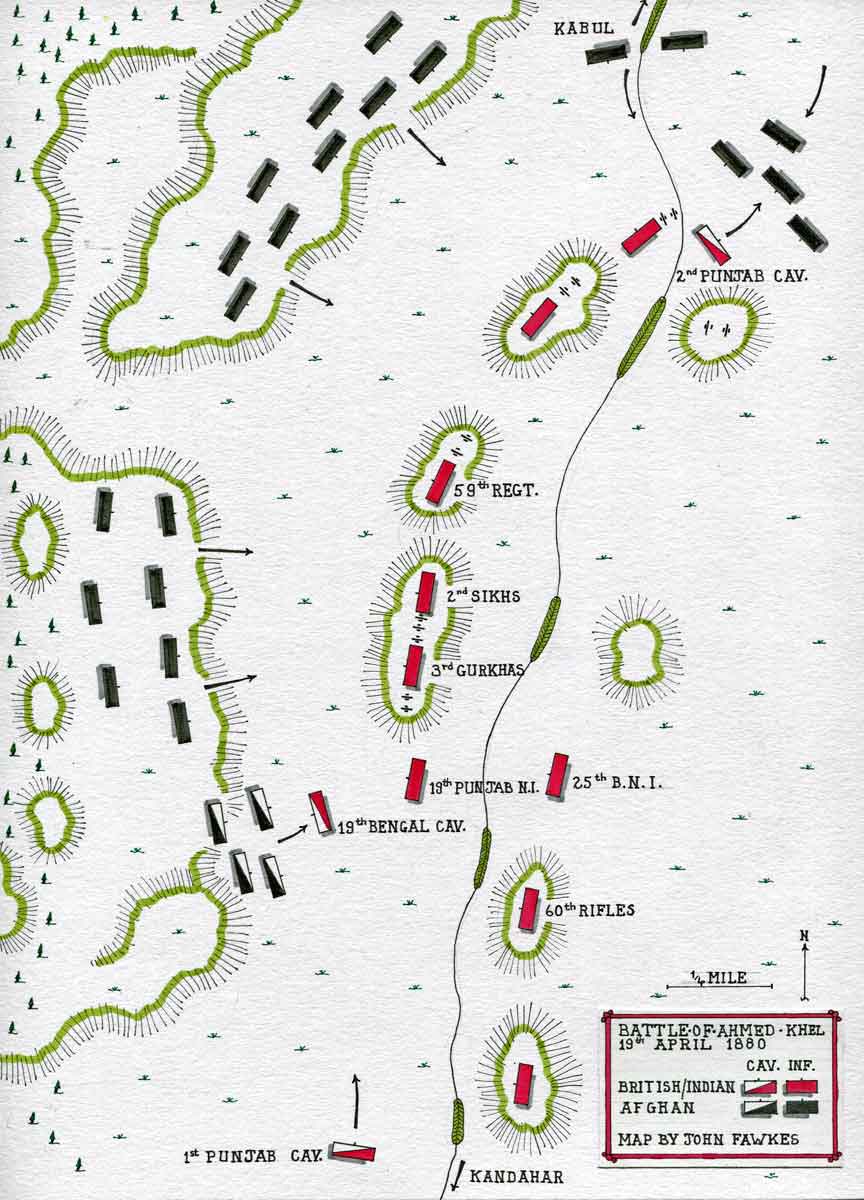
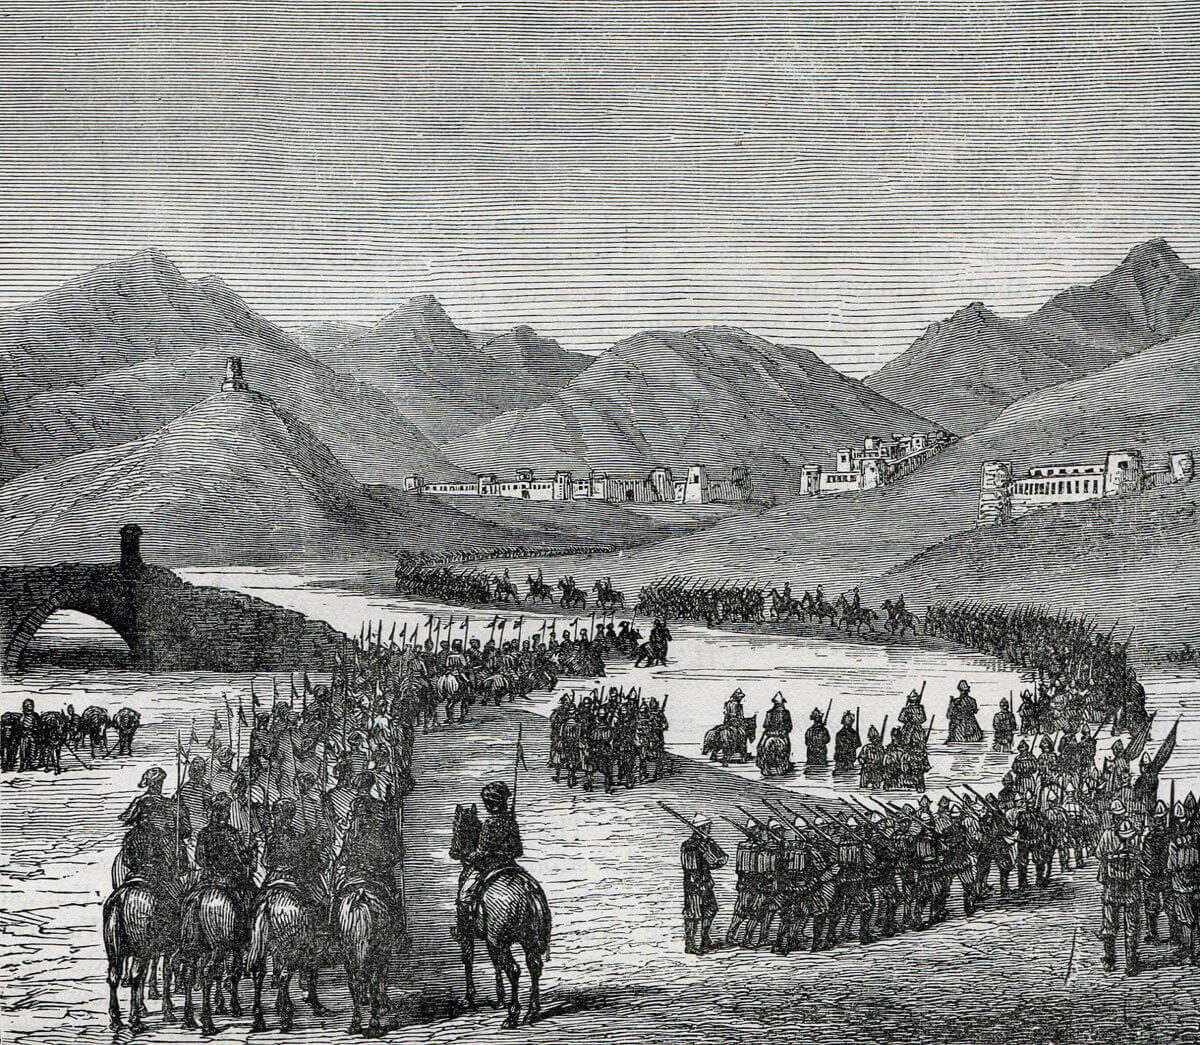
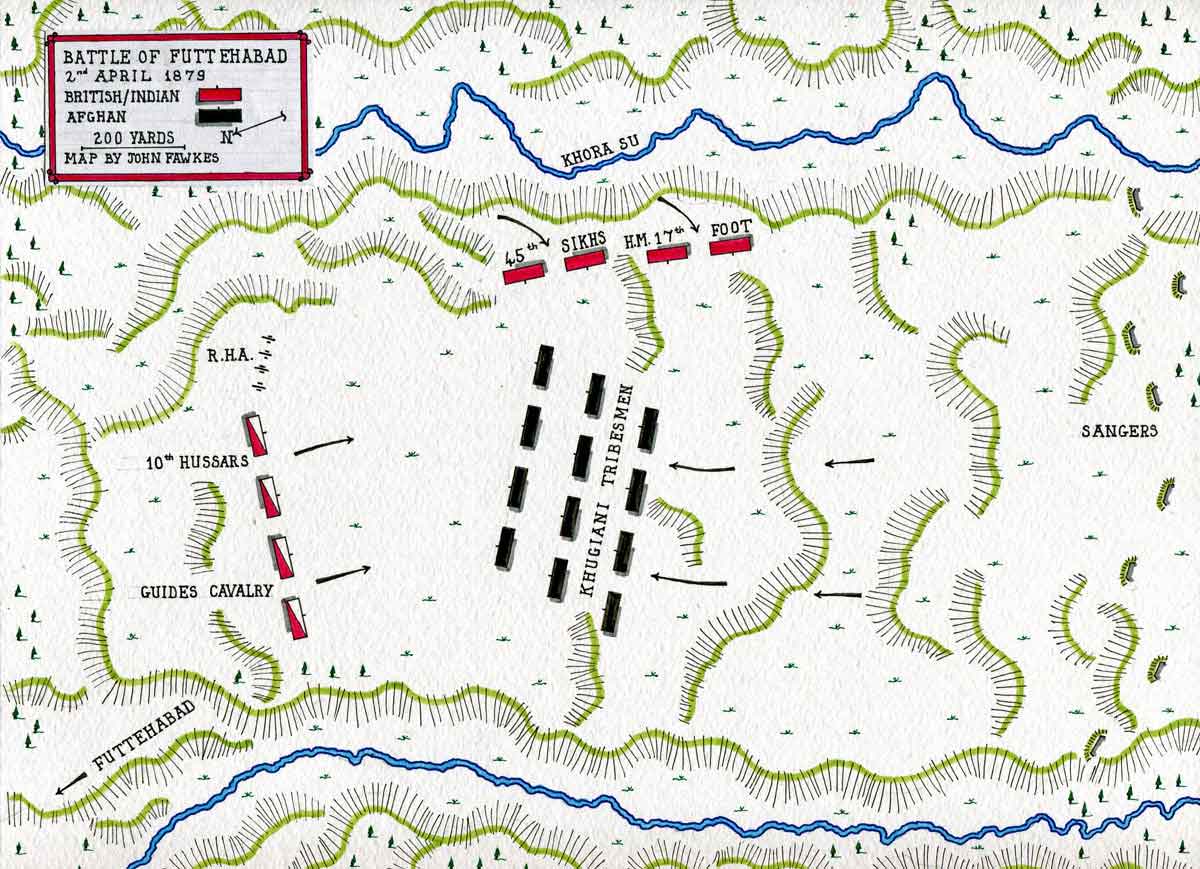
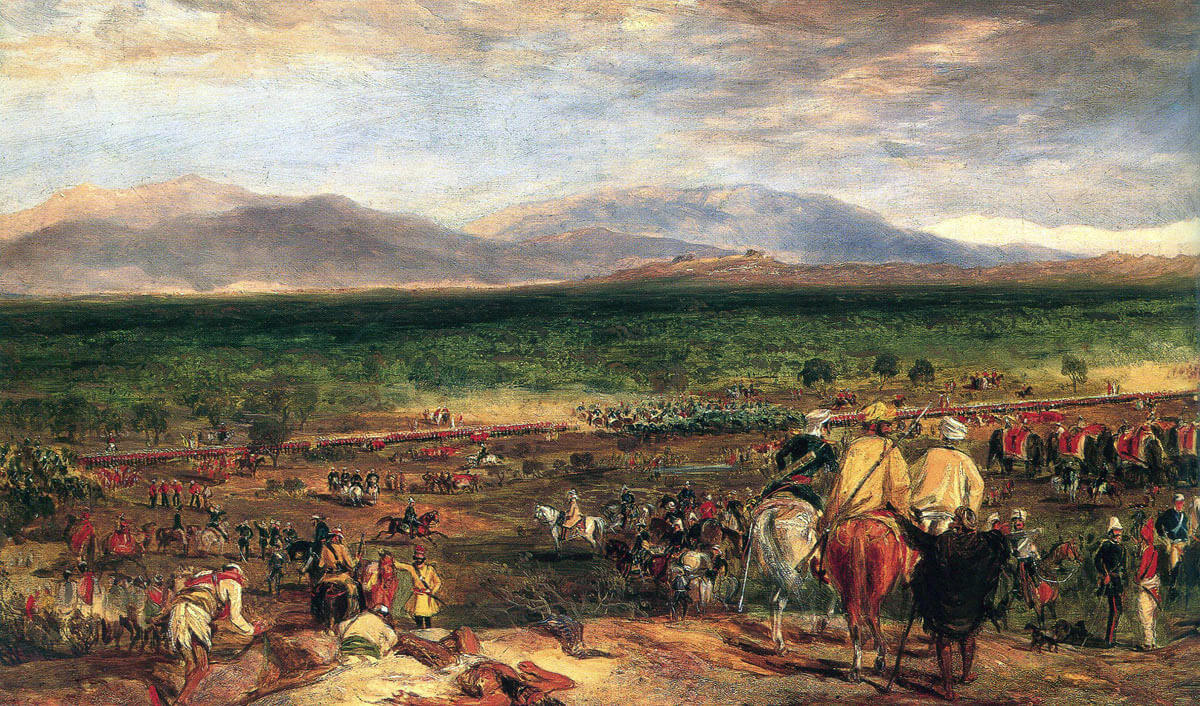
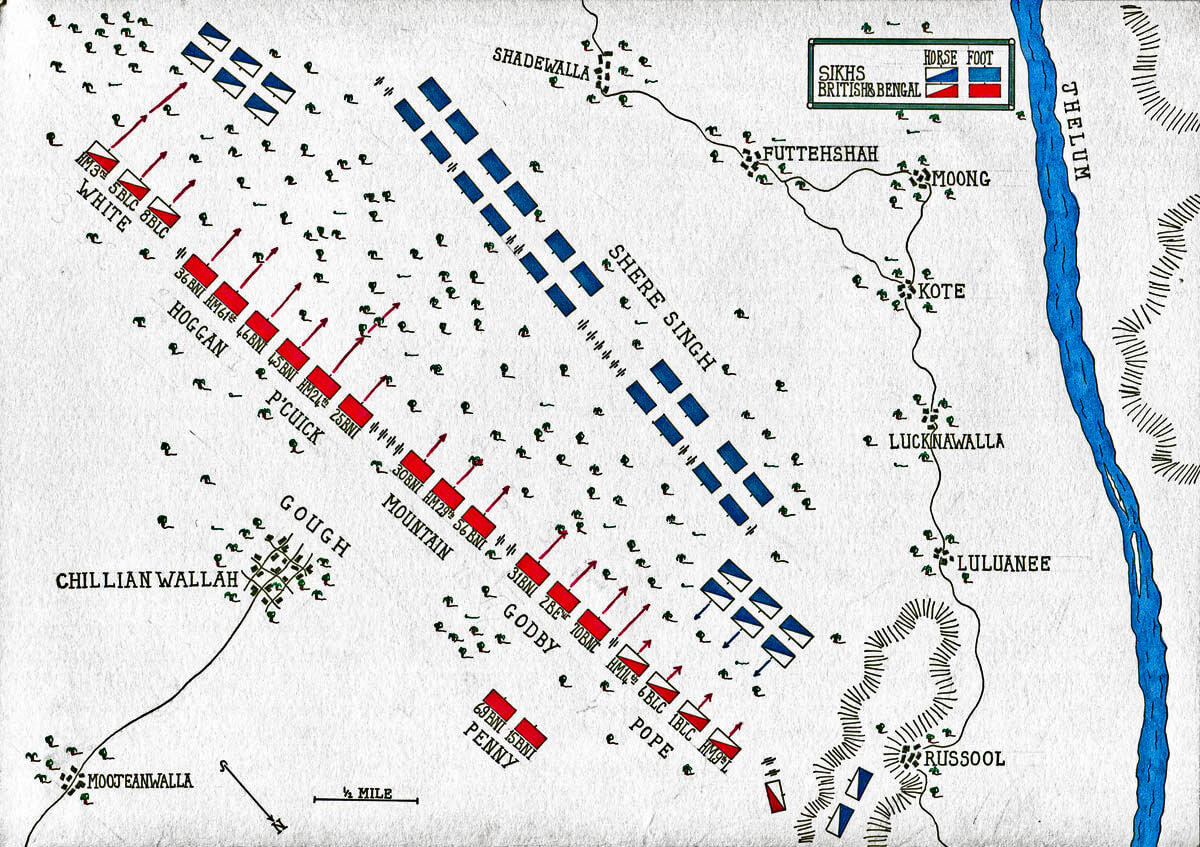
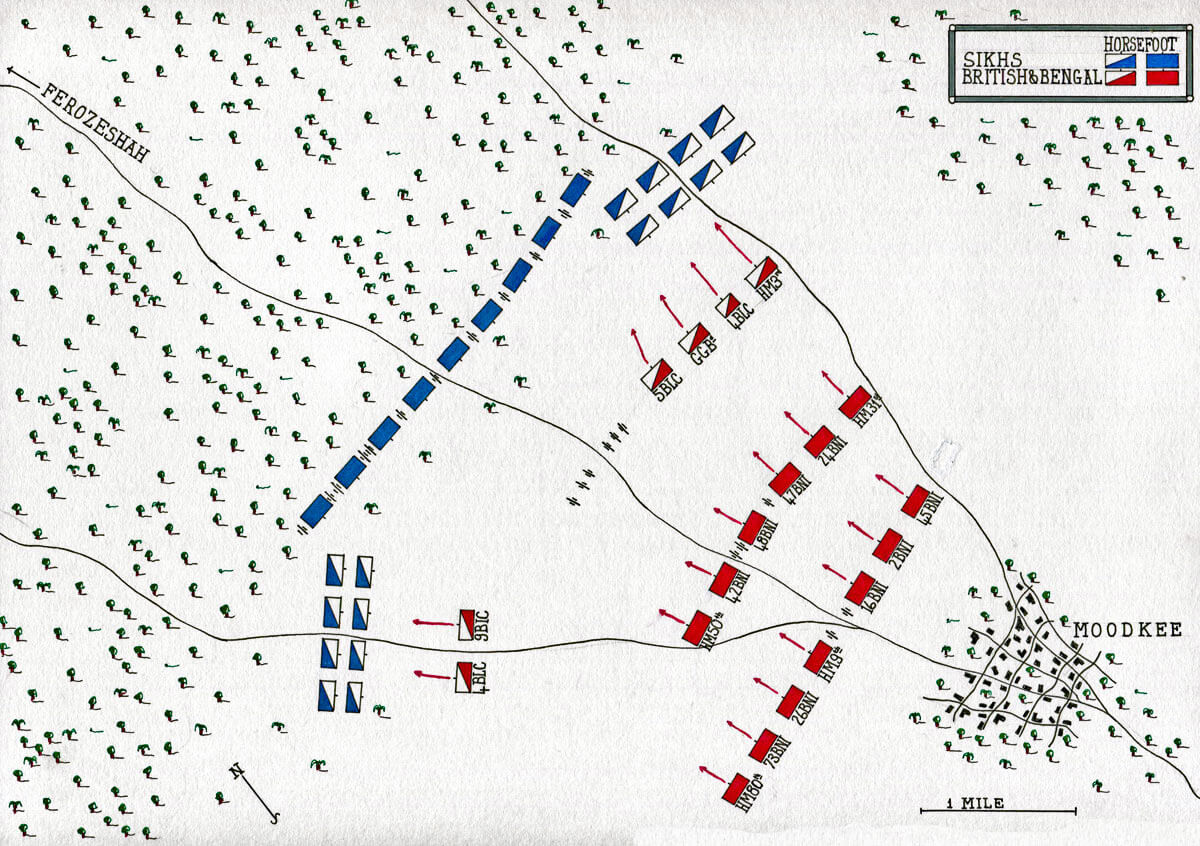
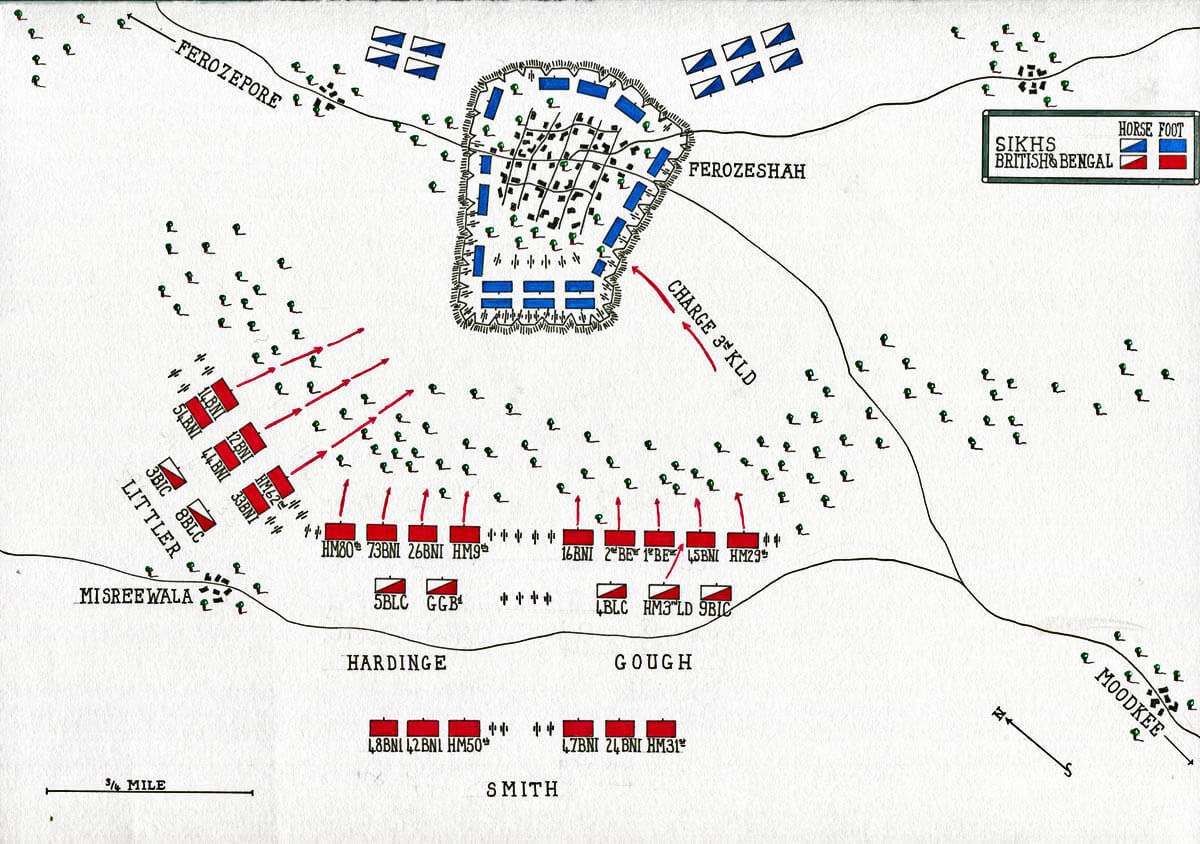
Map of the Battle of Ali Masjid on 21st November 1878 in the Second Afghan War: map by John Fawkes
Account of the Battle of Ali Masjid:
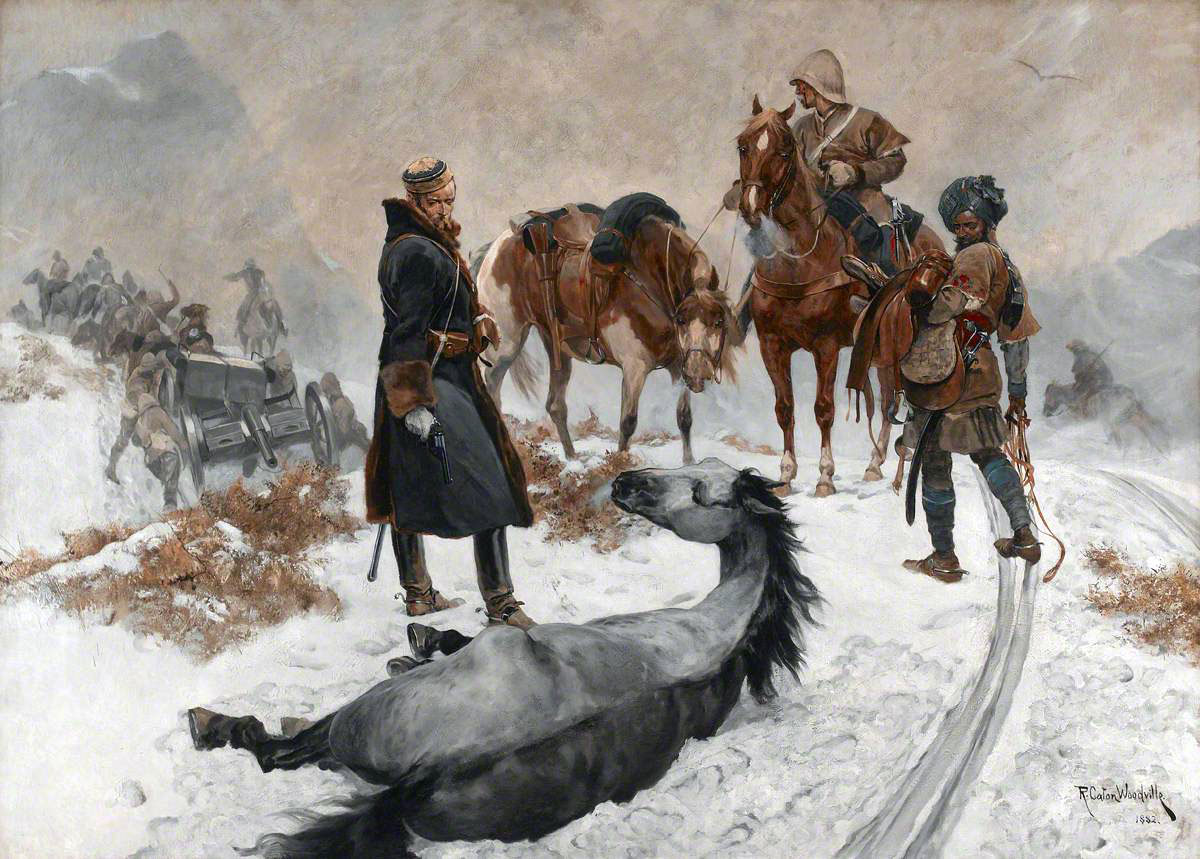
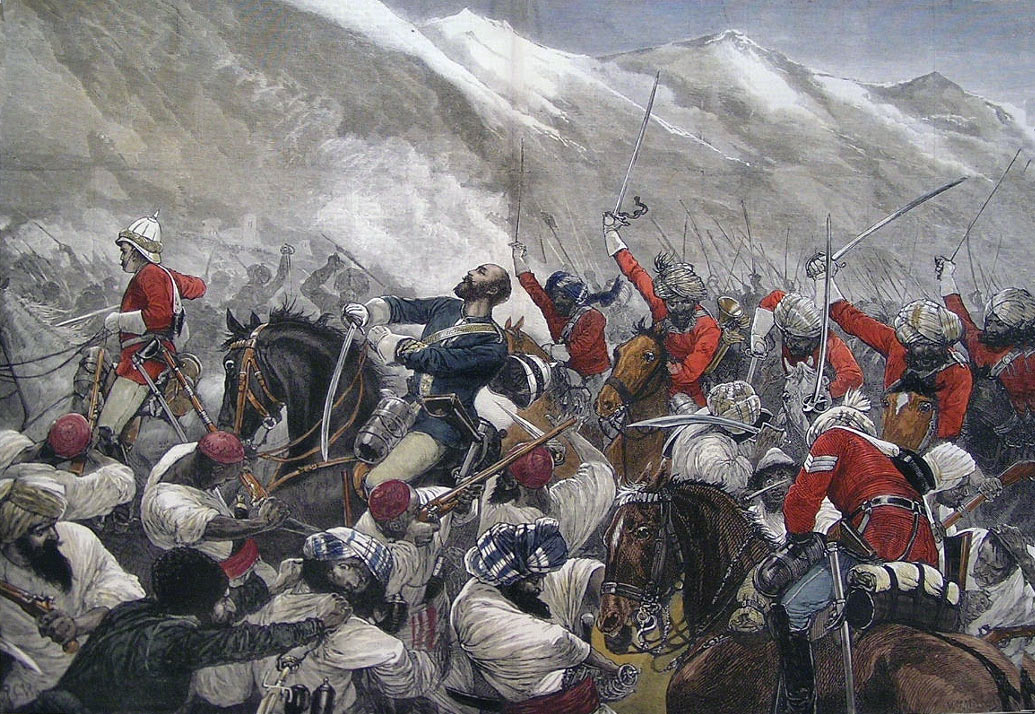
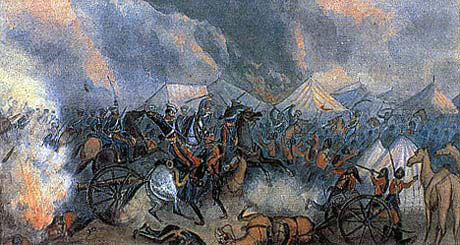
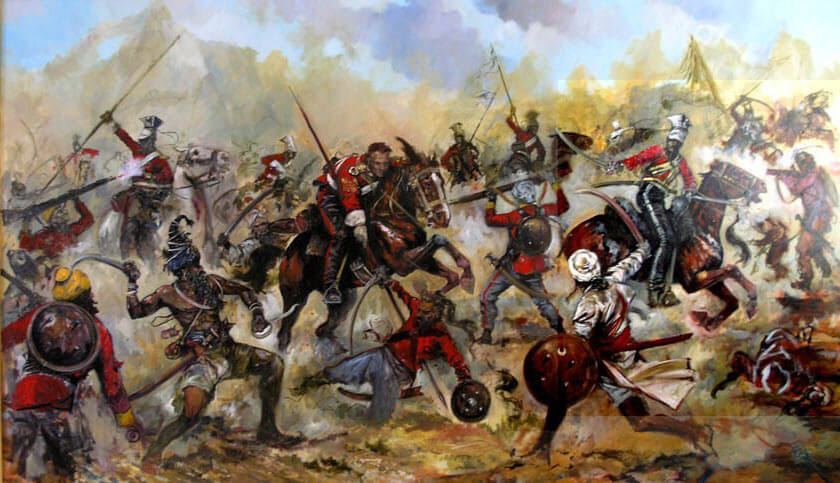
The Second Afghan War devastated areas of Afghanistan, particularly around Kabul, brought the British and Indian Army to the brink of disaster at Sherpur, on the outskirts of Kabul and led to the loss of the 66th Foot and two Indian regiments at the Battle of Maiwand. Only the inspired generalship of Sir Frederick Roberts, with the brilliant tactical leadership of many junior officers and the dogged determination of Indian, Gurkha, Highland and English troops carried the British and Indian armies to victory. Against them, the Afghans fought with intense religious and national fervour, striving to drive the unbelieving foreigners from their country’s soil.

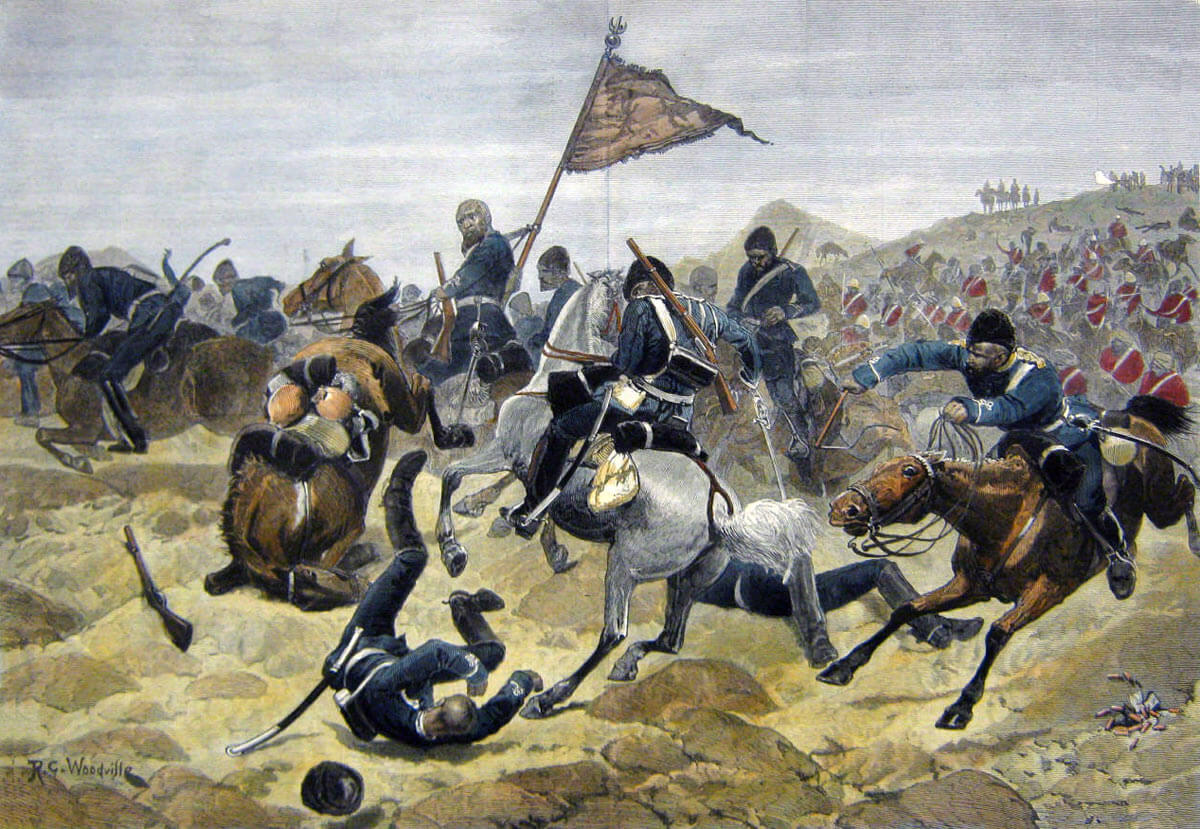
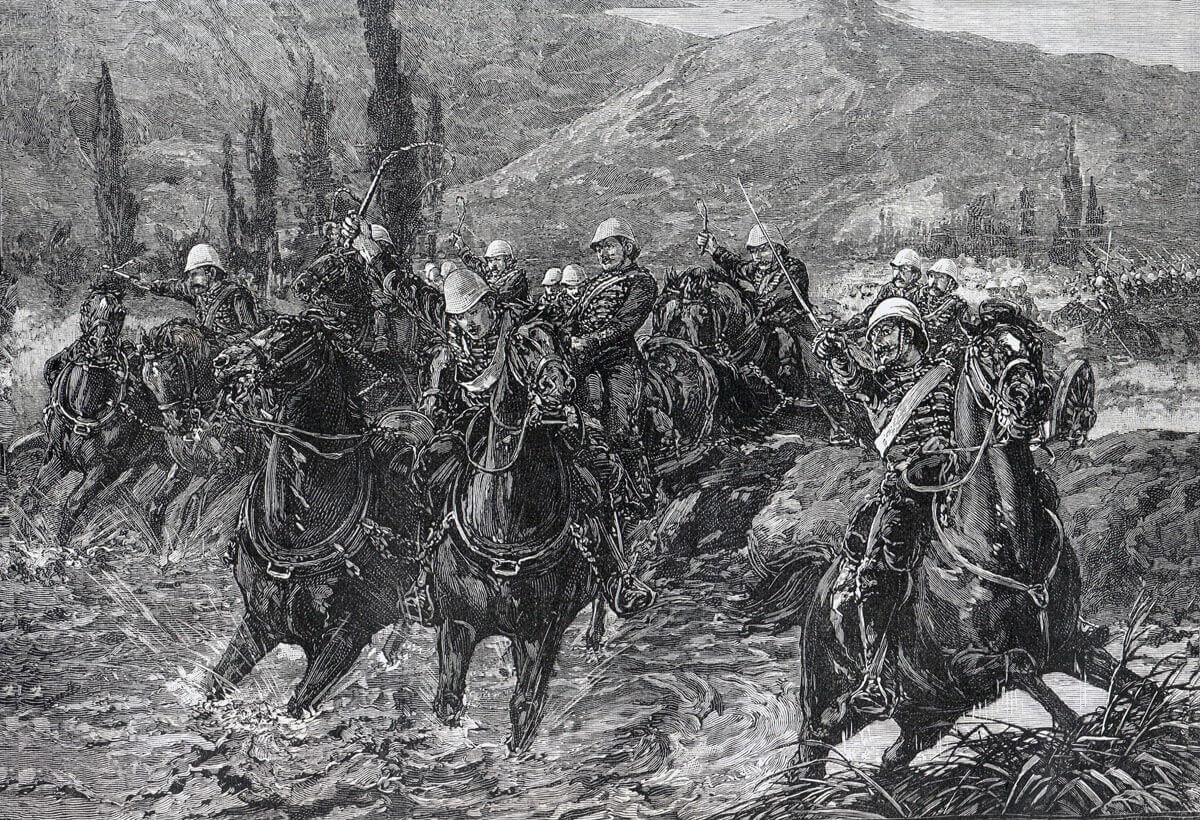
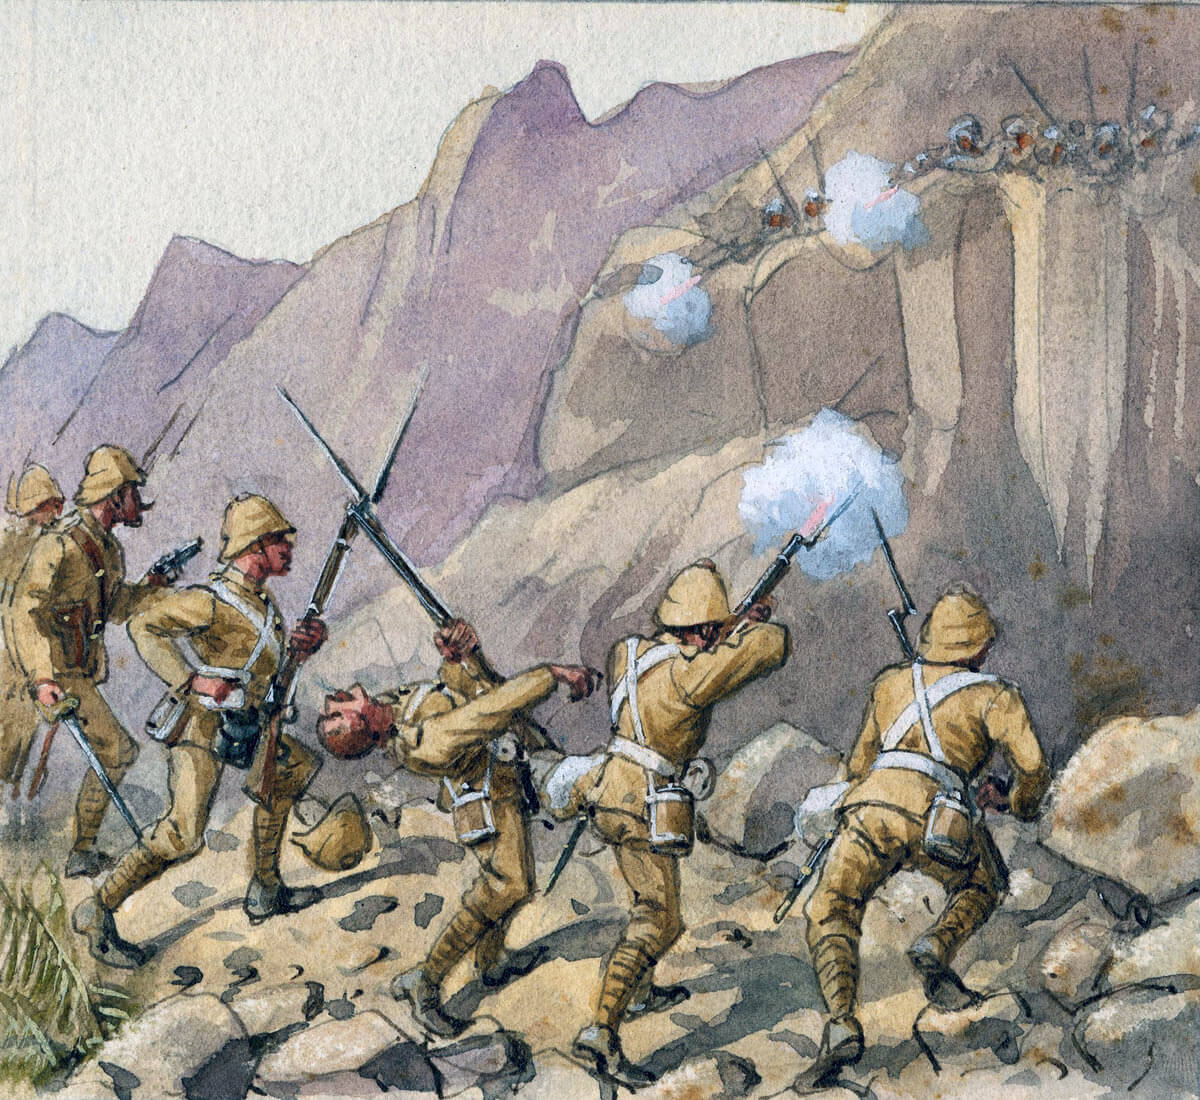
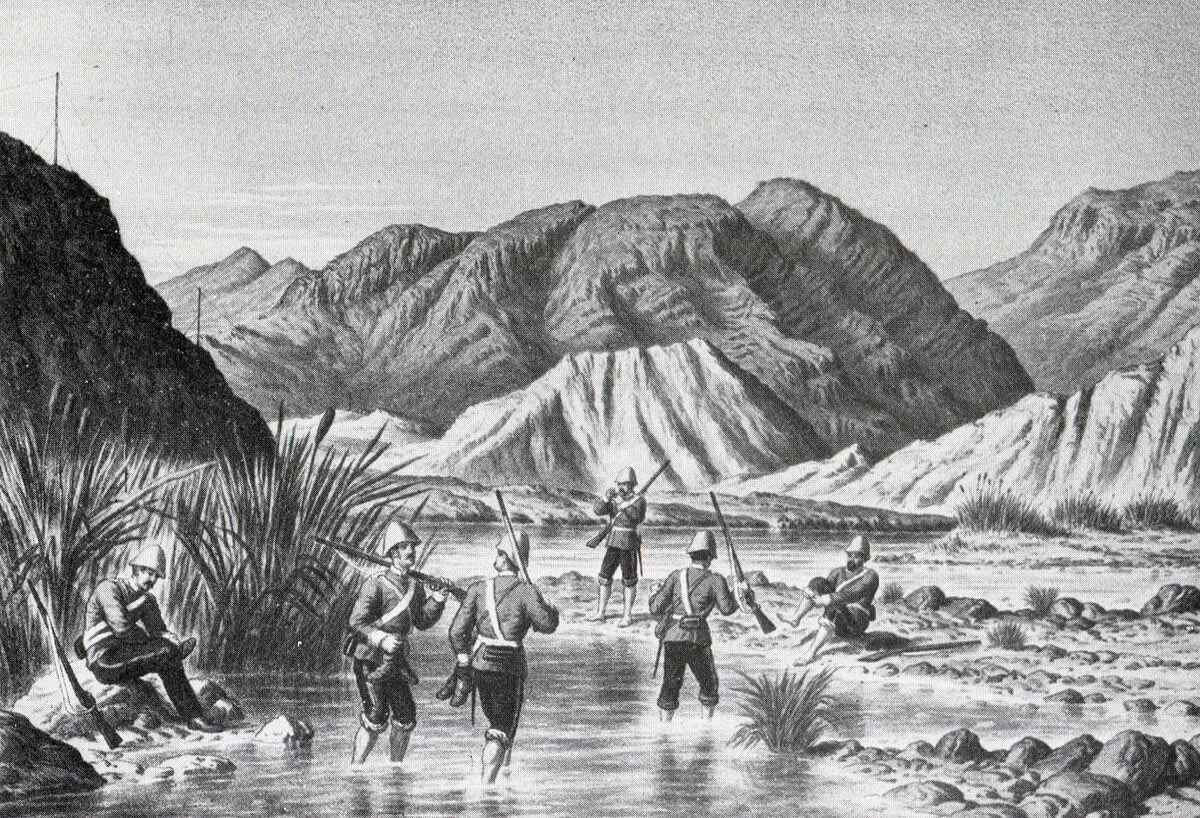
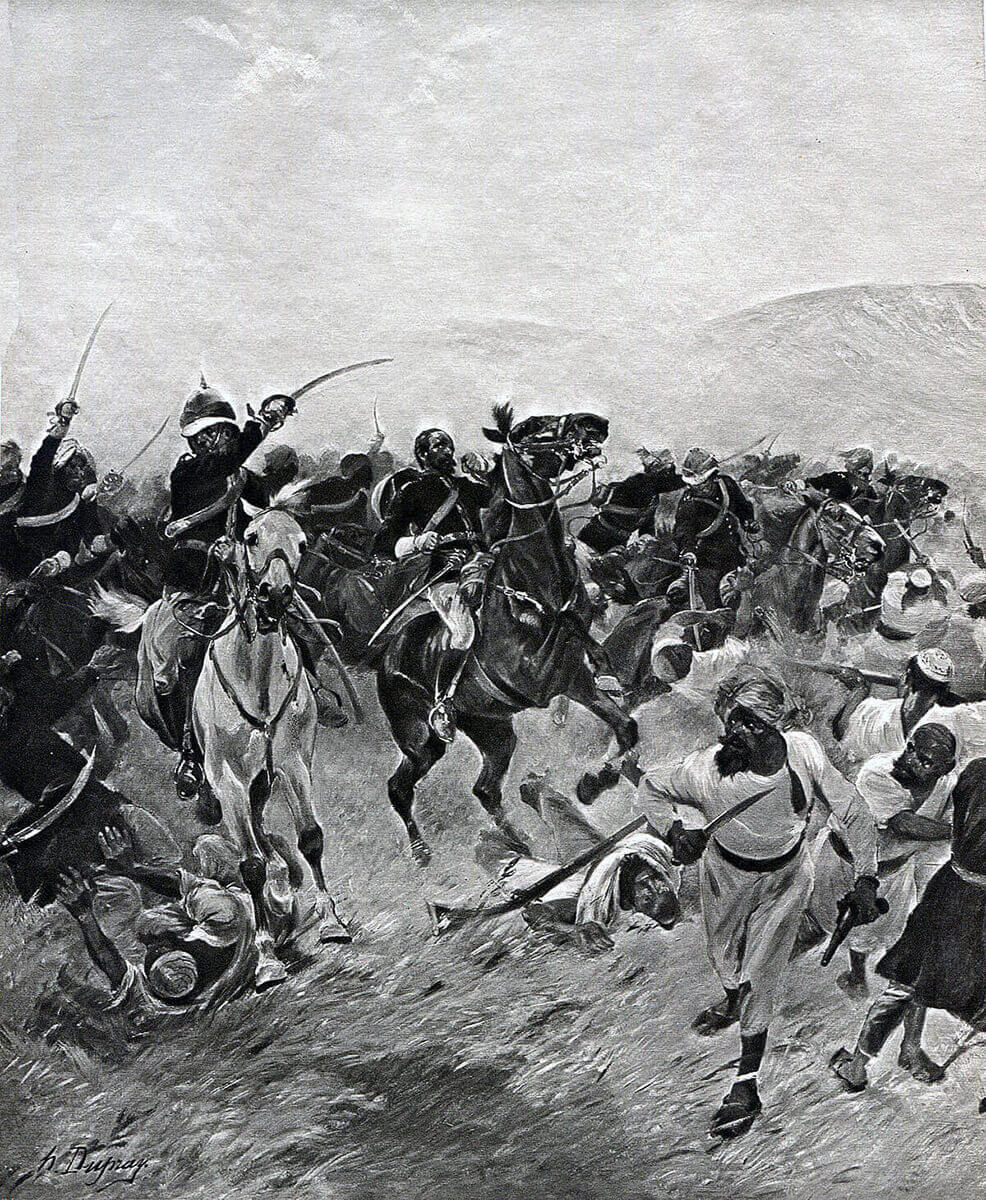
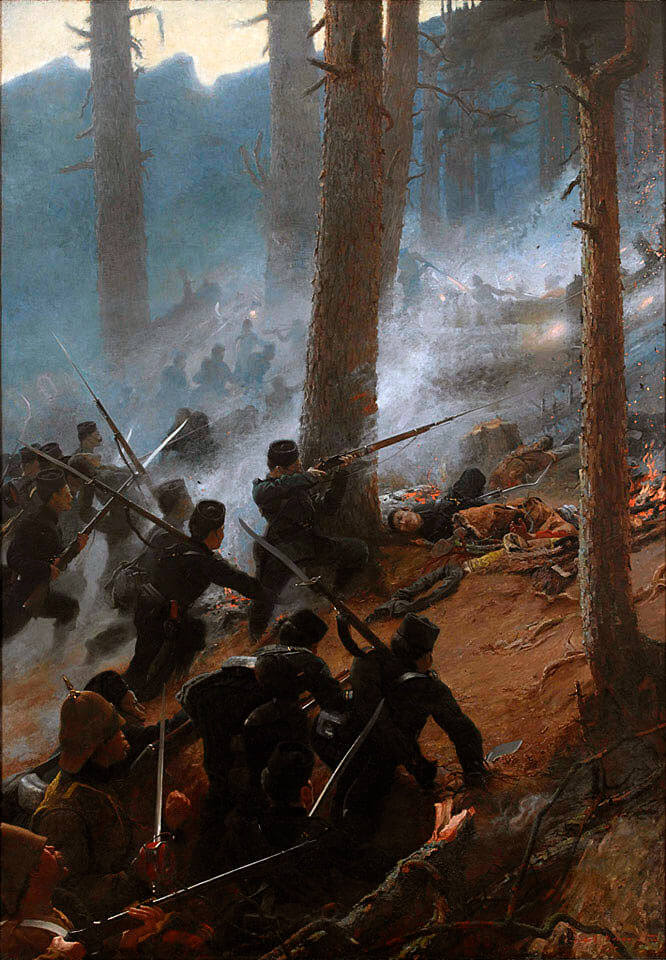
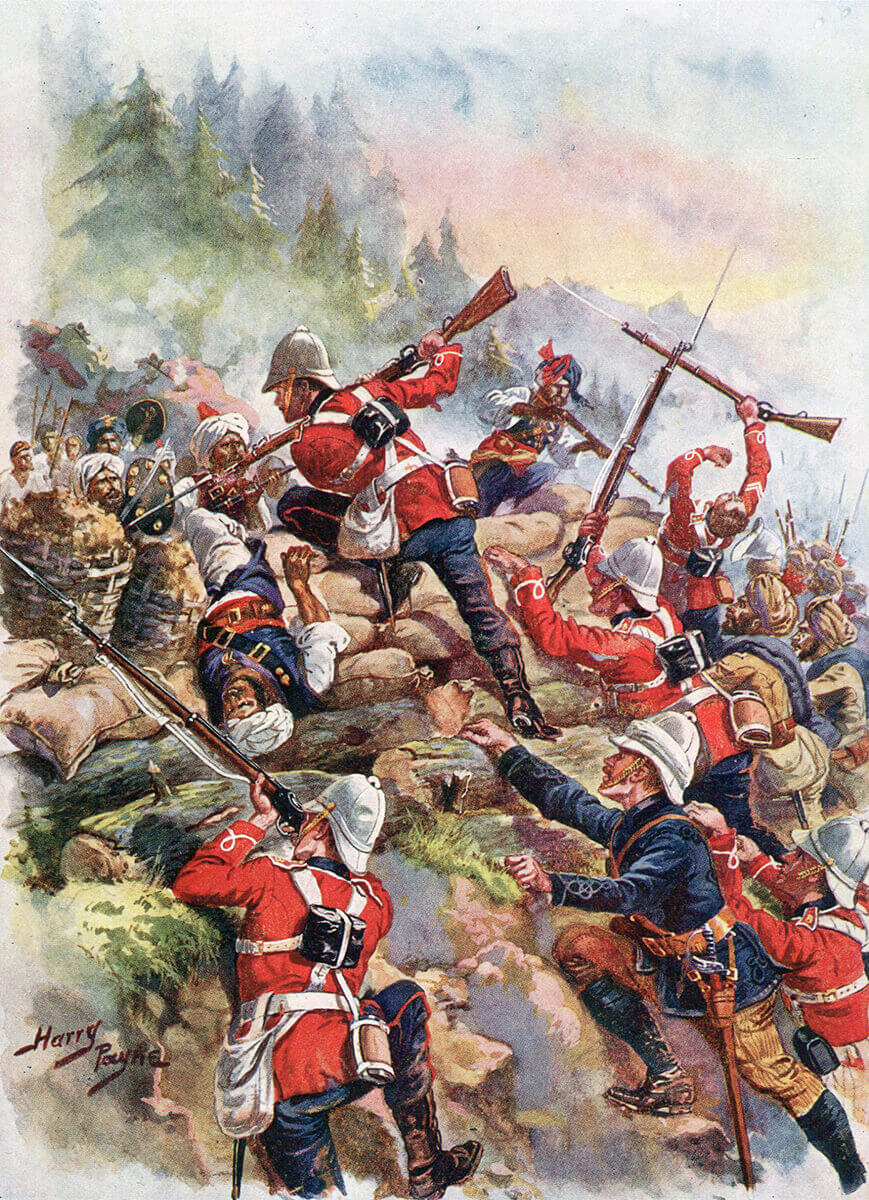
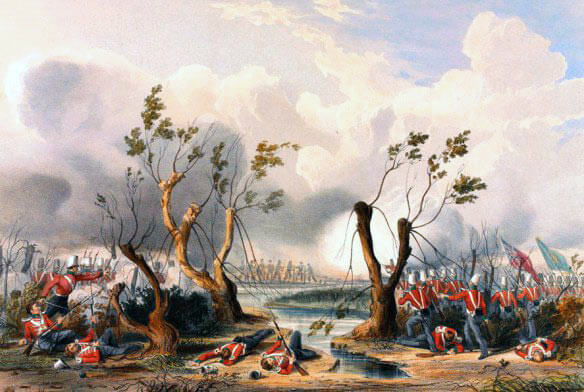
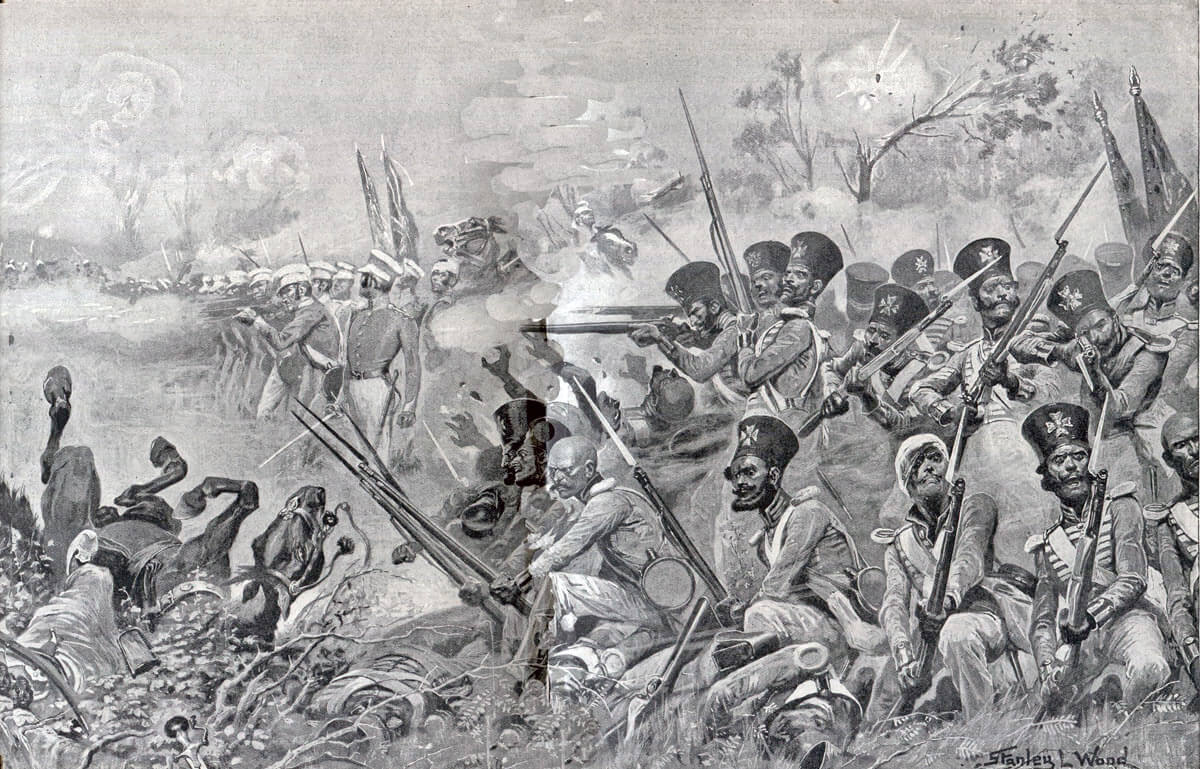
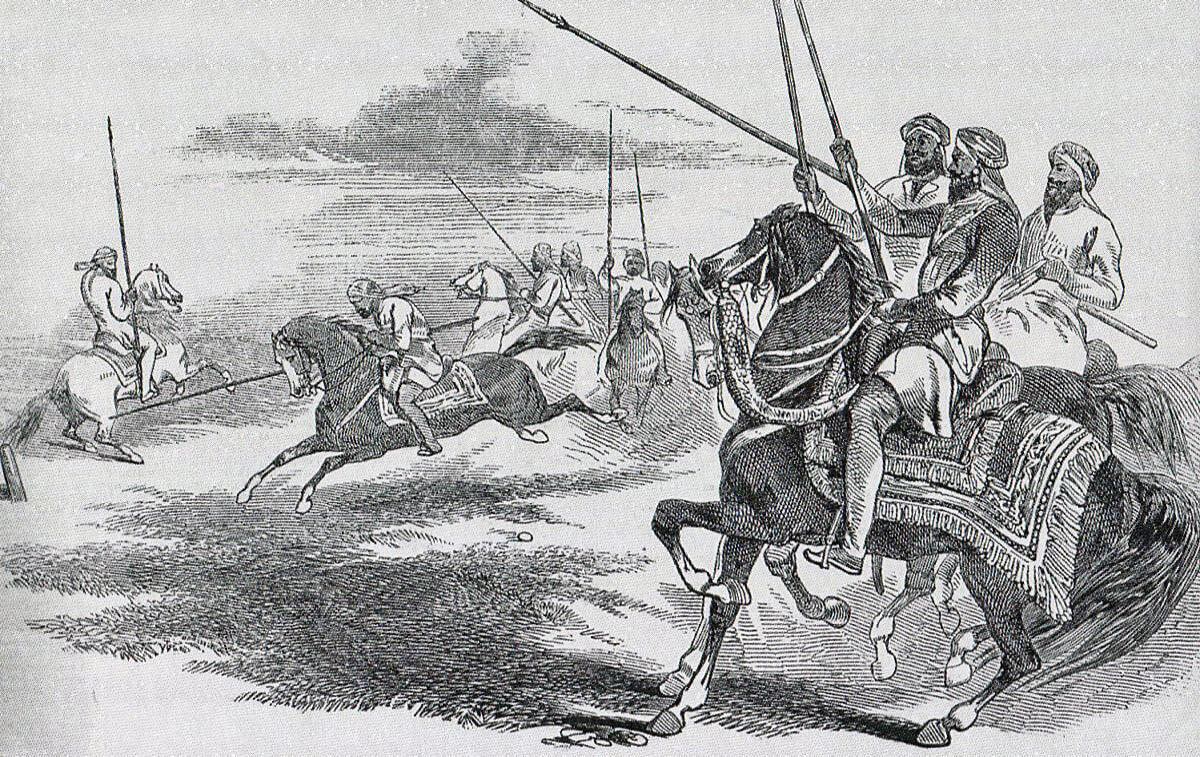
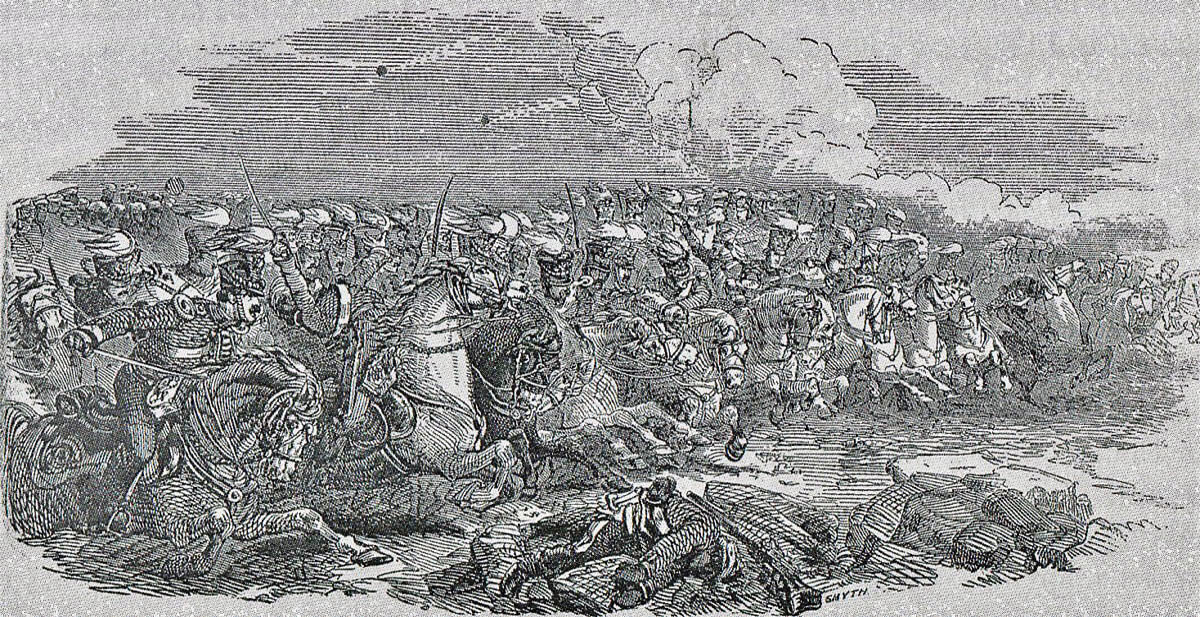
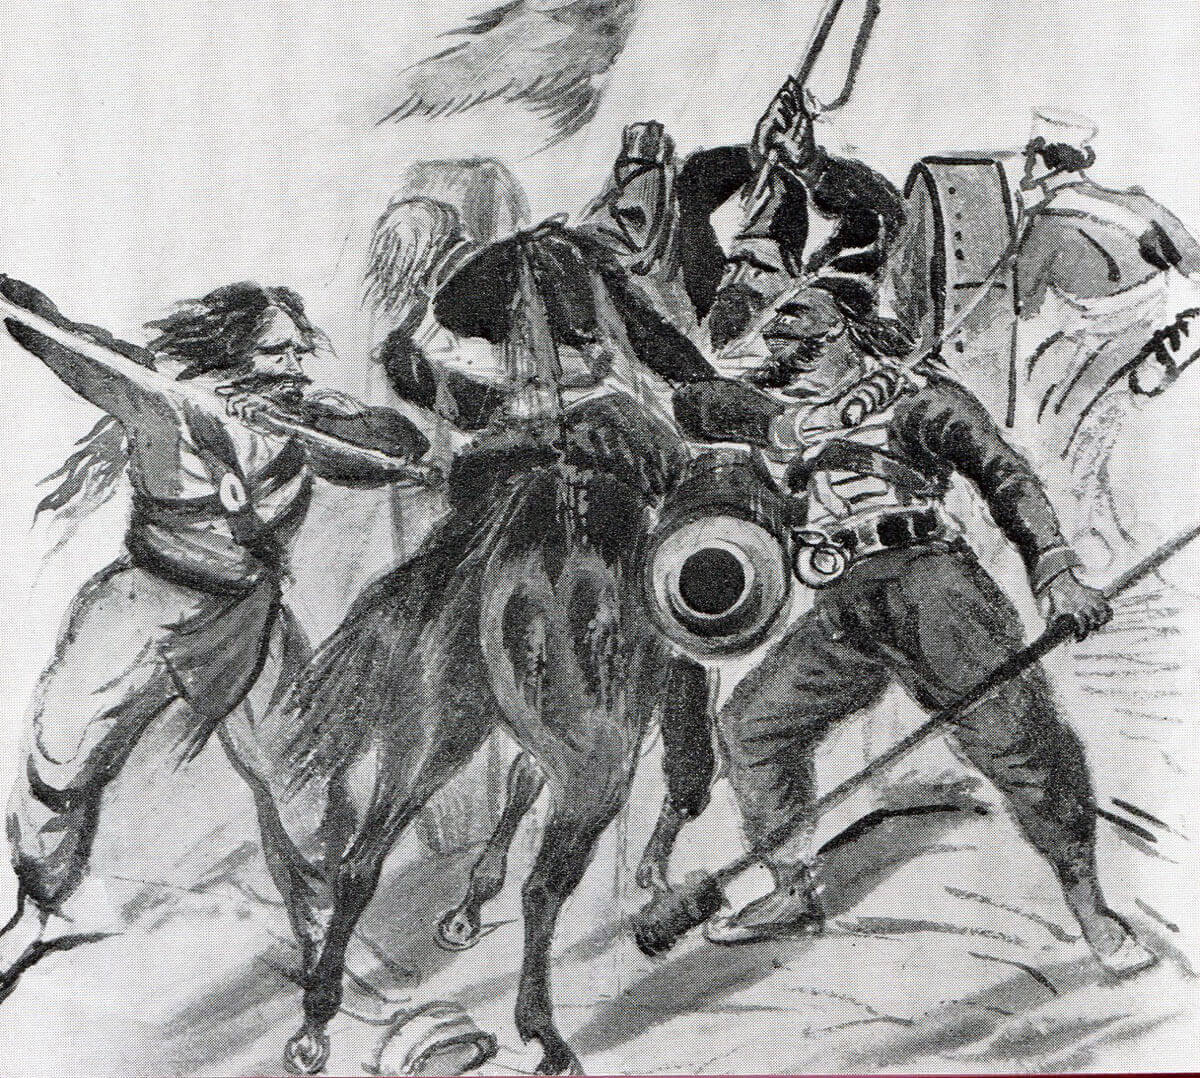
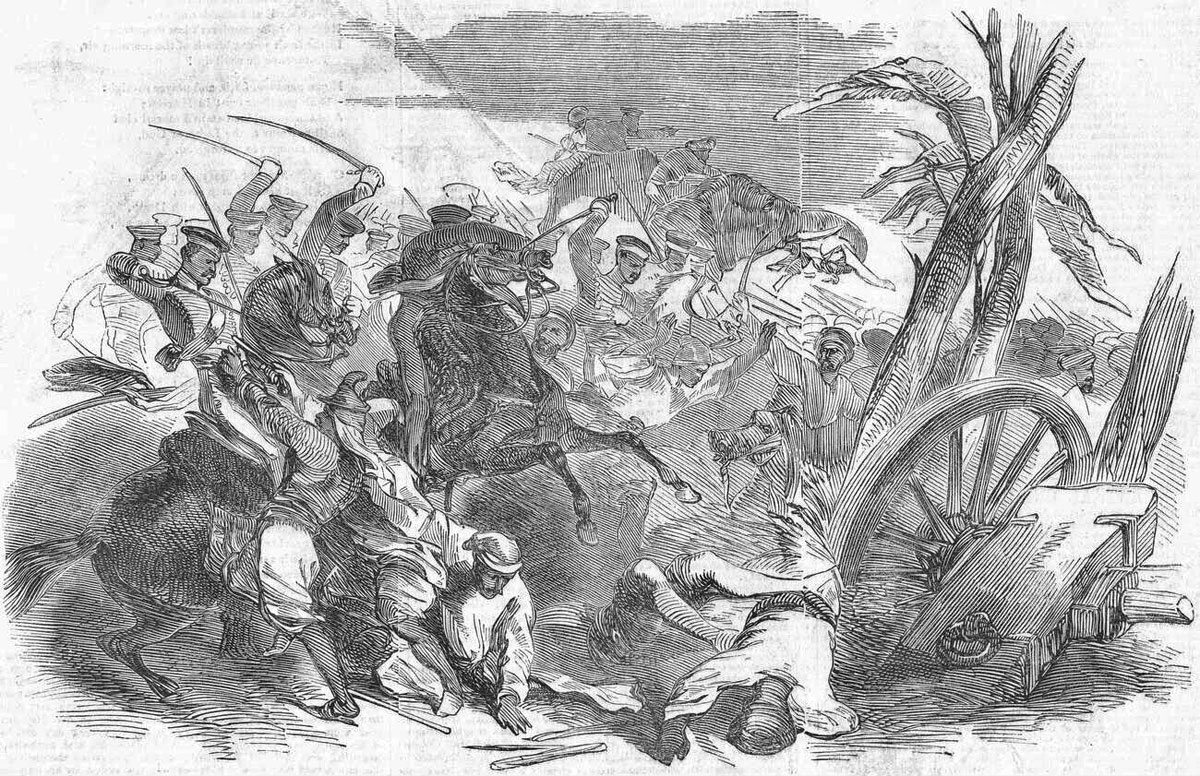
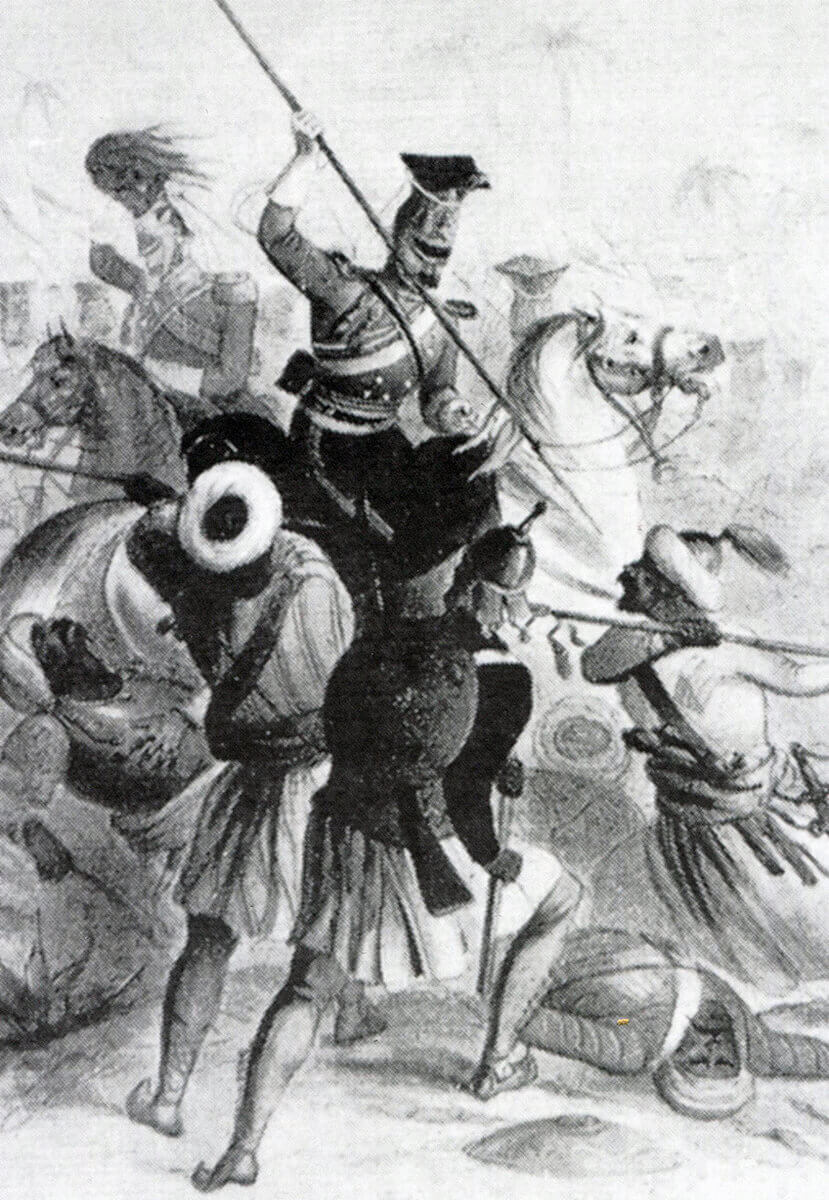
Opening shots of the Battle of Ali Masjid on 21st November 1878 in the Second Afghan War
The legacy of the Crimean War from 1854 to 1856 was continuing mistrust between Britain and Russia, focused on the precarious Turkish Empire in the Near East. The concern of the British Government in Delhi was that Russia would push its eastern borders around and through Afghanistan into India. The intelligence intrigue between the two empires simmered through the second half of the 19th Century under the half mocking title of ‘The Great Game’.
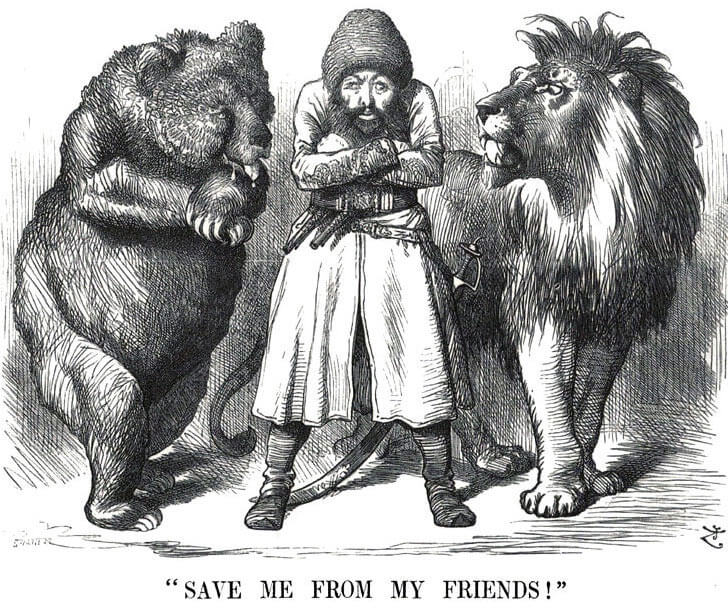
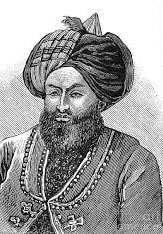
Cartoon showing Sher Ali, the Amir of Afghanistan, between the Russian Bear and the British Lion: Battle of Ali Masjid on 21st November 1878 in the Second Afghan War
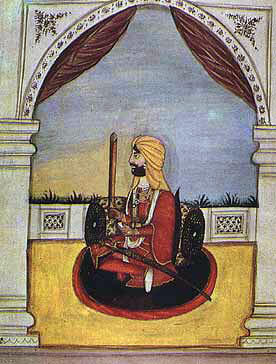
Relations between Britain and Russia deteriorated dramatically during the Russo-Turkish War of 1877. The Tsar’s governor in Central Asia compelled the Amir of Afghanistan, Sher Ali, to accept a Russian Mission at his capital. Spurred on by the Home Government, the British Viceroy of India, Viscount Lytton, demanded that the Afghans accept a counterbalancing British Mission, headed by General Sir Neville Chamberlain and accompanied by a substantial military escort. Sher Ali refused.
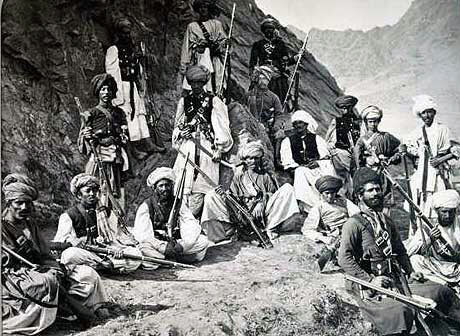
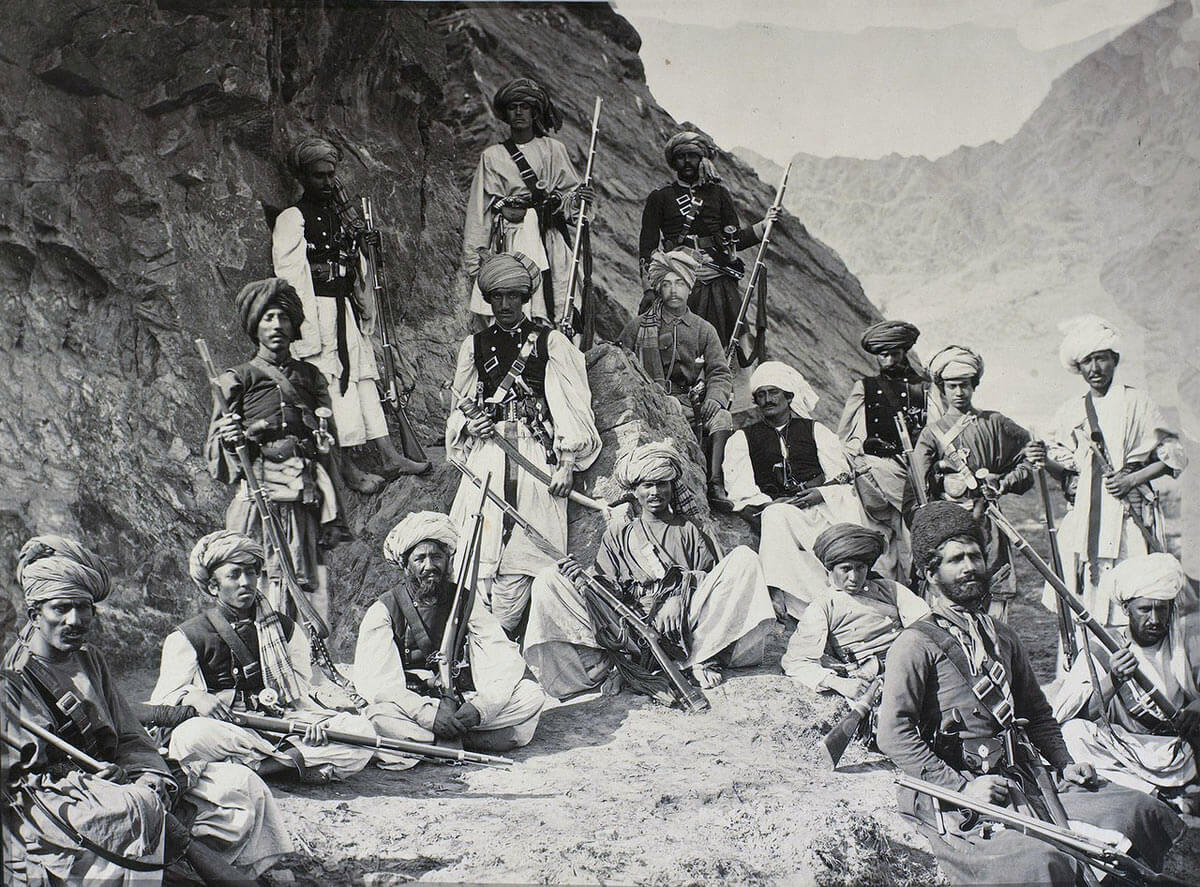
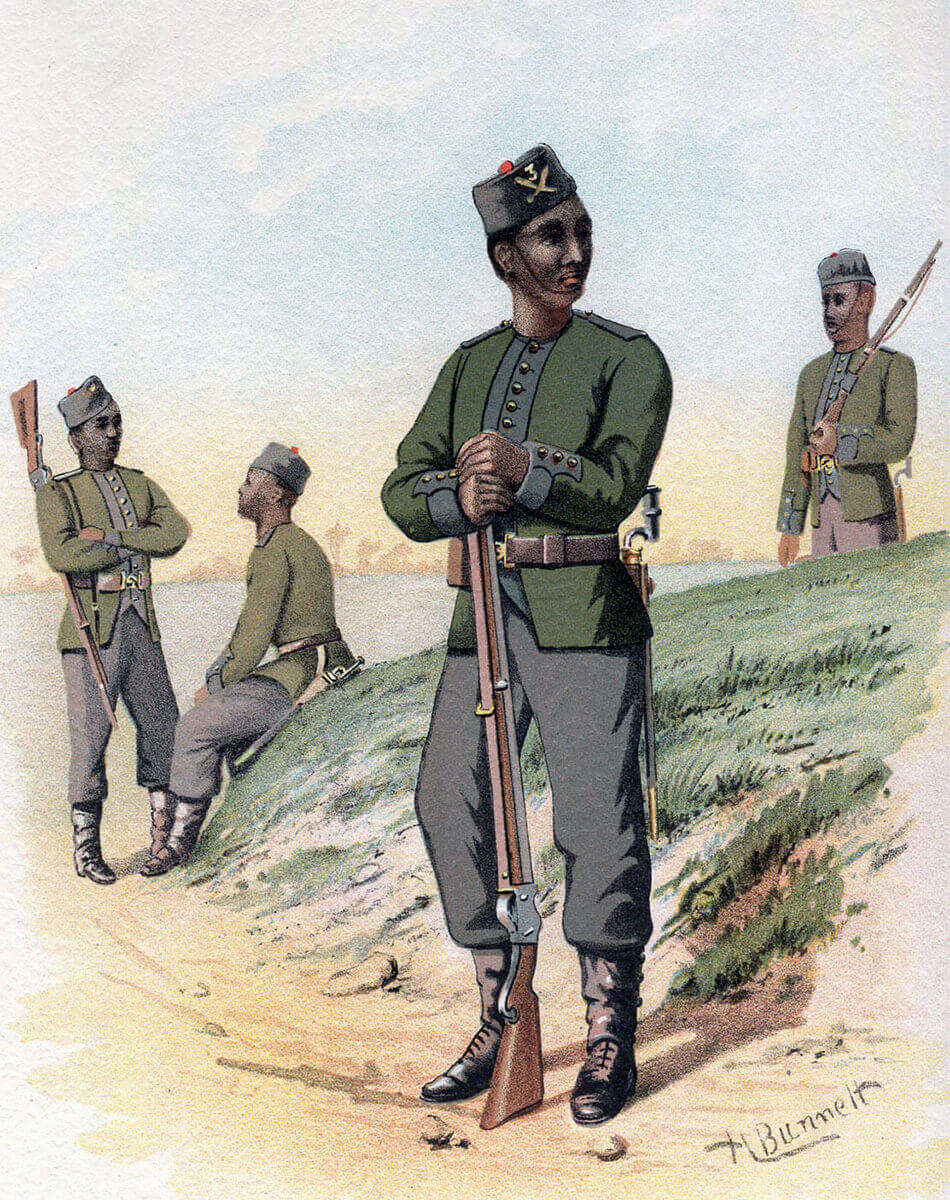
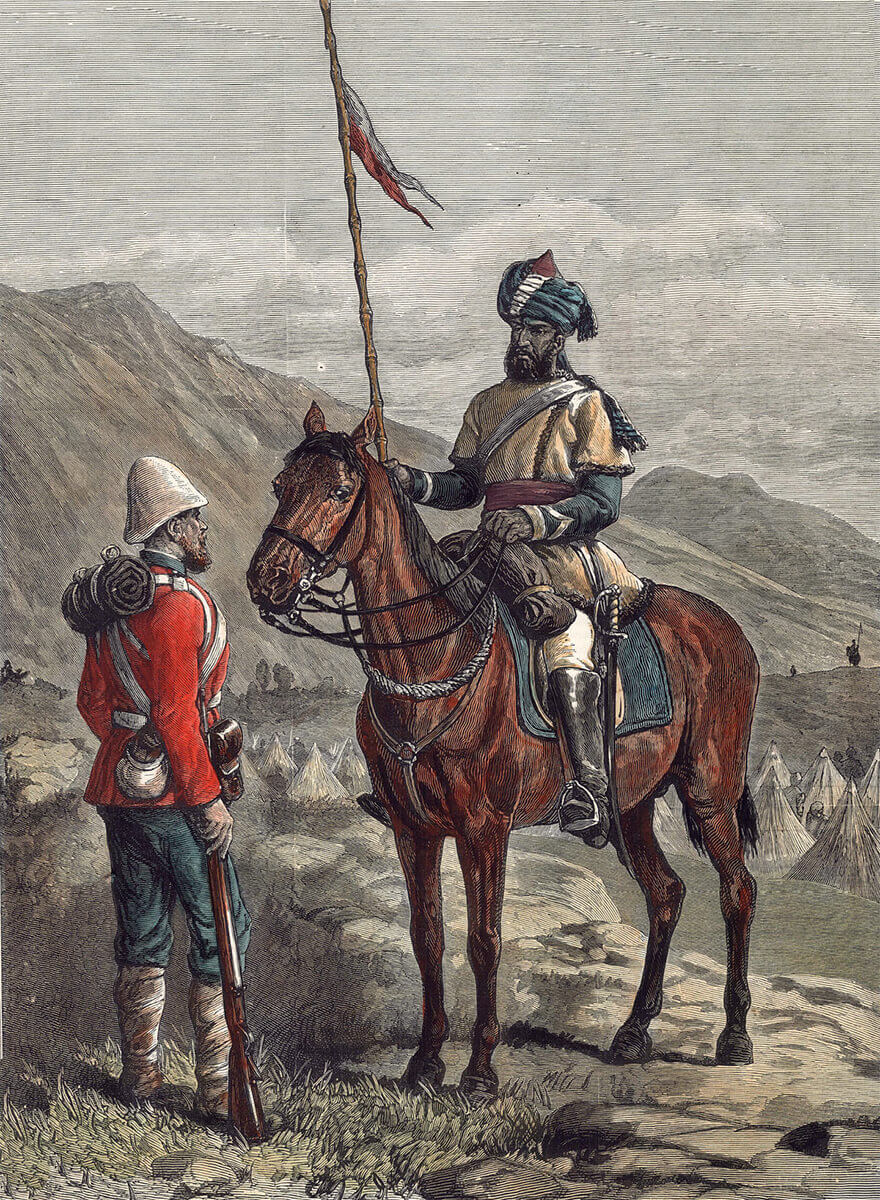
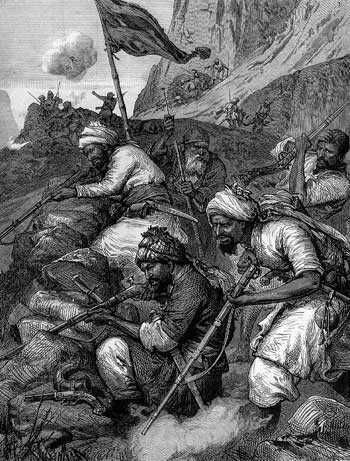
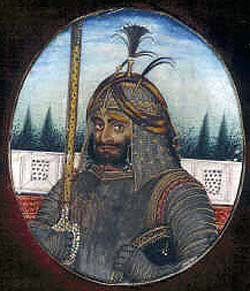
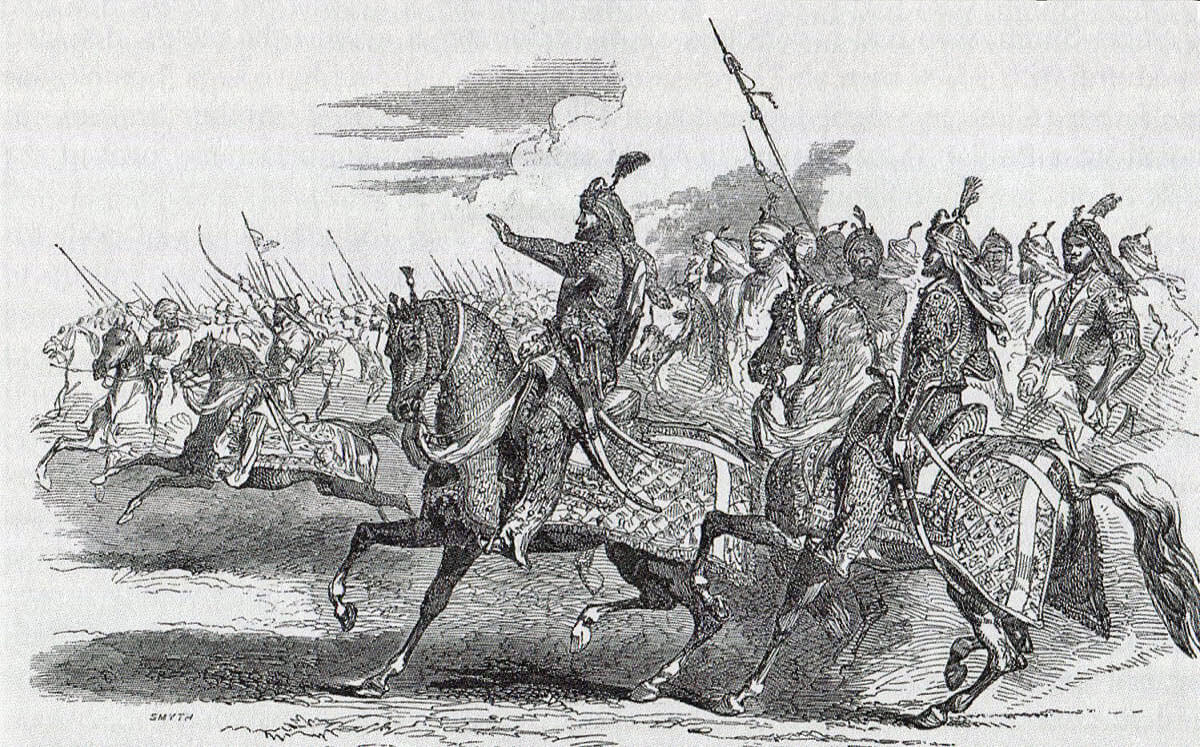
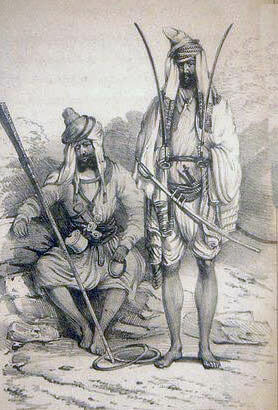
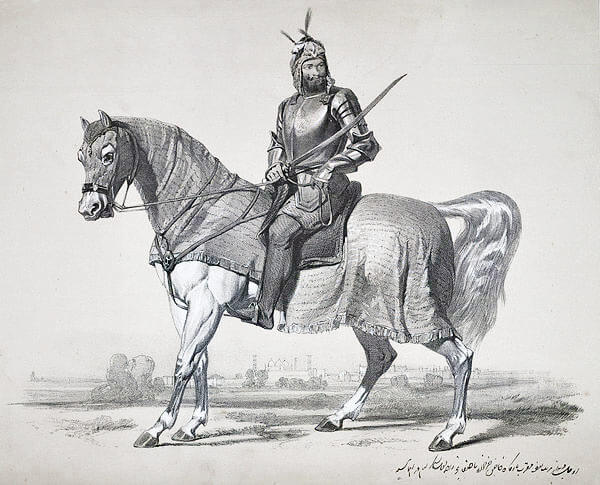
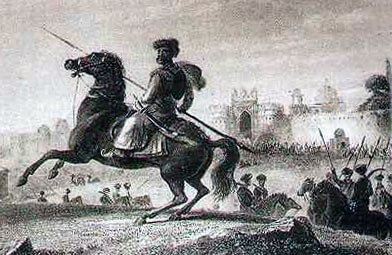
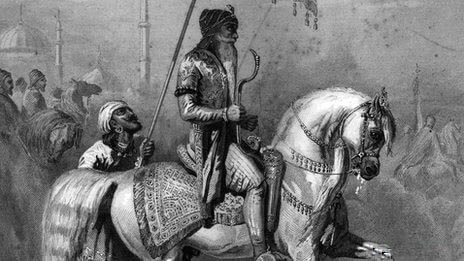
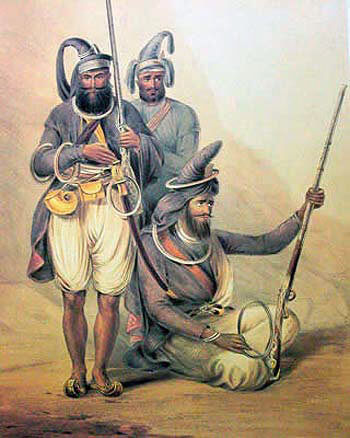
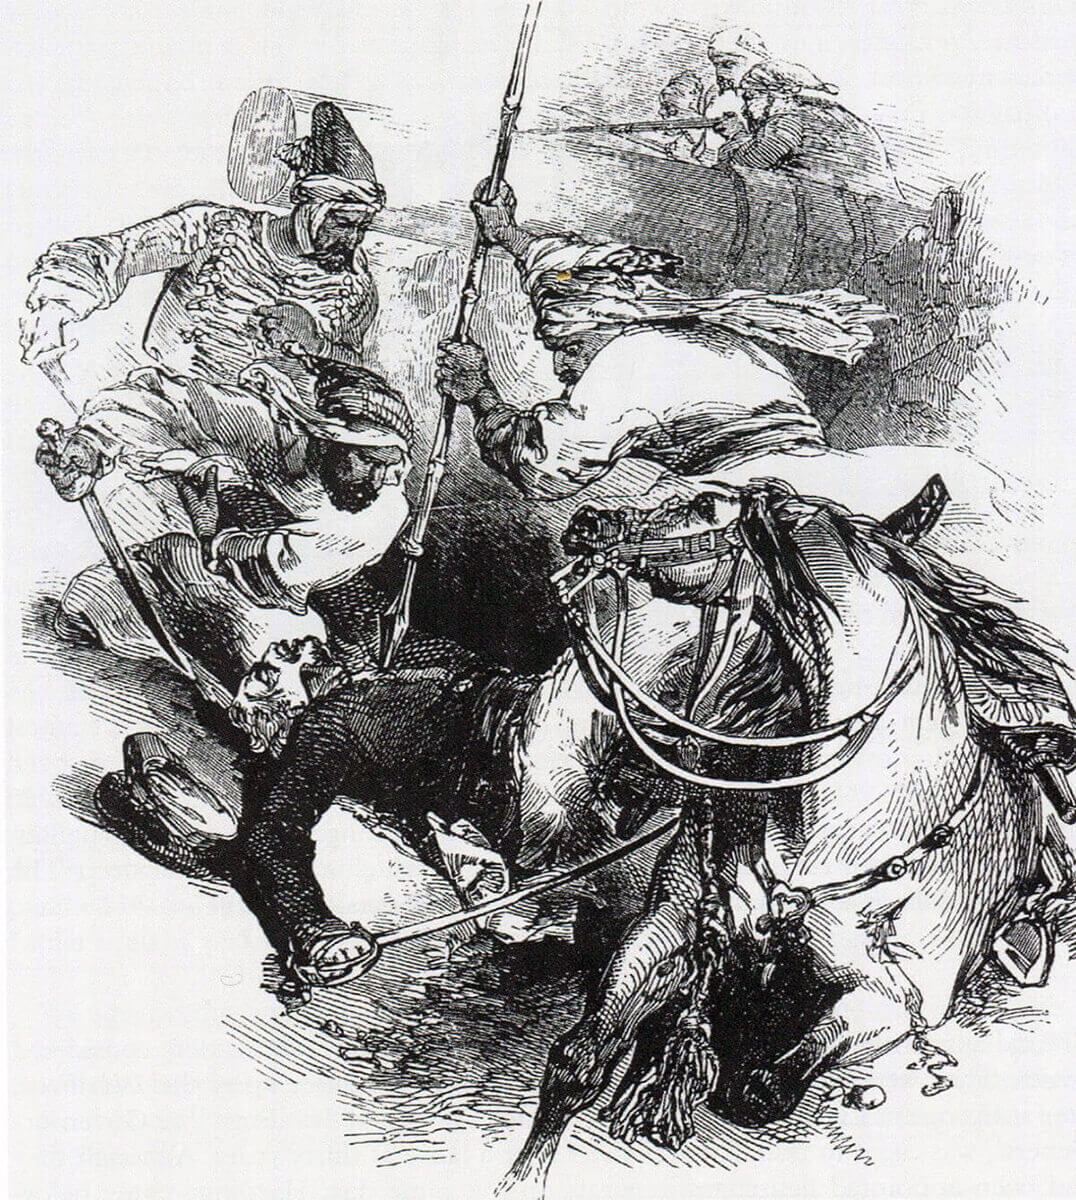
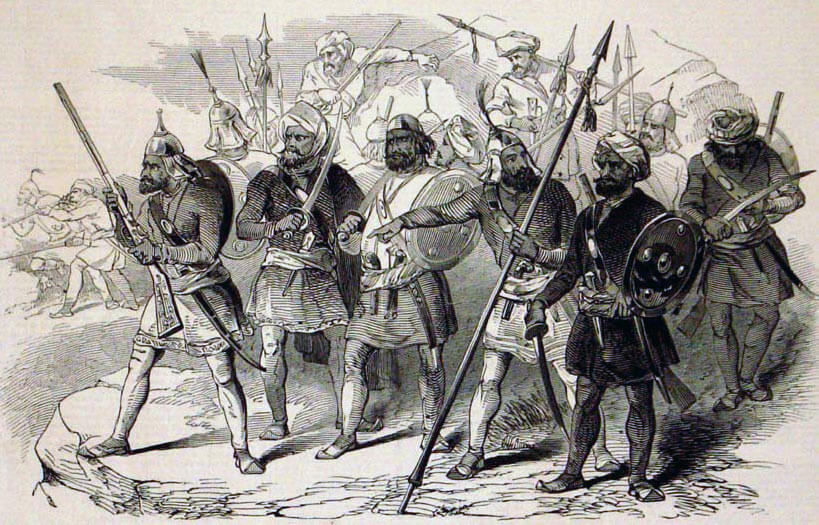
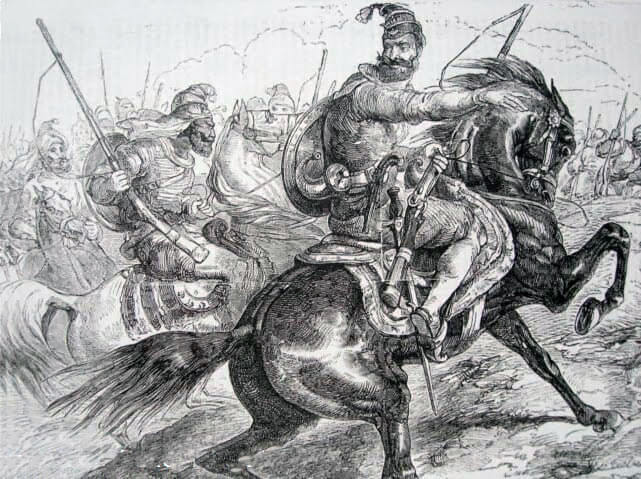
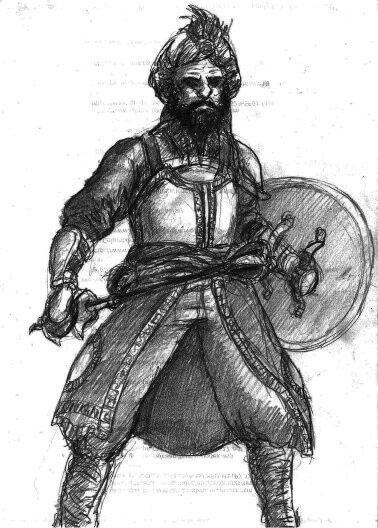
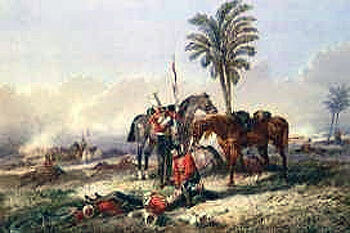
Afghan tribesman: Battle of Ali Masjid on 21st November 1878 in the Second Afghan War
Negotiations took place between the British and the Afghans at Peshawar. On 21st September 1878, Major Cavagnari led the advance party of the British Mission into the Khyber Pass on its way to Kabul, to be stopped by Afghan troops on the border and turned back.
Incensed, Lord Lytton issued an ultimatum to Sher Ali, requiring him to accept the mission or face invasion. Sher Ali would probably have conceded, given time, but the British did not give him the chance. On 20th November 1878, the ultimatum expired and the British/Indian armies crossed the border into Afghanistan.
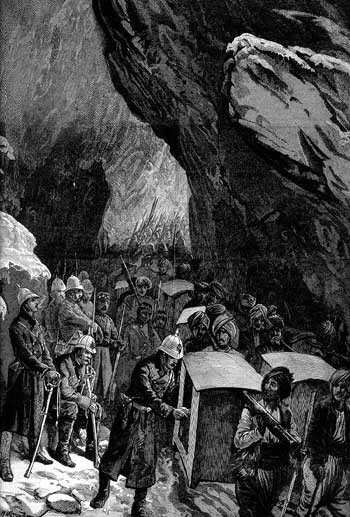
The British invasion of Afghanistan in 1878 followed three routes: The Peshawar Valley Field Force, commanded by Lieutenant General Sir Sam Browne VC, was to leave Peshawar and head directly west up the Khyber Pass to the Afghan fort of Ali Masjid, guarding the pass from the top of an imposing mountain. Once Ali Masjid was taken, the force would continue to Dakka or on to Jellalabad.
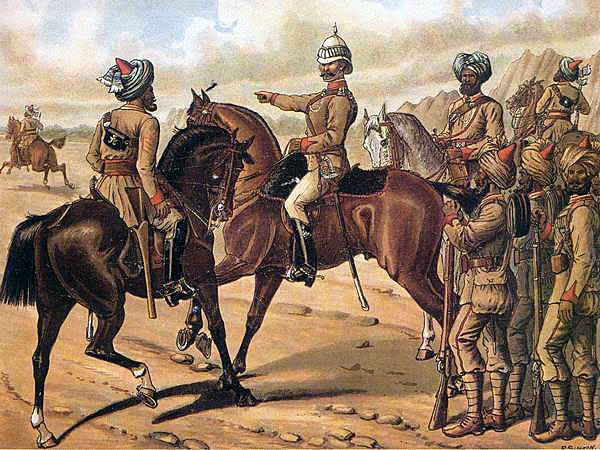
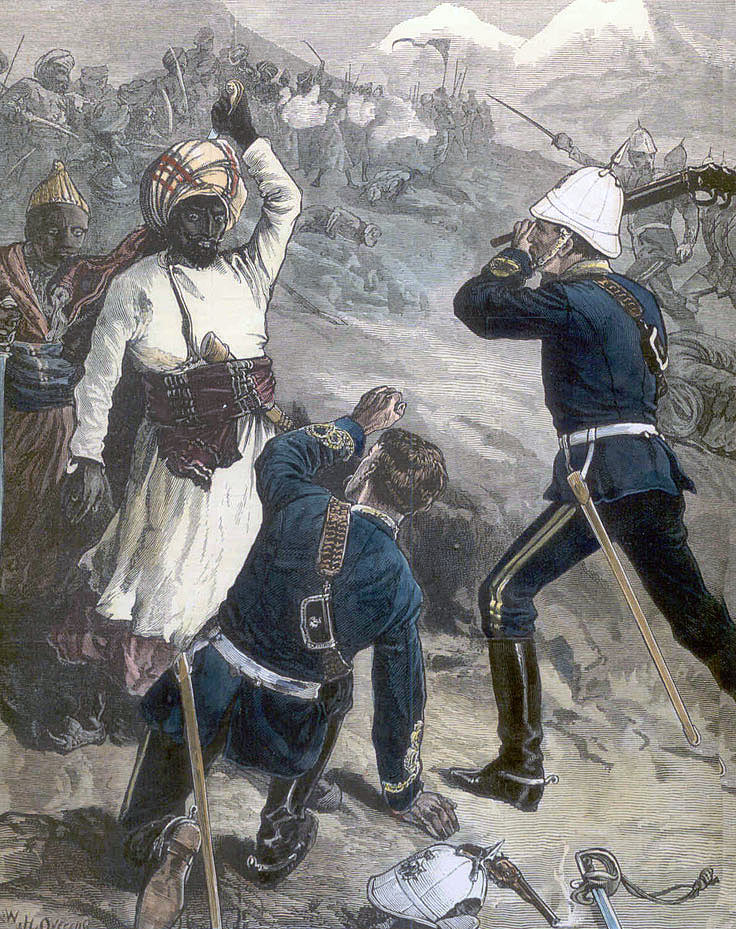
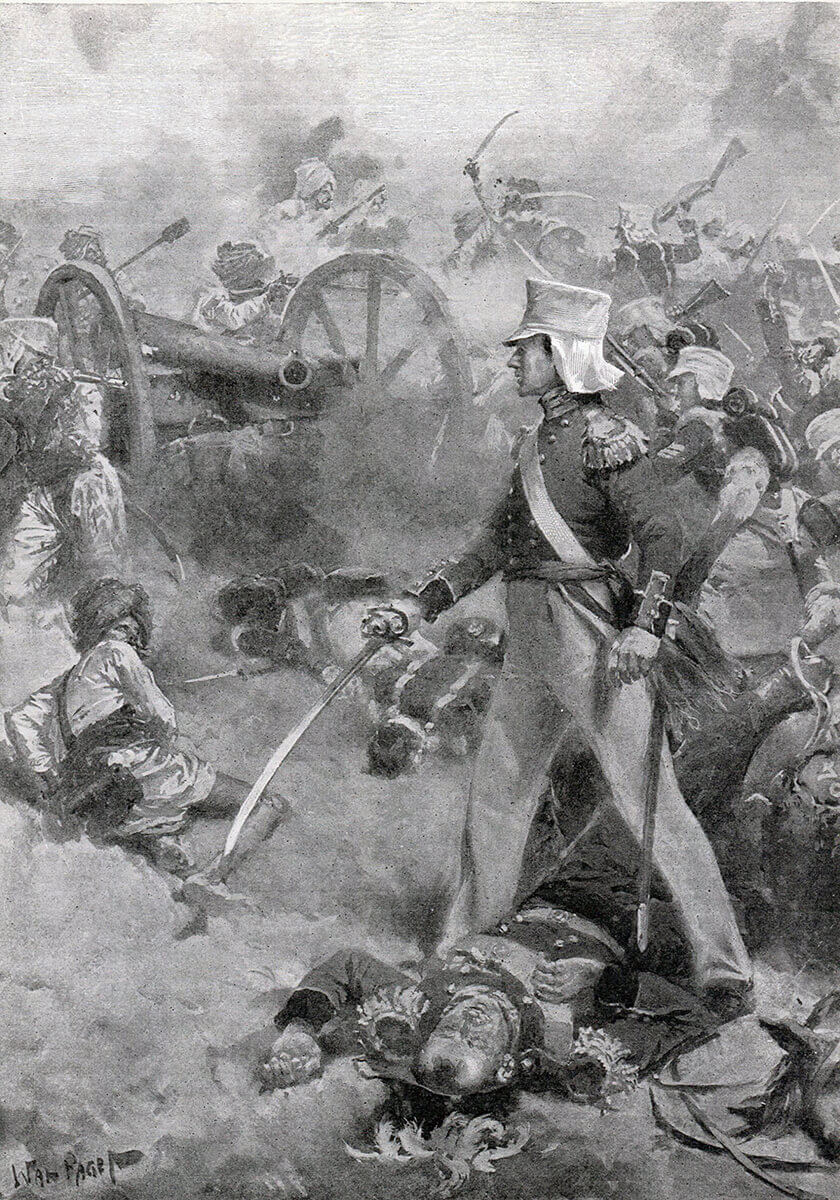
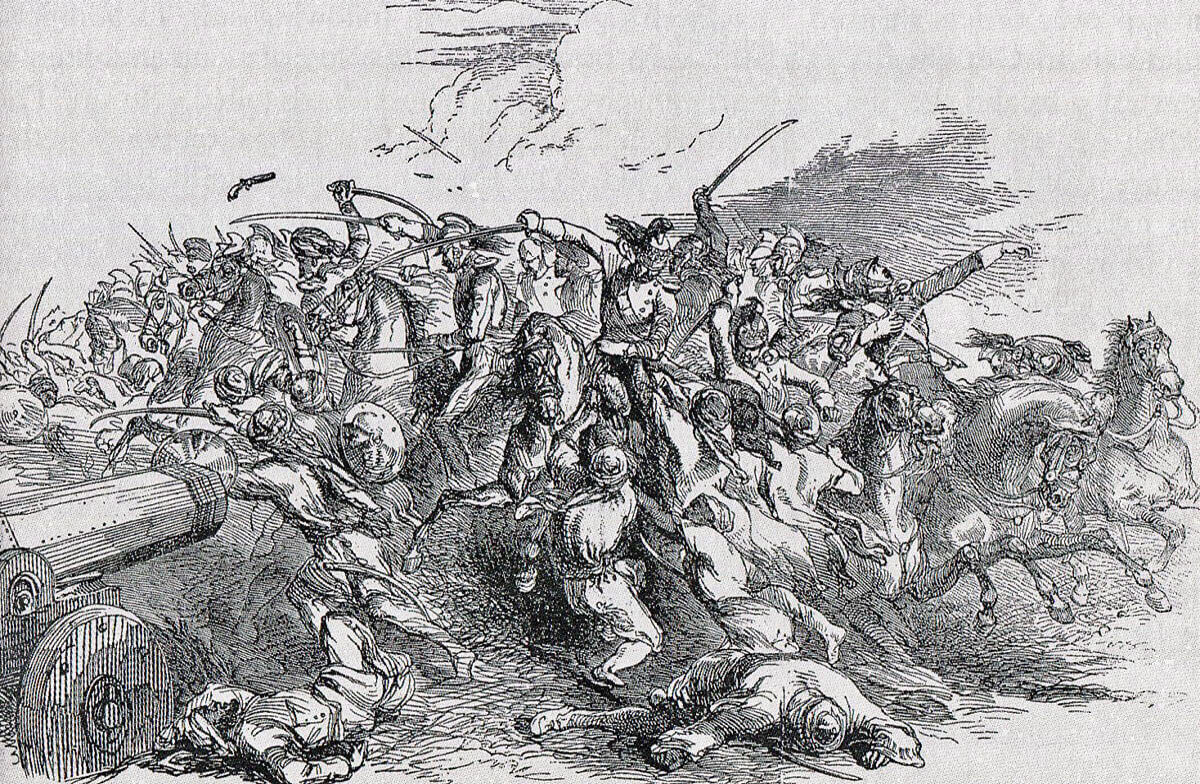
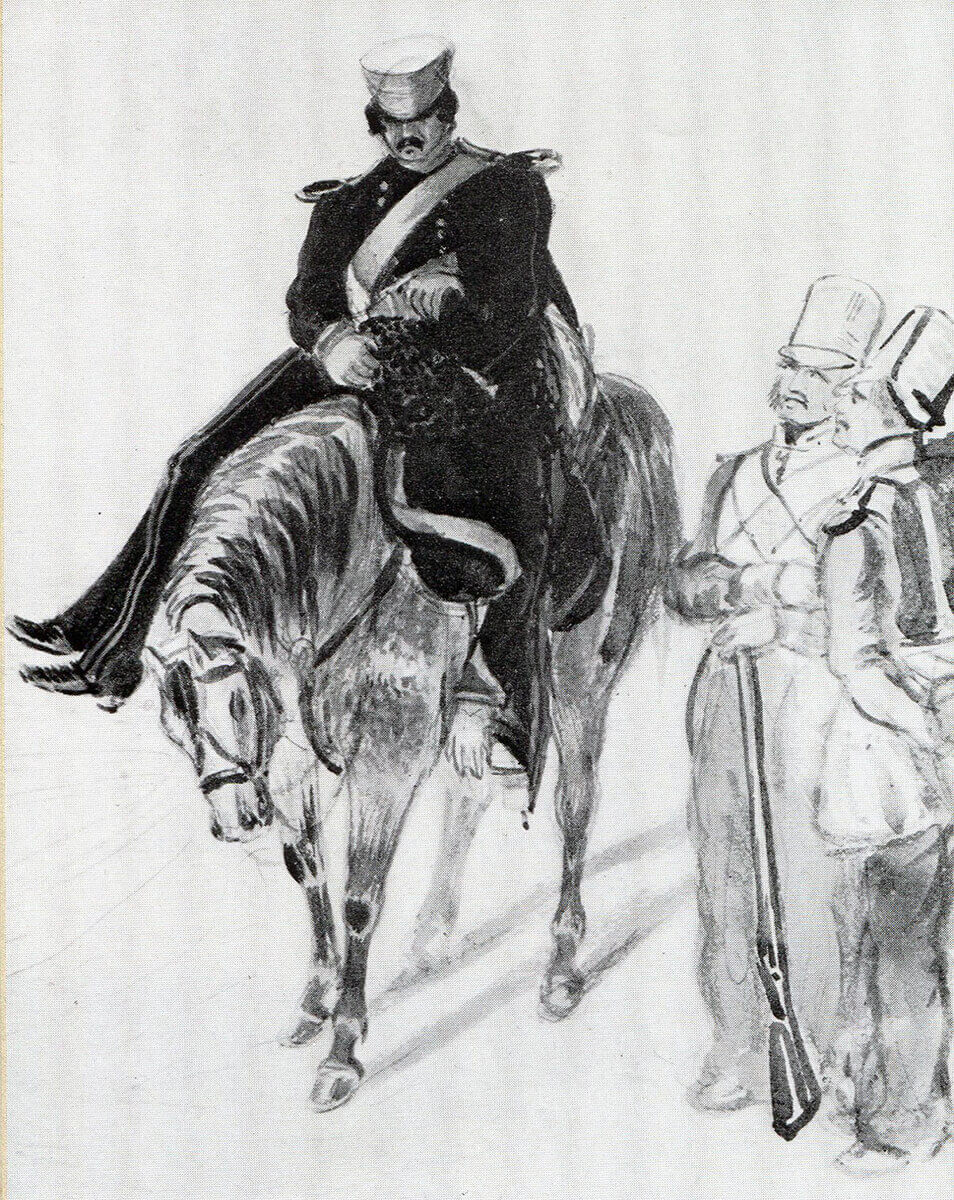
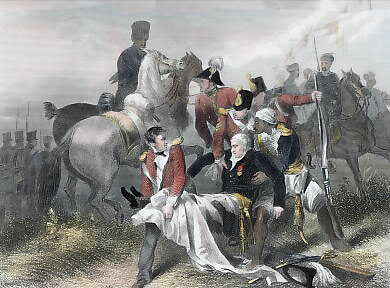
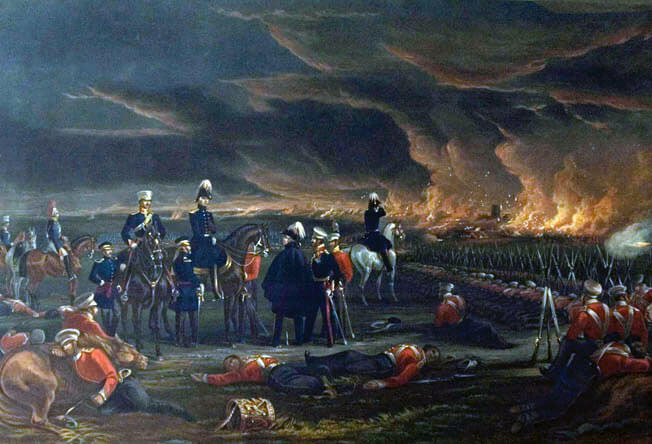
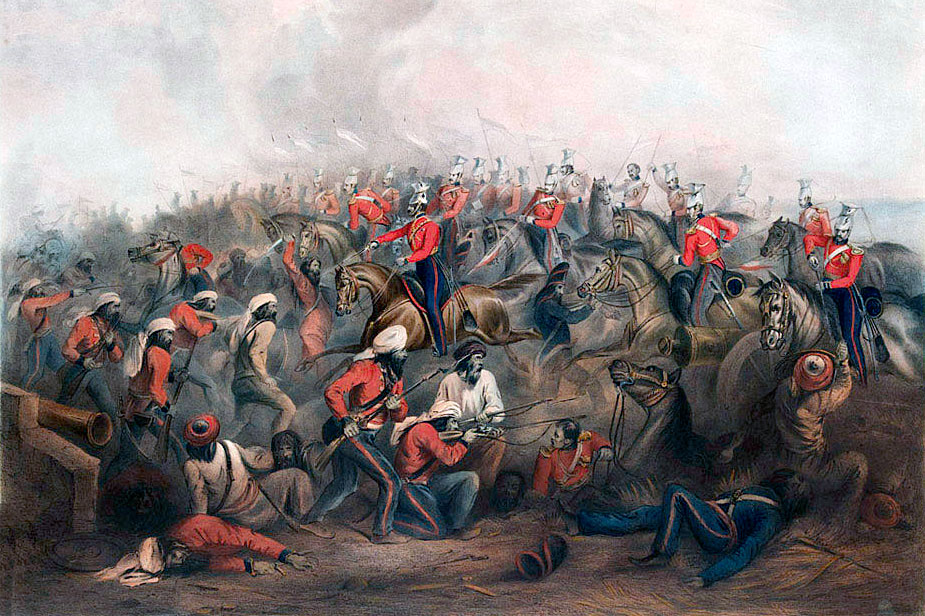
General Sir Sam Browne VC directing the attack on the Afghan fort at the Battle of Ali Masjid on 21st November 1878 in the Second Afghan War
The Kurram Field Force, 16,200 men and 48 guns, commanded by Major General Sir Frederick Roberts VC, was to leave Kohat on the Indus and enter Afghanistan by the Kurram Pass, following the Kurram River up to the Shutargardan Pass; the most direct route to Kabul.
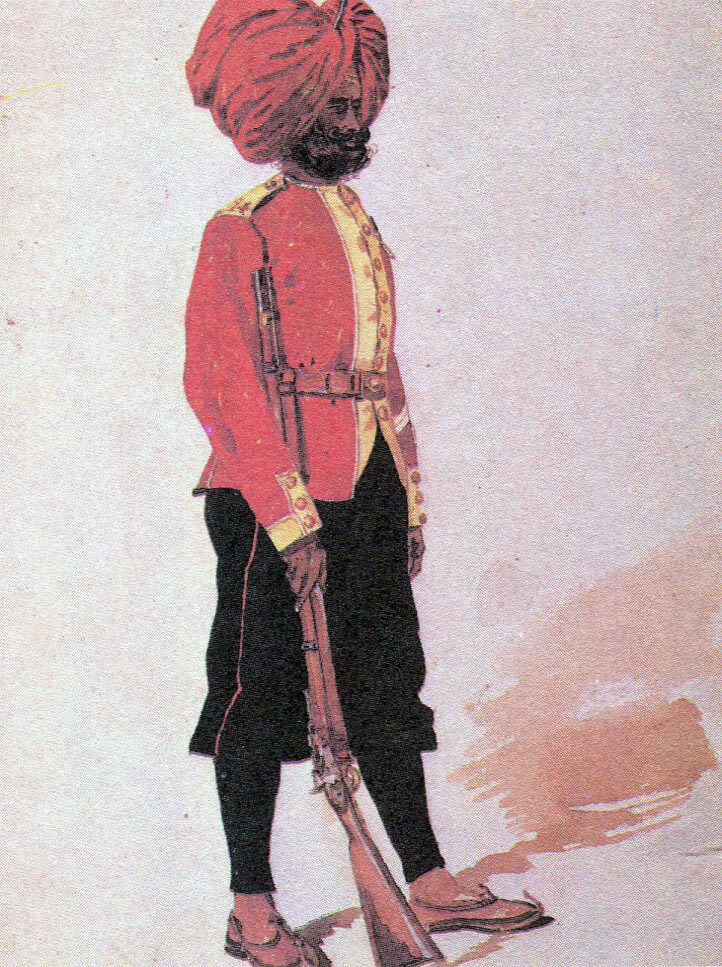
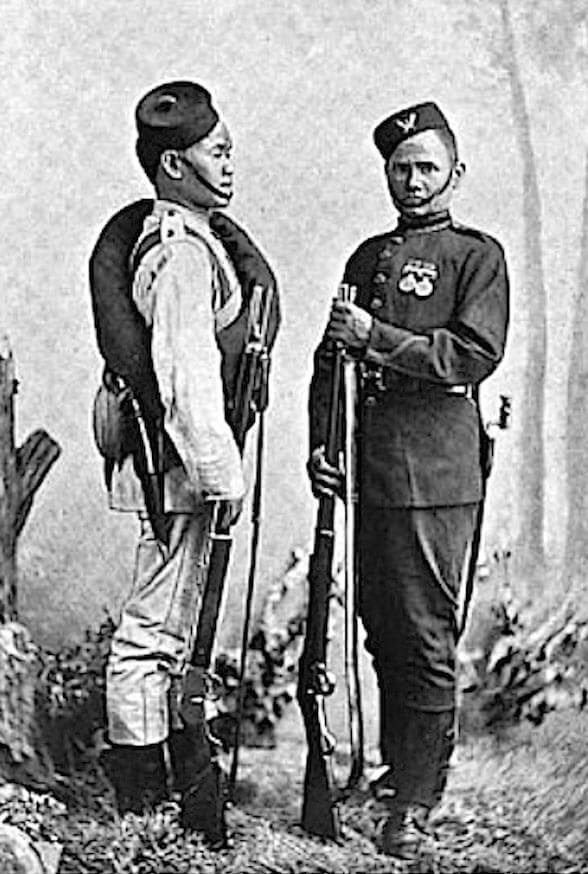
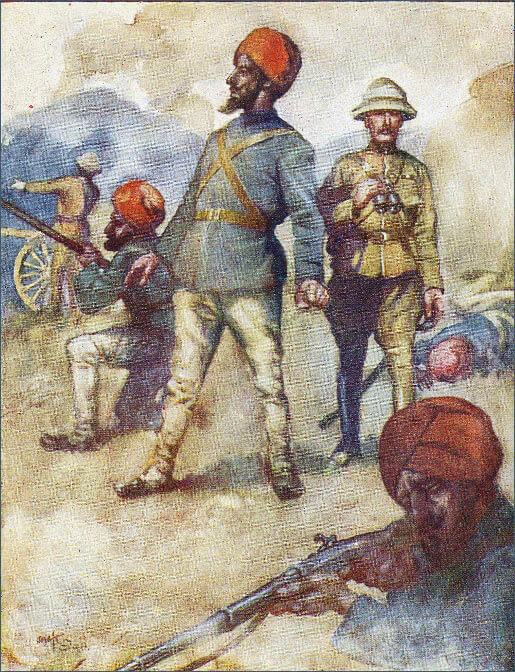
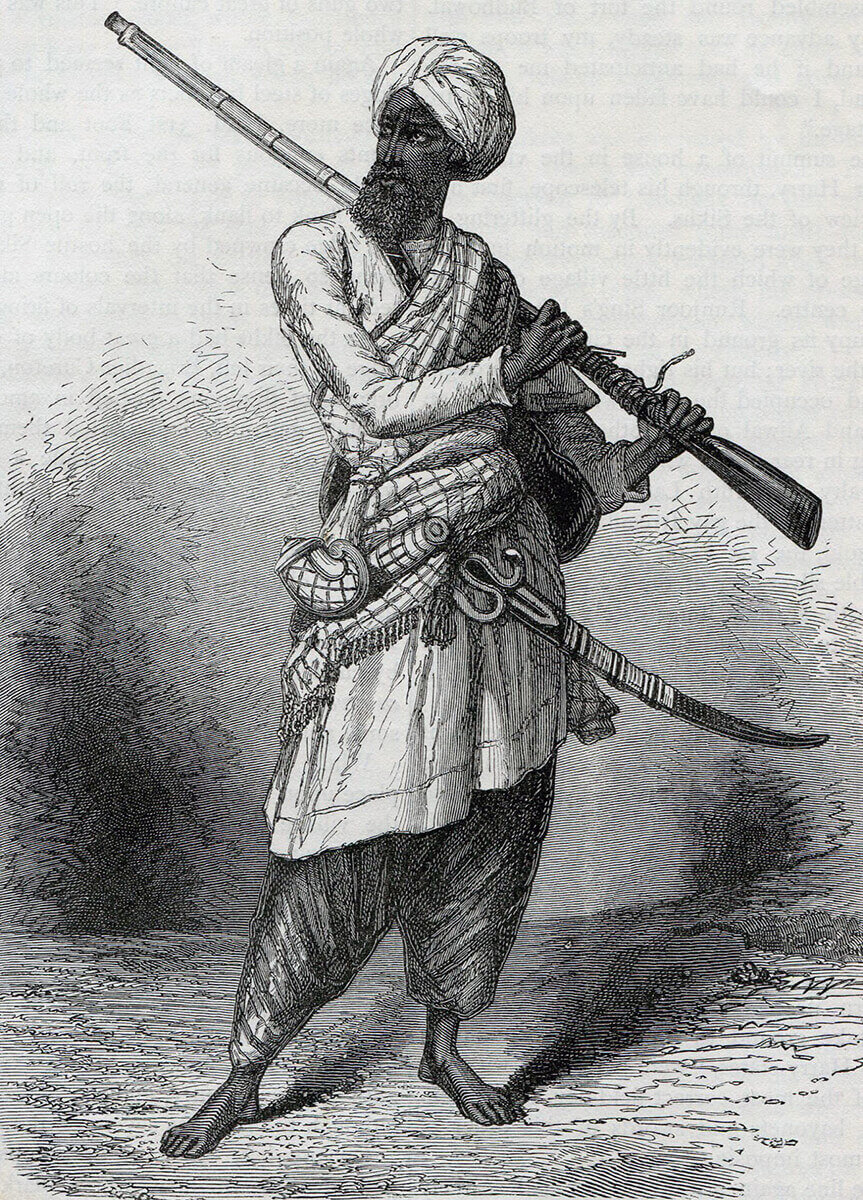
Sepoy of the 14th Sikhs: Battle of Ali Masjid on 21st November 1878 in the Second Afghan War
From the south, Lieutenant General Stewart, with the South Afghanistan Field Force, would enter Afghanistan through the Bolan and Khojak Passes, taking Quetta and heading for the southern Afghan city of Kandahar.
The task of each force was limited; to seize some Afghan territory and halt.
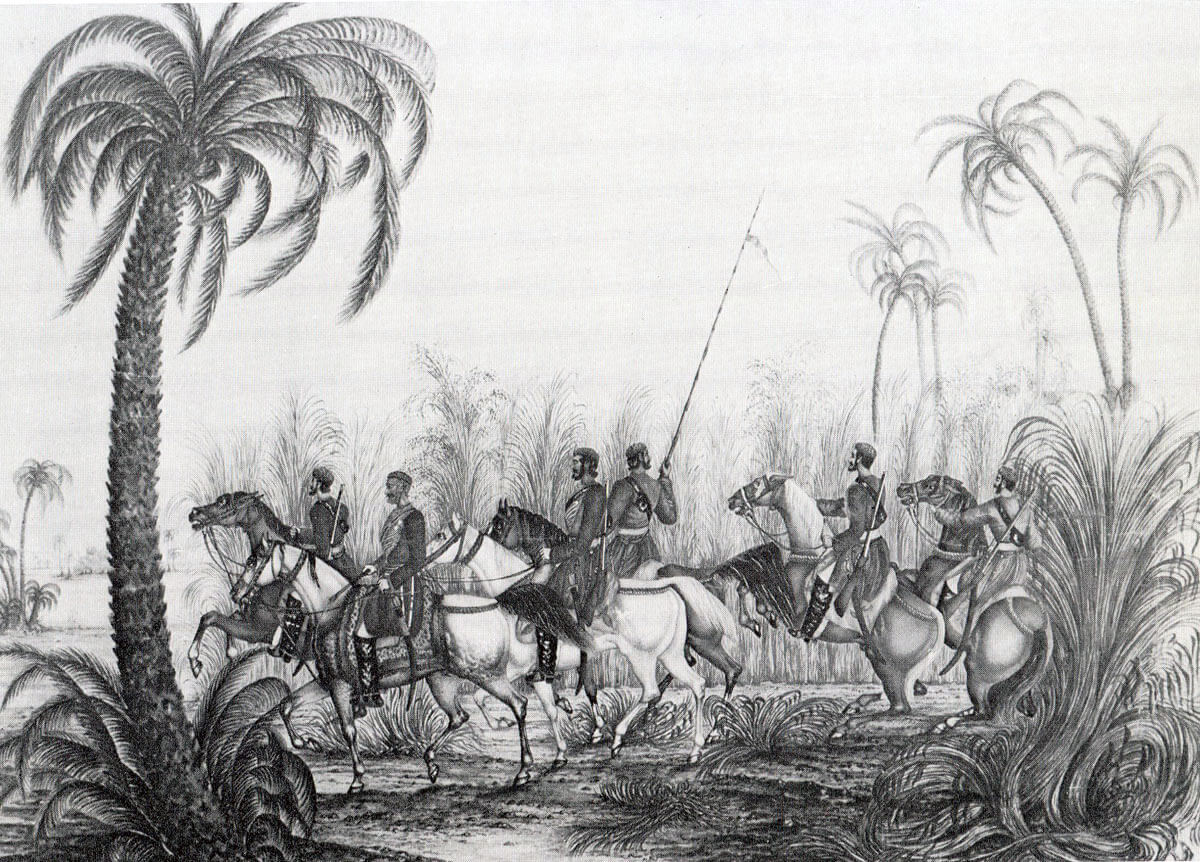
On 20th November 1878, Browne’s force, the strongest, was over the border, heading for the Afghan fort at Ali Masjid, lying at the head of the Khyber Pass. Major Cavagnari and Lieutenant Colonel Jenkins of the Guides Cavalry had reconnoitred the Khyber and the plan of attack was in place.
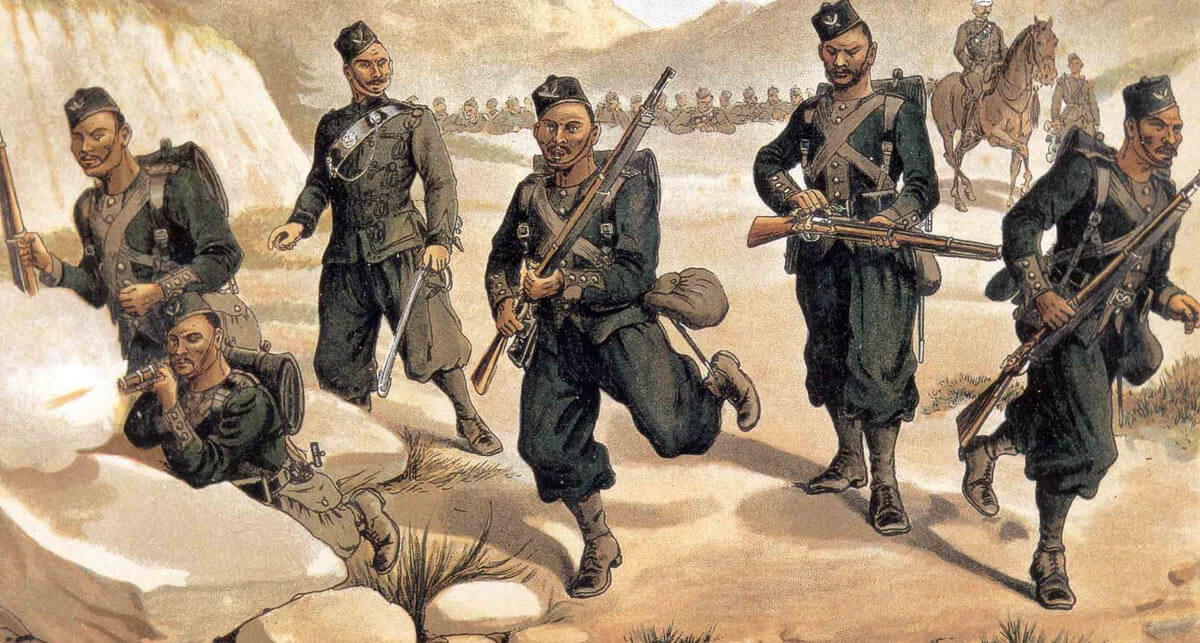
3,700 Afghan troops with 24 guns held the positions in and around the fort and along the line of heights stretching to each side.
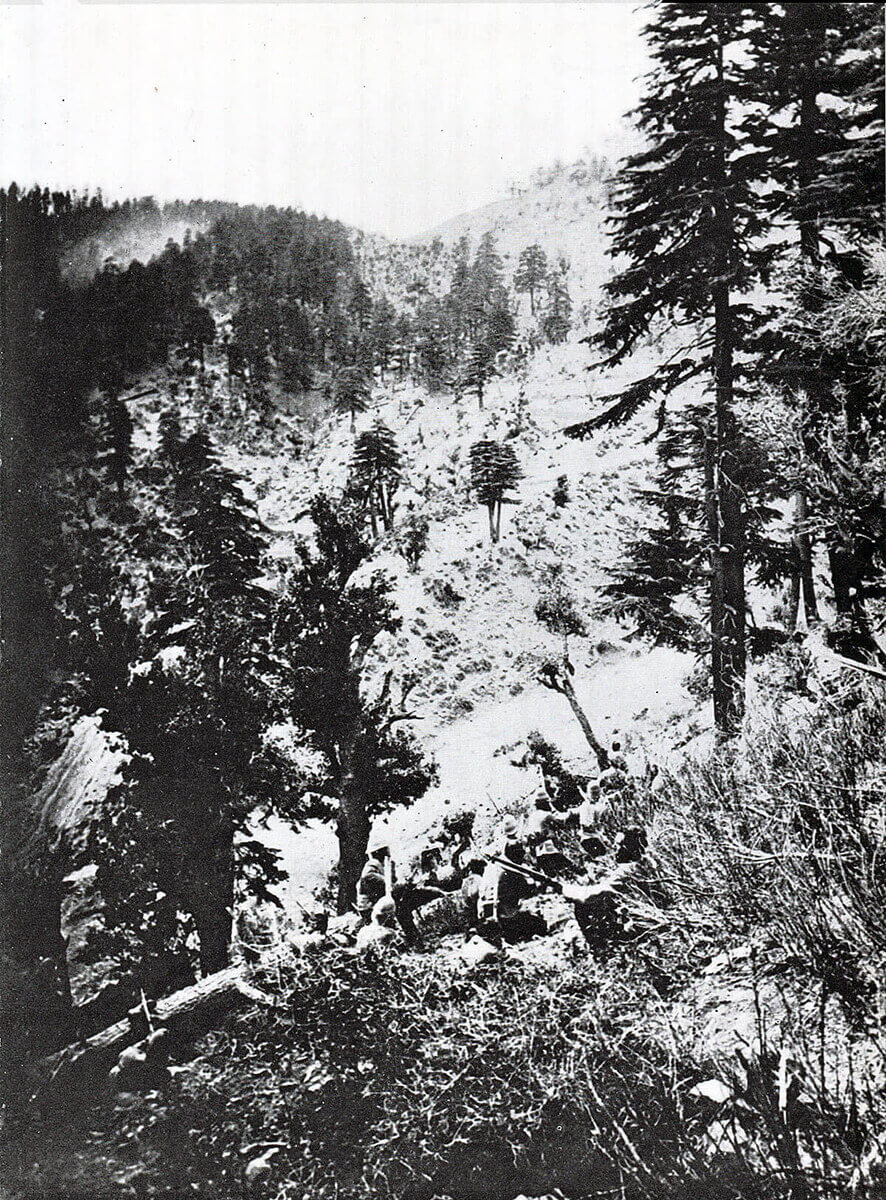
The British/Indian First and Second Infantry Brigades moved up the Lashora Valley, four miles to the East of the Khyber, with the aim of outflanking the Afghan positions and occupying the pass behind them.

British 7 pounder RML mountain gun: Battle of Ali Masjid on 21st November 1878 in the Second Afghan War: Firepower Museum
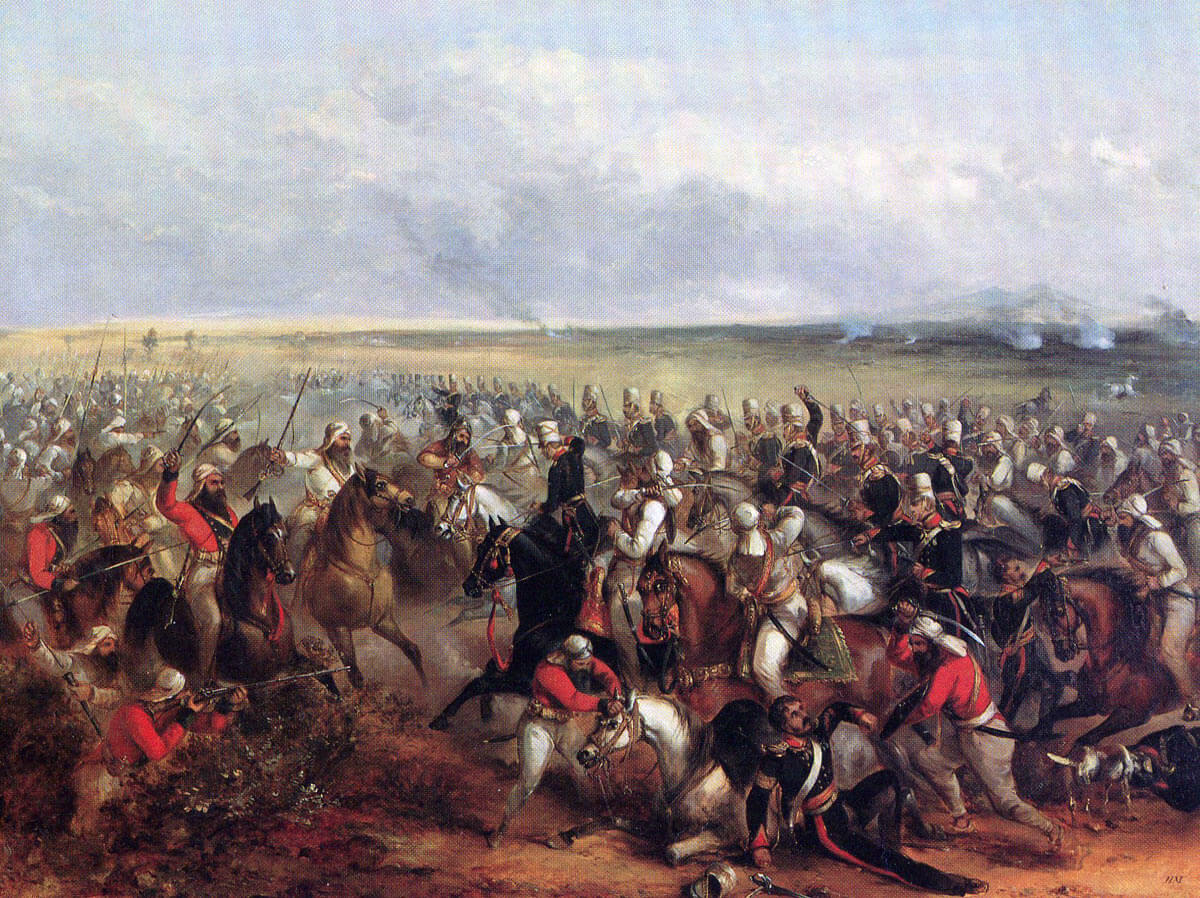
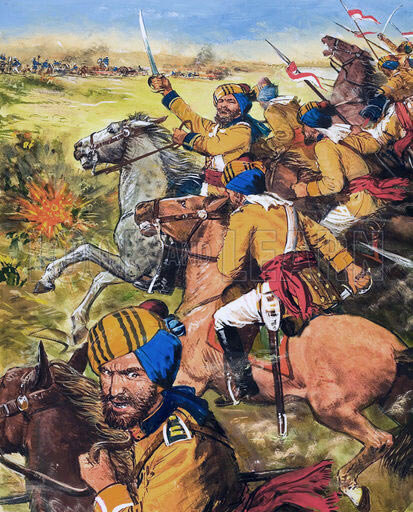
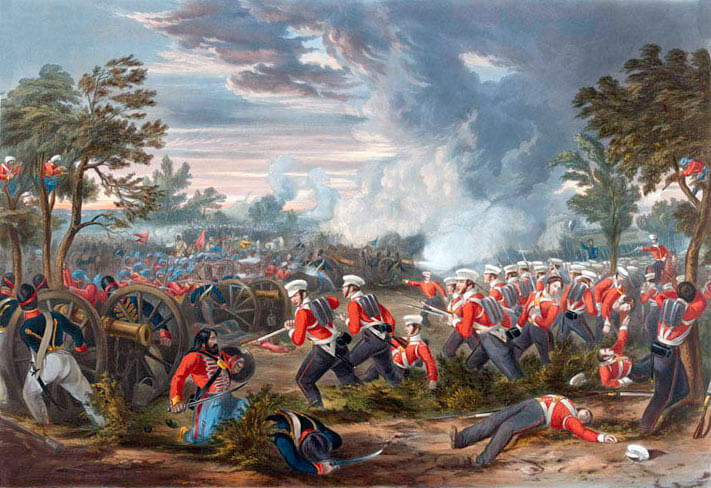
The British/Indian Third and Fourth Infantry Brigades pushed straight up the Khyber Pass to pin the Afghans and begin the attack on Fort Ali Masjid.
The British/Indian First and Second Brigades had some eighteen hours to make their journeys of around eleven miles, but the night was dark and movement was difficult.
The main force moved up the Khyber in the early morning of 21st November 1878, exchanging shots with Afghan patrols. Guns were brought up and the artillery in the pass and in the fort bombarded each other, while the British waited for the outflanking move to take effect.
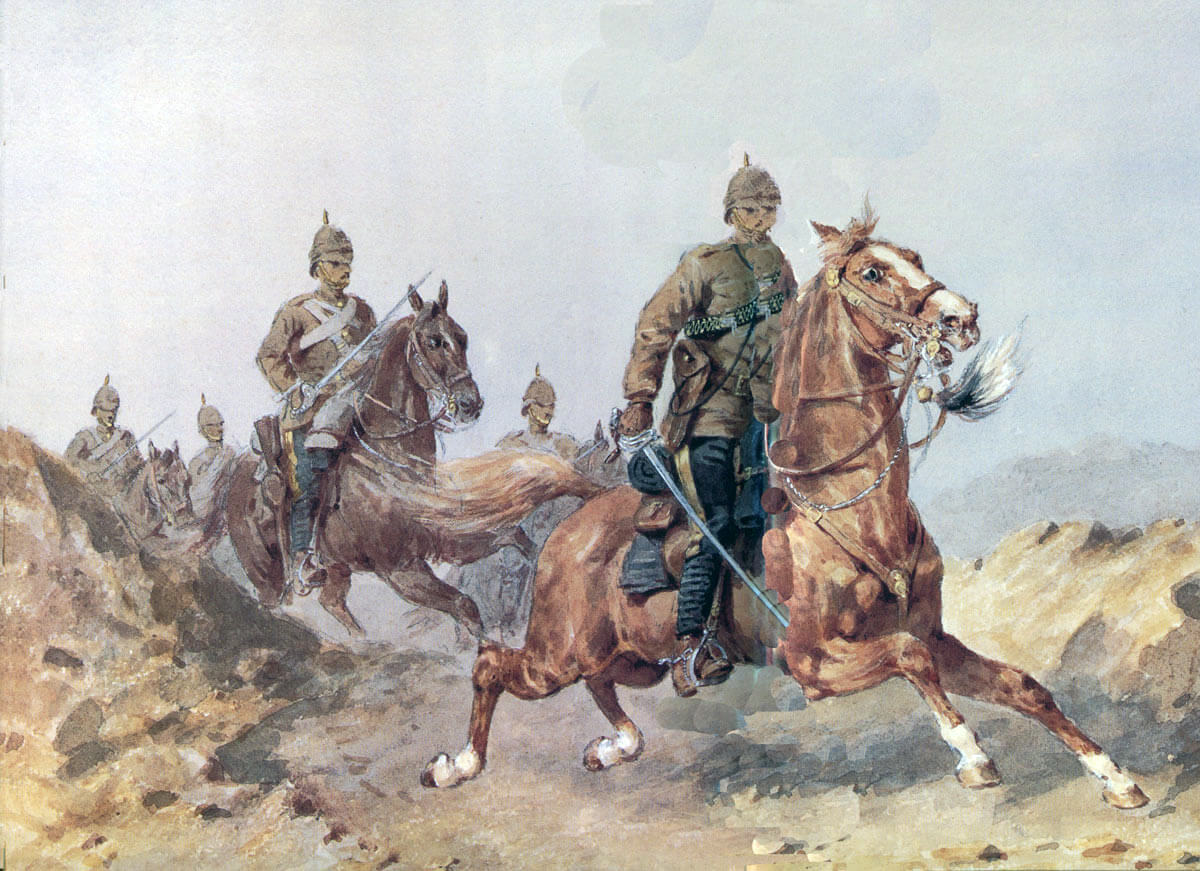
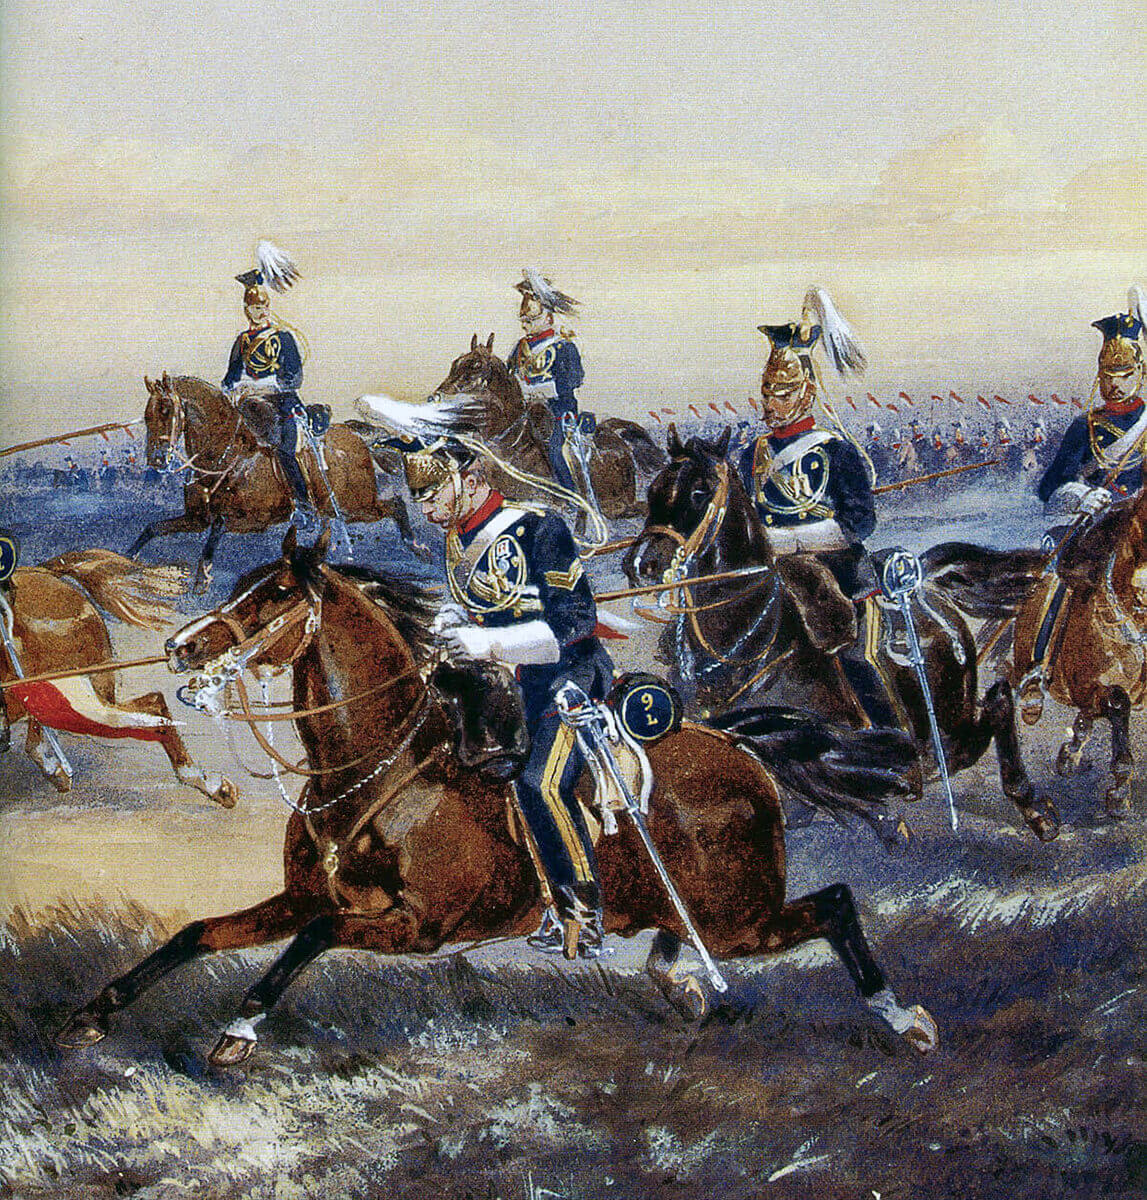
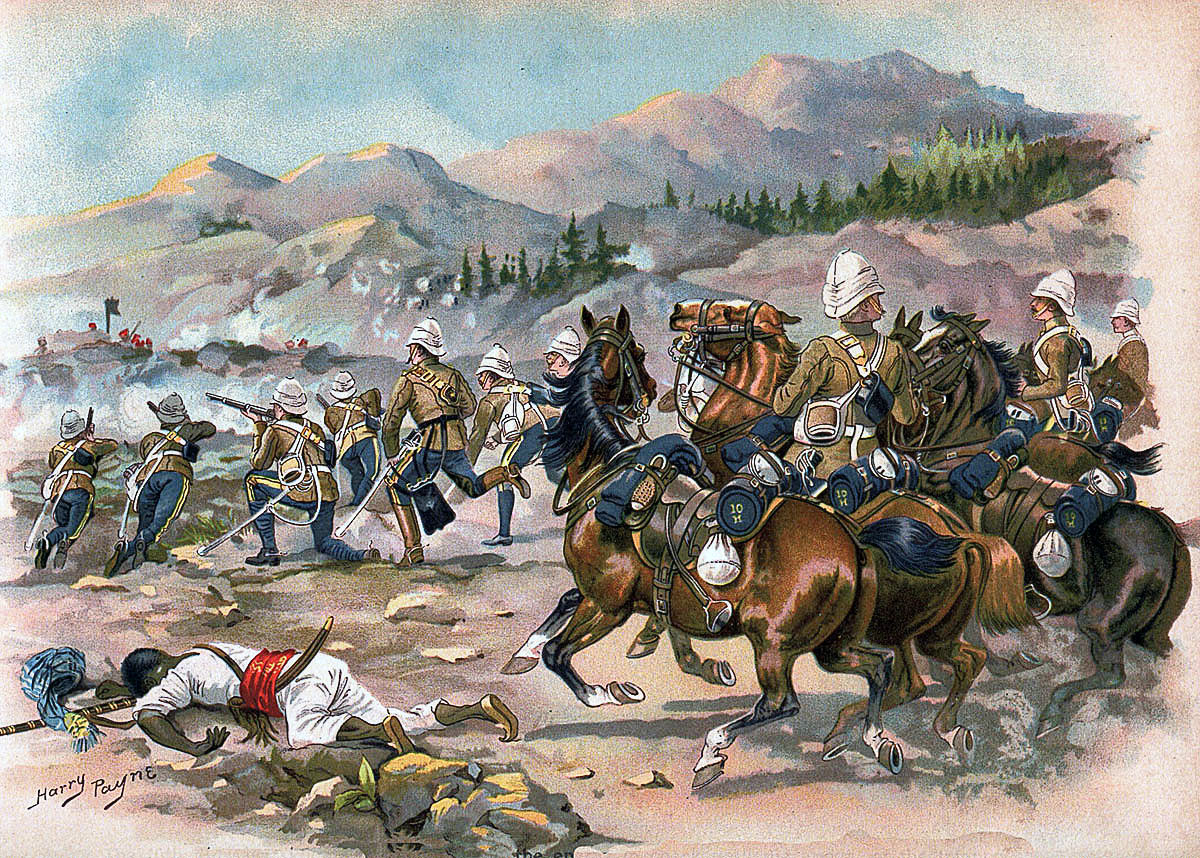
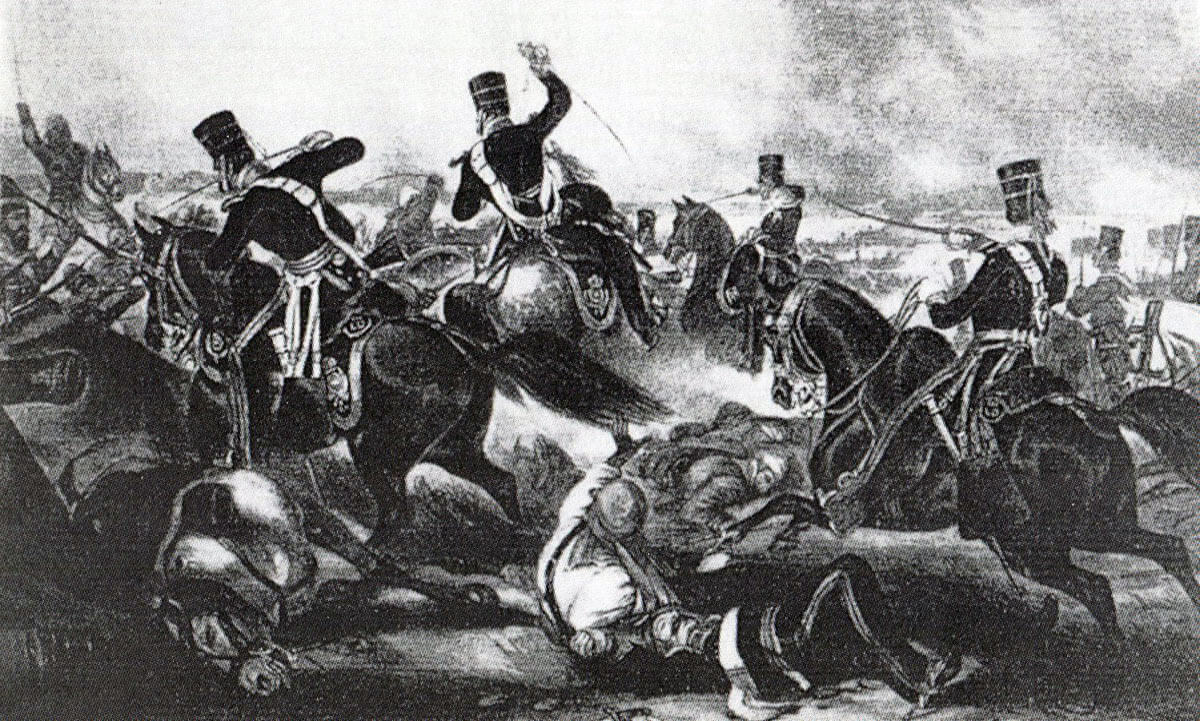
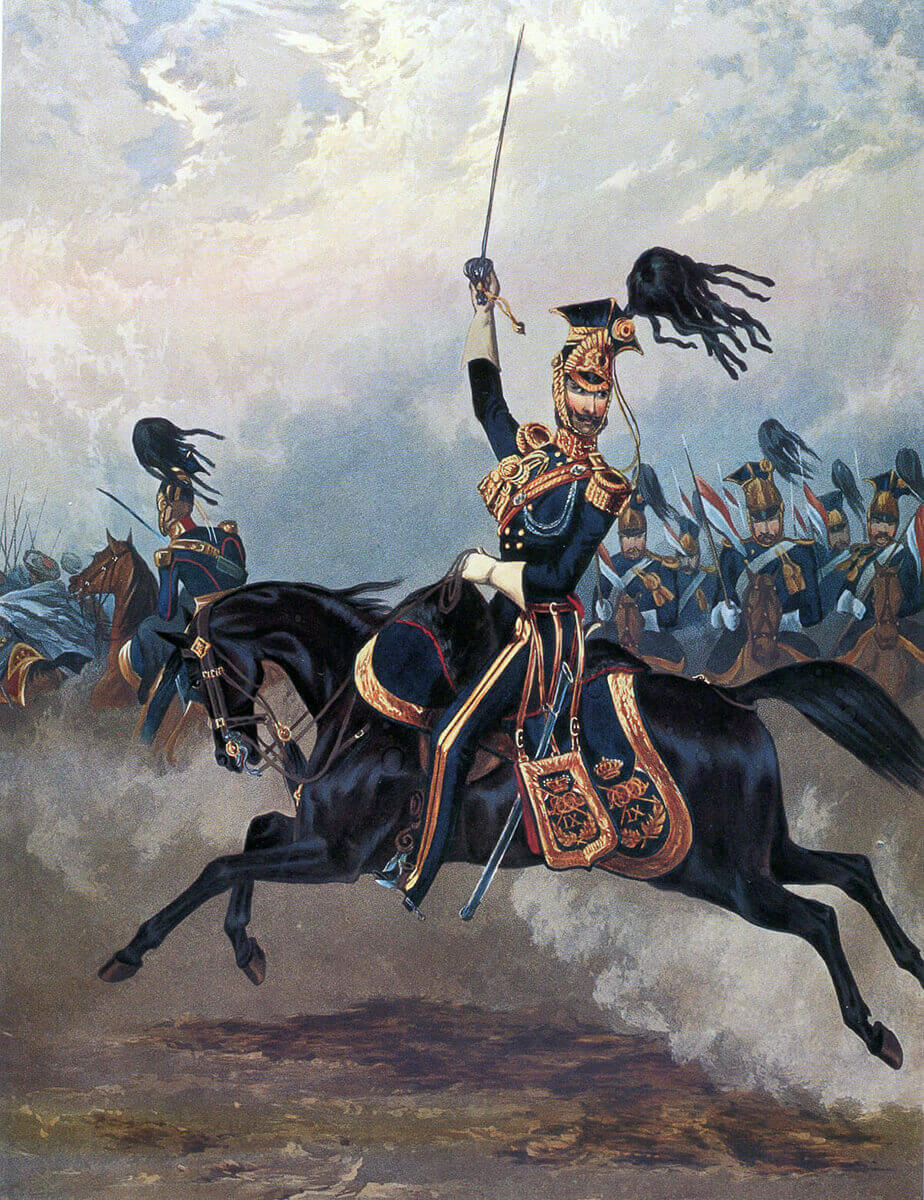
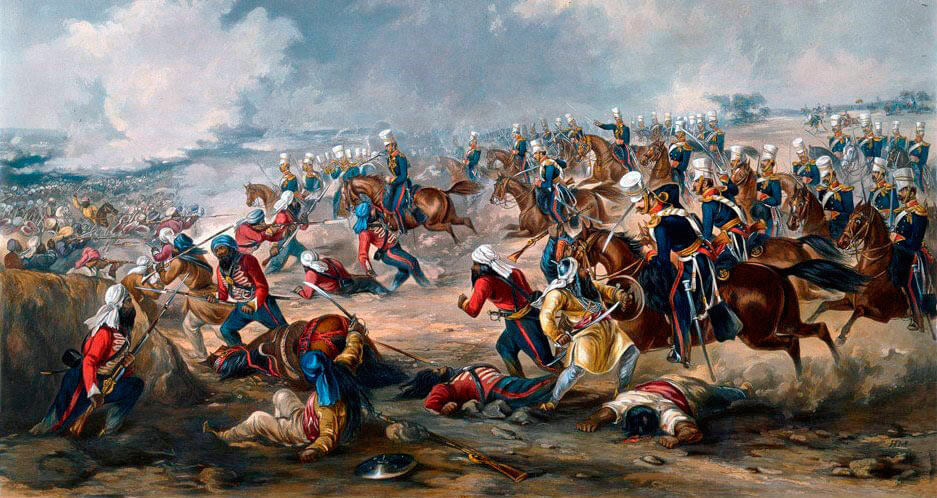
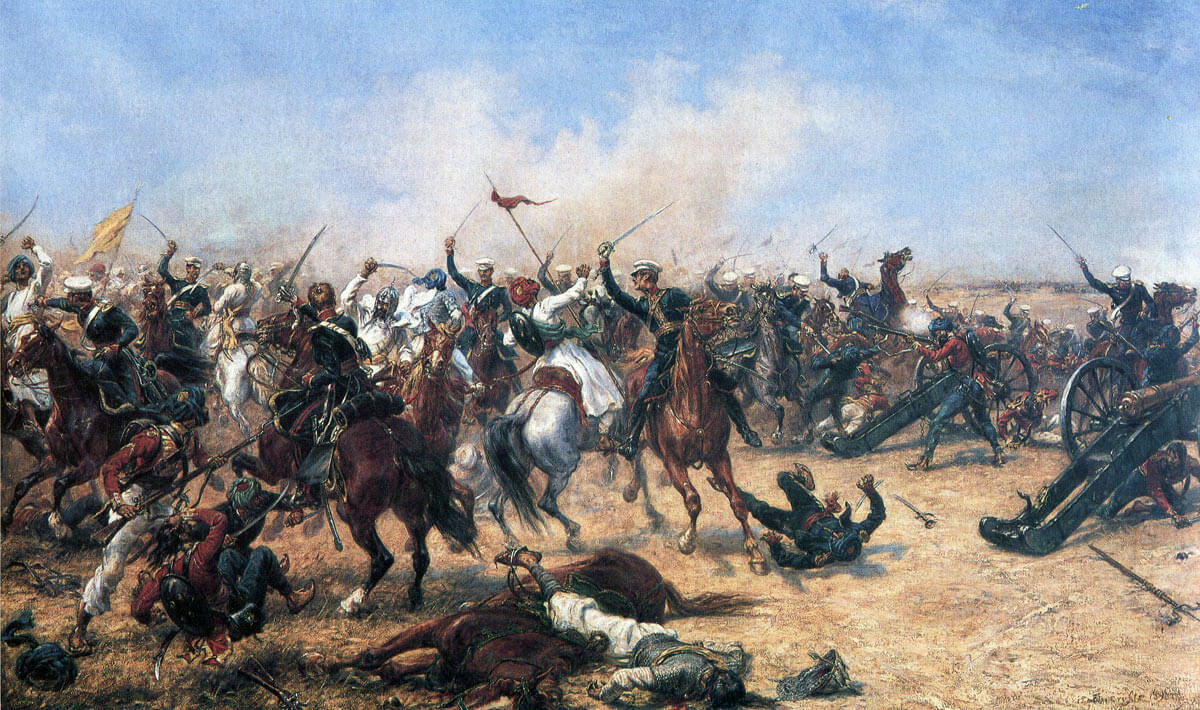
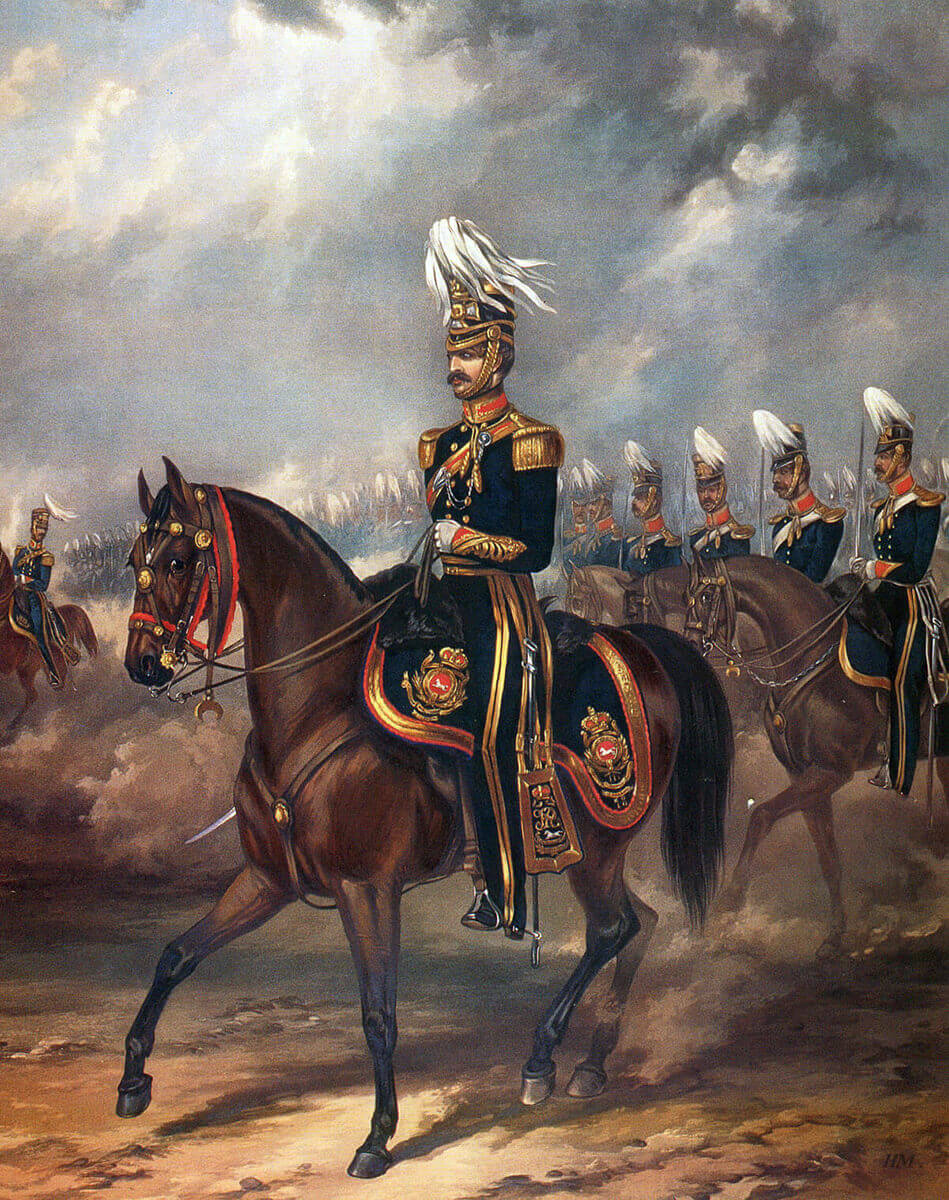
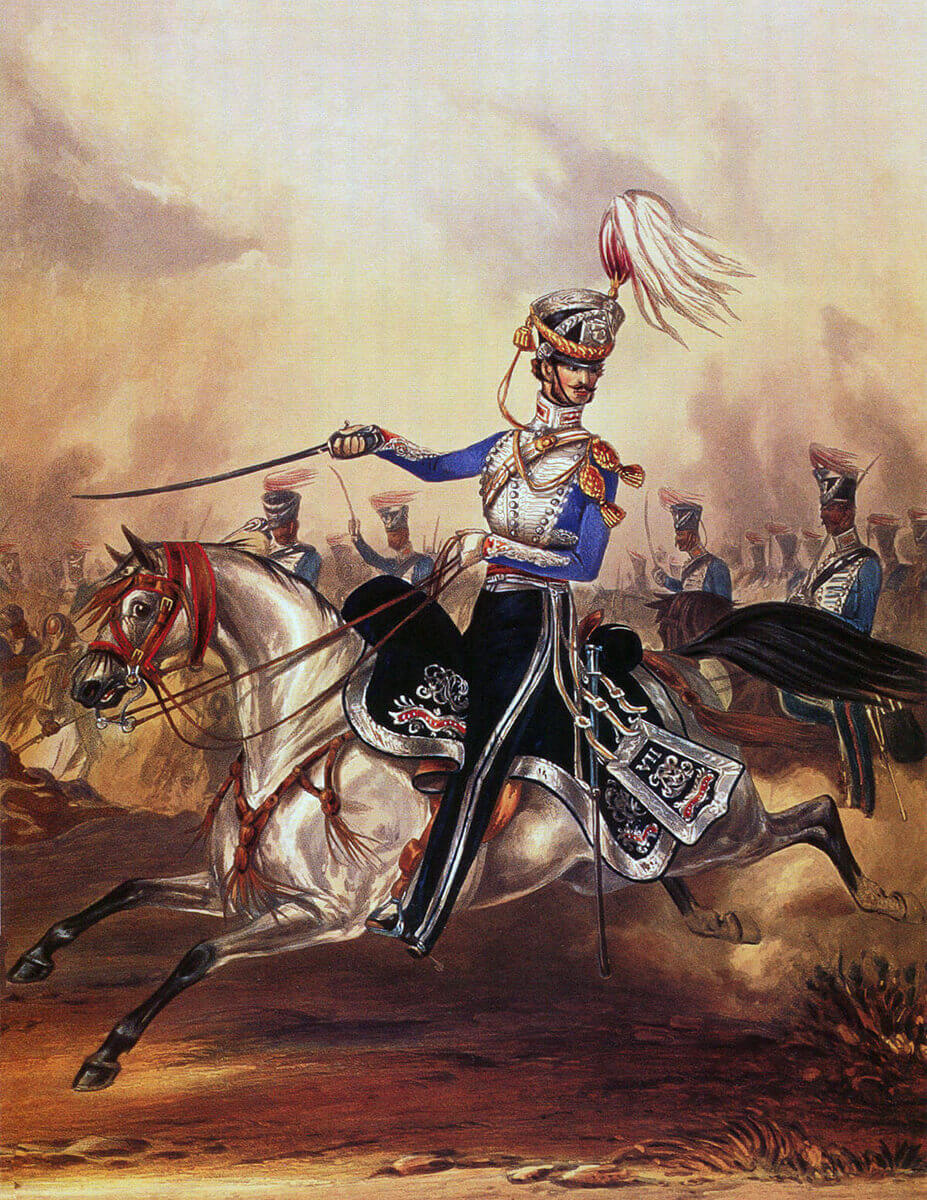
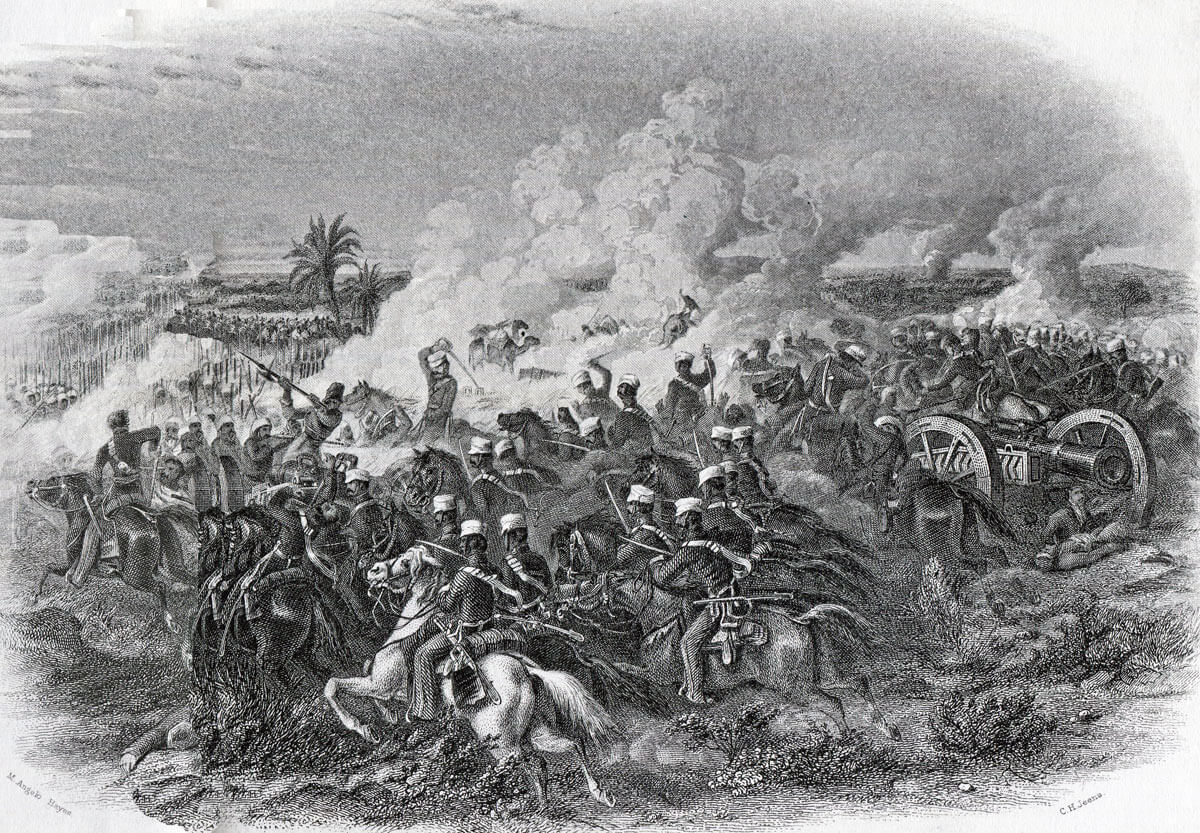
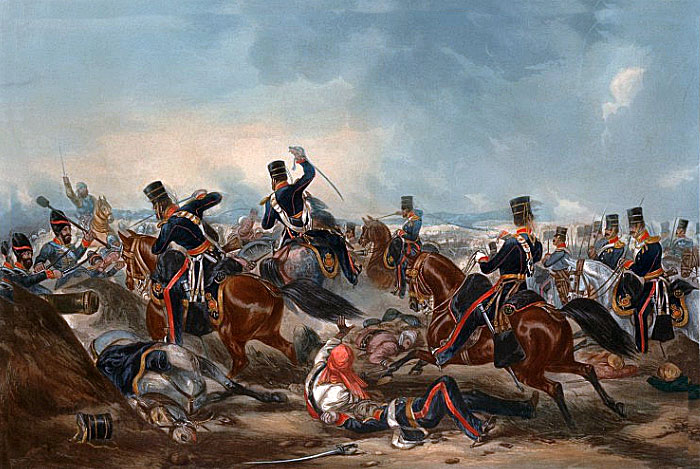
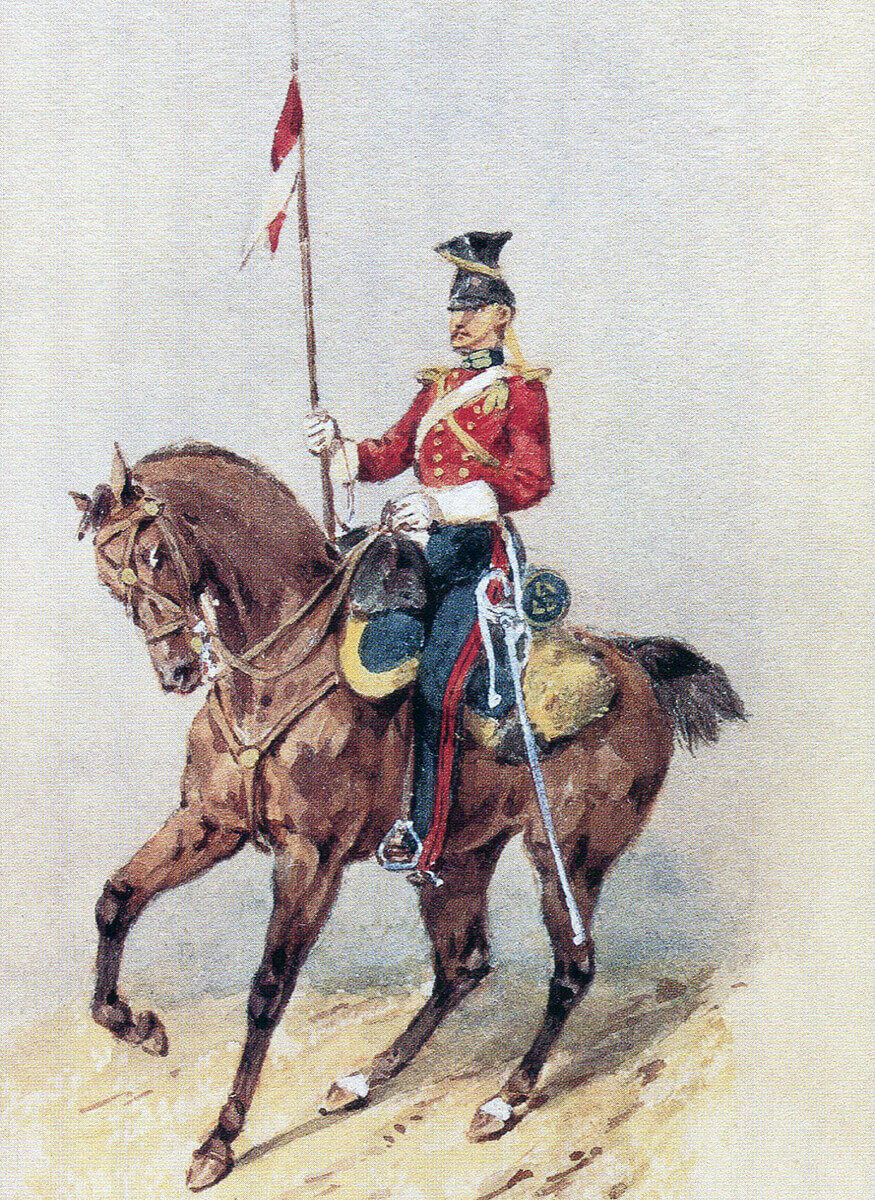
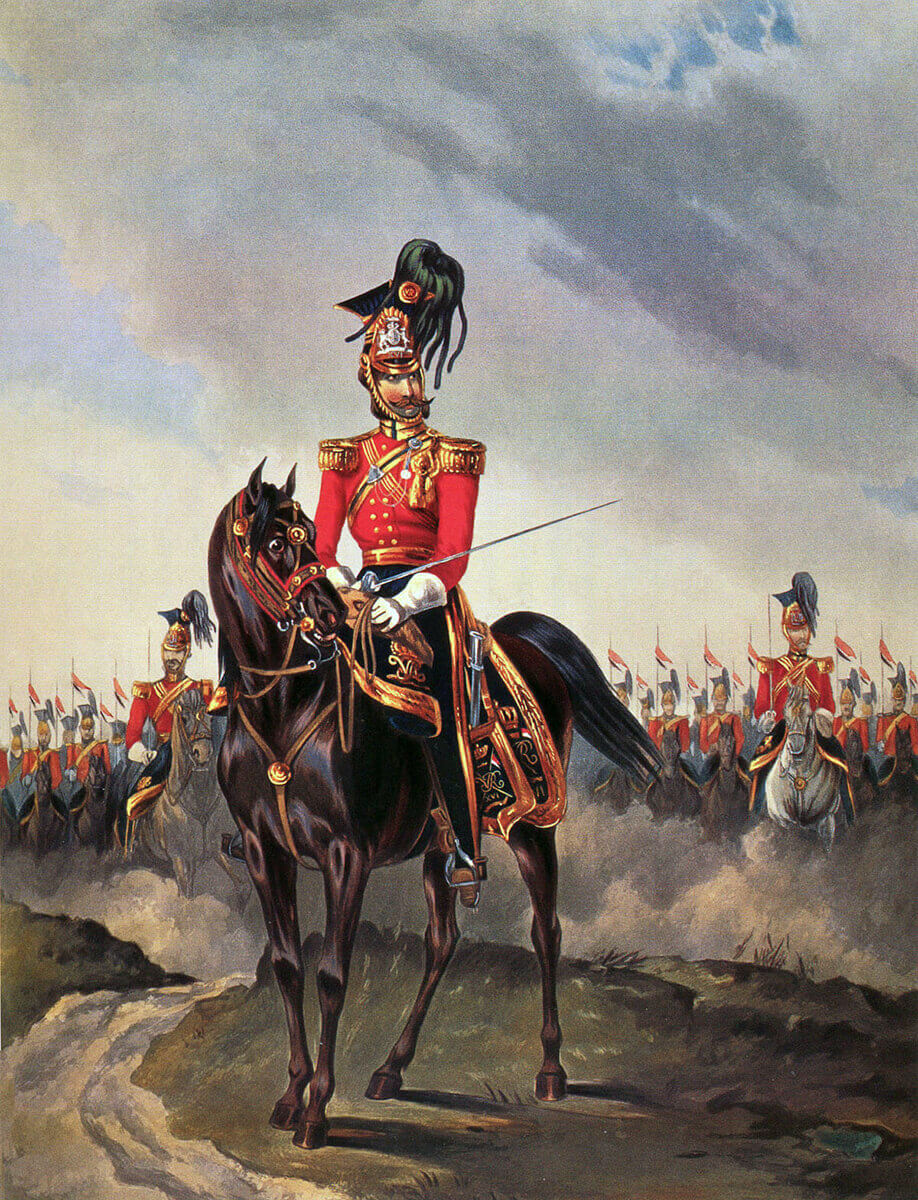
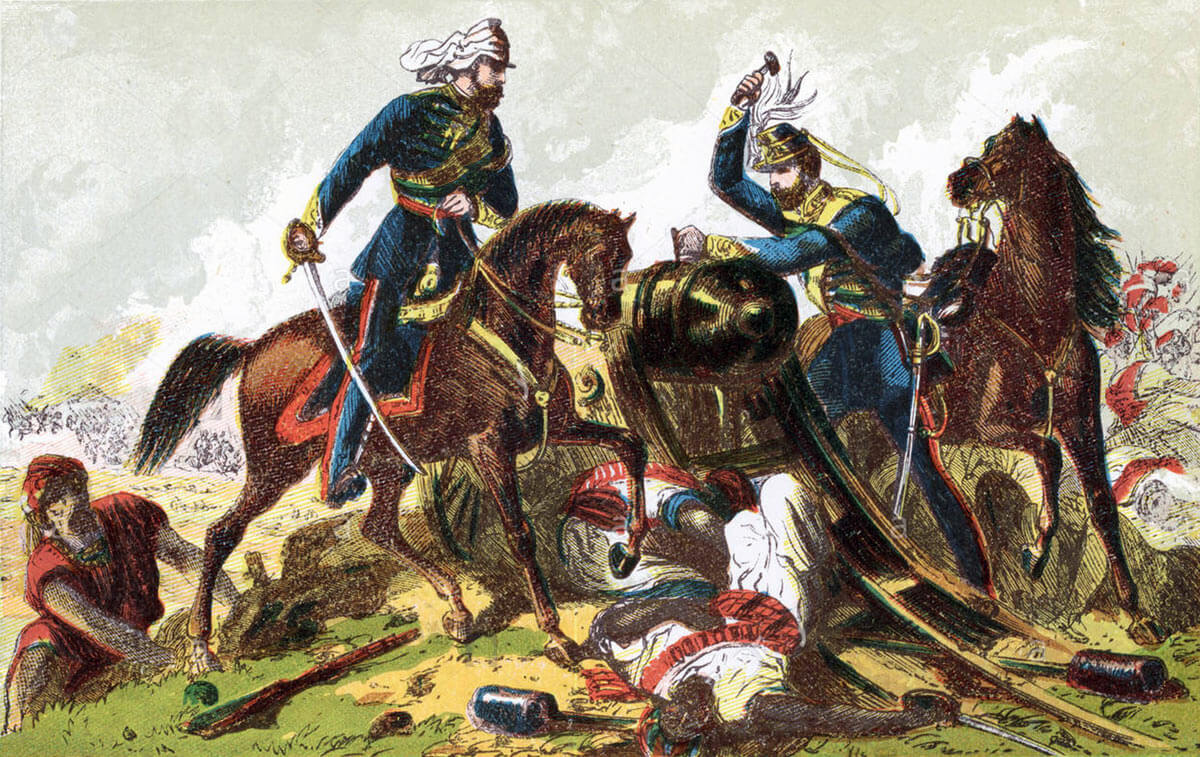
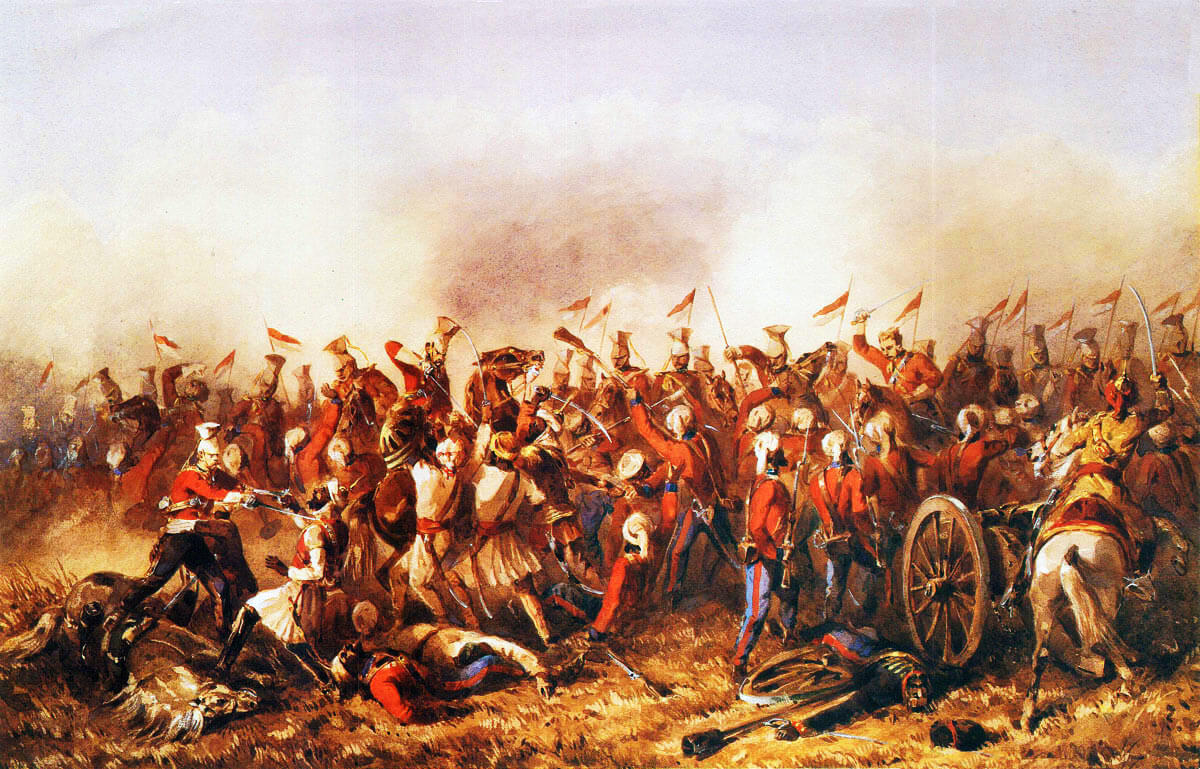
10th Hussars at the Battle of Ali Masjid on 21st November 1878 in the Second Afghan War: picture by Orlando Norie
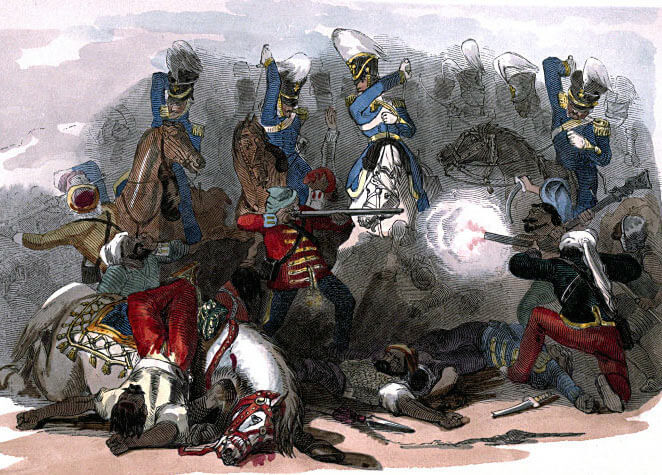
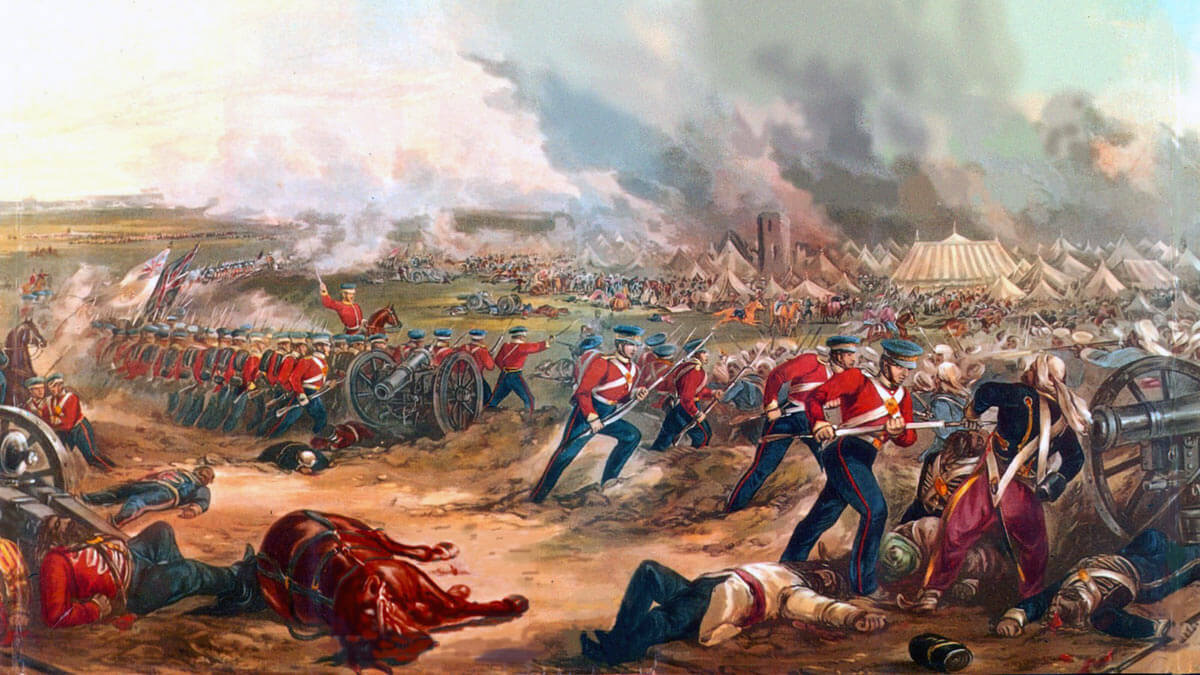
At around 2.30pm Browne sent his two infantry brigades forward on either side of the pass to attack the Afghan positions. The fighting continued until around 5pm, when it became clear that little progress was likely to be made that day. The two brigades withdrew and camped for the night.
The next morning, 22nd November 1878, the attack was renewed, but it immediately became apparent that the Afghans had withdrawn. The outflanking force was still short of the Khyber and the Afghans made good their retreat, largely unimpeded. The rest of the day was spent by the British and Indian troops in regrouping.
On 23rd November 1878, General Browne took his cavalry forward and the next day occupied Dakka, where his force remained for the rest of the first part of the war.

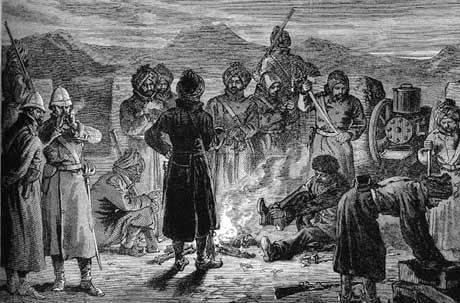
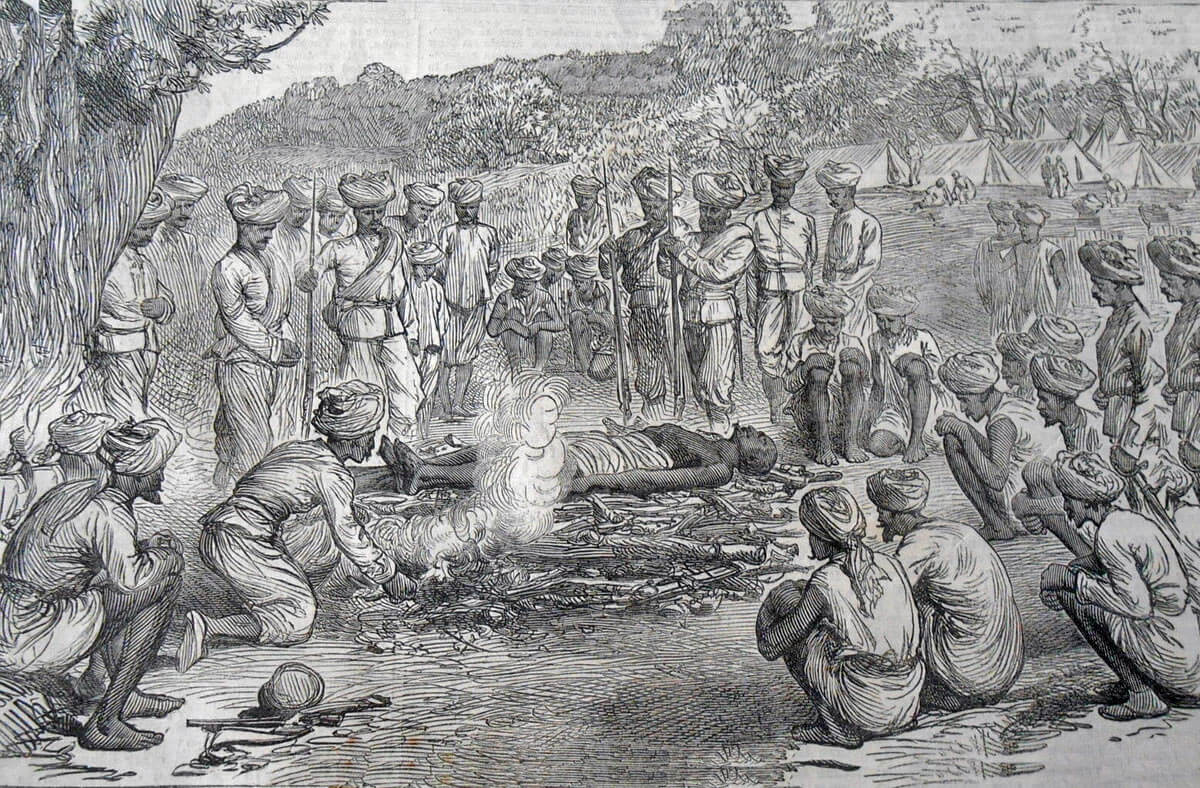
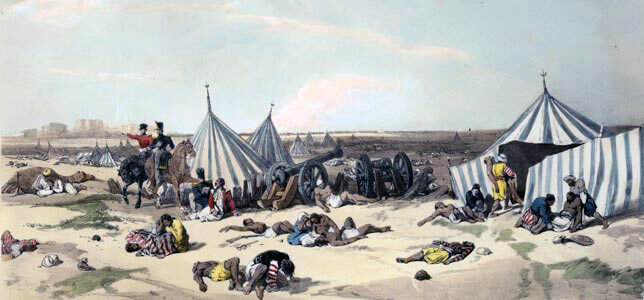
45th Rattray’s Sikhs guarding Afghan prisoners: Battle of Ali Masjid on 21st November 1878 in the Second Afghan War
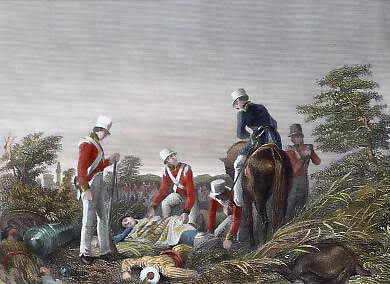
Casualties at the Battle of Ali Masjid: British casualties were 58. Among these were Major Birch and Lieutenant Fitzgerald of the 27th Punjabis, killed, and the sole British officer wounded in the attack, from the 14th Sikhs. Afghan casualties are unknown precisely, but will have been around 1,000 including 500 captured during the retreat.
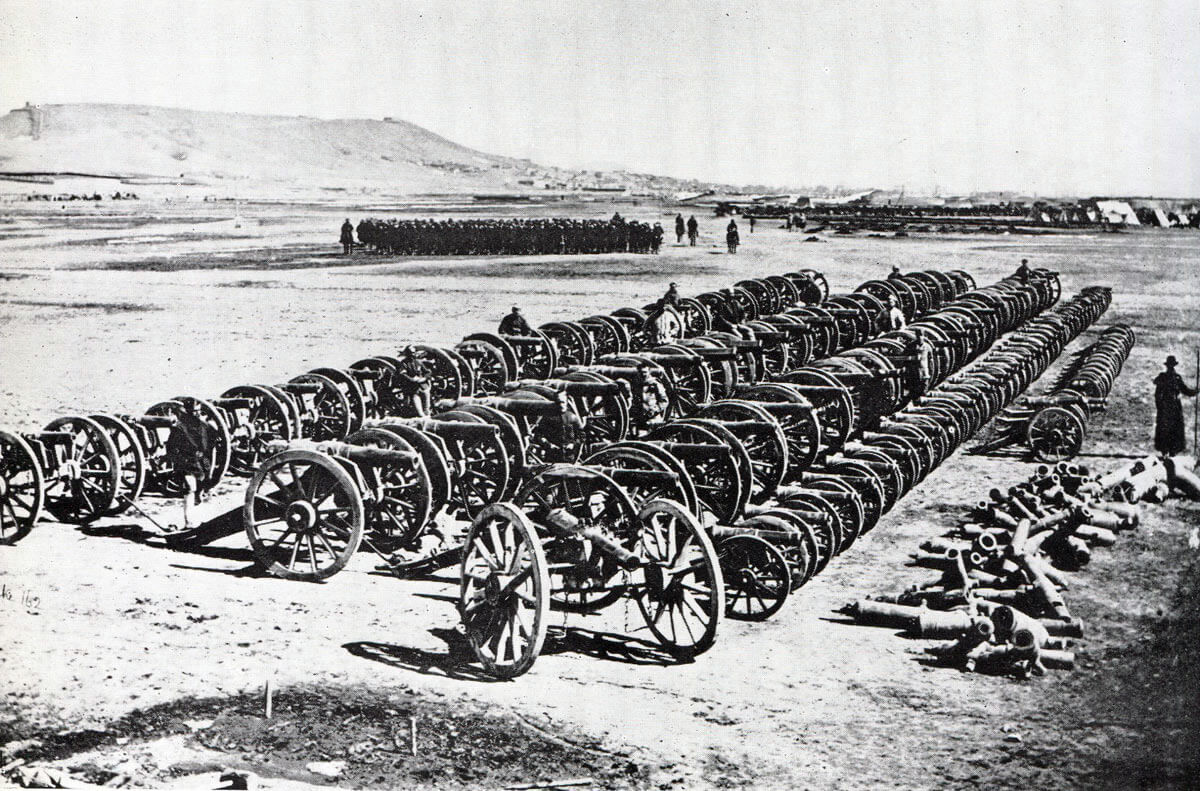
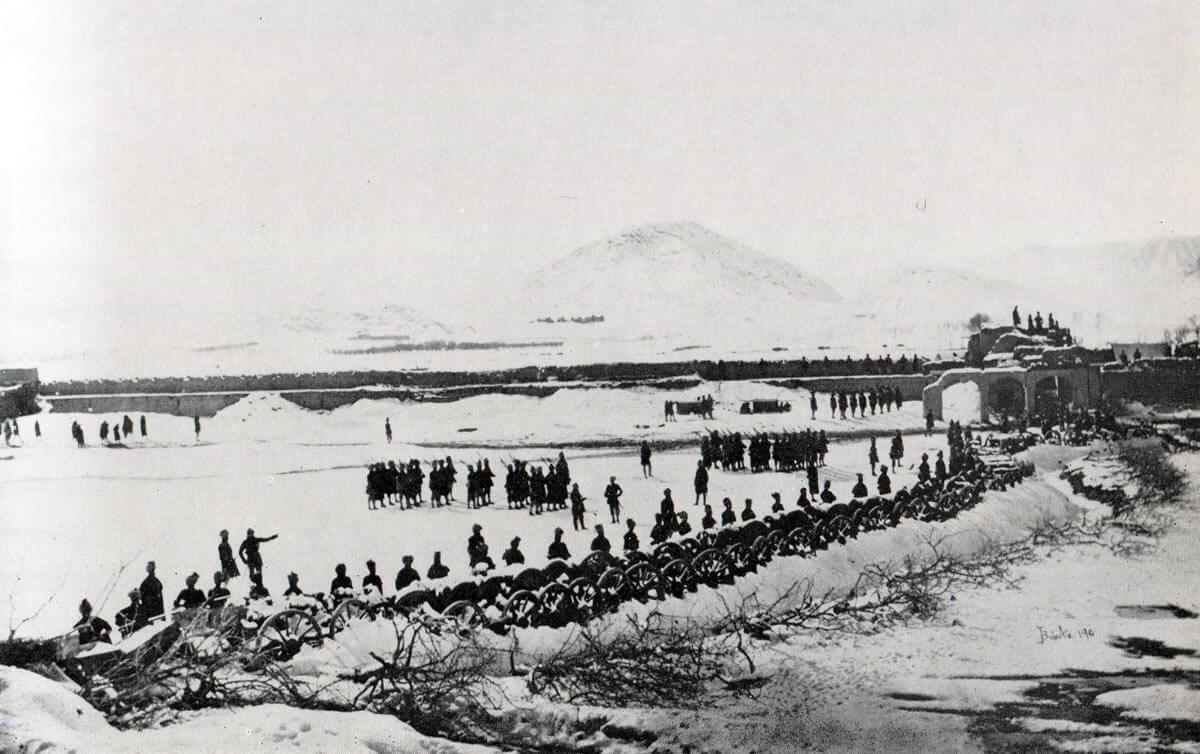
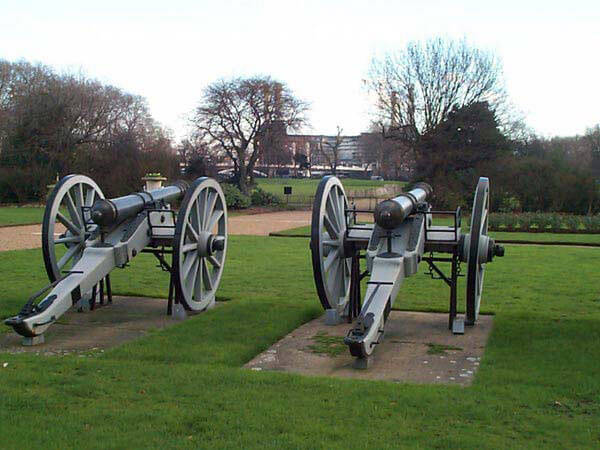
The British captured 24 Afghan guns.
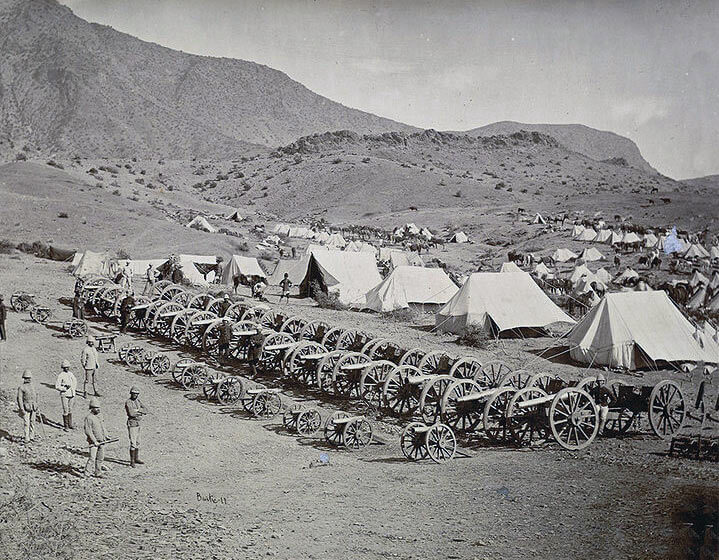
Captured Afghan guns after the Battle of Ali Masjid on 21st November 1878 in the Second Afghan War
Follow-up to the Battle of Ali Masjid:
The British aim in the war was to occupy Afghan territory and thereby force the Ameer to concede the British mission at Kabul.
With the capture of Ali Masjid and the advance to Dakka, General Sam Browne’s Peshawar Field Force achieved its strategic aim. Following the success of Roberts’ Kurram Valley Field Force at Peiwar Kotal and the occupation of Kandahar by the South Afghanistan Field Force, the Ameer’s successor, Sher Ali, agreed to the Kabul mission in negotiations at Gandamak.
The murder of the British envoy to Kabul, Sir Louis Cavagnari, within two months of the signing of the Treaty of Gandamak, led promptly to the terrible second phase of the war.
Anecdotes and traditions from the Battle of Ali Masjid:
Badge of the 17th Regiment with the Tiger emblem awarded for long service in India: Battle of Ali Masjid on 21st November 1878 in the Second Afghan War
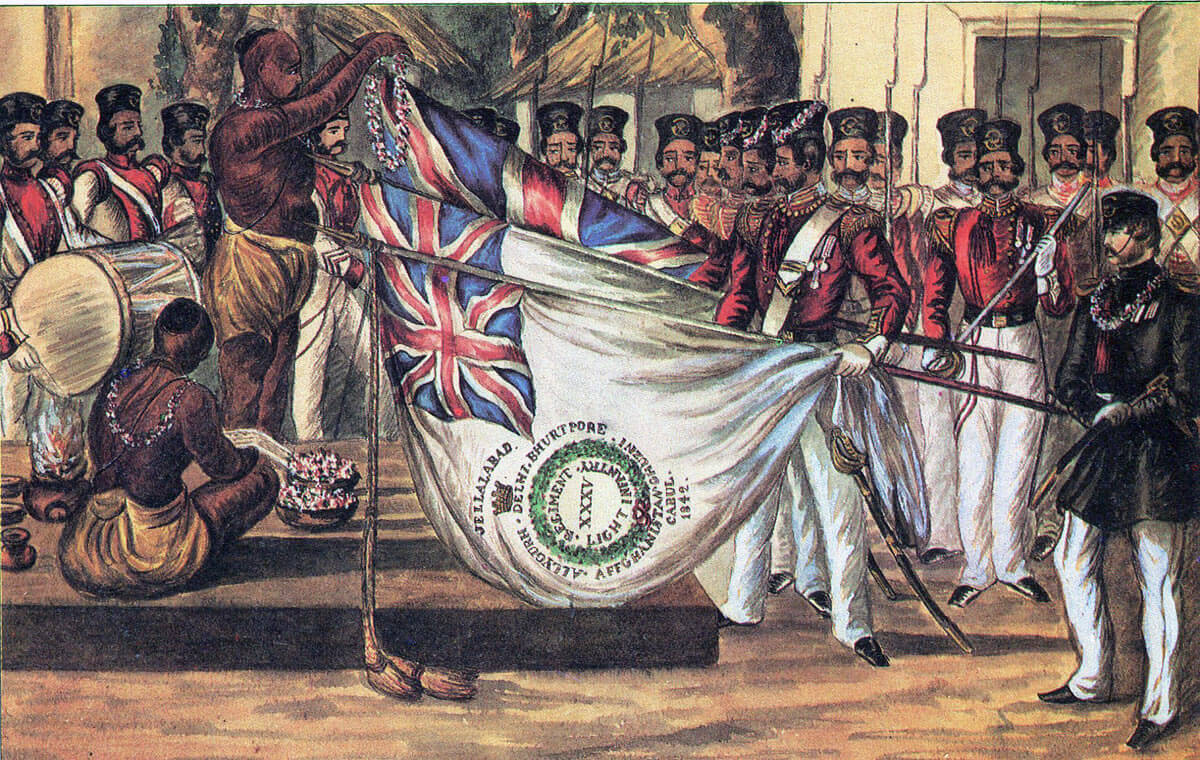
- The British 17th Foot entered Afghanistan for the second time in 1878, having taken a notable part in the First Afghan War, including the storming of the Kabul Gate at the Siege of Ghuznee in 1839. For its long service in India, the 17th was awarded as its badge the Tiger with the inscription ‘Hindoostan’. The Leicestershire Regiment, as the 17th became in 1882, carried the nickname of the Leicestershire Tigers. The regiment was amalgamated into the large Royal Anglian Regiment, but the name the Tigers lives on with the Leicester City Rugby Football Club.
References for the Battle of Ali Masjid:
The Road to Kabul; the Second Afghan War 1878 to 1881 by Brian Robson.
The Afghan Wars by Archibald Forbes
The previous battle in the British Battles sequence is the Battle of Magdala
The next battle of the Second Afghan War is the Battle of Peiwar Kotal
To the Second Afghan War index