The following battles of the Great Boer War are described and illustrated under this title:
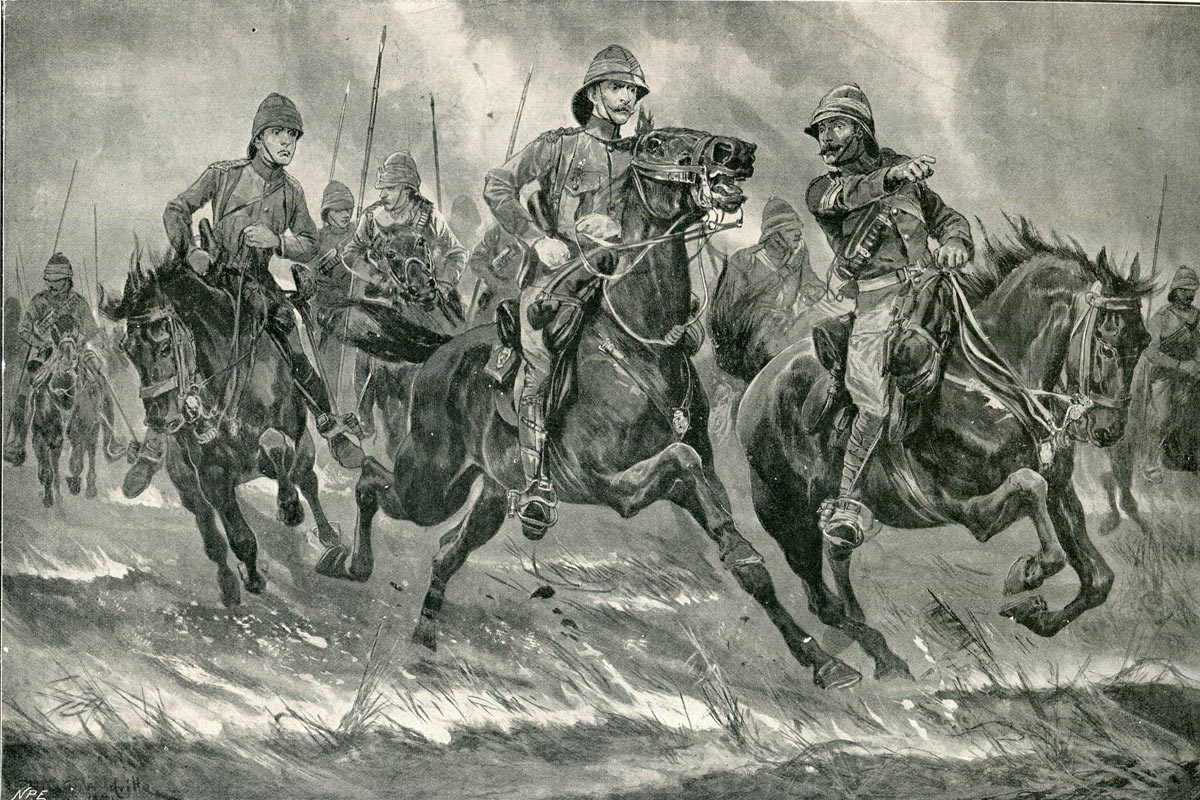
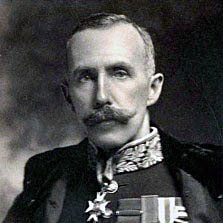
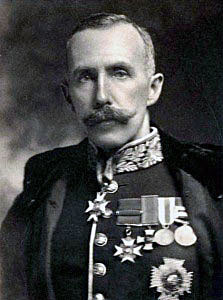
Lord Dundonald’s cavalry pursuing the Boers at the end of the Battles of Val Krantz and Pieters 5th to 28th February 1900 in the Great Boer War
Battle of Talana Hill: The first battle of the Great Boer War, also known as the Battle of Dundee, fought in Northern Natal on 20th October 1899. Podcast on the Battle of Talana Hill
Battle of Elandslaagte: Occasion, on 21st October 1899, of the devastating charge by the 5th Lancers. Podcast on the Battle of Elandslaagte
Battle of Ladysmith: The first defeat of the British, also known as Lombard’s Kop and Nicholson’s Nek and fought on 29th October 1898, leading to the Siege of Ladysmith. Podcast on the Battle of Ladysmith
Battle of Belmont: Fought on 23rd November 1899 in the Great Boer War, beginning the British advance to relieve Kimberley, besieged by the Boers. Podcast on the Battle of Belmont
Battle of Graspan: (also known as the Battle of Enslin) Fought on 25th November 1899 in the Great Boer War by Lord Methuen, leading to his advance to the disastrous battles of Modder River and Magersfontein. Podcast on the Battle of Graspan
Battle of Modder River: Lord Methuen’s encounter battle at the Modder River, fought on 28th November 1899, as the British advanced to relieve Kimberley. Podcast of the Battle of Modder River
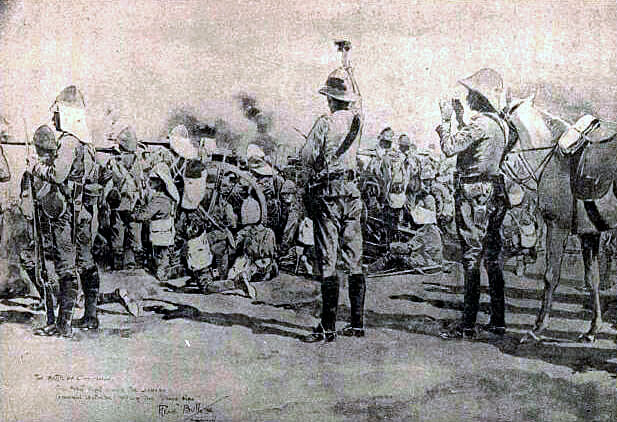
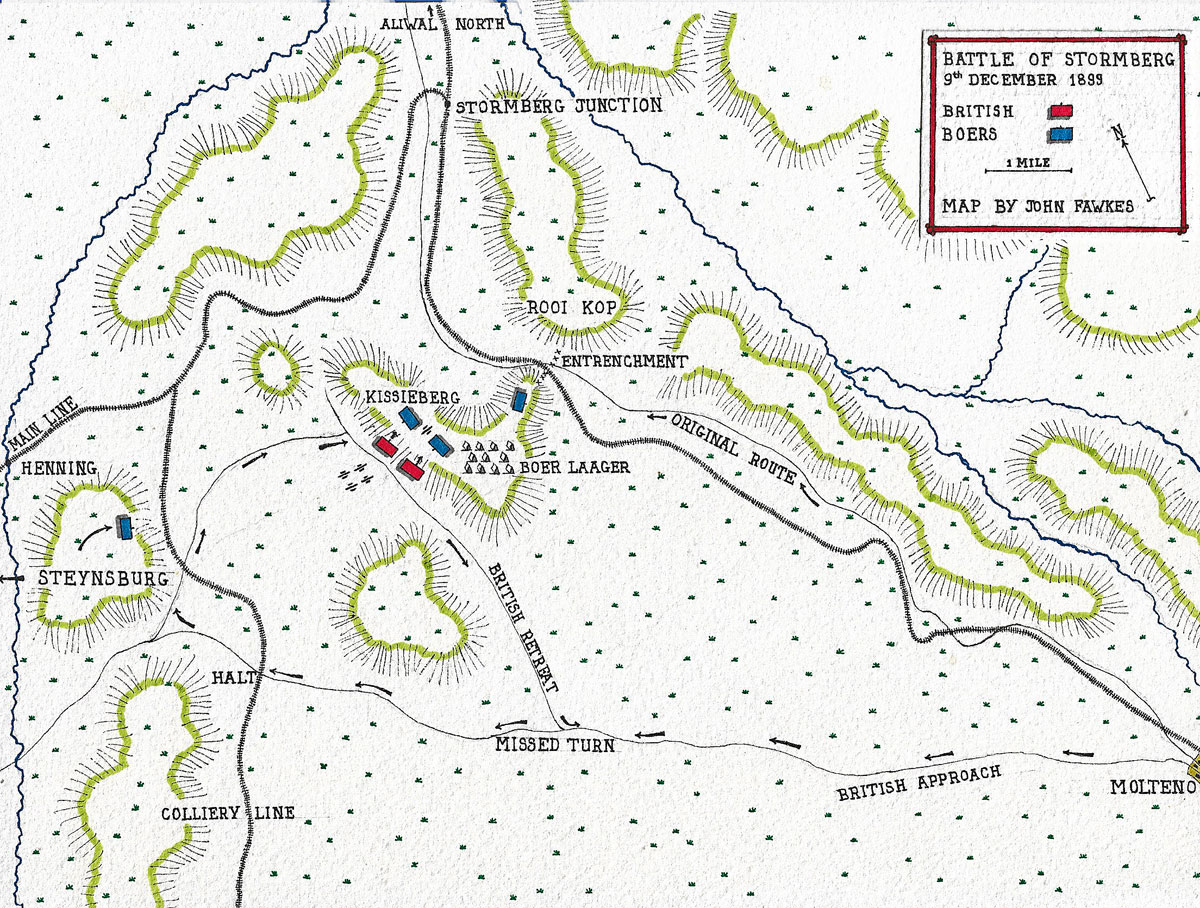
Battle of Stormberg: General Gatacre’s disastrous defeat in Northern Cape Colony, fought on 9th/10th December 1899; the first battle of ‘Black Week’. Podcast on the Battle of Stormberg
Battle of Magersfontein: Methuen’s disastrous defeat at the hands of Cronje’s Boers on 11th December 1899; the Highland Brigade suffering severe loss: the second battle of ‘Black Week’. Podcast on the Battle of Magersfontein
Battle of Colenso: Buller’s disastrous first attempt to cross the Tugela River in Natal and relieve Ladysmith, on 15th December 1899: last of the three battles of ‘Black Week’. Podcast on the Battle of Colenso
Battle of Spion Kop: The iconic British defeat on 24th January 1900, during Buller’s second and disastrous attempt to cross the Tugela River and relieve Ladysmith. Podcast on the Battle of Spion Kop
Battle of Val Krantz: The third unsuccessful attempt by Buller to push across the Tugela River and relieve Ladysmith, fought on 5th February 1900. Podcast on the Battles of Val Krantz and Pieters
Battle of Pieters: The final battle fought by Buller’s Natal Field Force on 14th February 1900, leading to the relief of Ladysmith and the Boer retreat from Natal. Podcast on the Battles of Val Krantz and Pieters
Battle of Paardeberg: The close fought battle that ended on 27th February 1900 with the surrender of Cronje’s Boer army to the British. Podcast on the Battle of Paardeberg
Siege of Mafeking: The siege of the railway town on the Bechuanaland border, from 14th October 1899 to 16thMay 1900, that fired the British imagination with its resourceful defence by Robert Baden-Powell, founder of the Scout Movement. Podcast on the Siege of Mafeking
Siege of Kimberley: The siege of the diamond-mining town in the north-west of South Africa, between 14th October 1899 and 15th February 1900, whose relief dominated the strategy of the western British forces. Podcast on the Siege of Kimberley
Siege of Ladysmith: The siege in Natal that ensnared a British army from 2nd November 1899 to 27th February 1900, but blocked the Boer invasion of the colony. Podcast on the Siege of Ladysmith
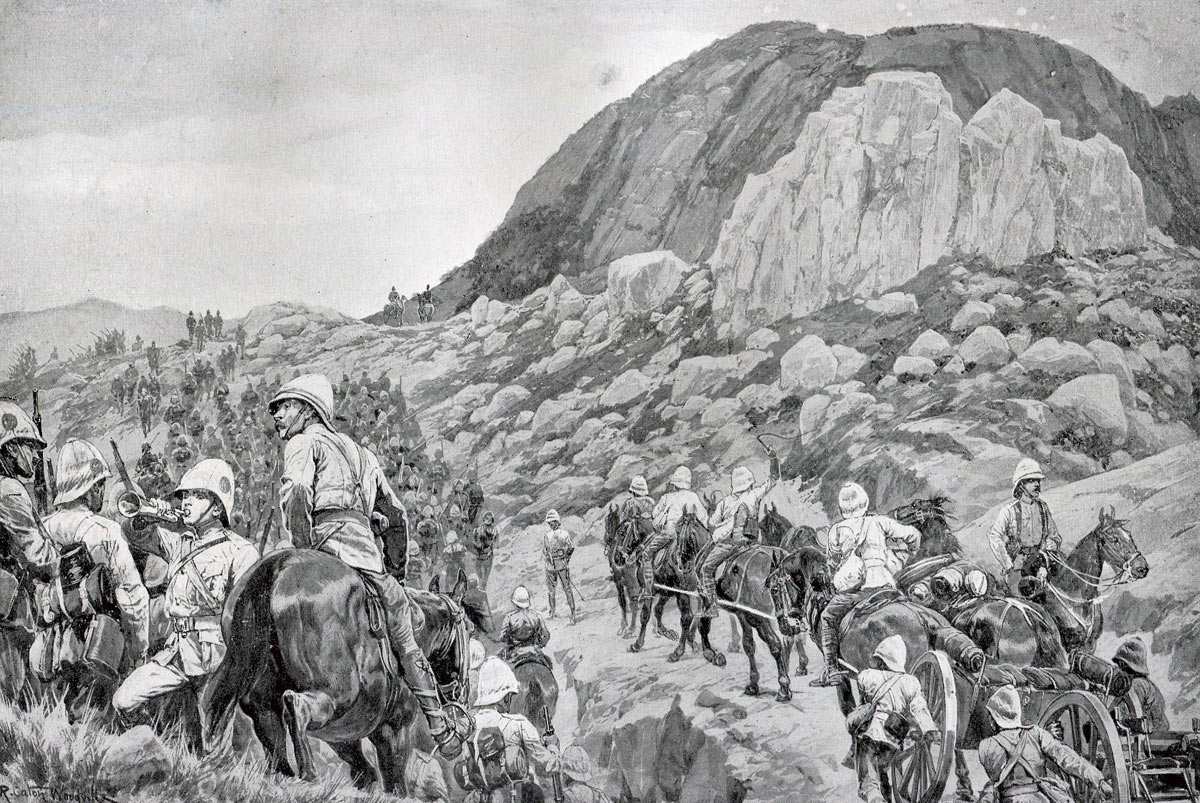
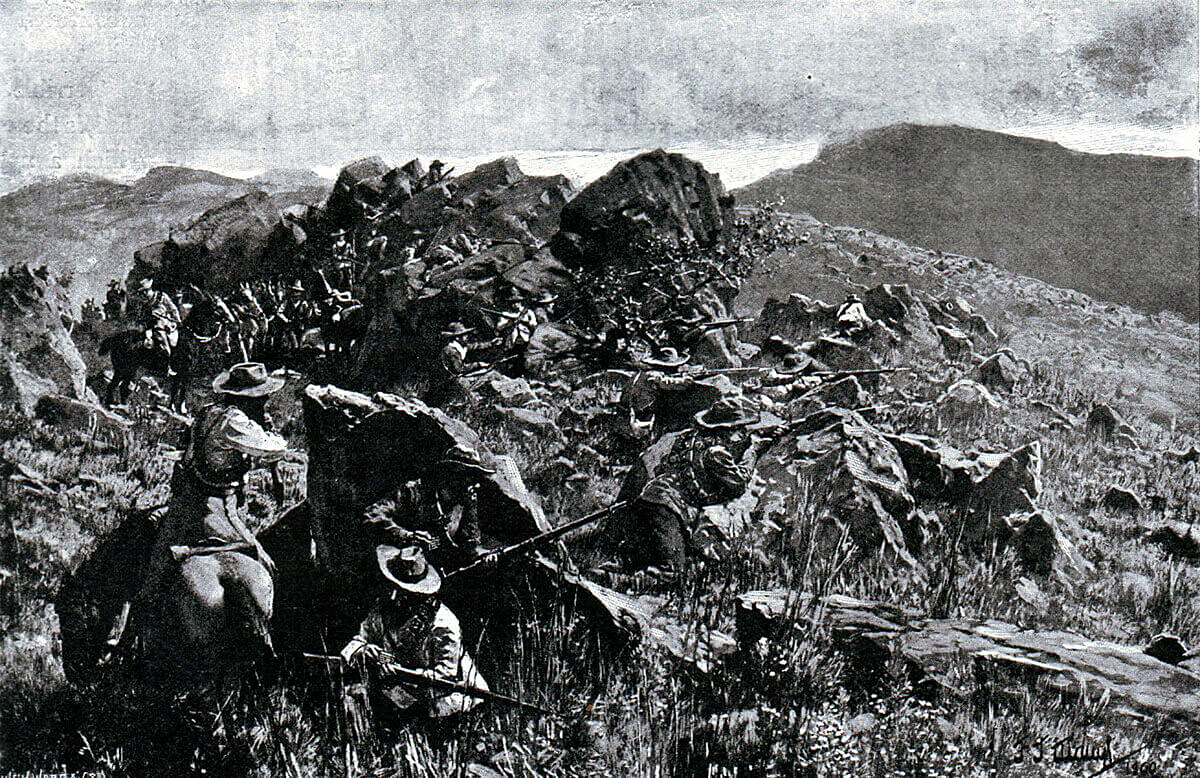
The Advance up Spion Kop: Battle of Spion Kop on 24th January 1900 during the Great Boer War: picture by Richard Caton Woodville
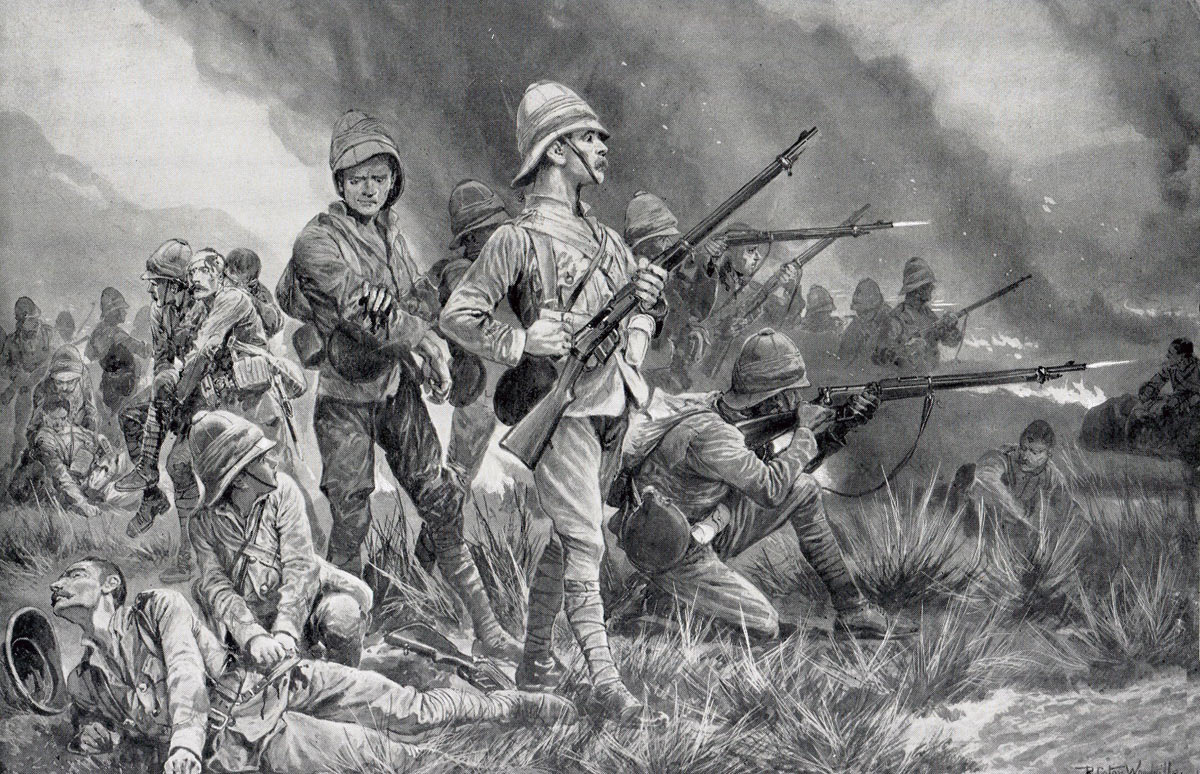
The Grenadier Guards at Biddulphsberg: picture by Richard Caton Woodville